Posts | Comments

Planet Arduino

Archive for the ‘instructables’ Category

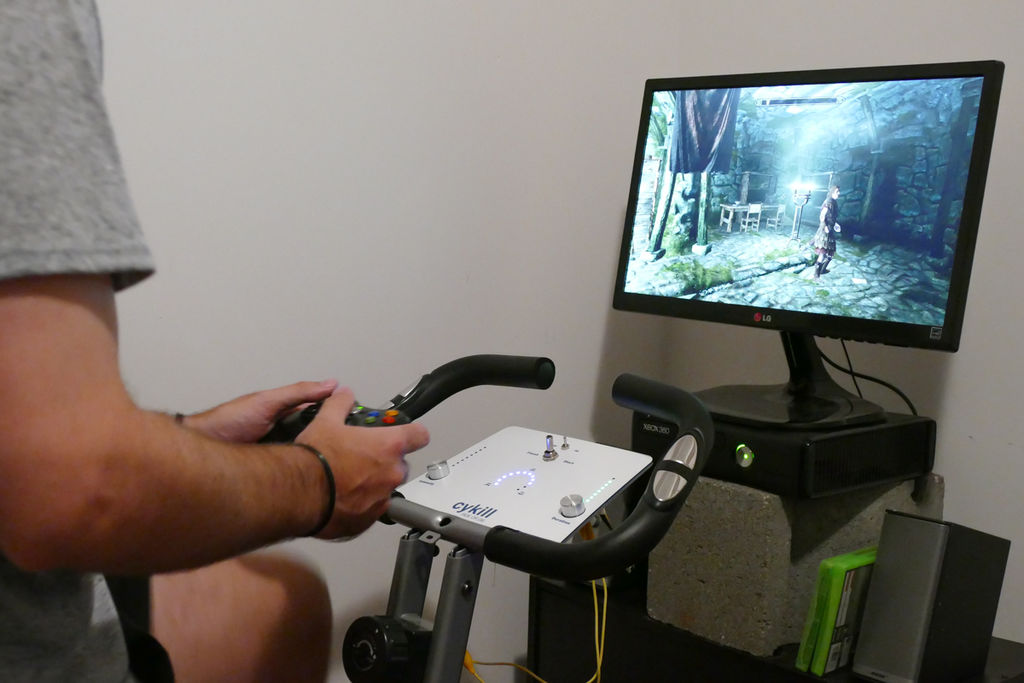
If you’re having trouble finding time to work out because you’d rather play video games, then this is the solution you’ve been waiting for. The Cykill device modifies a normal exercise bike into a device that won’t let you power on your Xbox unless you’re pedaling sufficiently fast enough.

Making this even more motivating, is that if you stop pedaling fast enough, it immediately cuts power, ruining any in-progress game, and potentially even damaging your hard drive!

To implement this hack, Instructables user “Fuzzy-Wobble” used an Arduino Uno to intercept the bike’s normal control signals. From this data, as well as settings on a custom control panel, it decides whether or not to activate switchable plug that provides power to the Xbox.

If you’d like to build your own forced-fitness setup, be sure to check out the project’s write-up here. Gaming not your thing? Perhaps it’s Netflix binge-watching getting in the way of your healthy lifestyle instead…

As entertaining as watching Netflix may be, you’re not burning a lot of calories while binging on your favorite shows. In order to do both at the same time, hacker “Roboro” modded a stationary exercise bike to stop streaming if he’s not maintaining his fitness goals.

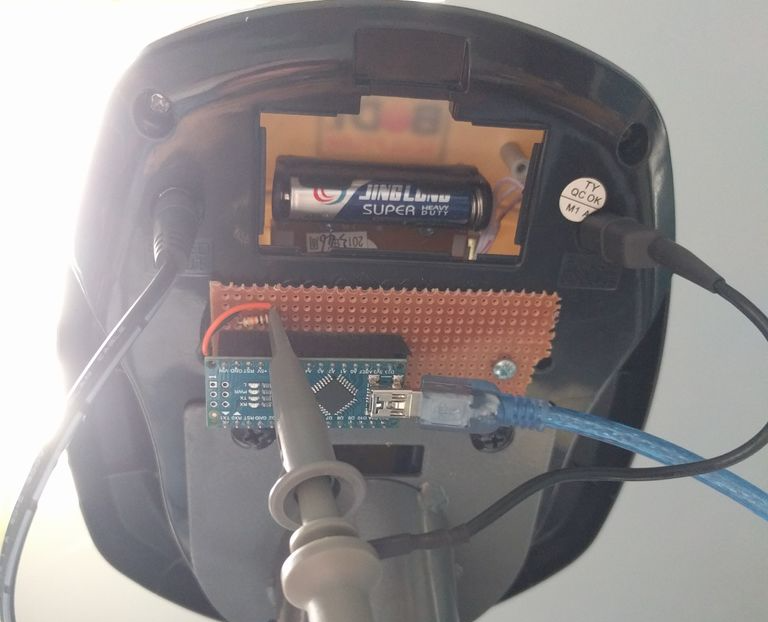
Bicycle speed is derived from the signal that’s normally sent to the built-in display. He uses an Arduino Nano to hijack the square wave, and sends this info to the streaming computer serially via USB.

Starting the Python script and inputting some information, Firefox will start to stream Netflix and display in real-time for current workout information such as round, speed, nominal speed for this round and time to next round. If the user goes below the nominal speed for too long, Netflix will pause until the user has gotten back up to speed.

If you’d like to try this yourself, you can find an Instructables write-up with all the necessary details and check out his code on GitHub. Though designed around Netflix, Roboro notes that it can be used with other streaming services with a few changes.

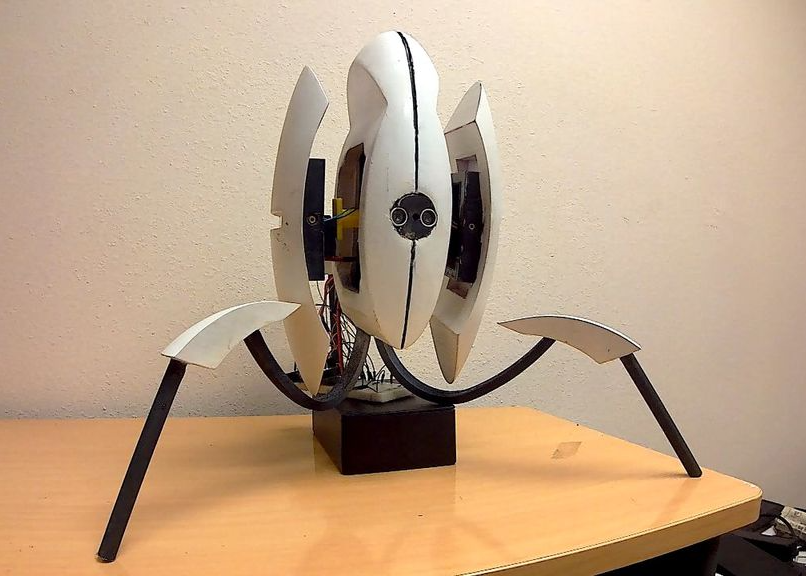
Steven Gioiosa recently signed up for a “Makecourse” class at the University of South Florida, where he was required to build something that featured both an Arduino and a 3D-printed part. As a fan of Portal, and especially the sentry turrets in the game, it was an easy decision to construct one of these devices for himself.

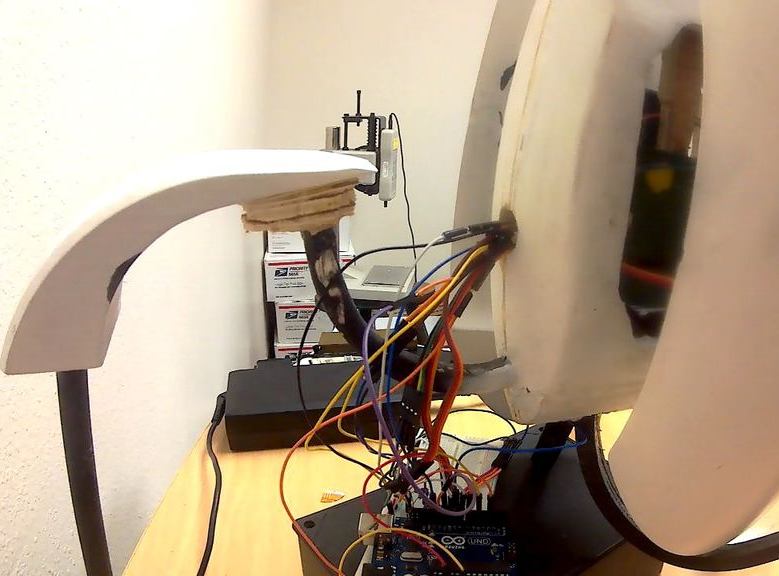
Gioiosa’s turret recreation is based on an Arduino Uno connected to an HC-SR04 ultrasonic sensor, and features motion-activated lasers that move back and forth, along with audio feedback, depending on how far away the human target is. The project also involves a bunch of servos: one to open the arms out, another to pitch them up and down, and two more to move each arm left and right.

You can see Gioiosa’s sentry turret in action below, and find more details on his Instructables write-up here.

Infinity mirrors are some far-out table mods and make a great centerpiece. Instructables user [bongoboy23] took a couple steps beyond infinity when designing this incredible table tailor-made for our modern age.

Poplar and pine wood make up the framing, and red oak — stained and engraved — make for a chic exterior. Programmed with Arduino and run on a Teensy 3.1, the tabletop has 960 LEDs in forty sections. There are, four USB ports hidden behind sliding panels, as well as a two-port AC outlet and an inductive charging pad and circuit.  A hidden Adafruit TFT touchscreen display allows the user to control the table’s functions. Control is limited to changing lighting functions, but Pac-Man, Snake, and text features are still to come!

Weighing in at $850, it’s not a cheap build, but it looks amazing.

This is one of the most extensive Instructables you may happen across, containing dozens of pictures, CAD files, diagrams, appendices, and a change log, with tips besides; if you want one just like this at home, you are in good hands, here. Or try an easier build, we won’t judge. However, maker beware — you may be stepping through a portal that’s difficult to return from.

[Thanks for the tip, JohnL!]


Filed under: Arduino Hacks, how-to, led hacks

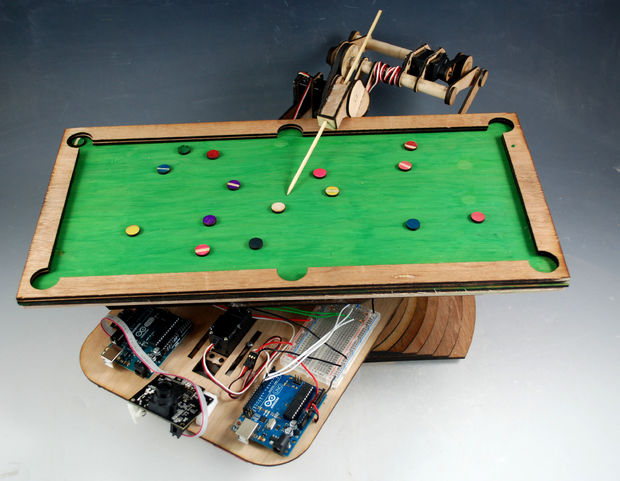
Building robots can be (relatively) easy if you’d like something to wander around your room and avoid obstacles, but for complicated control tasks, like shooting pool, things need more development. Engineer “Bvarv” has been working on just such a robot, which currently exists as a one-sixth scale model.

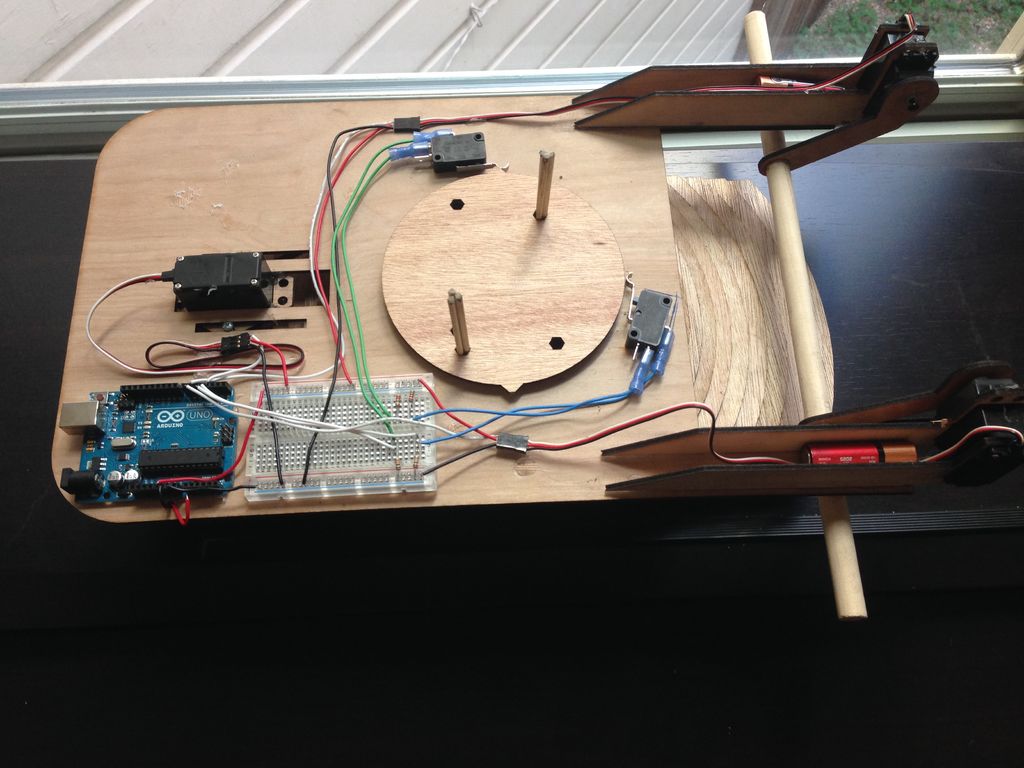
Though it’s not currently capable of playing the game, the device uses some interesting tricks, including a frame supported by a pattern of increasing-diameter pieces of wood, a custom bearing made out of slingshot ammunition, and limit switches to control the billiard bot’s orientation.

For this project, Bvarv employed a pair of Arduino Unos and a PixyCam vision system, along with some servos, belts, and gears. While we may still be a few years away from a full-scale robotic opponent, you can check out the entire build over on Instructables and follow along with his progress in the videos below.

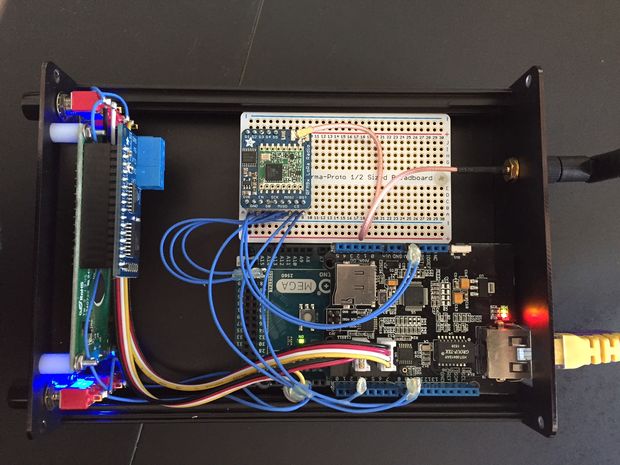
When you’re away from your home, perhaps you’d like to know what is going on there. A camera system is one solution, but is fairly data-intensive and might not be the right method if you’d like to monitor information such as temperature and humidity in several zones. For this, Rod Gatehouse decided to build his own LoRa environment monitoring system using an Arduino Mega.

To keep an eye on things, Gatehouse (aka “RodNewHampshire” on Instructables) came up with an excellent LoRa IoT gateway that can be controlled via four push buttons and an LCD screen. This device can take input from remote stations wirelessly, and can put this data online or push it to a user as a text message.

The system enables a homeowner to monitor the home environment via an Internet accessible dashboard, receive periodic SMS environmental notifications, receive real-time SMS alerts when monitored environmental parameters exceed preset thresholds, and log environmental data to the cloud.

For more details on how Gatehouse set up this project and on his design choices, check out his Instructables page here.

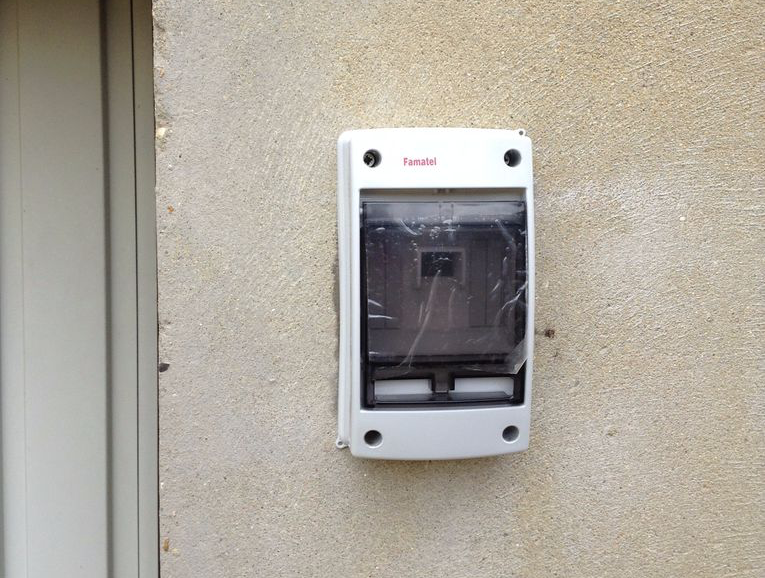
Using an Arduino Micro for control, French teenager “Joebarteam” came up with a way to biometrically secure his garage.

If you need to get into your locked garage, what could be better than using your fingerprint? To this end, Joe’ came up with a system that unlocks his door using a fingerprint scanner, and a bistable relay to disable communication between the scanner and the Arduino if there’s a problem.

It’s a really professional-looking build, and the locking mechanism is especially interesting. Two rack-and-pinion devices plunge shafts into the ground, making the door impossible to open (it has to pull out before going up). If there is an issue with the system, the pins can be physically unlocked and disabled as needed.

You can find more details on the project’s Instructables page here.

With October still six months away, you may not be thinking about Halloween decorations just yet. However, this Arduino-based ocular assembly could make for a spooky yet simple prop!

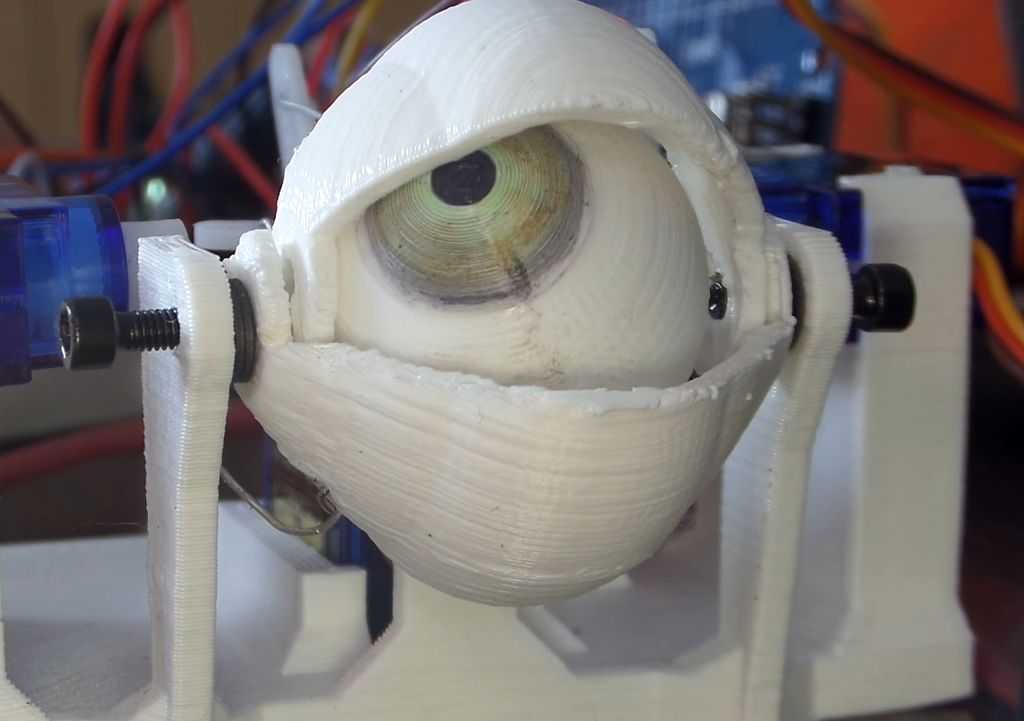
There are few things more unnerving than an eyeball or three looking at you from some concealed position—such as under clothing as in the project’s video. If you’d like to scare friends, family, or random visitors, Maker Will Cogley has the perfect solution with his 3D-printed animatronic eye and eyelid mechanism.

A joystick moves the eyeball around, while a small push-to-make switch blinks the eye and another potentiometer adjusts how wide open the eyelids are by default. The device itself, which can be controlled with any Arduino board capable of supporting four servos, took him a day to design and build, and should take much less time using his instructions, code, and STL files.

Want to create your own? You can find more details over on Cogley’s Instructables page here.

When most people decide they’re going to build a quadcopter, they likely go to their favorite online retailer or hobby shop, and get the correct parts to connect together.

17-year-old Maker Nikodem Bartnik instead decided to customize things further, programming an Arduino to act as his flight controller, and constructing a transmitter (or “pilot” as he refers to it) from scratch. Finally, he attempted to 3D print the frame, but after some difficulty chose to just buy one.

The rest of the electronics consisted of four motors, four ESCs, some propellers, two nRF24L01 radio modules, an MPU-6050, a LiPo battery, and a bunch of other small components. You can see more of Bartnik’s project over on Instructables, as well as check out “Ludwik” (named partially as a nod to Nikodem’s friend “lukmar”) flying quite nicely in the video below.


  • Newsletter

    Sign up for the PlanetArduino Newsletter, which delivers the most popular articles via e-mail to your inbox every week. Just fill in the information below and submit.

  • Like Us on Facebook