Posts | Comments

Planet Arduino

Archive for the ‘piano’ Category

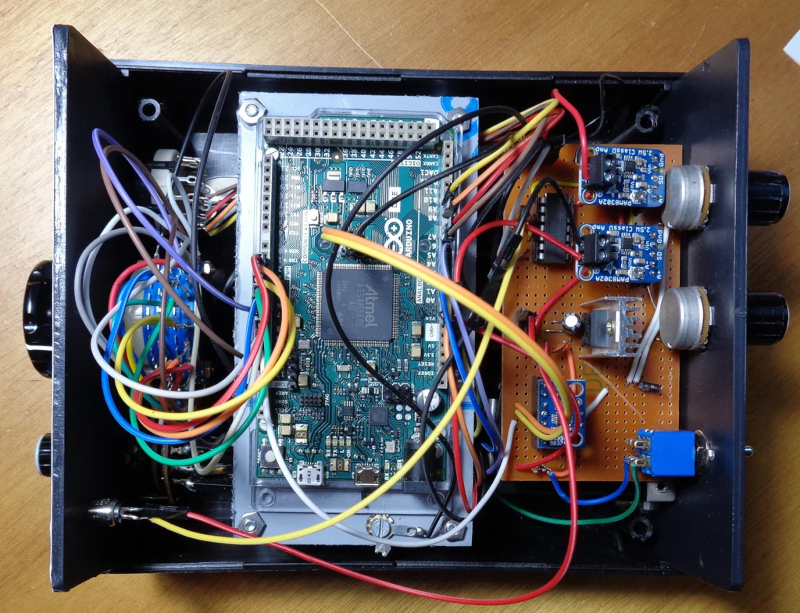
[JanHerman] knows that tuning musical instruments is all about precision and that precision is measured in a logarithmic unit called a cent. A cheap tuner unit might be accurate to 1.5 cents which sounds good until you look at one for ten times the price and find it is accurate to 0.1 cents. So you can spend $800 for precision or $60 for something less. [Jan] decided to build something better and cheaper using a 32-bit Arduino and a DDS frequency generator chip on a breakout board.

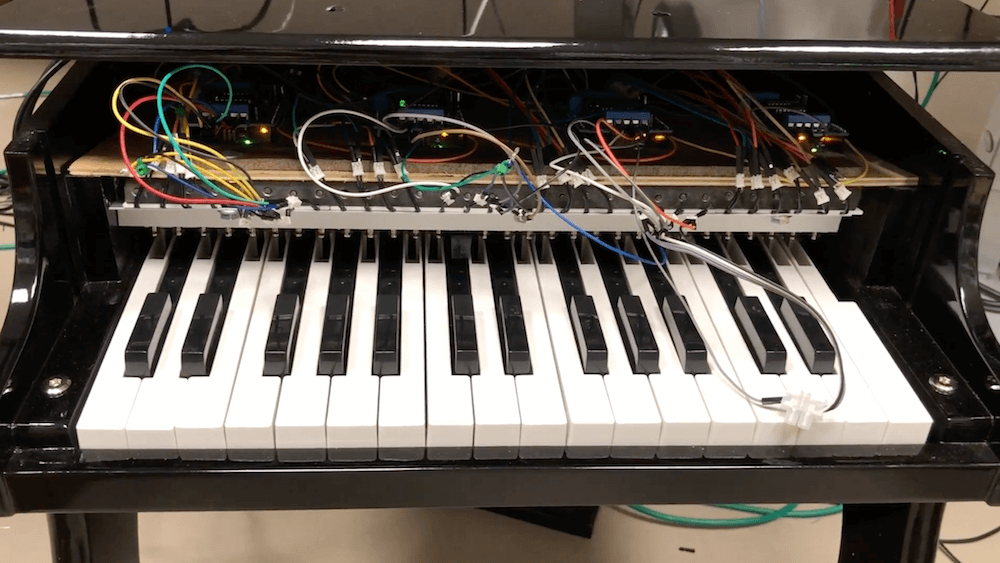
Oddly enough, the device doesn’t have a display. Instead, it generates a precise frequency and couples it to the piano using a transducer. You tune the string to the corresponding note. The post has a lot of detail about how piano tuning works.

If you know about the chromatic scale, the equal temperament system, and how many cents are in an octave, you might want to skip the first section. We didn’t though. If we learned any of that in childhood piano classes, we’ve forgotten it.

For those whose quest for precision isn’t that critical, note that the difference between two notes can be as little as 0.3316 Hz. It is interesting that the final design isn’t the first one [Jan] attempted and there is an explanation of why the first design wasn’t successful.

The final design calls for a 24-position rotary switch which is tough to find. We might have opted for a rotary encoder and a display or even some LEDs to make a cheap alternative. As it was, the cheap switch used caused problems and required a replacement and very careful soldering.

We’ve seen self-tuning pianos and the use of an oscilloscope for tuning, but those links are long dead. More recently, we’ve seen an old piano hacked for ragtime and if you decide you are giving up on piano lessons, you can always convert your instrument into a workbench.

Upon obtaining a small toy piano, Måns Jonasson went to work “Arduinoizing” it with 30 solenoids to hammer out tunes. 

A MIDI shield is used to pipe commands from a computer to the Arduino Mega that’s used for control, and after experimenting with discreet wiring and electronics for each of the solenoids, he switched to motor shields as outlined here to simplify the setup. This, along with a new version of the solenoid holders he designed, cleaned up the build nicely, allowing it to play a plinky version of the Super Mario Bros. theme song.

Be sure to check out the Mario themed auto-concert in the video below, plus a video outline of its construction, below. 

Brandon Switzer had a grand image in mind when he set off to create this player piano. Like most of us, he had an arduino that had been sitting there doing nothing for quite some time. He needed a project to focus his attention and learn some things. He landed […]

Read more on MAKE

The post Brandon’s Player Piano Took Patience, and A Whole Lot of Solenoids appeared first on Make: DIY Projects and Ideas for Makers.

Jun
03

Quick and dirty touch-sensitive keyboard project

arduino, arduino hacks, capsense, keyboard, piano, synthesizer, touch sensitive, touch sensor Comments Off on Quick and dirty touch-sensitive keyboard project 

quick-dirty-touch-sensitive-keyboard

You don’t have to have high-quality parts to play around with electronics and here’s a great example. [Vishal] used junk to play around with CapSense, the touch sensitive Arduino library. What he ended up with is this touch-based piano keyboard.

We’ve featured the CapSense library in the past, but even that example uses a very meticulously crafted test rig of foil tape, protoboard, and some resistors. If you still haven’t given it a try follow this example of using aluminum foil, electrical tape, and a cardboard box.

[Vishal] just sandwiched the end of jumper wire between two pieces of foil to make each ‘key’. We believe the other end of the wire is soldered to the bias resistors where they connect to a couple of pin headers. The headers were hot-glued in place through holes in the bottom of the box, making the entire rig simple to plug into the Arduino board driving it. After adding in a small speaker and flashing the code he’s finished. It certainly makes for a short afternoon project which you won’t feel bad about taking apart later since you didn’t sink a ton of time or resources into the build.


Filed under: Arduino Hacks
Feb
07

Fruit piano uses a different circuit than the Makey Makey

arduino, arduino hacks, banana, capacitive, fruit, Makey Makey, peripherals hacks, piano, touch sensor Comments Off on Fruit piano uses a different circuit than the Makey Makey 

screen

[Hasbi Sevinç] is using perishable goods in his electronics project. The orange, tomato, and two apples seen above act as keys for the virtual piano. The concept is the same as the Makey Makey which is often demonstrated as a banana piano. This implementation uses an Arduino to read the sensors and to connect to the computer running the piano program.

You can see there’s a fair amount of circuitry built on the breadboard. Each piece of fruit has its own channel to make it into a touch sensor. The signal produced when your finger contacts the food is amplified by transistors connected in a Darlington pair. That circuit drives the low side of a optoisolator transmitter. The receiving side of it is connected the I/O pin of the Arduino. You can see the schematic as well as a demo clip after the break.

This use of hardware frees up a lot of your microcontroller cycles. That’s because projects like this banana piano use the timers to measure RC decay. [Hasbi's] setup provides a digital signal that at most only needs to be debounced.

circuit


Filed under: arduino hacks, peripherals hacks


  • Newsletter

    Sign up for the PlanetArduino Newsletter, which delivers the most popular articles via e-mail to your inbox every week. Just fill in the information below and submit.

  • Like Us on Facebook