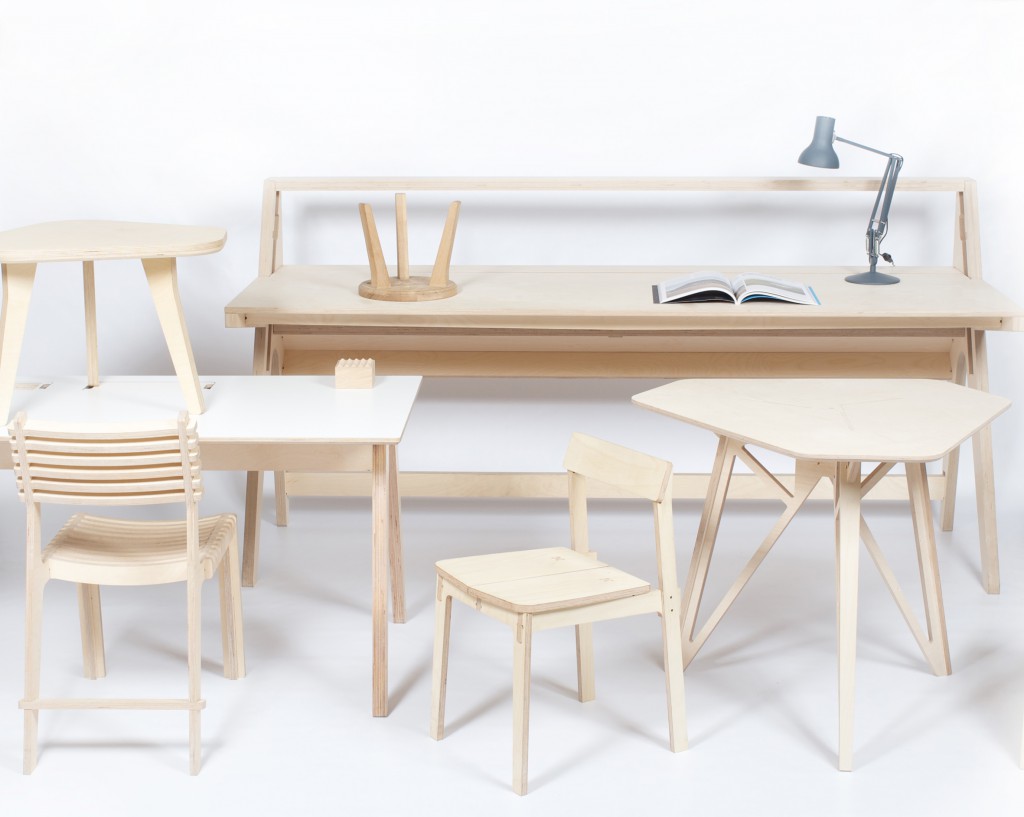
Atelier Clerici will host an independent project curated by Space Caviar and Z33, with a daily program of exhibitions and activities aimed at questioning the future of design in relation to architecture, technology and global context of living.
Opendesk, the online platform for open and smart design, will join Atelier Clerici with ‘Open Making Platform’ a series of events exploring issues related to open source design as a global and, at the same time, local practice. The program of ‘Open Making Platform’ will include an exhibition of smart open designs made by local Italian makers and two workshops: ‘Design for Open Making’ (Wed April 15th, 11.30 am – 1.30 pm)and ‘Smart Furniture’ (Fri April 17th, 2 – 5.30 PM), in collaboration with Arduino.
Arduino and Casa Jasmina invite you to take part to the meetup and informal workshop focusing on the integration of open source connected technologies into everyday objects. Friday’s event will include a presentation by Bruce Sterling about the Casa Jasmina project.
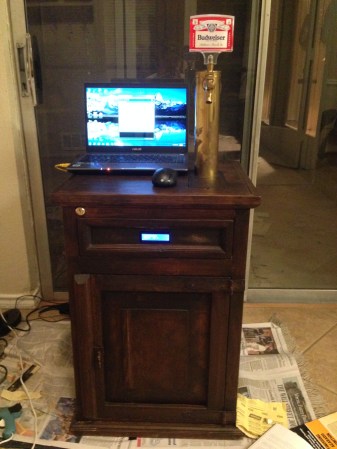
What’s better than an ordinary end table? How about an end table that can serve you beer? [Sam] had this exact idea and used his skills to make it a reality. The first step of the build was to acquire an end table that was big enough to hold all of the components for a functional kegerator. This proved to be a bit tricky, but [Sam] got lucky and scored a proper end table from a garage sale for only $5.00.
Next, [Sam] used bathroom sealant to seal up all of the cracks in the end table. This step is important to keep the inside cold. Good insulation will keep the beer colder, while using less electricity. Next, a hole was cut into the top of the table for the draft tower.
The draft tower is mounted to a couple of drawer slides. This allows the tower to raise up and down, keeping it out of sight when you don’t want it. The tower raises and lowers using a simple pulley system. A thin, high strength rope is attached to the tower. The other end is attached to a spool and a small motor. The motor can wind or unwind the spool in order to raise and lower the tower.
The table houses an Arduino, which controls the motor via a homemade H bridge. The Arduino is hooked up to a temperature sensor and a small LCD screen. This way, the users can see how cold their beer will be before they drink it.
To actually keep the beer cold, [Sam] ripped apart a mini fridge. He moved the compressor and condenser coils to the new table. He had to bend the coils to fit, taking care not to kink them. Finally he threw in the small keg, co2 tank and regulator. The final product is a livingroom gem that provides beer on demand.
Could your humble abode use a little microcontrolled LED pizzaz? Why not class up the joint with a stunning arduino-controlled chandelier made from jars using this brilliant tutorial?
I built my son a Mission Control console that closes up and works as a regular homework desk. It plays space-related sounds and has many lights, knobs and switches.
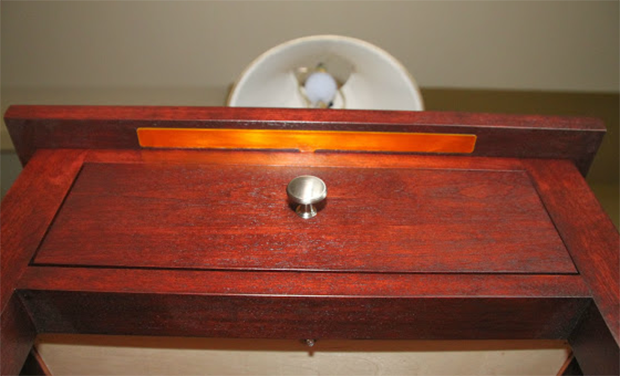
It’s taken over a year, but [tinkering techie] has finally completed his touch sensitive nightstand. At first glance, it looks like any normal piece of furniture. With the addition of an Arduino, some copper clad board, and a few LEDs, he’s turned it into a very elegant, electronic home furnishing.
The nightstand is built out of a few very nice pieces of mahogany. Underneath the top of the nightstand, three Kapton-covered copper clad boards are inset along the front and side edges. These capacitive sensing boards are connected to an Arduino Fio that reads the capacitance of these sensors and turns on a small LED under the drawer or the mains powered lamp.
The electronics are powered by a small USB charger with a battery backup all hidden underneath the top of the nightstand. Inside the drawer, a magnetic reed switch turns on an RGB LED whenever the drawer is opened.
While the nightstand itself is a wonderful piece of woodworking, we need to tip our hat for a remarkably seamless integration of fine furniture and electronics. The electronic furniture modifications we usually see are Ikea cruft, but this wonderful homemade nightstand should last decades or centuries.
I just finished mentoring a high school student in the build of a 4×4×4 LED cube for his senior project. I was sitting at the desk, looking at a small pile of LEDs left over from the build, trying to think of something fun to do with them, when my three-year-old daughter walked in, sat down, and started playing with her Lite Brite. The pegs, I realized, looked just like LEDs, which was all the inspiration I needed. Let's build a clock!
Sometimes the sun is my friend, warming the house on cool days. Other times it’s my enemy, warming the house on hot days. Blinds are one solution to this problem, but it seems that no matter how I set my blinds before I leave for the day, the weather changes […]
Planet Arduino is, or at the moment is wishing to become, an aggregation of public weblogs from around the world written by people who develop, play, think on Arduino platform and his son. The opinions expressed in those weblogs and hence this aggregation are those of the original authors. Entries on this page are owned by their authors. We do not edit, endorse or vouch for the contents of individual posts. For more information about Arduino please visit www.arduino.cc
You are currently browsing the archives for the Furniture category.

 Use some LEDs to upgrade a $10 Ikea side table into a centerpiece that bumps and jives to the beat of your tunes. Get your freq on!