28
Hackaday Prize Entry: Saving Water with the Vinduino
2015 Hackaday Prize, arduino hacks, green hacks, Hackaday Prize, The Hackaday Prize, water conservation Comments Off on Hackaday Prize Entry: Saving Water with the Vinduino
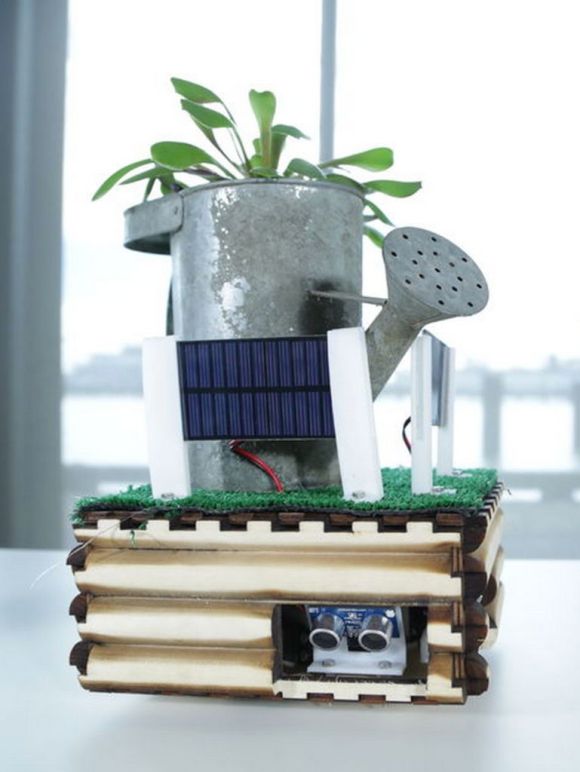
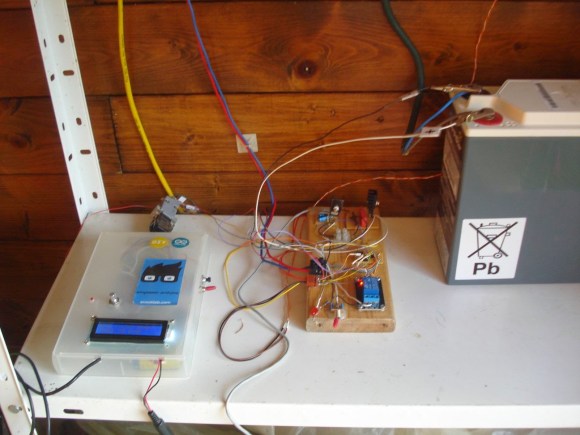
[Reinier van der Lee] owns a vineyard in southern California – a state that is in a bit of a water crisis. [Reinier van der Lee] also owns an arduino and a soldering iron. He put together a project the reduces his water usage by 25%, and has moved it to open source land. It’s called the Vinduino.
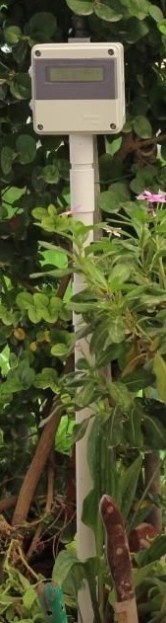
 Its operation is straight forward. You put a water sensor in the dirt. You turn on the water. When the water hits the sensor, you turn the water off. This was not, however, the most efficient method. The problem is by the time the sensor goes off, the soil is saturated to the point that the plant cannot take it all up, and water is wasted.
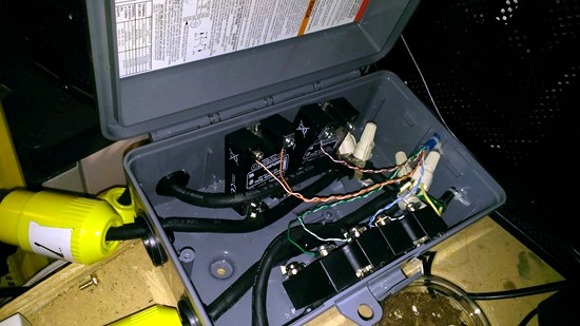
The problem was solved by using three sensors. The lowest most sensor is placed below the roots. So it should never go off. If it does, the plant is not taking in all the water, and you can reduce the output. The two sensors above it monitor the water as it transitions through the soil, so it knows when to decrease the water amount and watering cycle times.
Be sure to check out the project details. All code and build files are available on his github under the GNU General Public License 3.0
Filed under: Arduino Hacks, green hacks


 [Husham] not only likes his electronics projects but clearly enjoys documenting them as well. He’s written a nice Instructable on a


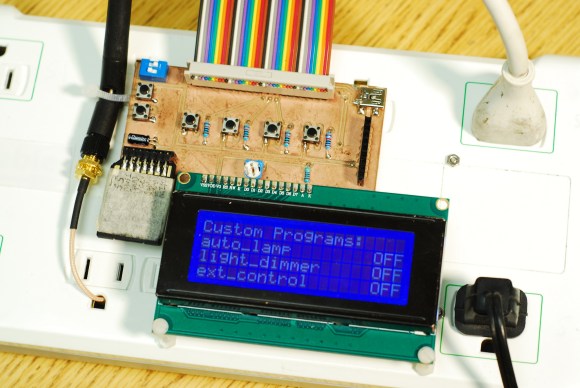 Things don’t always run the way we want them to or operate at the ideal temperature out of the box. Instead of spending extra for power controls that may or may not meet your needs, wouldn’t it make more sense to dial in the ideal level from the source? That’s what [dekuNukem] had in mind when he decided to make