Posts | Comments

Planet Arduino

Archive for the ‘metal detector’ Category

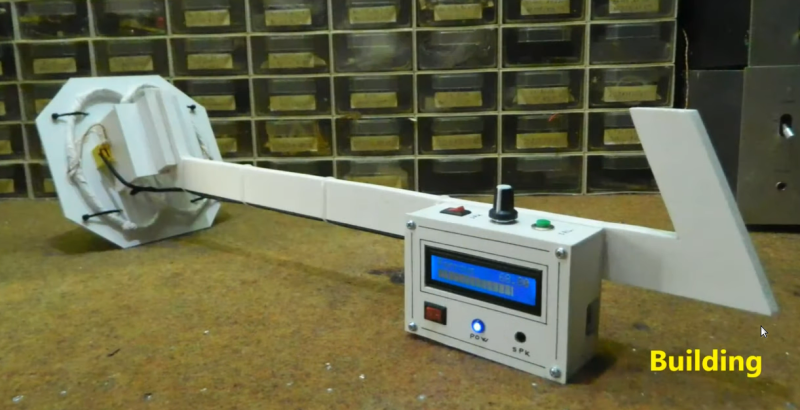
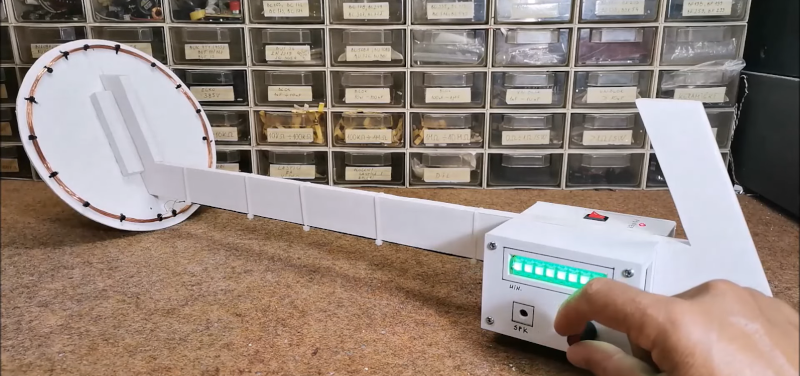
If you want to get rich by hunting with a metal detector, you might want to consider how much you invested in the hardware to start with. Finding a tin can with a $200 detector might not make economic sense. But building a metal detector yourself doesn’t have to be hard, as [Mirko] shows in a recent post. His STM32-based pulse induction metal detector looks good and works well, as you can see in the video below.

[Mirko] reports that the device can detect a coin at 30 cm and a large metal object at more than 80 cm. The project uses the Arduino IDE and a Blue Pill STM32 module. The project looks good with an LED module and a rotary encoder to set sensitivity.

Pulse induction metal detectors use a single coil to send and receive short pulses. This differs from the more common BFO-style which uses two frequencies that produce a beat frequency that changes in the presence of metal. These use two coils and are more affected by mineralization — the interference caused by minerals in the soil — and general interference. Typically, BFO detectors have less sensitivity, especially at a distance.

This isn’t the first pulsed induction detector we’ve seen. Of course, for a simple one you can — to forestall comments — use a 555.

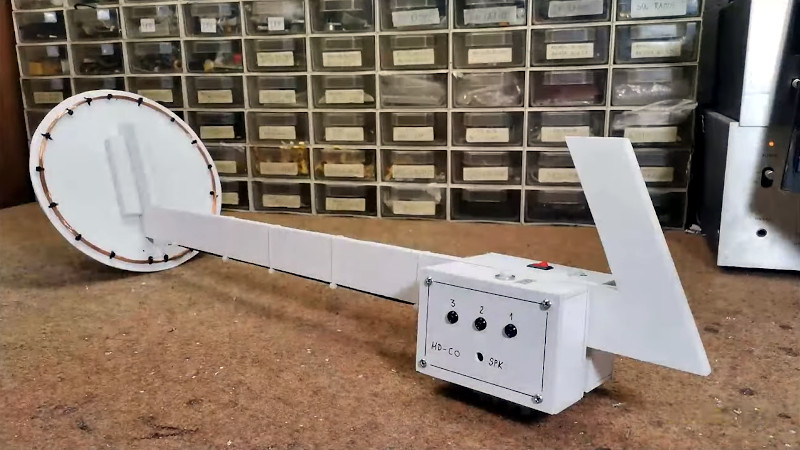
A traditional early project for someone discovering a love for electronics has been for many years a metal detector. This would mean a few transistors back in the day, but today it’s more likely to involve a microcontroller. [Mircemk] has an example that bends both worlds, with a single transistor oscillator and an Arduino.

This type of metal detector has a large search coil which forms part of the tuned circuit in an oscillator. As a piece of metal enters its range the frequency of oscillation changes. In the old days, this would have been detected as an audible beat frequency with another oscillator. This design would require a calibration step at the start of detecting, to tune the two oscillators to the same frequency.

This detector keeps the first oscillator but eschews the second one in favor of an Arduino. The microcontroller acts as a frequency counter, monitoring the frequency and issuing an alarm when it detects a change likely to be caused by a piece of metal. It may not have some of the finess a human ear could apply to a beat frequency in the all-analogue days, but it’s simple enough to build and it avoids the need for calibration. Seeing it in the video below the break we’re sure that just like those transistor models old, there will be plenty of fun to be had with it.

An Arduino may be one of the current go-to parts, but will it ever displace the 555? Perhaps not in the world of metal detectors!

A beach is always a relaxing summer vacation destination, a great place to hang out with a drink and a book or take a swim in the ocean. For those who need a more active beach-going activity with an electronics twist, though, metal detecting is always a popular choice too. And, of course, with an Arduino and some know-how it’s possible to build a metal detector that has every feature you could want from even a commercial offering.

This build comes to us from [mircemk] who built this metal detector around an Arduino Nano and uses a method called induction balance detection to find metal. Similar to how radar works, one coil sends out a signal and the other listens for reflections back from metal objects underground. Building the coils and determining their resonant frequency is the most important part of this build, and once that is figured out the rest of the system can be refined and hidden treasure can easily be unearthed.

One of the more interesting features of this build is its ability to discriminate between ferrous and non-ferrous metals, and it can detect large metal objects at distances of more than 50 cm. There are improvements to come as well, since [mircemk] plans to increase power to the transmission coil which would improve the range of the device. For some of [mircemk]’s other metal detectors, be sure to check out this one which uses a smartphone to help in the metal detection process.

For an easy DIY metal detector setup, look no further than this project by creator “rgco.” 

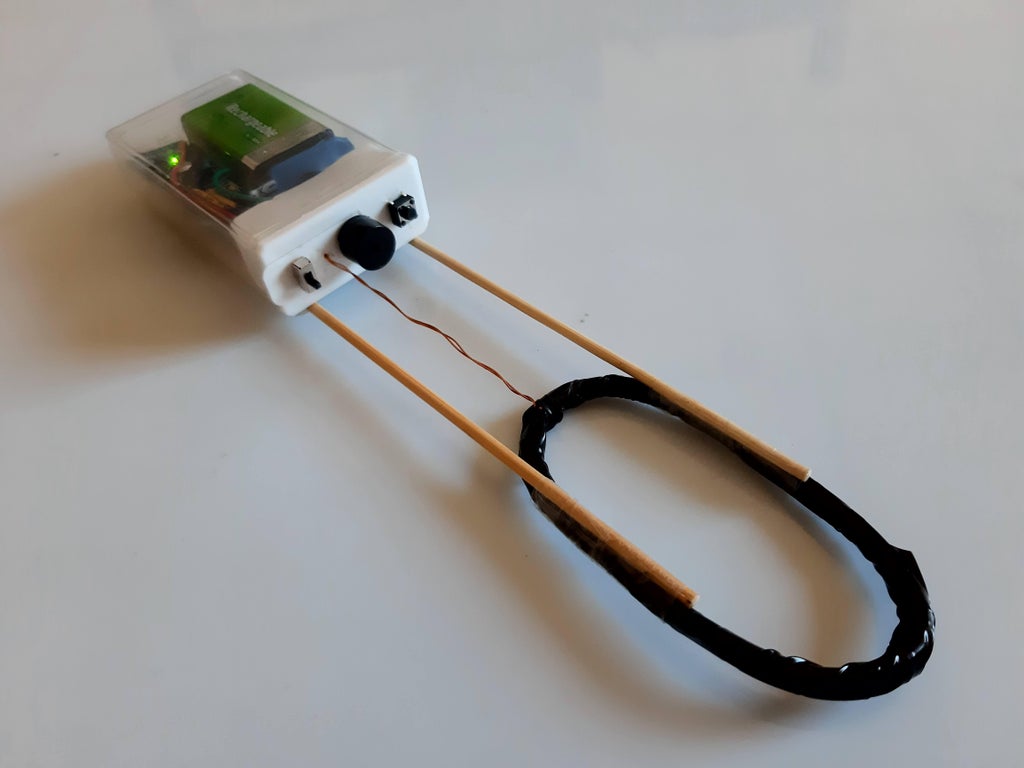
The handheld device uses a 20-60 turn coil of 26AWG enameled wire, connected across an Arduino Uno or Nano’s pins 8 and 10. A series of pulses is continuously sent out by pin 10, which are delayed in reaching pin 8 according to the inductance across the coil. As this coil approaches other metallic objects, the effective inductance changes, thus varying the delay in the signal reaching pin 10.

This effect is sensed by the Arduino, outputting chirps on a buzzer as audio feedback when metal is nearby. To convert it into a practical device, the Nano configuration is stuffed into a Tic Tac container, with the coil held at a distance with two skewer sticks.

With an Arduino, 10m of wire and a 100 Ohm resistor you can build a metal detector in 10 minutes! It is based on sound physics and works for a large range of coil sizes and shapes. The sensitivity is not enough for treasure-hunting, but it can be made into a small hand-held device that is very useful indoors to check for the presence of metals. It will help you find nails inside wood or heating pipes in the wall, and to check the composition of tools and furniture. The method can also be used to integrate as a sensor, integrated with more elaborate projects.

Our old math teacher famously said, “You have to take what you know and use it find what you don’t know.” The same holds true for a lot of microcontroller designs including [rgco’s] clever metal detector that uses very little other than an Arduino. The principle of operation is simple. An Arduino can measure time, a coil and a resistor will create a delay proportional to the circuit values, and metal around the coil will change the coil’s inductance. As the inductance changes, so does the delay and, thus, the Arduino can sense metal, as you can see in the video below.

The simple principle is also simple in practice. Besides the Arduino and the coil, there’s a single resistor. You want a small coil since larger coils won’t detect smaller objects. If you don’t want to wind your own coil, [rgco] suggests using a roll of hookup wire as long as the resistance is under 10 ohms.

You could omit it, but the original design has a buzzer and an electrolytic capacitor connected to generate a buzz in addition to the built-in LED indicator when metal is near. The LED also shows a blink pattern if the coil is open, too short, too long, or has too much resistance.

The biggest problem is that the poor Arduino needs to measure delays down in the nanosecond range. It can’t actually do this directly, so the code takes a ranging measurement to get in the ballpark and then produces appropriately-sized pulses and adds them up to get a better idea of the total delay. There are several videos in the post of a prototype and the final device built in a Tic Tac container, which you can see below.

If you want something a bit fancier, here’s another simple design that has a few more parts. Or you can go for one that is ultrasensitive.

Full-size metal detectors are great for narrowing down a region to start digging through. But what if you had a smaller metal detector that could pinpoint the location? Then you could spend far less time digging and way more time sweeping for metal.

Metal detectors work because of the way metal behaves around electromagnetic fields. [mircemk] reused the ferrite core from an old MW radio to build the antenna coils. When metal objects are close enough, the induced electromagnetism changes the frequency, and the Arduino blinks an LED and beeps a buzzer in time with the new frequency.

[mircemk]’s handheld metal detector is quite sensitive, especially to smaller objects. As you can see in the demo video after the break, it can sense coins from about 4cm away, larger objects like lids from about 7 cm, and tiny things like needles from a few millimeters away. There’s also an LED for treasure hunting in low light.

Don’t want to pinpoint a bunch of useless junk? Build in some phase detection to help you discriminate.

Jul
25

Build your own metal detector

arduino hacks, ikea, metal detector, oscillator Comments Off on Build your own metal detector 

metal-detector

[Dzl] and his rather serious looking son are metal detector enthusiasts. But when they couldn’t find their store-bought metal detector earlier this summer they just went ahead and built their own. [Dzl] starts his write up with an explanation of how most oscillator based metal detectors work. This one differs by using an Arduino to read from the metal detecting coil.

The circuit starts with an oscillator that produces a signal of about 160 kHz which is constantly measured by the Arduino. When metal enters the coil it alters the frequency, which is immediately picked up the Arduino. Instead of that characteristic rising tone this rig uses a Piezo buzzer, issuing the type of clicks you’d normally associate with a Geiger counter.

The last part of the build was to find the best coil orientation. They settled on thirty turns around a metal bucket. An old Ikea lamp is the perfect form factor to host their hardware which seems to work like a charm.


Filed under: Arduino Hacks


  • Newsletter

    Sign up for the PlanetArduino Newsletter, which delivers the most popular articles via e-mail to your inbox every week. Just fill in the information below and submit.

  • Like Us on Facebook