Posts | Comments

Planet Arduino

Archive for the ‘nixie clock’ Category

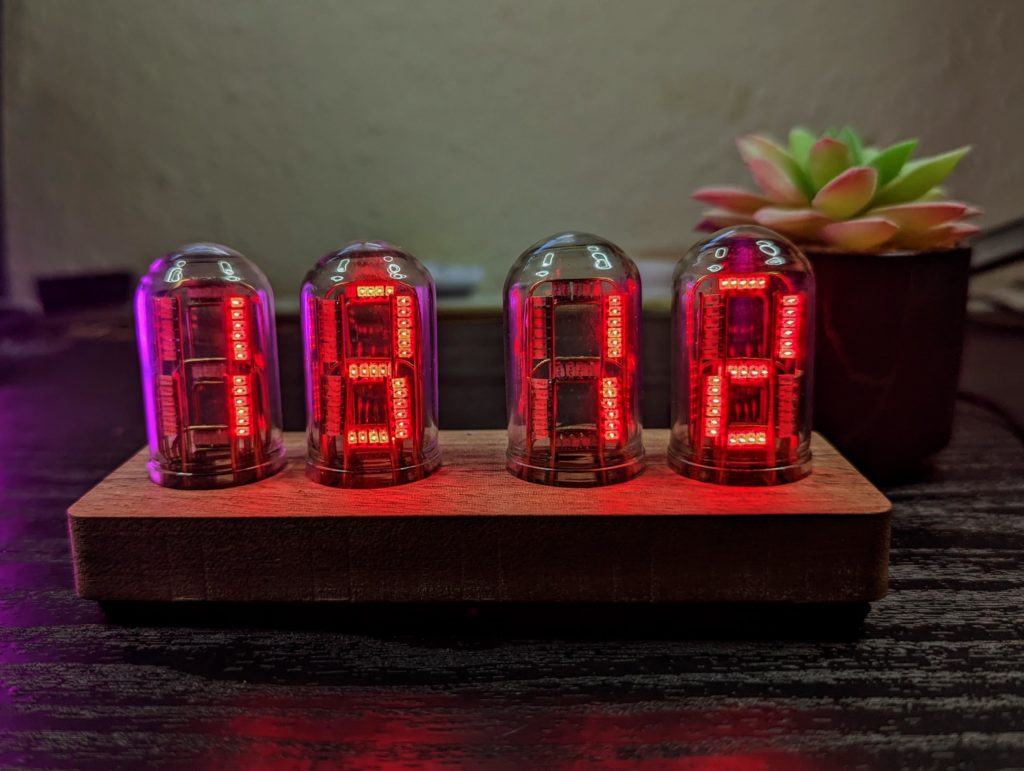
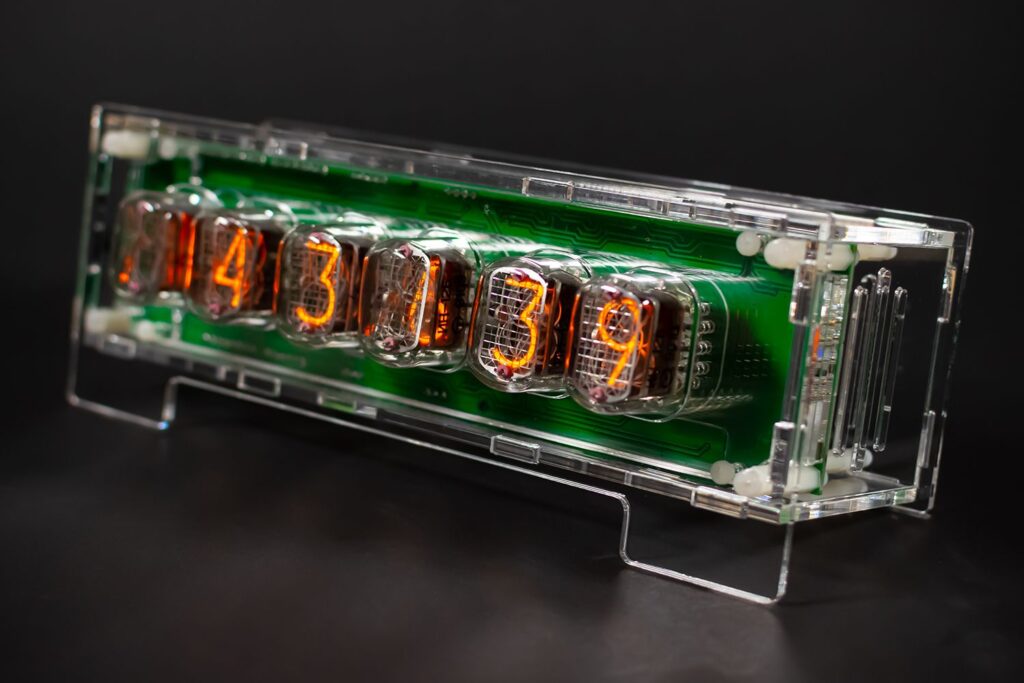
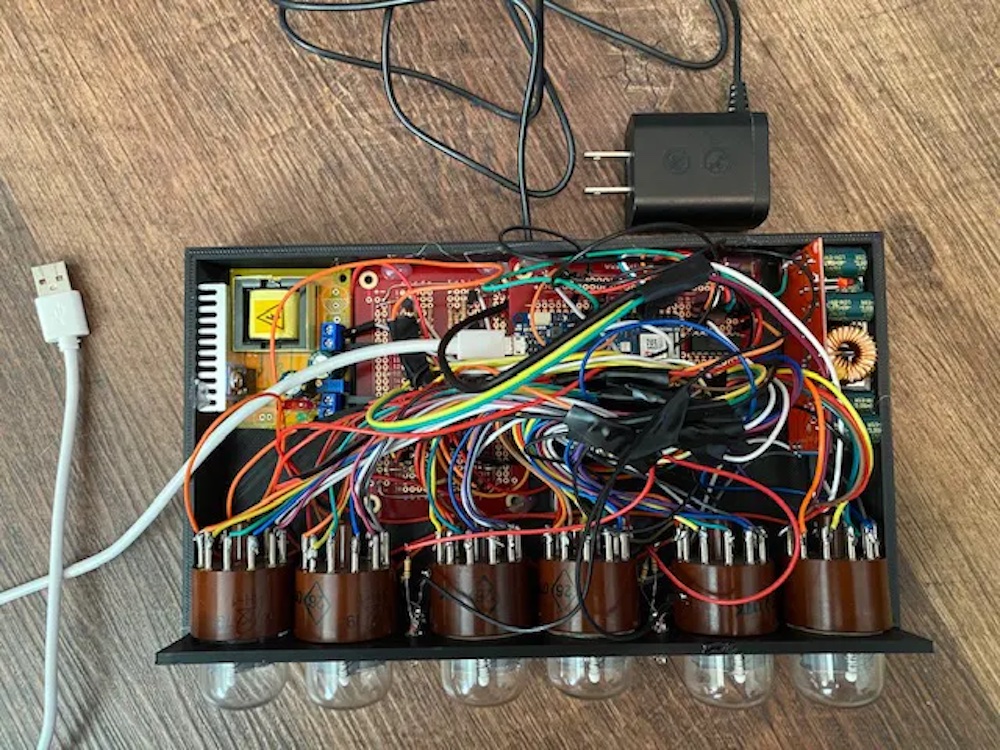
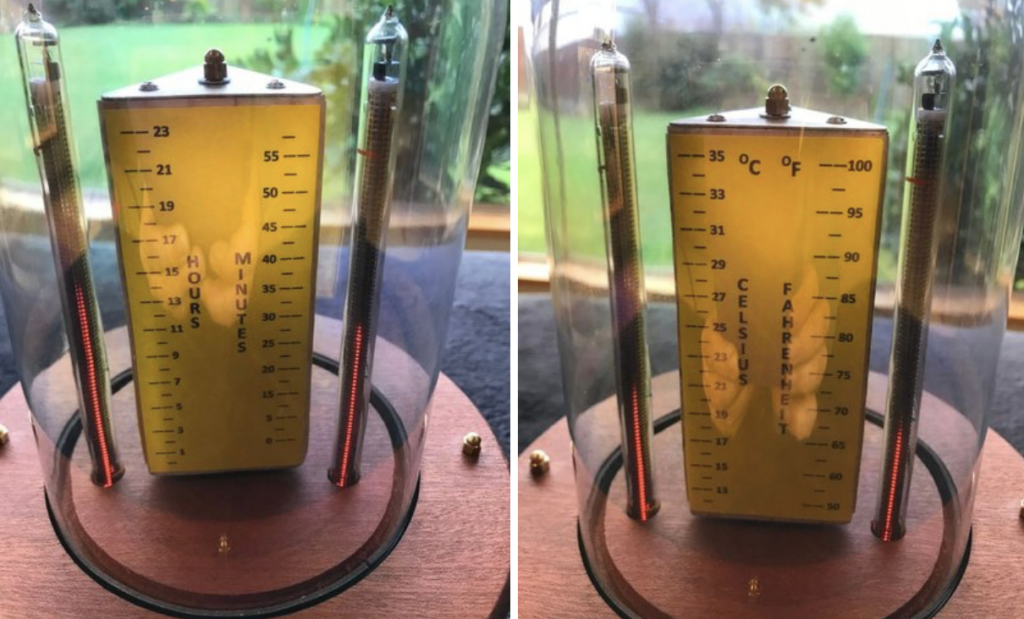
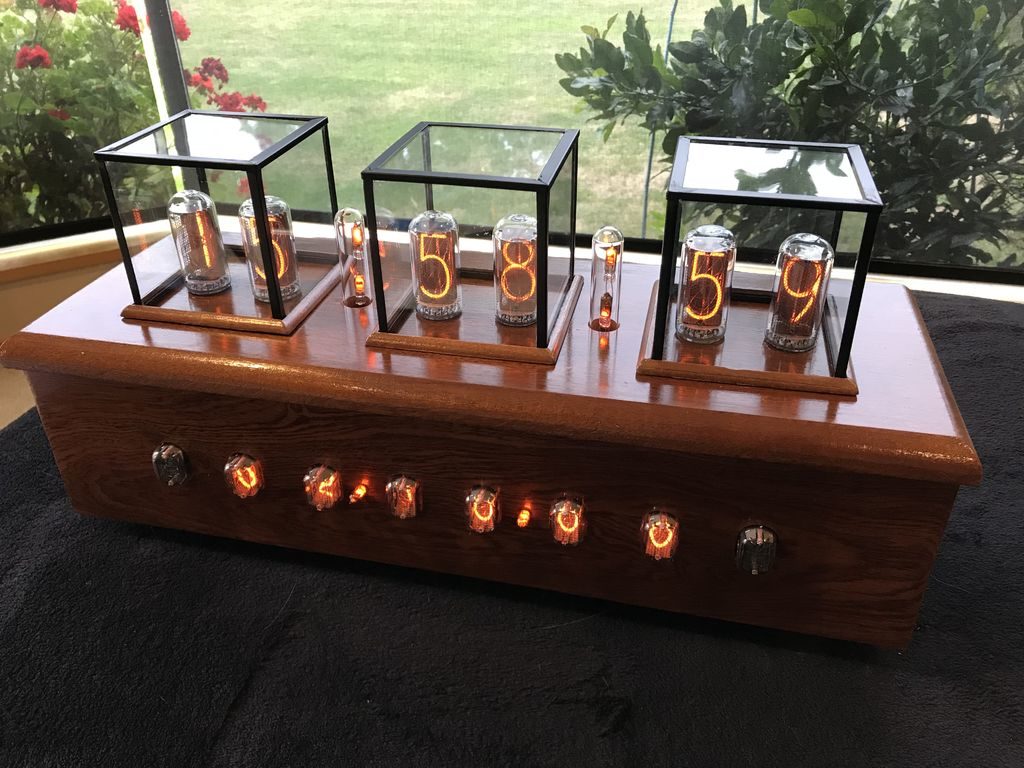
Everyone loves a nice Nixie tube clock, but Nixie tubes are expensive and difficult to find. Even if you can source a working set, driving the vintage tubes is a complicated undertaking by modern standards. Nixie tubes require high voltage and multiplexing, which is a pain. To solve these problems while retaining the aesthetic, 4Dcircuitry built this clock that utilizes freeform circuit faux Nixie tubes.

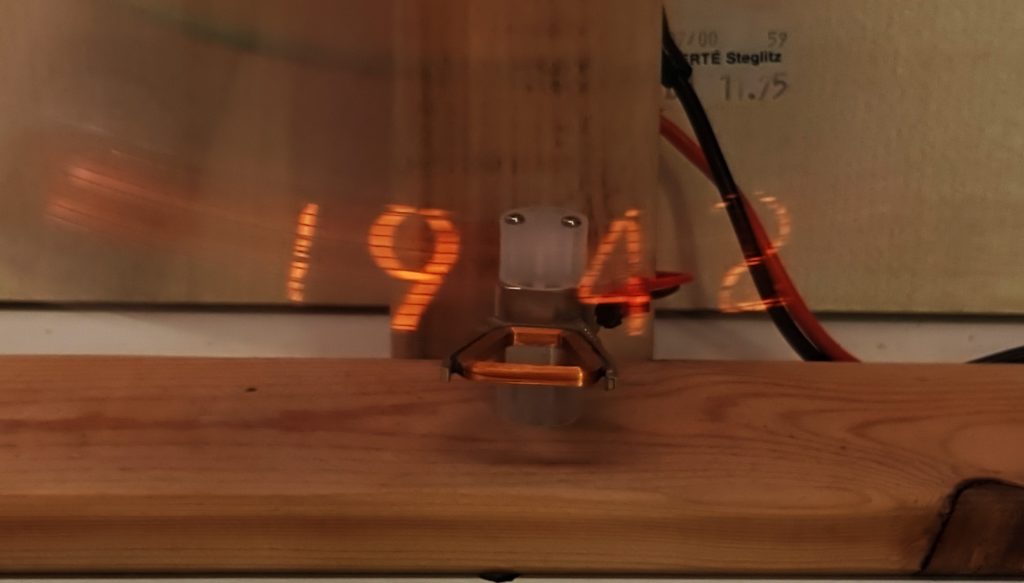
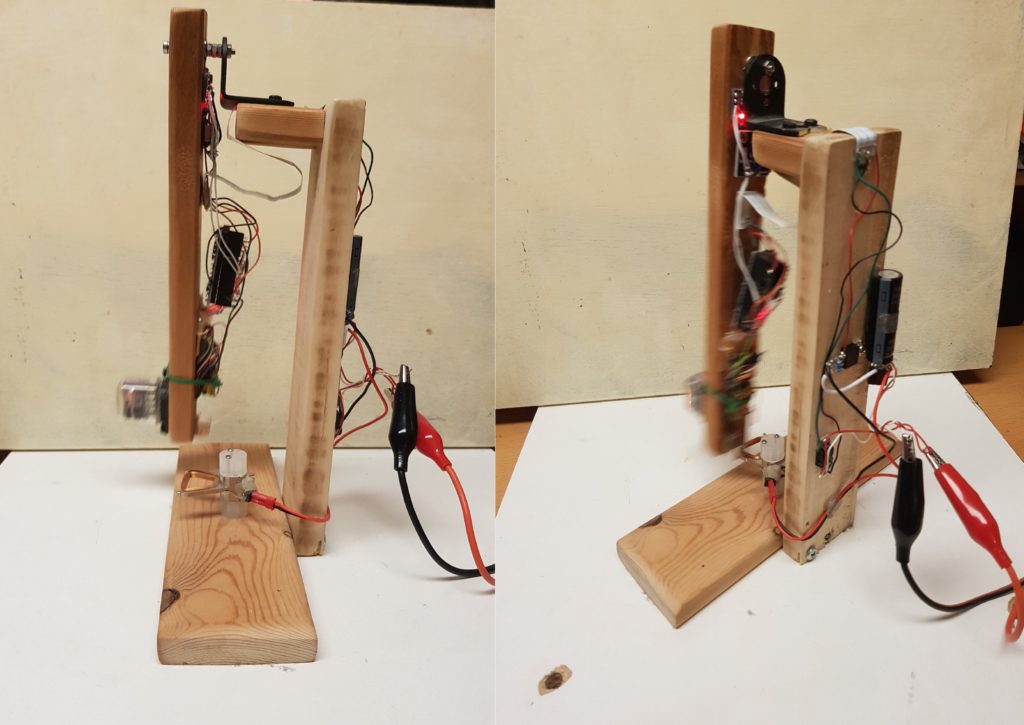
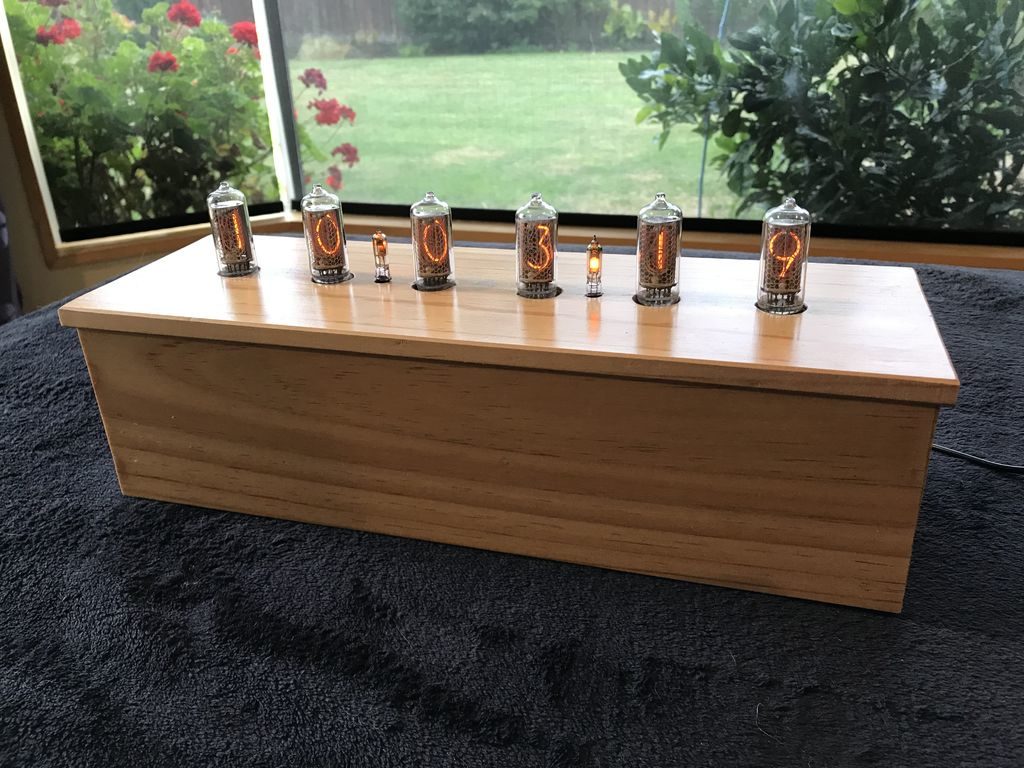
Each of the “Nixie tubes” used in this project is actually made entirely with 1206 SMD (surface-mount device) LEDs. But instead of soldering those onto PCBs, 4Dcircuitry attached them to formed 0.8mm brass rods to create tiny circuit sculptures. Those plug into custom PCBs which arrange the circuit sculptures, each a single segment, in a horizontal stack. Glass tubes cover each stack, making them look like Nixie tubes when viewed from the front.

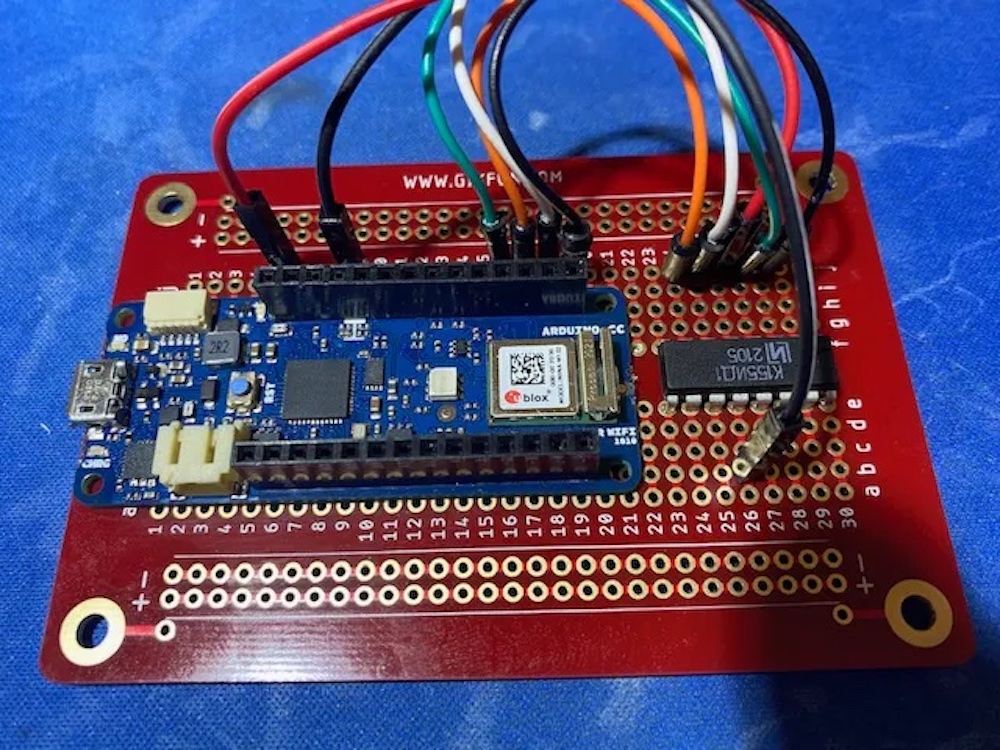
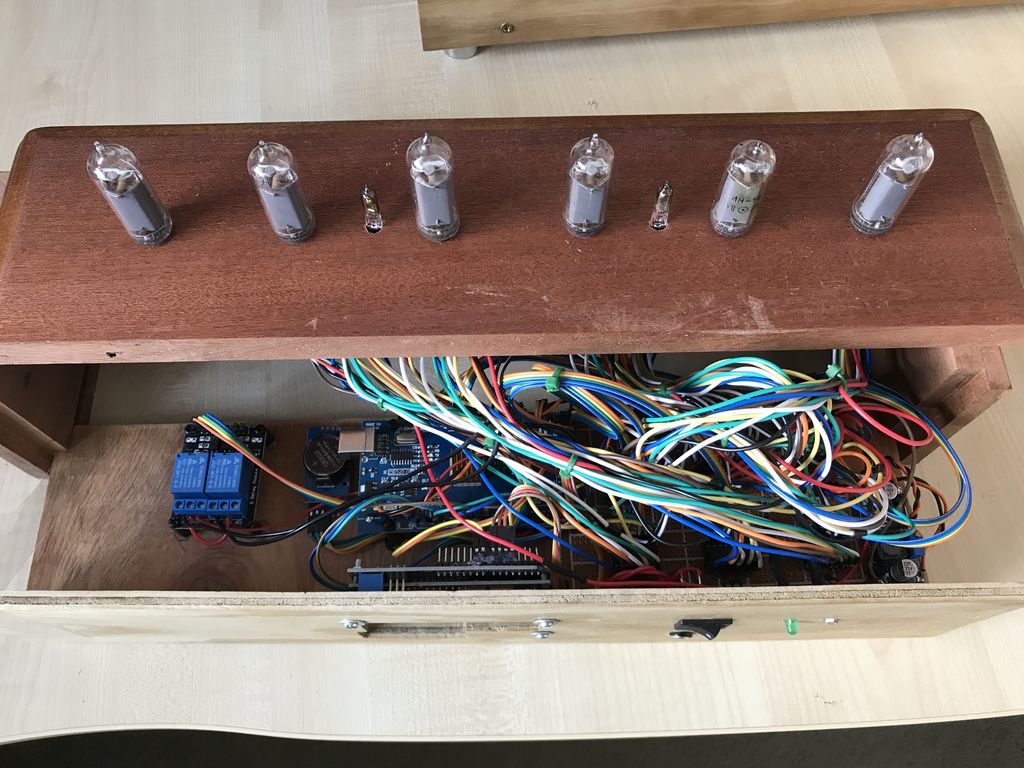
An Arduino Nano board controls the LEDs. It doesn’t have enough pins for every segment, so the circuit uses shift registers. A DS3231 RTC (real-time clock) module provides accurate timekeeping. The base of the unit is a piece of wood milled on a CNC router, adding to the minimalist retro aesthetic. While it isn’t a requirement, 3D-printed jigs help to form the brass rods into the proper shapes, which would be difficult to do well entirely by hand.

The post This beautiful clock features circuit sculpture faux Nixie tubes appeared first on Arduino Blog.

Nixie tubes are fun little devices that act like seven-segment display modules in that they can be lined up together in order to form a larger number by showing digits 0 through 9. One maker, Marcin Saj, has created a unique project that uses a series of six Nixie tubes that can show the current time, temperature, and humidity all within a compact footprint. It is also able to receive commands via the Arduino Cloud service and an Alexa skill, thus enabling users to toggle various functions on or off with a smart speaker or phone. 

Saj’s IoT Nixie Clock Shield has an RGB backlight that can be easily adjusted via the Arduino Cloud’s RGB color picking tool, which allows for the device to match almost any environment. The built-in Nixie power supply is great as it lessens the chances of being shocked with 170V, and each tube is user-replaceable if it fails. The shield’s PCB has a header for plugging in an Arduino Uno, Nano, or Micro board, but it is best used with the Nano 33 IoT for cloud connectivity. The onboard DS3231 real-time clock module is able to keep the time accurately even when the power to the rest of the clock is removed.

You can see more about this project, including its schematic and codehere on Saj’s product page. Also be sure to check out his demo video below!

The post This shield combines the retro charm of Nixie tubes with modern Arduino Cloud connectivity appeared first on Arduino Blog.

Nixie tubes are a great throwback to an era before the advent of LED and LCD screens; however, they often require expensive components or complex programming to operate. This challenge is what inspired Doug Domke to come up with his own solution that only costs $110. His design incorporates the Arduino MKR WiFi 1010, which has a powerful processor, ample amounts of storage, and WiFi connectivity along with a real-time clock.

In order to keep component costs down, letting each 170-volt Nixie tube have its own binary-to-decimal decoder chip would have required a total of 24 pins on the Arduino which it does not have. So instead, Domke used a few resistors, transistors, and a multiplexer to route the high voltage signals from the MKR WiFi 1010’s GPIO pins to the display. There is, unfortunately, a drawback to this approach, as only a single Nixie tube can be lit up at any one moment. Therefore, the code loops through each tube rapidly and flickers it faster than the human eye can perceive, thus giving the appearance of a solid digit.

After using the network time protocol (NTP) via the RTCZero library to set the time with incredible precision, Domke went about testing his project. As can be seen from his video below, the Nixie tube clock works great within its custom enclosure, and it will be exciting to see what new features will be added in the future. To read more about how this device was created, check out Domke’s write-up here.

The post This Nixie tube clock keeps the time and the cost down appeared first on Arduino Blog.

Clock pendulums are generally mechanical devices that time each second as it ticks away, but do little else. Jason Oeve’s concept, however, places the face itself – a single IN-12B Nixie tube – onto its large wooden pendulum. As it swings back and forth, four digits are progressively displayed on the tube for a unique timepiece.

An Arduino Nano is the brains of the operation, along with an RTC module and an accelerometer that senses the pendulum’s position. When it’s straight up and down, an electromagnetic coil gives it a boost, keeping it ticking along “forever.”

You can see it in action below and find more info on the project’s write-up.

The post This pendulum POV clock uses a Nixie tube to plot the time as it swings appeared first on Arduino Blog.

Creators keep coming up with new clock designs, and while you might think that every new possibility has been exhausted, Christine Thompson has proved this assumption wrong once again with her “VFD Trilateral Clock.

This Arduino Uno-powered device employs a stepper motor to rotate a triangular prism shape with scales for hours and minutes on one side, temperature in Celsius and Fahrenheit on the other, and humidity and pressure on the third surface.

The geometric scale travels in 120-degree steps, causing each face to line up with a pair of IN-13 Nixie tubes on either side. These linear tubes are then used to indicate time and environmental conditions in a beautiful bell jar display, as seen at around 3:30 in the video below.

While waiting for the delivery of parts for another project I decided to push ahead with this project. At its heart is two IN-13M Nixie tubes. These tubes are designed to provide a linear scale between maximum and minimum points using an illuminated column. The project uses two of these IN-13M, three wire Nixie tubes to show, time (Hours and Minutes), temperature (Celsius and Fahrenheit), Humidity (percentage), and Pressure (millibars).

At this point I would like to thank Dr. Scott M. Baker for his great web site, which provided me with all the information I needed to get these Nixie tubes to work. In particular the Current Regulator as displayed and detailed on his web site.

The project uses a BME280 sensor to determine the temperature, pressure and humidity and RTC clock to monitor time. As the system needs to display six different values it was necessary to construct a rotating central display which showed these values against six scales. In order to achieve this an equilateral triangle of wood was fashioned, each side showing two sets of values. A stepper motor was mounted under the top platform and this motor rotates through 120 degrees in time for the next set of values to be displayed on the two Nixie tubes.

Nixie tubes require electricity in the range of 180VDC, making them challenging to work with. Maker Christine Thompson, however, decided to take Nixie art to a new level, creating a clock with three different types of tubes! 

This clock, or perhaps more accurately “info display,” shows the time and date with six IN-18 tubes mounted on the top. In the front, six IN-12A and two IN-15A tubes are also available to show time, date, pressure, temperature, and humidity.

A pair of Arduino Mega boards are used to control this retro-inspired contraption, along with an array of wiring, perf board, and other components, stuffed inside a very nice wooden enclosure. 

This is my first Nixie styled clock I have constructed. The clock actually consists of two clocks, the first being a 6 x IN-18 tube clock which is mounted on the clock’s top and displays both time and date. The second clock, this time based on 6 x IN-12A and 2 x IN-15A nixie tubes displays at the front of the clock and can display, time, date, pressure (with units and trend), temperature (both Centigrade and Fahrenheit) and, humidity (with units and trend). The time and date are separated with two single neon lamp-based separators, while only one of these lamps is displayed, to represent a decimal point, when the pressure, humidity or temperature is displayed. Both these clocks use “Direct/Static Drive” to power the displays and are based on two Arduino Mega 2560 boards. The fourteen tubes are driven by 12V to 170V DC to DC boost power supplies and 14 x K155 IC chips. The clock also powers two sets of Neon Lamps which switch off while the clock goes through its cathode cleaning cycle which happens at 19, 39 and 55 minutes past each hour. This cathode cleaning cycle consists of all six tubes displaying the digits 0 through 9 in sequence 6 times.

In addition the clock will sound a chime at 15, 30, 45 and 60 minutes. At the 60 minute chime the hour chime is also sounded. The chimes are standard MP3 files using a simple MP3 player controlled by the Arduino mega. In order to save on tube life all tubes are switched off automatically when the light level in the room dims to a predefined level, this is achieved using a LRD resistor located at the back of the clock. To help dissipate any heat build up both Arduino Mega ICs have copper heat fins attached and a 5V fan draws air out of the clock, cool air entering through a hole in the bottom plate.

The user can adjust the time, date, chimes, and chimes volume using one of two 16×2 LCD displays, located at the back of the clock. The BME280 temperature, humidity, and pressure sensor is mounted on the back of the clock so as to not be affected by the clock’s internal temperature.

A demo is seen in the video below, while more info and Arduino code can be found in the project’s write-up.

Sep
11

NES: Nixie Entertainment System

arduino hacks, console, nintendo hacks, nixie, nixie clock, Raspberry Pi Comments Off on NES: Nixie Entertainment System 

nixieNES

[Bradley W. Lewis] is no stranger to Nixie clock builds, and he felt his latest commission was missing something. Instead of merely mounting the Nixie clock into a case resembling an NES console, he goes full tilt and makes it into an NES console emulator. After some work on the milling machine, a wooden box has room to squeeze in a few new components. [Bradley] originally planned to mount only an Arduino with an ArduNIX shield to handle the Nixie clock, but the emulator demands some space saving. Flipping the Arduino on its side freed up plenty of room and the shield still easily connects to the adjacent Nixie tube board.

A Raspberry Pi serves as the console emulator and was mounted close to the side of the case to allow access to its HDMI port. The other ports from both the Arduino and RasPi stick out of the back, including an extension to the Pi’s RCA video out and buttons to set both the hour and minutes of the clock. The two surplus NES buttons on the front of the case control power to the RasPi and provide a reset function for the Nixie clock.

If that isn’t enough Nixie to satisfy you, check out the WiFi Nixie counter.


Filed under: Arduino Hacks, nintendo hacks, Raspberry Pi
Sep
11

nixieNES

[Bradley W. Lewis] is no stranger to Nixie clock builds, and he felt his latest commission was missing something. Instead of merely mounting the Nixie clock into a case resembling an NES console, he goes full tilt and makes it into an NES console emulator. After some work on the milling machine, a wooden box has room to squeeze in a few new components. [Bradley] originally planned to mount only an Arduino with an ArduNIX shield to handle the Nixie clock, but the emulator demands some space saving. Flipping the Arduino on its side freed up plenty of room and the shield still easily connects to the adjacent Nixie tube board.

A Raspberry Pi serves as the console emulator and was mounted close to the side of the case to allow access to its HDMI port. The other ports from both the Arduino and RasPi stick out of the back, including an extension to the Pi’s RCA video out and buttons to set both the hour and minutes of the clock. The two surplus NES buttons on the front of the case control power to the RasPi and provide a reset function for the Nixie clock.

If that isn’t enough Nixie to satisfy you, check out the WiFi Nixie counter.


Filed under: Arduino Hacks, nintendo hacks, Raspberry Pi


  • Newsletter

    Sign up for the PlanetArduino Newsletter, which delivers the most popular articles via e-mail to your inbox every week. Just fill in the information below and submit.

  • Like Us on Facebook