Posts | Comments

Planet Arduino

Archive for the ‘light switch’ Category

Unlike every other hands-free light switch that relies on infrared motion detection or changes in ambient light values, Michael Rigsby’s “Look at Me Light Switch” project instead requires a person to stare at it for six seconds.

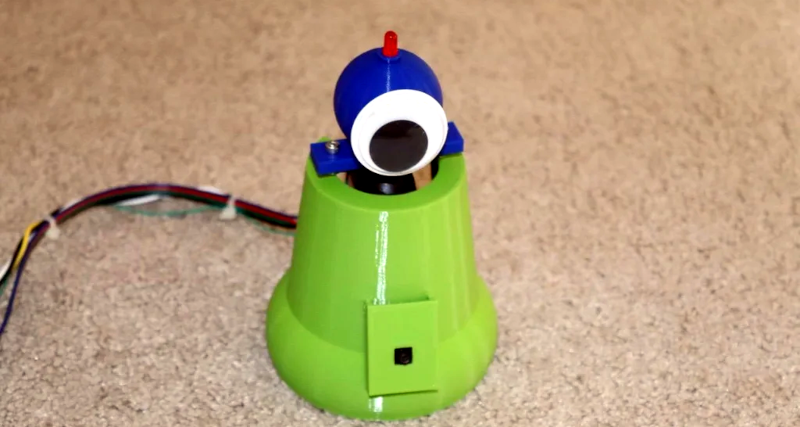
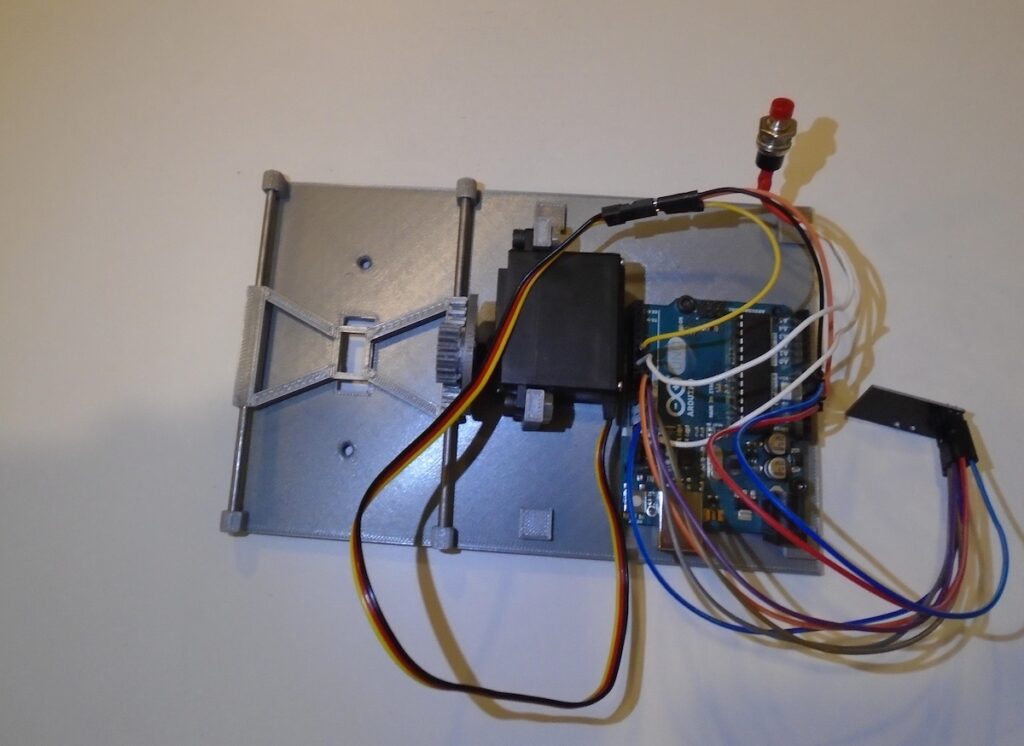
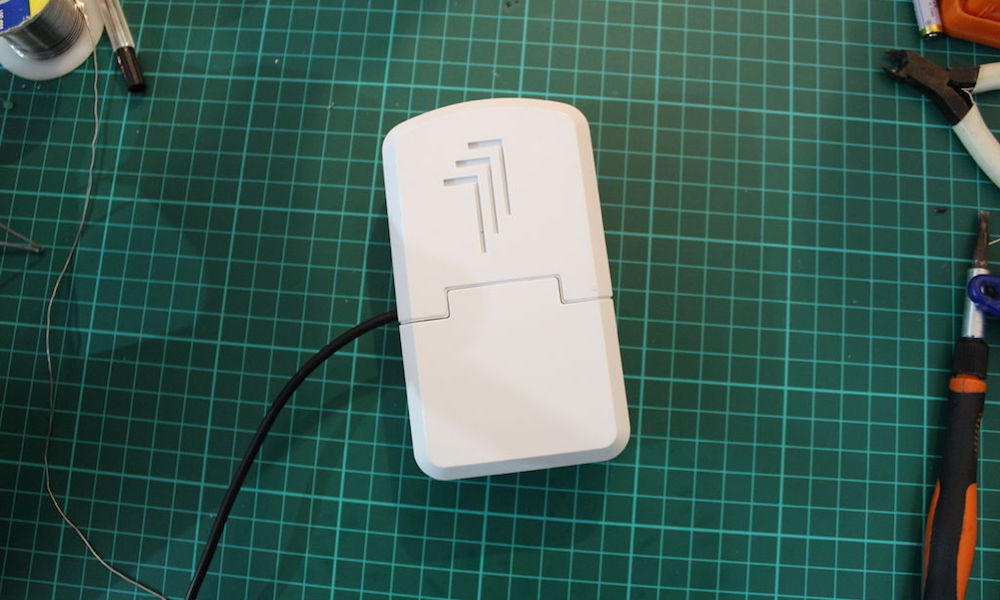
Based on an embedded machine learning model and a microcontroller, this device uses Person Sensor from Useful Sensors, which relies on a camera to gather images, processes them, and outputs the results over I2C. This information can include the total number of faces as well as individual bounding boxes for every detected face. From here, the information sent by the Person Sensor is read by an Arduino Uno and used to determine if someone is staring at the switch.

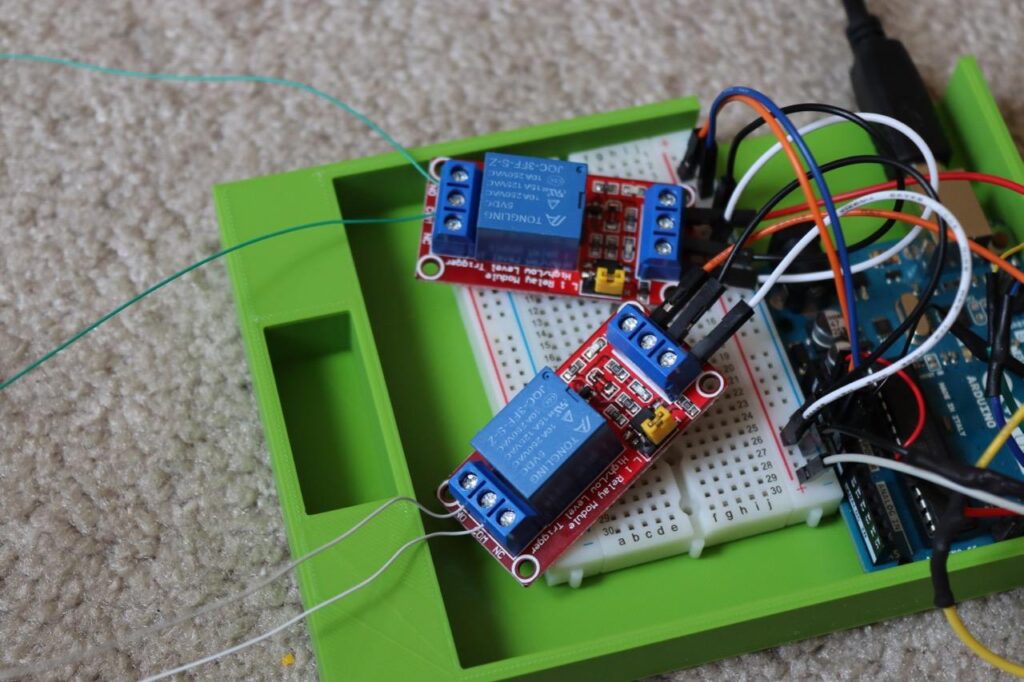
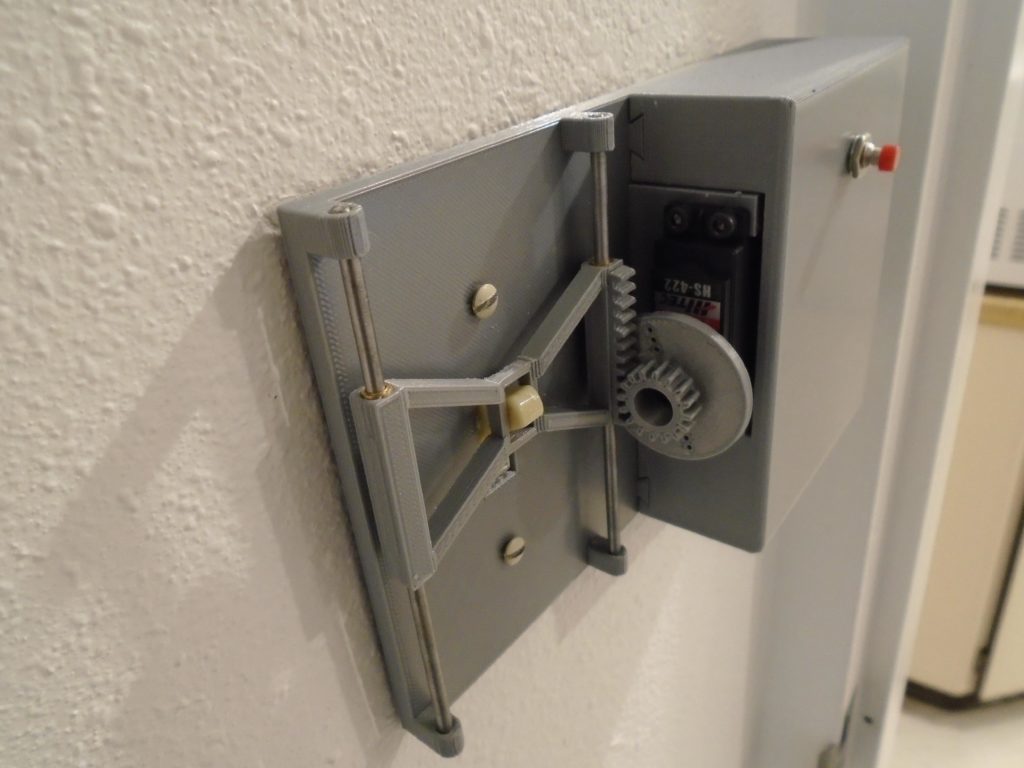
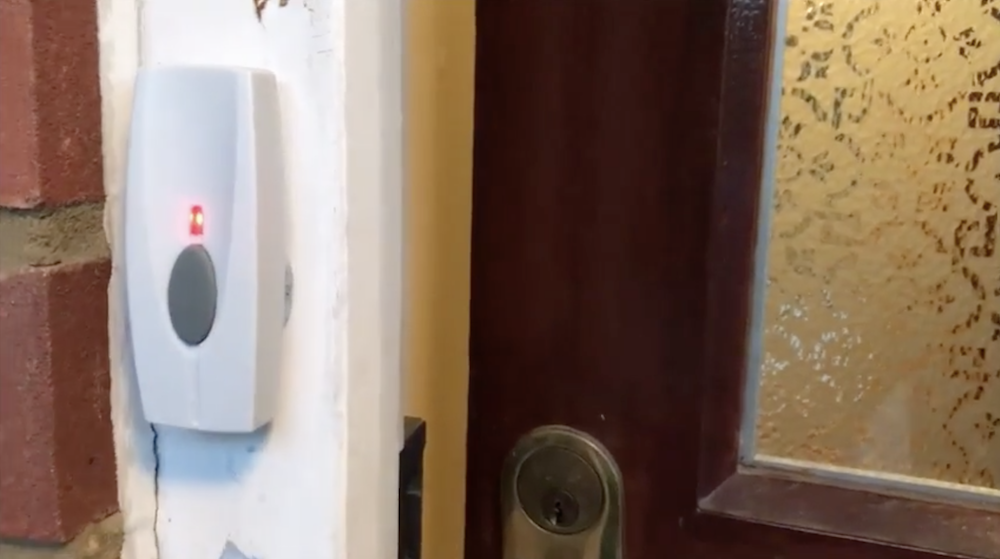
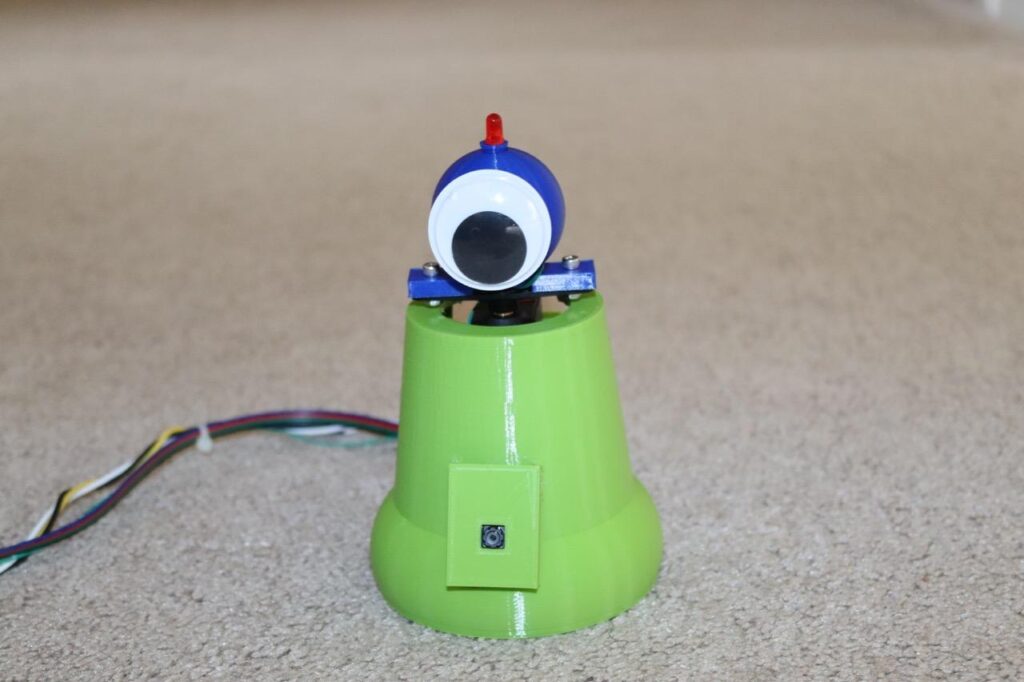
When the face is initially found, a small red LED starts to blink at the top to indicate that the user has been seen. Then once they have been staring for over three seconds, a servo-actuated googly eye spins around to show the action was successful and a relay is toggled to turn the light on or off via a remote control.

As Rigsby notes, “This is not a ‘clap on, clap off’ switch from years past; this is a ‘look on, look off’ switch for the present age.” The Clapper was popular in the 1990s, so who knows, maybe his tinyML solution could be the next big thing in lighting control? To see more about this fun project, you can watch Mike’s video below and read his write-up here on Instructables.

The post Turn your lights on and off by staring at this little robotic switch appeared first on Arduino Blog.

You know how you can feel when someone is looking at you? Thanks to a person detector, [Michael Rigsby’s] little robotic light switch also knows when you are looking at it. As you can see in the video below, when it notices you are looking at it, it lights up an LED. If you continue to gaze at it, it will turn to stare back at you. Keep staring it down and it will toggle the state of a remote control light switch.

This all works because of the person sensor module by Useful Sensors. The little module has a camera and face detection built into it. It doesn’t draw much power at 150 milliwatts. It can’t sense faces, including where they are and how many people are looking.

Once you have that data via I2C it is easy to program an Arduino or whatever to do what you want. In this case, an Uno,  a servo motor, and some relays are all it takes. We might have made it interface with our smart home devices to turn on anything we want, but that would be an easy mod. The relays have the virtue of working with anything. For this project, he uses them to close switch contacts on a remote control.

You might think this is pointless, but look at all the Clappers that have been sold that do virtually the same thing in a much less elegant way. You can also use the sensor in reverse and make a robot or a clock that is bashful.

It can be extremely annoying and frustrating to finally get comfortable somewhere only to realize that you forgot to turn off a light, thus requiring a short journey to and from the wall switch. Mechanical engineering student and Instructables user alanmerritt ran into the same problem in his dorm room, so he responded by creating a device that could remotely operate a light switch without any modifications to the switch itself. 

The first step in designing this remote control device was measuring the fixture and modeling it in CAD, after which Alan made a small rack-and-pinion mechanism that uses a servo motor to rotate a gear and thus lift an attached slider up or down. He also 3D printed an enclosure that surrounds the otherwise ugly electronics, hiding them from the view of potential visitors. 

Commands to toggle the switch are sent from a controller that consists of an Arduino Mega and an nRF24 wireless transceiver module, and a corresponding nRF24 transceiver receives the command and passes the information to an Arduino Uno over the SPI bus. Finally, this Uno board interprets the command and moves the servo motor to their the on or off position accordingly. 

To read about this project in more detail, including the code and design files, you can check out Alan’s write-up here on Instructables.

The post Retrofit your light switch with this remote-controlled device appeared first on Arduino Blog.

Darren Lewis’ parents both have a difficult time hearing the doorbell. He experimented with an off-the-shelf flashing light, but found that could only really be seen when they were in the room—an obvious problem. In response to this, Lewis decided to make his own system that flashes multiple house lights at the same time.

His device uses an Arduino Nano to detect the stock doorbell speaker voltage. When a press is sensed, it then activates a RF light switch via a modified remote, using an output pin and opto-isolator to substitute in for the normal button press. 

It’s a clever hack, and certainly one that will certainly help alleviate doorbell frustration in the future!

Oct
07

remoteServoLightSwitch

We frequently get home automation tips, many of which have simple circuit-based on/off control for lights. [Paulo Borges] has created something quite different, however, with his in-the-wall servo-controlled light switch. This build forgoes the need of any relay to switch mains power, and because it’s physically flipping your switch, provides a distinct advantage over other builds that require a phone or tablet interface: you can use your switches as you normally would.

[Paulo] picked up a rocker-type switch at the local hardware store and carefully pried off the large, flat switch plate to notch out a small hole at its fulcrum. He then carefully shaped a piece of 12 gauge wire to provide a pivot point for the servo. His choice to use wire here seems to be entirely to provide a sturdy yet bendable component that functions mechanically rather than electrically. A small 9G servo fits to the back of the switch’s housing, and the servo’s arm connects up to the previously attached 12 gauge wire. He pieced together the remote control feature with an RF link kit with an inexpensive 433mhz Code duplicator from eBay.

[Paulo] explains that his Instructable is simply an overview rather than a step-by-step guide, so if you’re eager to reproduce this hack you’ll have to work out the code and the remote control portion yourself. He also acknowledges the biggest remaining hurdle: finding space in the wall to shove all the microcontroller guts. Check out a couple of videos of the switch after the break, and remember, there’s always the option of doing away with all light switches.


Filed under: Arduino Hacks, home hacks, Microcontrollers


  • Newsletter

    Sign up for the PlanetArduino Newsletter, which delivers the most popular articles via e-mail to your inbox every week. Just fill in the information below and submit.

  • Like Us on Facebook