Posts | Comments

Planet Arduino

Archive for the ‘micro’ Category

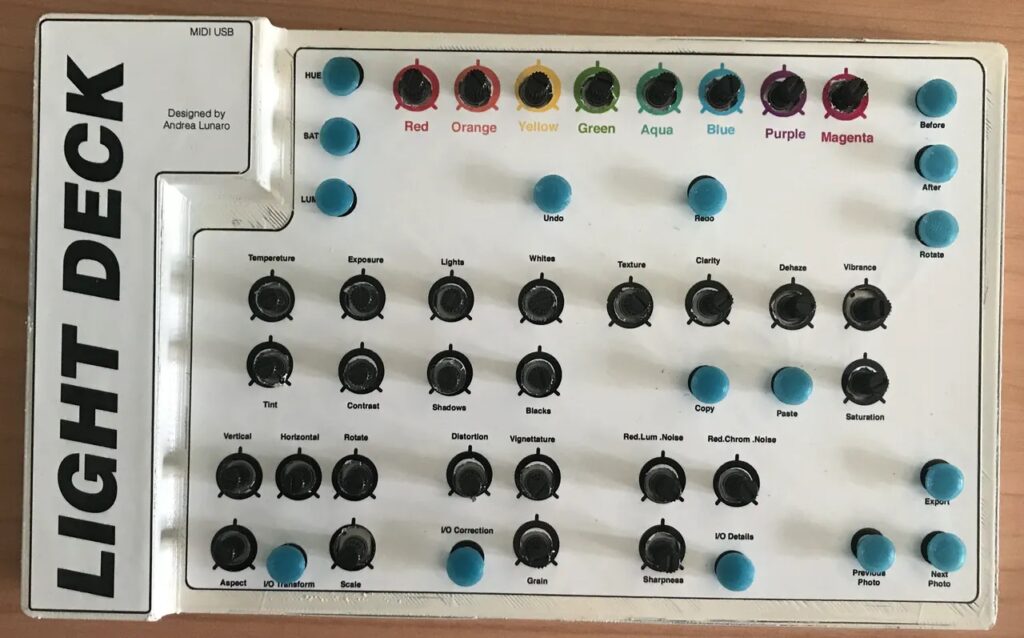
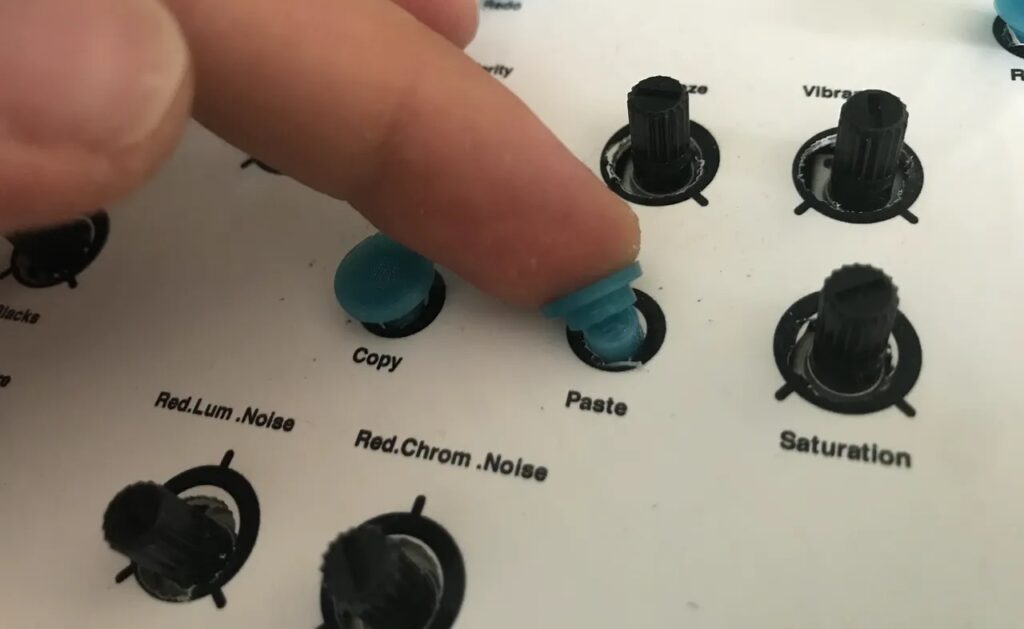
Using Adobe Lightroom can be a tedious process, especially for those who don’t have their keyboards set up with a hundred macro shortcuts. Andrea Lunaro wanted to make this process easier by constructing a large, physical bank of buttons and potentiometers that can be used to perform a whole host of functions within Lightroom. It can output commands to copy/paste, set HSL values, do basic transformations, and navigate around the software in general, all over the MIDI protocol. 

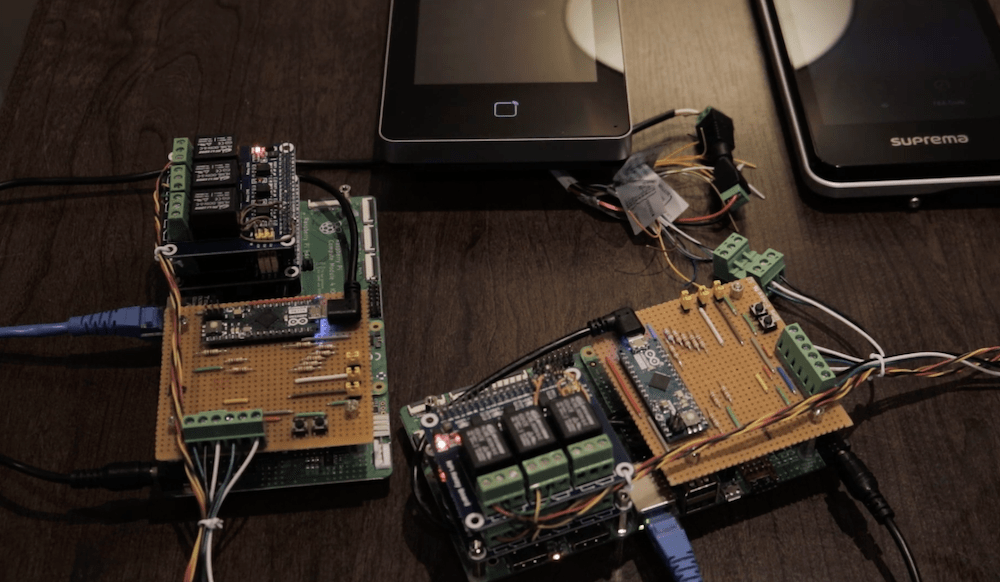
This device — called the Light Deck — is powered by a single Arduino Micro, which is connected to several 16-channel 74HC4067 multiplexer ICs that handle both the input and output with the bank of rotary potentiometers and buttons. Data is outputted via USB to the host computer running Lightroom where it is then converted to Lightroom commands with the help of the MISI2Lr plug-in. 

Both the PCB and enclosure were custom-designed and assembled, with the enclosure being fully 3D-printed along with its accompanying button/potentiometer covers. As seen in this demonstration video, the Light Deck works really well at providing users with a pleasant analog interface for fine-tuning various image parameters. 

For more information about this project, you can check out Lunaro’s write-up on Hackster.io and design files on GitHub.

The post Light Deck is a MIDI Lightroom controller appeared first on Arduino Blog.

Listening to those classic 16-bit sounds from the ’90s video game era brings back a wave of nostalgia for those who grew up with a console. On the Super Nintendo Entertainment System, outputting sound was accomplished by an integrated circuit called the SNES Audio Processing Unit (APU for short), which was responsible for taking SNES SPC files and transforming them into waveforms. Mauri Mustonen — who goes by Kazooie on YouTube — wanted to isolate this chip to play authentic music from his favorite tracks on his browser without needing to boot up the entire SNES console. 

The system he came up with has an Arduino Micro at its heart that is connected to the SNES APU via series of wires. Some of these links are for putting the APU into read or write mode, while others set the desired port and address for where the song data should be written. Data is sent or received over a set of eight parallel data lines. 

There is a web-based frontend written in Python that allows a user to select their songs of choice, which are transferred to the Arduino over USB and then sent to the APU via its parallel lines. From there, the IC runs a bootloader that begins playing the audio files. 

You can read more about how this system works and check out the code here on GitHub, or you can see Mustonen’s demo video below.

The post Play SNES SPC audio files from your browser using original hardware and Arduino appeared first on Arduino Blog.

Having a disability can severely impact one’s ability to perform tasks that others do regularly, such as eating, walking, or even speaking. One maker by the name of ‘gtentacle‘ has a son who needs to use a ventilator constantly in order to breathe as he suffers from a myotubular myopathy, a disease that greatly impacts the strength of his muscles. Due to his condition, he is unable to talk; however, that that didn’t stop his father from coming up with a solution. This project involves five Logitech Adaptive Buttons and an Arduino Micro to type in letters for a text-to-speech (TTS) system to read. 

Up to 20 letters can be entered in total, and each one can be accessed with a grid-type system. For instance, the letter ‘T’ can be typed by pressing the 3 button followed by the 2 button. The ‘Enter’ command is sent whenever button 5 is the first key pressed. Thanks to the ATmega32u4, the system works with any device that supports a USB keyboard and has TTS software. The project’s creator even used it with Android Talkback. 

More information on the the assistive technology project can be found in gtentacle’s Hackster write-up.

The post This dad built an adaptive USB keyboard for his son and other kids with muscular conditions appeared first on Arduino Blog.

Whether granting access to public transit or restricting unauthorized personnel in buildings, NFC card readers can be extremely useful. Although most might not consider how they work – and simply happy getting through a turnstile – there’s lot going on behind the scenes.

In his video, Daniel Raines shows off a pair of prototype access control units (ACUs) that he’s constructed. The two networked devices are each based on a Raspberry Pi Compute Module 4 along with an Arduino Micro that controls six relays to allow or deny entry, provide feedback, fire, and lock up.

More details on the project can be found in Raines’ clip below.

Most joysticks sit on your desktop, allowing you to control flight sims and other such games with a bit more realism than a keyboard and mouse. YouTuber Tom Stanton, however, decided to take things to the next level by creating one that pivots from the floor out of aluminum extrusion and 3D-printed parts.

The device’s main control stick attaches the base via a ball bearing pivot system, using Hall effect sensors to detect its relatively limited rotational distance. Foot pedals are also implemented with a Hall effect sensor setup, and a throttle/switch/button interface is presented to the user by another extrusion section. The build interfaces with a computer using an Arduino Micro and the Arduino Joystick Library.

Code for the project is available on GitHub, while print files can be found on Thingiverse if you’d like to make your own!

Air hockey is normally a two-player affair, but not for this student-built robot. The table features a designated human goal with a touchscreen GUI for settings and control. The second goal is guarded by an autonomous striker, attached to a pair of steppers using a drive belt arrangement.

The robotic device analyzes the puck position with an overhead camera and a Raspberry Pi, which passes commands to an Arduino Micro over serial. The Arduino then controls the stepper movements via driver modules, as well as a solenoid to pop the puck out of the robot’s goal on the rare occasion it misses a block.

You can see more on the build in the two videos below!

If you want a virtual reality headset for your computer, but don’t want to dig deep into your pockets, this project by “jamesvdberg” (AKA Killer Robotics) presents a low-cost alternative. 

Although it won’t pack the capabilities of an Oculus or HTC Vive, jamesvdberg’s VR rig can be replicated for just $80 using a Google cardboard-compatible shell, along with a 5” Raspberry Pi 800×480 LCD screen and an Arduino Micro for control.

The DIY device tracks head movements using an MPU6050 IMU, sending data to a PC system as a mouse input via the Micro. Game visuals are fed back to the screen over HDMI, split into discreet images for each eye, creating a side-by-side 3D effect. 

Those interested in building their own version can find the tutorial here.  

Kaleb Clark really enjoys flight simulators, but when attempting to fly a helicopter, a normal keyboard or even a joystick isn’t quite optimal for controlling its vertical movement. Real helicopters use a lever assembly called a collective to adjust downward thrust, and he decided to build his own with an Arduino Micro and GPIO expander.

To read the main lever action, he’s using a gear and encoder setup, which allows him to lift and descent in a much more natural way than afforded normal computer controls. There’s also has a bunch of buttons attached that can be programmed for various actions as needed. 

Game interface is taken care of by the Micro’s ATmega32U4 chip, giving it HID functionality as an auxiliary input device.

What we carry today in our pockets is nominally called a “phone,” but more often than not we’re using it to do various other computing tasks. Justine Haupt, however, wanted an actual phone that “goes as far from having a touchscreen as [she could] imagine.”

What she came up with is a rotary cellphone that’s not just a show-and-tell piece, but is intended to be her primary mobile device. It’s reasonably portable, has a removable antenna for excellent reception, a 10-increment signal meter, and, perhaps most importantly, doesn’t make her go through a bunch of menus to actually use it as a phone. Other features include number storage for those she calls most often and a curved ePaper display that naturally doesn’t use any power when revealing a fixed message.

The project was prototyped using an Arduino Micro. It was then laid out of a PCB with an an Adafruit FONA 3G board and an ATmega2560V, programmed in the Arduino IDE.

Haupt has published a detailed look at the build process here.


  • Newsletter

    Sign up for the PlanetArduino Newsletter, which delivers the most popular articles via e-mail to your inbox every week. Just fill in the information below and submit.

  • Like Us on Facebook