Posts | Comments

Planet Arduino

Archive for the ‘8-bit’ Category

Despite all the incredible advancements made in video game technology over the last few decades, the 8-bit classics never seem to go out of style. Even if you weren’t old enough to experience these games when they were new, it’s impossible not to be impressed by what the early video game pioneers were able to do with such meager hardware. They’re a reminder of what can be accomplished with dedication and technical mastery.
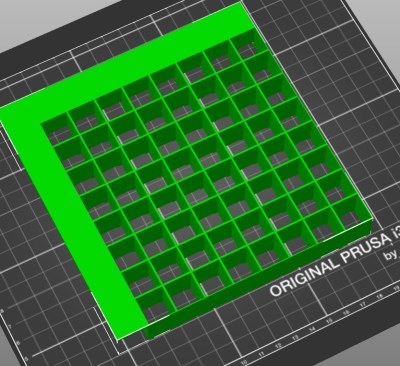
The grid has been split up for easier printing.

If you’d like to put a little retro inspiration on your desk, take a look at this fantastic 16 x 16 LED matrix put together by [Josh Gerdes]. While it’s obviously not the only thing you could use it for, the display certainly seems particularly adept at showing old school video game sprites in all their pixelated glory. There’s something about the internal 3D printed grid that gives the sprites a three dimensional look, while the diffused glow reminds us of nights spent hunched over a flickering CRT.

The best part might be how easy it is to put one of these together for yourself. You’ve probably got most of what you need in the parts bin; essentially it’s just a WS2812B strip long enough to liberate 256 LEDs from and a microcontroller to drive them. [Josh] used an Arduino Nano, but anything compatible with the FastLED library would be a drop-in replacement. You’ll also need a 3D printer to run off the grid, and something to put the whole thing into. The 12×12 shadowbox used here looks great, but we imagine clever folks such as yourselves could make do with whatever might be laying around if you can’t nip off to the arts and crafts store right now.

Beyond looking great, this project is a fantastic reminder of how incredibly handy WS2812 LEDs really are. Whether you’re recreating iconic game sprites or fashioning your own light-up sunglasses, it’s hard to imagine how we managed before these little wonders hit the scene.

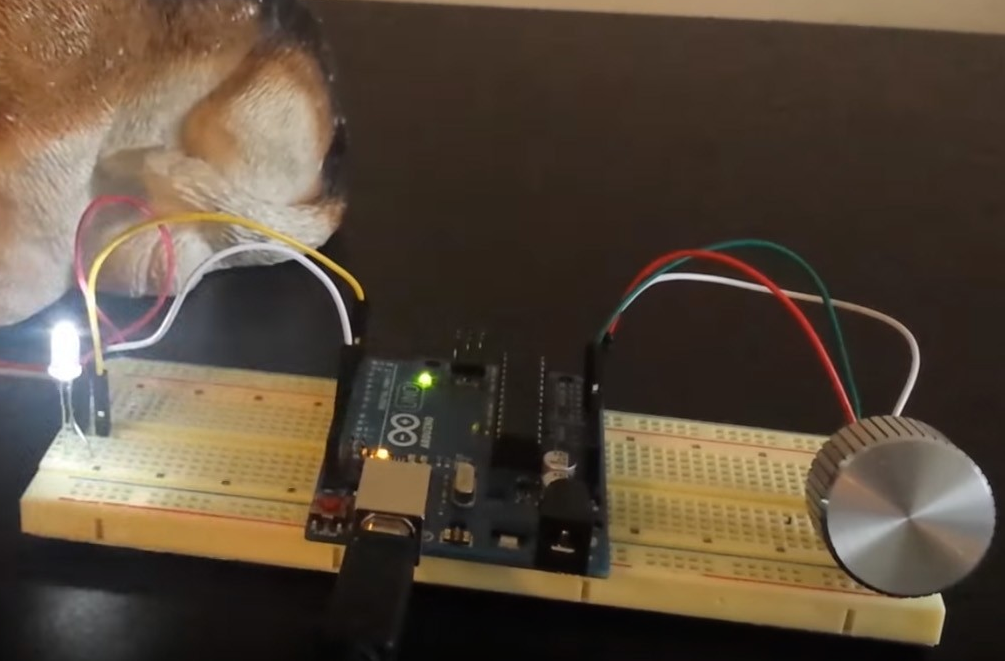
Connor Nishijima has devised a neat trick to give the standard Arduino Tone() function 256 smooth volume levels using PWM at an ultrasonic frequency, without any extra components. This allows for programmatic control of square waves with nothing other than a speaker connected to an Arduino Uno.

Normally to simulate an analog voltage with a digital-only pin of a microcontroller you’d use Pulse Width Modulation. This works great for LEDs because your eyes can’t the 490 / 976Hz flicker of the standard analogWrite() function. But for audio things are a bit more difficult. Because your ears can easily detect frequencies between 20 – 20,000Hz, any PWM with a frequency in this range is out.

Luckily, the ATmega328P allows you to change the clock prescalers for ultrasonic PWM! We need to use Timer0, because it can drive PWM at a max frequency of 62,500Hz, which even if you cut that in half would still be above your hearing range. Now that we have ultrasonic PWM on Pins 5 & 6, we configure Timer1 to fire an Interrupt Service Routine at a rate of “desired frequency” * 2.

Finally, inside the Timer1 ISR routine, we incorporate our volume trick. Instead of digitalWrite()’ing the pin HIGH and LOW like the normal Tone() function does, we analogWrite() “HIGH” with our volume value (0 – 255) and analogWrite(0) for “LOW”. Because of how fast the PWM is running, the user doesn’t hear the 62.5KHz PWM frequency, and instead perceives a 50% percent duty cycle as a speaker driven with only 2.5 volts! While a few volume levels do produce subtle artifacts to the sound, it mostly delivers quality 8-bit volume control to replace the standard Tone() function.

When all is said and done, you’ll be able to customize your project with unique loudness as you play anything from the iconic Nintendo sound to R2-D2’s beeps and bops. In Nishijima’s case, he developed this Arduino volume-control scheme to make an incessant, inconsistent artificial cricket to hide in a friend’s vent for the next few months… You can read more on its Hackaday.io page, as well as find documentation and ready-to-use example sketches GitHub.

Jun
11

How to Produce 640×480 Color VGA Video From an 8-Bit Arduino

640x480, 8-bit, arduino, VGA Comments Off on How to Produce 640×480 Color VGA Video From an 8-Bit Arduino 

PK @ dqydj.net writes:

Let me set this up for you: most 8-bit AVRs in the wild (I happened to use an Arduino Nano for this project) are running at 16 MHz. That’s 16,000,000 calculations per second… a very respectable number for most embedded applications.

The VGA industry standard, which is pretty much the default case “we-can-always-fallback-to-this” video standard (640 pixels wide by 480 pixels tall by 60 frames per second), requires pixels to be clocked out at 25.175 MHz:

25,175,000 > 16,000,000.

And that was just one of the barriers to pulling off this silly project. And, yes, with the hack I told you about last time (Please see my notes below), more is possible without overclocking the Arduino – roughly 800 or so pixels wide in 4 bit color should be doable with a 16MHz part, and, probably 1024 pixels in 4 bit color are in reach for 20 MHz clocked parts. (If you’re willing to drop to 2 or 1 bit color and spend a ton on ICs that can handle even faster clocks, you can hit HD resolutions – but I think you’ll run into financial constraints before you max out on the technical side)

How to Produce 640×480 Color VGA Video From an 8-Bit Arduino - [Link]

Mar
24

Playing chiptunes with Arduino Micro #arduinomicromonday

8-bit, arduino, chiptunes, micro, music Comments Off on Playing chiptunes with Arduino Micro #arduinomicromonday 

playerMicro


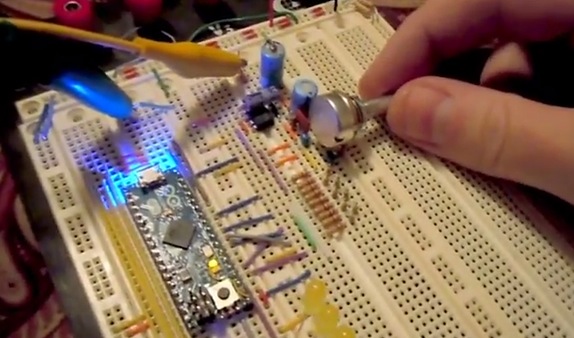
Vespira created a project  forking a previous one made with Arduino Uno. In this case all audio is generated on the Arduino Micro:

If you look closely, you will see that I added a yellow wire going from the TXLED to the empty hole that was drilled over by the reset button. I added a single pin though this hole and epoxied the plastic in place to give myself another bread-boardable pin that has access to the PD5 signal which was not broken out. Simple mod really.


  • Newsletter

    Sign up for the PlanetArduino Newsletter, which delivers the most popular articles via e-mail to your inbox every week. Just fill in the information below and submit.

  • Like Us on Facebook