
28
Autism often comes with a unique sensory experience that differs from that of most neurotypical people. That tends to be publicized as a negative thing, as some sensations can cause some autistic people a lot of discomfort. But the opposite can also be true, with positive sensory experiences providing great joy. The latter scenario inspired CapeGeek to build this desktop elevator for a friend’s autistic son.
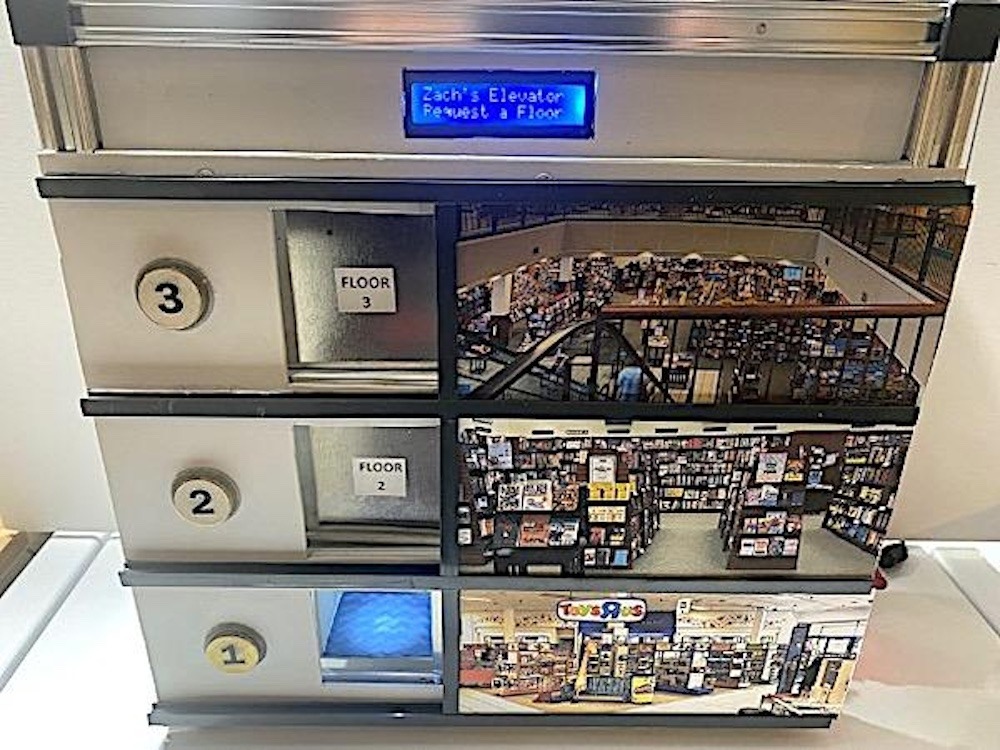
Elevators are popular with many people living with autism because they provide a multi-sensory experience that can be quite enjoyable. As such, there is a whole community of people with a shared love of elevators. This desktop model may have been designed for one child in particular, but it should appeal to many others. It has three floors and a car that moves between them in an elevator shaft. The user can send the car to a specific floor by pushing the corresponding button. The car will then move to that floor and the elevator doors will open.
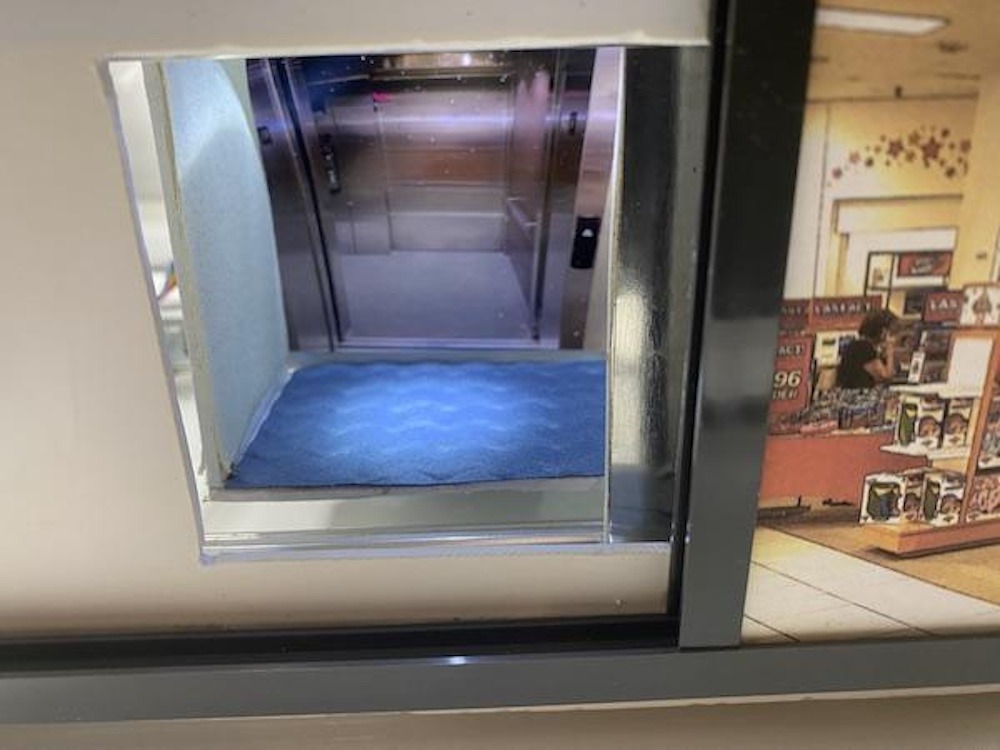
CapeGeek constructed this using a frame made of aluminum extrusion. The elevator car rides on a lead screw driven by a stepper motor and servo motors open the doors. An Arduino UNO R3 board controls those motors in response to the call buttons, which are standard momentary push buttons. Three micro switches tell the Arduino when the car reaches a floor. Optional upgrades include a small LCD screen reads “Zach’s Elevator” and a prompt to select a floor, sound effects, and LED lighting to illuminate the elevator car.
The post Desktop elevator provides a positive sensory experience for an autistic child appeared first on Arduino Blog.


