Posts | Comments

Planet Arduino

Archive for the ‘arduino wireless’ Category

This is part of a series titled “Getting Started with Arduino!” by John Boxall – A tutorial on the Arduino universe. The first chapter is here, the complete series is detailed here.

Welcome back fellow arduidans!

This chapter we will examine piezo buzzers, continue with our alarm clock, and then spend more time with the wireless radio modules by creating some remote control systems and sending various data over the airwaves. So let’s go!

Sometimes you would like to make some noise. For warnings, fun, or to annoy people. A very simple and inexpensive way to do this is with a piezoelectric buzzer. In simple terms, it contains a disc of metal that can deform when a current is applied to it. If you apply an alternating current at a high enough frequency, the disc will move fast enough to create a sound wave, something we can hear.

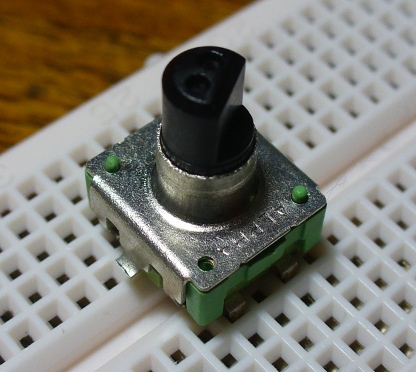
This is an example of a small piezo buzzer:

bzzzzz

This example was very cheap, less than $2.  Here is the data sheet: PS1240.pdf. It can run from between 3 and 30 volts AC – which thankfully the output from our Arduino falls between. But how do you output AC from an Arduino? There are several ways, however the easiest is using pulse-width modulation (PWM). If you look at your Arduino’s digital output sockets, some are labelled PWM. Using the function analogWrite(); you can send a PWM signal to the buzzer. For example:

/*
Example 13.0
Drive a piezoelectric buzzer with Arduino
http://tronixstuff.wordpress.com/tutorials > Chapter 13
*/
void setup()
{
     pinMode(11, OUTPUT);   // sets the pin as output
}
void loop()
{
     analogWrite(11,128);
     delay(500);
     digitalWrite(11, LOW);
     delay(500);
}

The sketch above will beep the piezo on and off, and be somewhat annoying. Perfect. However with the analogWrite(); function it is impossible to use the full frequency range of the piezo buzzer. With a value of 254 for the duty cycle, the frequency generated is around 1500 Hz:

Later on we will explore ways to create a better range of sounds. But now to use that buzzer in our alarm clock to help wake people up.

Continuing on from exercise 12.1, this chapter we will add some more features to the clock. First of all is the piezo buzzer. As we just discussed above, using it is quite simple. On the hardware side of things, we can replace the resistor and LED connected between digital pin 6 and ground with our piezo buzzer. On the software side of things, instead of digitalWrite(6, HIGH); we use analogWrite(6,128);. Very easy. And here is a short video – with sound!

Moving on, it’s time to clean up the alarm function in general. Most alarm clocks have a snooze function, so let’s add one as well. When the alarm sounds, the user presses button four to turn off the buzzer, and is then asked if they want to snooze. Button one is yes and four is no. If yes, add ten minutes to the alarm time and carry on as normal. When adding the ten minutes be sure to check for increasing the hour as well, and also take into account the jump from 2359h to 0000h (or 2400h). If the user presses no, the alarm is switched off and the user warned with the flashing “OFF”.

Example 13.1 – Here is a demonstration of what I came up with:

and the accompanying sketch: example13p1.pdf. The hardware is the same as exercise 12.1, except the LED and resistor from digital pin 6 to GND has been replaced by the piezo buzzer as described earlier. You will find the snooze function is controlled in the checkalarm(); function in the sketch.

In chapter eleven we started to examine the inexpensive serial data transmitter/receiver pairs. In this chapter we will continue working with them, to create the backbone of various remote control and data transmission ideas for you to use.

Example 13.2

First of all, a simple remote control with four channels. That is, it has four buttons, and the transmitter will send out the state of the four buttons, high or low. This would be useful for a remote control toy or a perhaps robot. The sketches are quite simple. The transmitter reads the buttons with digitalRead(); then transmits a single letter a~h – which is code for a button and its state. For example, a means button 1 is low, h means button 4 is high. The receiver just decodes that a~h code and sends the result to the serial monitor window. Here is the sketch for the transmitter – tx.pdf and receiver – rx.pdf.

To save time I will use the button board created in example 12.3. Here are the schematics for the transmitter and receiver sections:

And set up:

And finally a video of the serial monitor showing the button states:

Now that we have the data being sent across, let’s get some switching happening.

Example 13.3

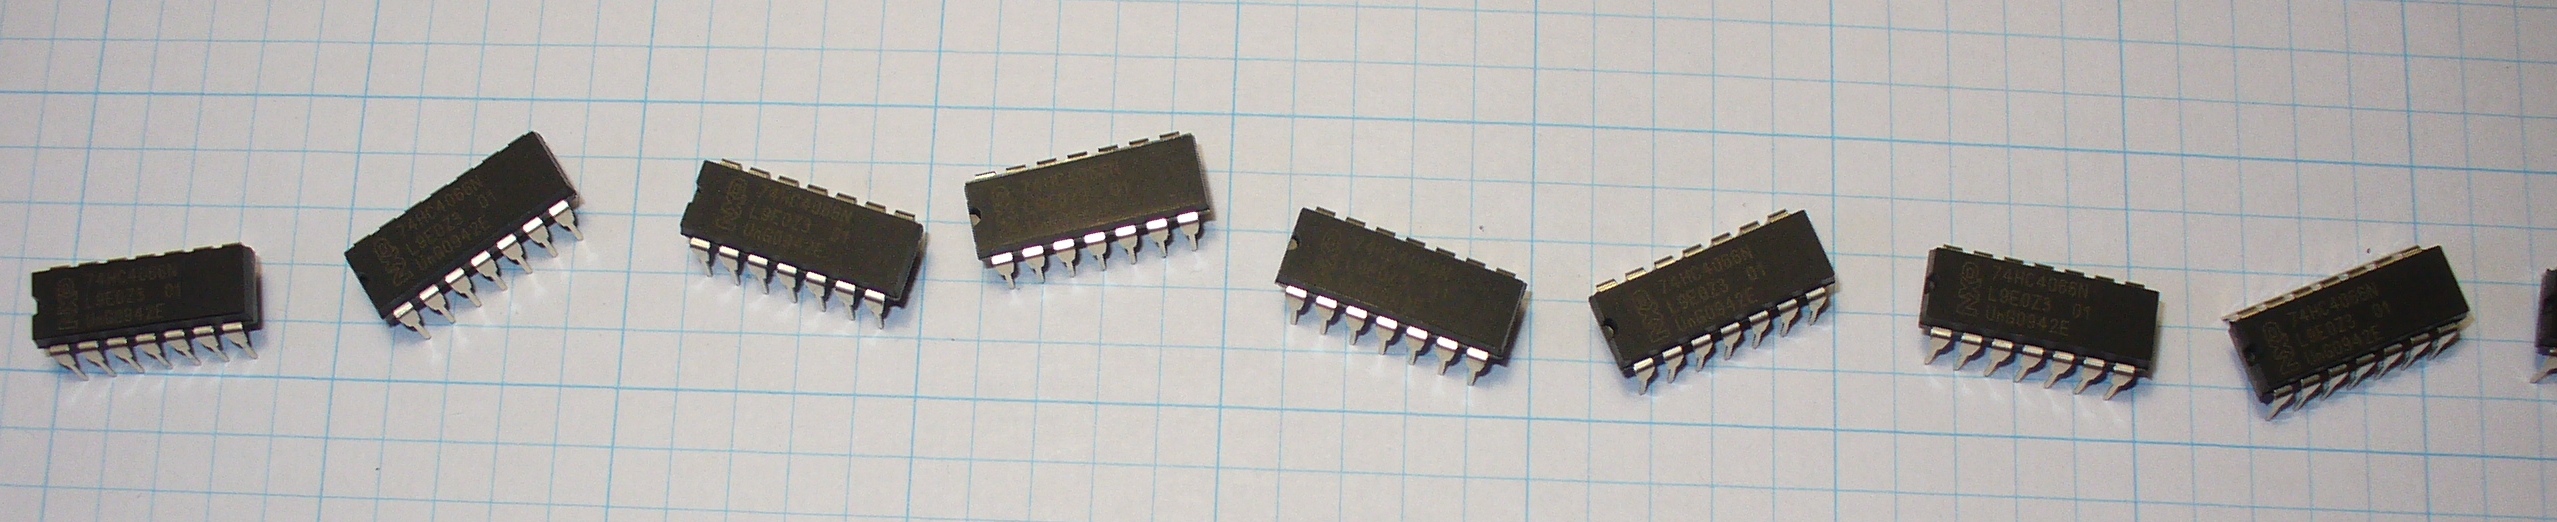
Using the same transmitter system as example 13.2, we will turn on or off four LEDs at the receiving end. Of course you could use relays, transistors, 74HC4066s, etc instead. Our sketch (ex13.3rx.pdf) decodes the transmitted data once more, but sets the digital pins high or low depending on the received code. Here is the schematic for the new receiver:

… and the board laid out:

And again a quick demonstration video:

Now that you can turn the LEDs on or off with a push of a button, there are a few other ways of controlling those digital outputs with the remote control rig without altering the hardware.

Example 13.4

This time, we will control two digital outputs with the four buttons, as each output will have an on and off button. Consider this sketch; and the following demonstration video:

So there you have various ways to control digital outputs and send basic data across a wireless radio serial data link. In the coming chapters we will examine sending more detailed data, such a numbers, and more complex variables using a faster and more reliable hardware link.

Well that is another chapter over. However, as usual I’m already excited about writing the next instalment… Congratulations to all those who took part and built something useful!

Please subscribe (see the top right of this page) to receive notifications of new articles. High resolution photos are available from flickr.

If you have any questions at all please leave a comment (below). We also have a Google Group dedicated to the projects and related items on the website – please sign up, it’s free and we can all learn something. If you would like to showcase your work from this article, email a picture or a link to john at tronixstuff dot com. You might even win a prize!

Don’t forget to check out the range of gear at Little Bird Electronics!

So have fun, stay safe and see you soon for our next instalment, hopefully by 7th August 2010.

This is part of a series titled “Getting Started with Arduino!” by John Boxall – A tutorial on the Arduino universe. The first chapter is here

Welcome back fellow arduidans!

Finally it is wireless week here in the tiny tronixstuff lab, as we will start to investigate radio data transmission; then followed by starting to make sense of rotary encoders.

So let’s go!

As technology has marched along and generally improved on the past, things have been getting small and relatively cheaper. What was once jaw-droppingly amazing is now just meh. But as you are reading this, you know differently. We can now take control of this technology for our own devices. What has been in the past quite unapproachable is now relatively – the concept of wireless data transmission. But no just sending a signal, like a remote-control garage door opener – but sending actual,  useful data – numbers and characters and so on.

How is it so? With this pair of tiny devices:

Quite small indeed – the pins are spaced 2.54mm apart, and the graph paper is 5mm square. The transmitter is on the right. This pair operates at 315 kHz, over up to a theoretical 150 metres. The data transmission speed is 2400 bps (bits per second). These units are serial passthrough, that is they can replace a link of wire between the serial TX (pin 1) from one Arduino, and the RX of another Arduino (pin 0). They don’t need aerials for very short distances, but the use of one will extend the range towards the maximum. And finally, the transmitter needs between 2 and 10 volts; the receiver 5. Here is the data sheet for these modules: 315MHz.pdf. Normally they are sold individually, for example the transmitter and receiver. You can also find faster (data speed) modules, however we will use these ones today.

In preparation to use these modules, another library needs to be installed – the VirtualWire library. Download the latest revision from the following location: http://www.open.com.au/mikem/arduino/.

There is also a guide to using the library in .pdf format as well. Please note the library author’s instructions with regards to licensing on the last page of the guide. For a refresher on how to install a library, please head back to chapter two. This library will save us a lot of time, it takes care of checking for errors, and only allows complete, correct data (i.e. what is received matches what is sent) to be used in the receiver’s sketch. However, as wireless is not 100% reliable, you need to take into account that transmissions may not be received, or erroneous ones will be ignored by the receiver’s sketch. You can reduce the data speed to improve reliability and range.

Therefore if you are using this for some important communications, have the transmitter repeatedly sent the message. Later on in this series we will investigate more powerful solutions. Anyhow, moving along …

Example 11.1

First of all, we will demonstrate the use of these modules with a basic sketch. It sends some text from one Arduino to another. The receiving Arduino sends the data to the serial monitor box. Of course you could always use an LCD module instead. In my own inimitable style the sketches are very simple, yet allow you to use their contents in your own work. Here is the sketch for the transmitter – tx.pdf and the receiver – rx.pdf.

When working with two sketches at the same time, you can have two Arduinos connected to your PC simultaneously,  just remember to select the correct USB port for the correct Arduino. Do this with the tools > serial port menu option in the IDE. Otherwise you will become very frustrated if you upload the rx sketch to the tx Arduino. :) Furthermore, you will need to remove the wire from digital 0 to the data pin on the receiving units before uploading the sketch. And finally, remember to set the serial monitor window at 9600 baud. Now I can laugh, but earlier I kept setting it to 2400 as that number was in my mind from the sketch.

Here are my two boards in action:

Although having both boards connected to the one computer is only useful for demonstration purposes, in real life this is obviously useless. Remember that once you upload your sketch the Arduino doesn’t need a computer, only a power supply. You can feed yours between 7 and 12 volts DC through the socket. A nice switchmode power pack will do nicely, or if you are a cheapskate like me, a PP3 battery and clip soldered to a DC plug:

You may find that when you use a battery powered Arduino that it basically does not work. Arduino genius Jon Oxer (co-author of Practical Arduino) has found a solution for this issue – place a 10k resistor between GND and digital 0 (RX), or between digital pins 0 and 1. The next thing to consider it improving the reception range. This can be done using two methods – the first by connecting an external antenna, either a length of wire, or perhaps a purpose-built aerial. The second method is to increase the supply voltage of the transmitter up to 12 volts.

Now it is your time to do some work:

Exercise 11.1

You now are able to send characters using the radio link from one Arduino to another. Now it is time to control things remotely. For the purpose of the exercise, we will just control three LEDs, turning them on and off. You already know how to control other things with digital output pins, so we just need to focus on getting the switching on and off. Hint – you can send characters via the wireless link, so create your own codes.

You will need:

Here is the schematic of my interpretation:


… the transmitter:

… the receiver:

and the video:

So how did you go? Hopefully this exercise was easier than you had first expected. If not, here are the example sketches: exercise 11.1 tx.pdf and exercise 11.1 rx.pdf. A basic transmit/receive system like this would also be handy for testing the range that wireless modules can operate over, or testing a particular site to see if you could implement such wireless modules. It’s always better to test before agreeing to make something for someone.

If you are having trouble understanding the sketches, please feel free to ask for help via email, leaving a comment, or asking the question in our Google Group.

That concludes our work with radio wireless links – for now.

Next on the agenda is the rotary encoder. Recall how we used a potentiometer in the previous chapters as a dial, to select menu options using the readdial() function. It was simple, cheap and it worked, but some may say it was a kludge. There must be a better way! And there is, with the rotary encoder. A rotary encoder looks like a potentiometer, but it is a knob that can be rotated in either direction infinitely. Furthermore, the knob is also a normally-open button. The encoder we will be using in this chapter is a 12-step encoder, in that you can feel it physically resist rotation slightly twelve times over the 360 degrees of rotation.

Here is our example:

On one side there are three pins, and two on the opposing side. On the perpendicular sides are legs for strength, that is they are meant to be soldered into a PCB to lock it in nicely. The problem for us is that those legs interfere when trying to use the encoder in a breadboard, so I have bent them up and cut them off:

The pins are easy to understand. The two pins on one side are the button contacts, just like any simple button. The other side with the three pins – the centre goes to ground, and the outside pins are the forwards and backwards output pins. The data sheet for our encoder is here. After fooling about with this all afternoon, the quickest way to get a feel for how it works is with a simple demonstration. So first we will test it out, then see how we can use it in our user-interfaces.

Example 11.2

This example is very easy to assemble. You only need an encoder, and the usual Arduino setup. Here is the sketch: example 11.2.pdf; and the schematic:

and in real life:

and finally a snapshot of the output. Don’t forget to set the speed in your serial monitor box to 115200 baud:

So as you can see, this is a much better solution that then potentiometer that we used in the past. Plus having the button integrated in the encoder is very convenient, you can really create a user interface with only one control. In the next instalment of this series we will implement the encoder in an existing design.

At this point I would like to ask you for some feedback. Would you like shorter, weekly articles – or longer, fortnightly (every two weeks) articles? Please leave a comment with your opinion.

Subscribe (see the top right of this page) to receive notifications of new articles. High resolution photos are available from flickr.

If you have any questions at all please leave a comment (below). We also have a Google Group dedicated to the projects and related items on the website – please sign up, it’s free and we can all learn something. If you would like to showcase your work from this article, email a picture or a link to john at tronixstuff dot com. You might even win a prize!

Don’t forget to check out the range of gear at Little Bird Electronics!

So have fun, stay safe and see you soon for our next instalment! (Hopefully the 10th of July) :)


  • Newsletter

    Sign up for the PlanetArduino Newsletter, which delivers the most popular articles via e-mail to your inbox every week. Just fill in the information below and submit.

  • Like Us on Facebook