
02
When looking through existing Arduino drum kit projects, [joekutz] noticed that most of them just used the microcontroller as an input for an existing MIDI device. That’s fine if you’re just looking to build your own hardware interface, but he wondered if it would be possible to forgo the MIDI device completely and actually generate the audio internally.
 To be sure, this is a lot to ask of an 8-bit microcontroller, which is probably why nobody does it this way. But [joekutz] wasn’t giving up without a fight. One of the trickiest aspects was storing the samples: the 8-bit, 11.025 KHz mono WAV files ultimately had to be converted into C data arrays with a custom Python script.
Unfortunately, since the samples are essentially part of the drum’s source code, he says distributing the firmware is something of a problem. Though it sounds as though there might be a solution to this soon for those who want to play along at home.
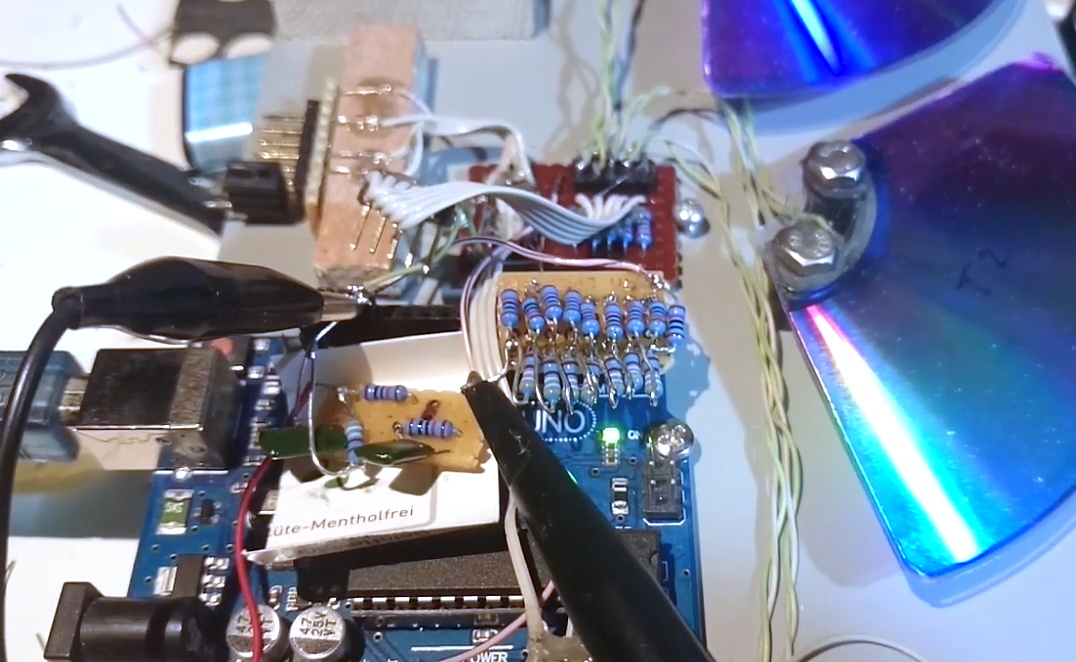
But don’t get the impression that this project is just software. Check out the custom impact sensors lovingly crafted from popsicle sticks and metal cut from soda cans, which have been mated with sections cut out of old DVD-Rs. Actually getting the beats out of the Arduino required the addition of a R2R DAC circuit and a TDA2822 amplifier. In the video after the break, you can hear the results for yourself.
[joekutz] is no stranger to homebrew electronic instruments. When we last heard from him, he was turning a very pink keyboard into his own personal circuit bending playground.


