Posts | Comments

Planet Arduino

Archive for the ‘star wars’ Category

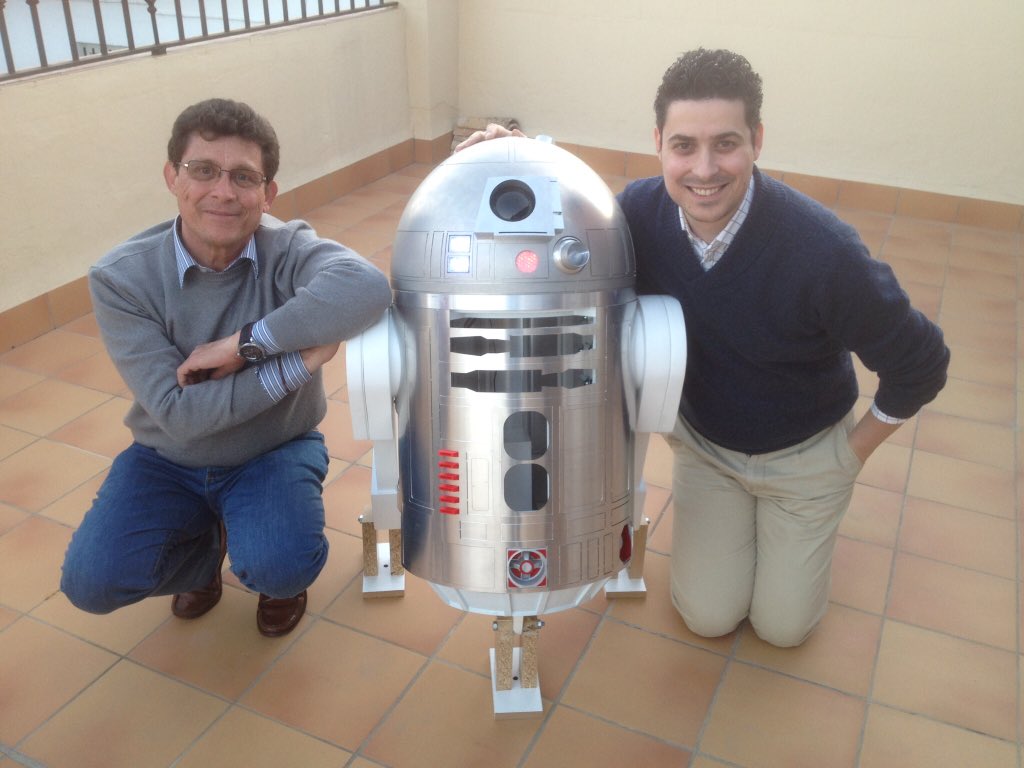
Alejandro Clavijo, together with his father Jerónimo, spent two years building the first official fan-made model of the R4-P17 Star Wars droid. For those not familiar with this family of droids, R4-P17 was the robot companion to the young Obi-Wan Kenobi.

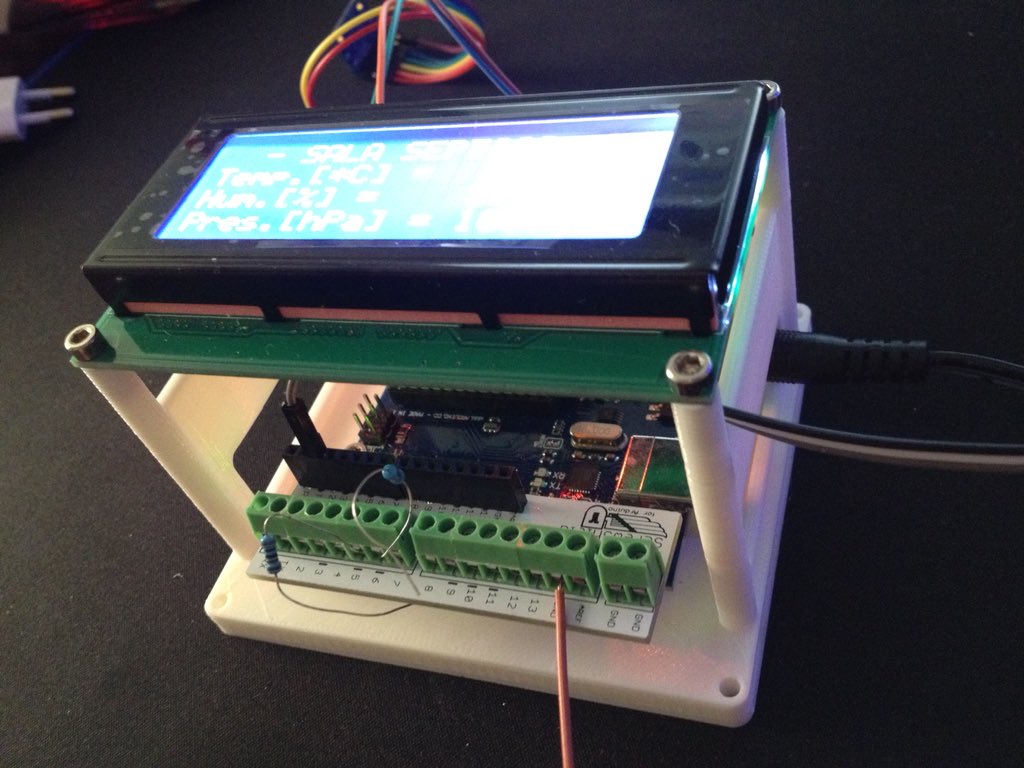
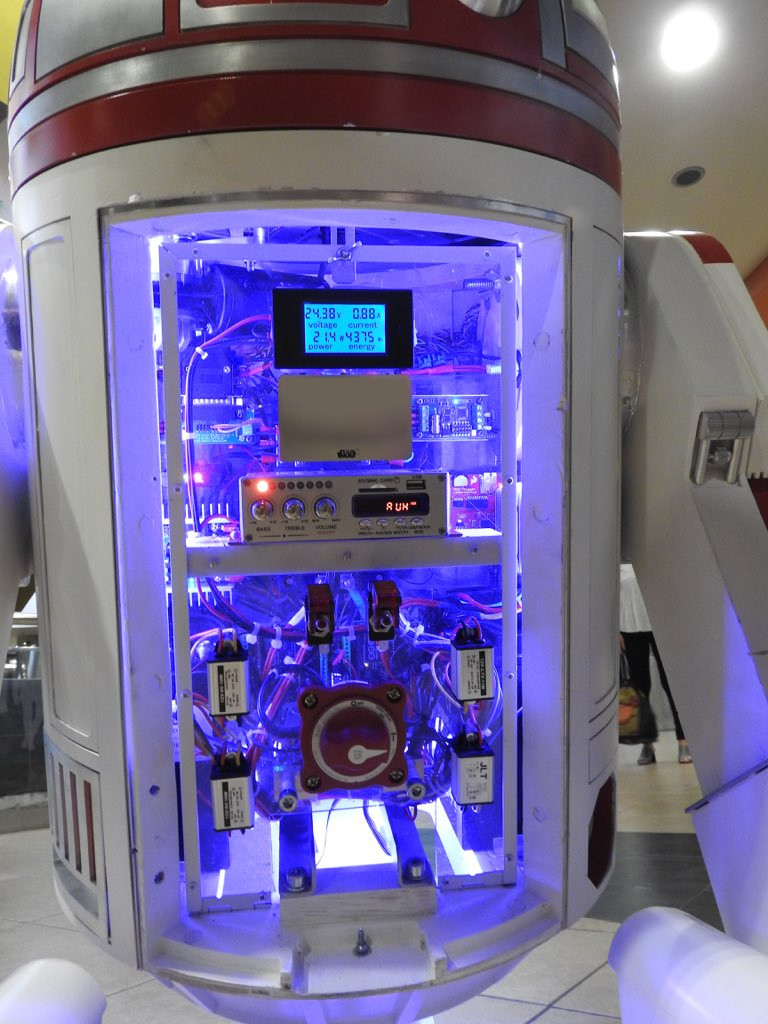
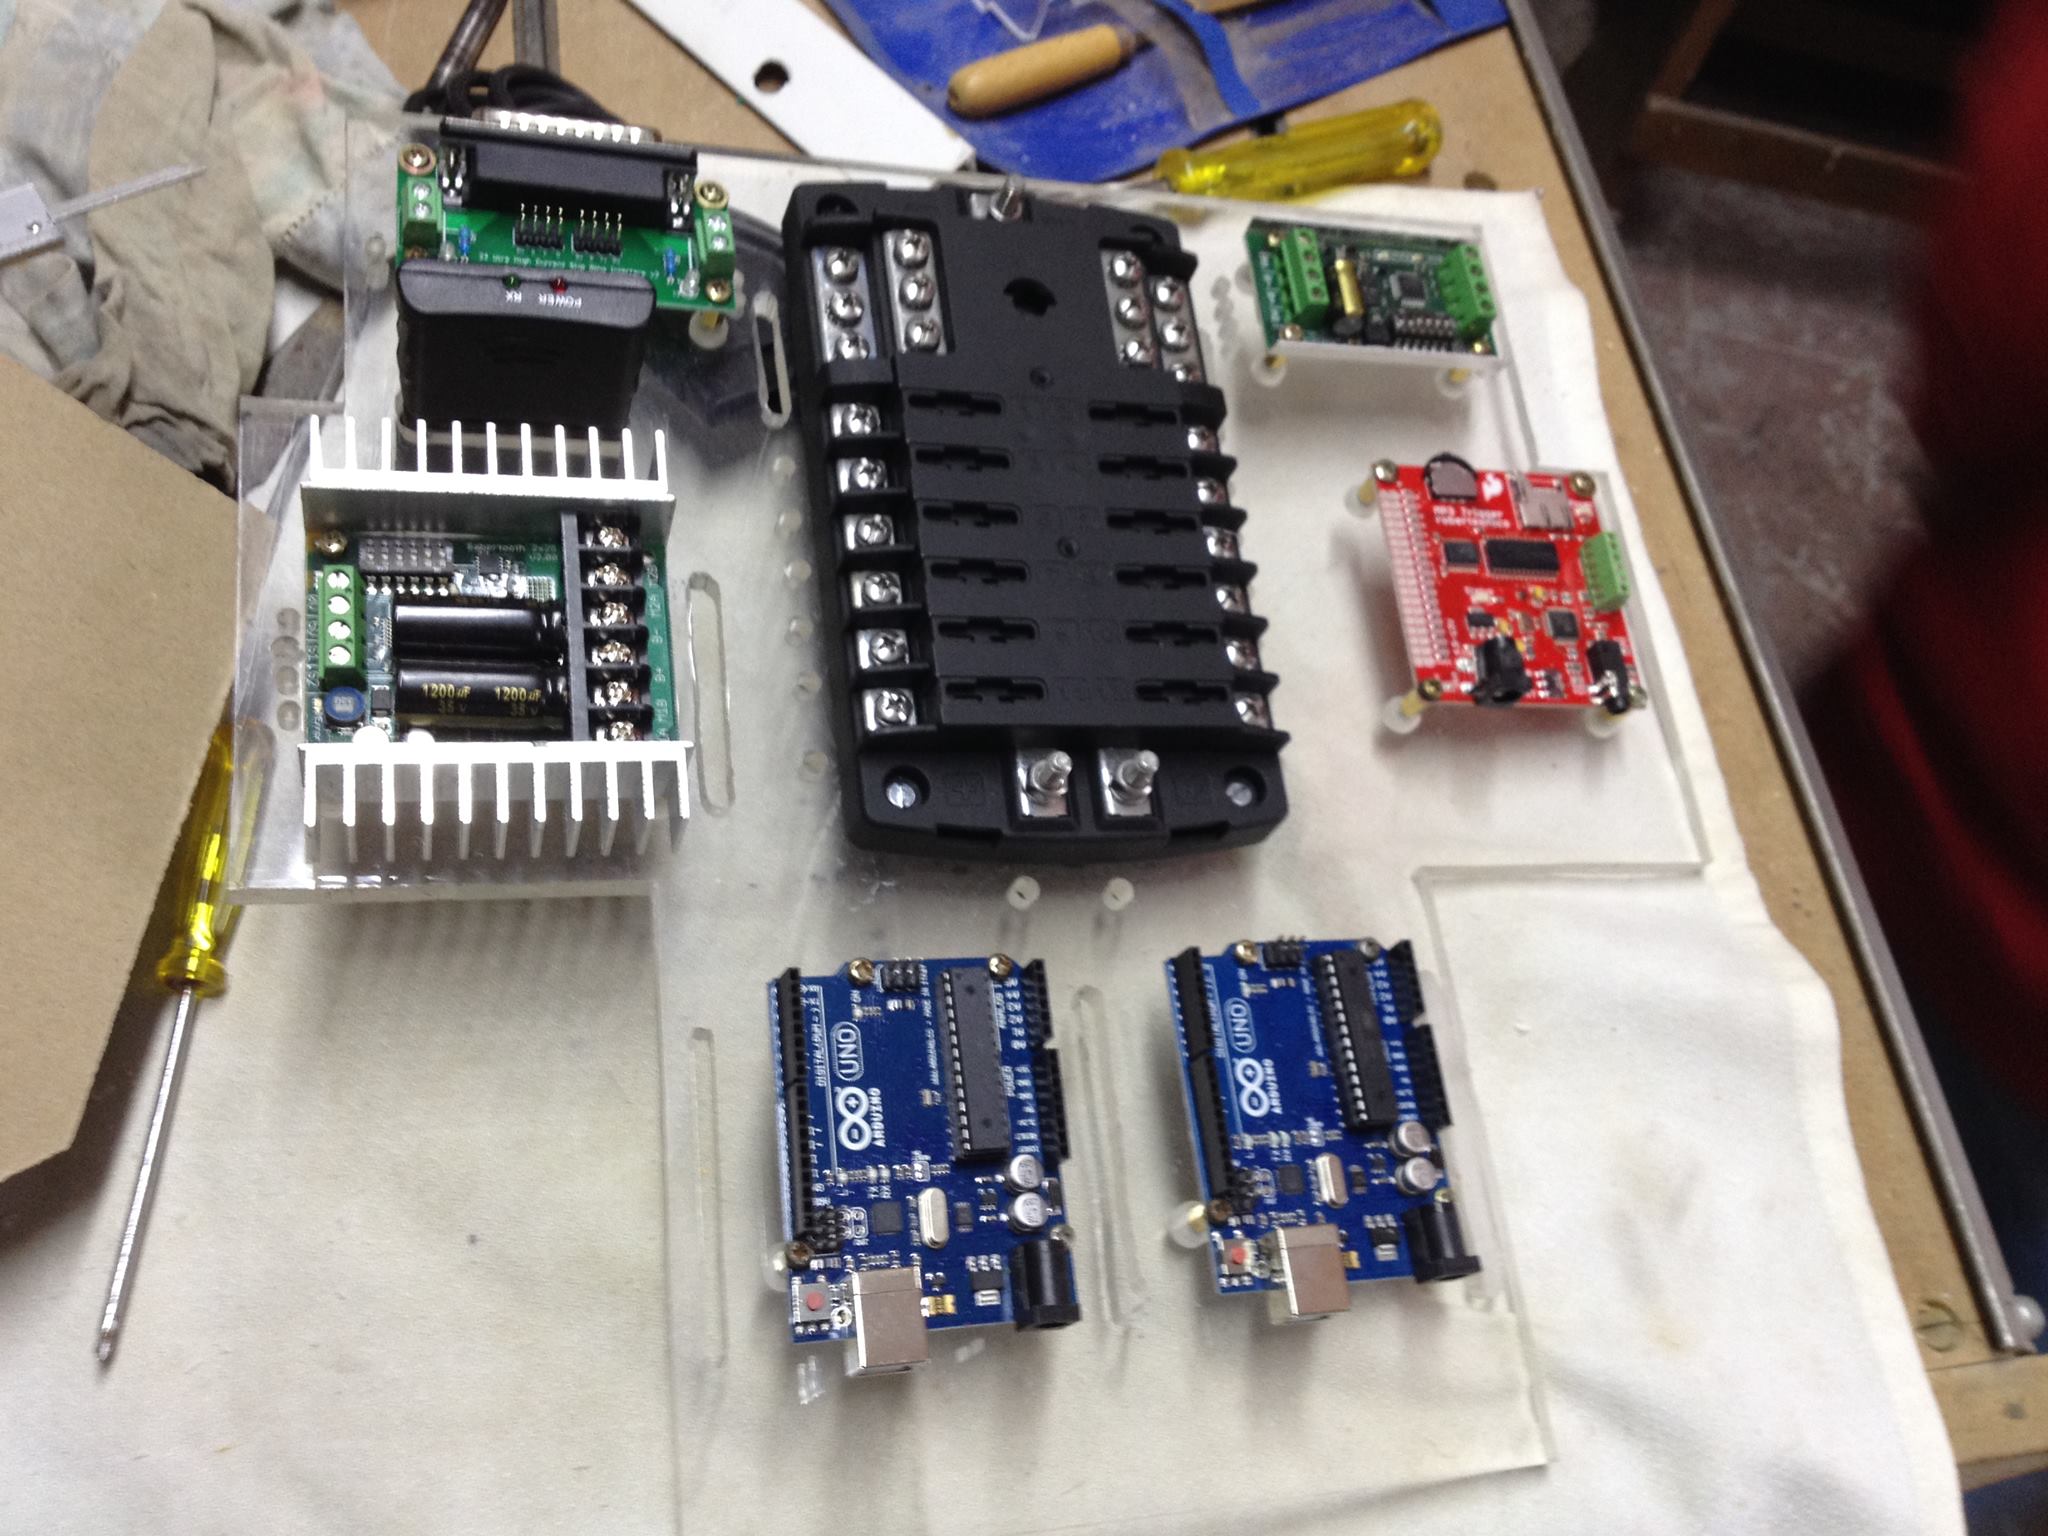
The replica is made of aluminum and wood, and runs on four Arduino boards. Impressively, the project has also been approved by Lucasfilm, the studio behind the saga, allowing Clavijo to bring it to official Star Wars events all over the world.

Clavijo sent us a bunch photos showing R4-P17’s construction, and more can be found over on its website. As you can imagine, the robot has been a big hit, already making several appearances on TV and in a number of blogs.

When not recreating Star Wars characters, Clavijo spends his days working as an engineer and has designed controls for “clean rooms” using Arduino Uno. You can see his design–made with CATIA–on Thingiverse.

We’ve been following [James Bruton]’s builds here on Hackaday for quite a while and he has built some impressive stuff. We love how he often doesn’t cover everything up, leaving enough room to admire the working bits under the hood. Just in time for the release of the new Star Wars movie, Rogue One, [James] put together an overview of his Star Wars robot builds.

The build summary includes his R6 droid, his GNK walking droid and the third revision of his BB-8 droid. [James Bruton]’s videos have tons of detail in them over many, many parts (for example, his BB-8 R3 playlist is 15 parts and his Ultron build currently has 26 episodes and counting!)

There’s a quick overview of each of the three robot builds in this video, and it includes links to the playlists for each build for those who want more detail. This is just what you need to glimpse all of the clever design that went into these wonderfully crafted droids. And if you haven’t seen it yet, you should check out his series elastic actuators that he’s working on for the Ultron build, they give a robot some relief from rigidity.


Filed under: 3d Printer hacks, Arduino Hacks, robots hacks

Strong is the Force, with this Padawan. To coincide with the latest installment of the continuing saga from a galaxy far, far away, [Rohit Gupta] built a Star-Wars themed interactive doormat. The doormat detects a footstep using capacitive sensing and plays a random Star Wars audio clip like the opening theme or the Imperial March or a famous phrase from the movie. Check out the video below the break.

The current setup is temporarily breadboarded, but we are sure it will be popular enough with his visitors to make him tidy it up. The hardware consists of an Arduino with an audio shield connected to a pair of speakers. A capacitive wire loop under the mat and a capacitive sensor tuned to the mat size wire take care of the sensing.

When Earth people step on the mat, the sensor triggers the Arduino to play a random audio clip from the SD card. The capacitive sensing is taken care by the TP223 1-key touch pad detector chip (PDF), which he mounted on a home etched board with SMD parts. The whole bundle is powered by a small “power bank” battery pack like the ones used to charge mobile phones.


Filed under: Arduino Hacks

tumblr_inline_nzhp89cW1c1sp9ydd_500This DIY star wars shooting gallery looks simple and fun.

Read more on MAKE

The post Shoot First with Home-Built Star Wars Target Practice appeared first on Make: DIY Projects, How-Tos, Electronics, Crafts and Ideas for Makers.

endorTable_11-620x349We love Star Wars and you probably do, too. So here's every Star Wars project we've posted over the last 10 years.

Read more on MAKE

The post Every Star Wars Project Featured on Make: So Far (Over 100!) appeared first on Make: DIY Projects, How-Tos, Electronics, Crafts and Ideas for Makers.

at-at

Dave Stein is a software engineer during the day and a tinkerer on Arduino projects in his free time after work. He submitted on the blog his first Arduino project with the goal of powering his old AT-AT Walker toy (mid 1980s) with Arduino Uno and make it walk and perform some of the functions we see in the Star Wars movies.

AT-AT (All Terrain Armored Transport) are four-legged combat walkers 22.5mt (73.8ft) tall of the Galactic Empire, one of its most famous military symbols introduced  in “Star Wars V: The Empire strikes back”, and we may see them again in the next weeks on “Star Wars: The Force Awakens” the upcoming episode of the saga opening December 18th.

The AT-AT walker toy updated by Dave is controlled by a wired Xbox 360 controller that interfaces with a computer and transports a signal to the Arduino Uno for walker movement:

The left and right triggers move the walker forward and backward while the right stick moves the head horizontally. If you have ever played with this toy you may remember it was clumsy and difficult to move. In my project I wanted to learn about and conquer the difficulties of quadrupedal movement. The realization process for my project involved a massive amount of trial and error, research, and failures. I have to say that I failed many more times than I succeeded with configuring the servos with the Arduino. I went down many long roads to learn about prototyping with the breadboard, soldering, and redesigns of the final product. The most difficult part of the project aside from adjusting the gait of the walker for balance and movement was providing enough power to the servos without frying the microcontroller or any of the components. I was finally able to overcome these difficulties by implementing the Adafruit servo shield.

Check AtAt Project website for all info, parts list and upcoming tutorial!

derjarikTable_1Ian Martin shows off his very impressive homemade Star Wars Dejarik table and runs through its functions and game play.

Read more on MAKE

The post Project Update: Working Star Wars Dejarik Table Finally Here! appeared first on Make: DIY Projects, How-Tos, Electronics, Crafts and Ideas for Makers.

BB-8 3D Printed PartsA BB-8 Builders Club has created plans for creating your own 3D printable full-size BB-8 droid.

Read more on MAKE

The post Progress Report: Secretive Club Designing, 3D Printing a Full-Size BB-8 appeared first on Make: DIY Projects, How-Tos, Electronics, Crafts and Ideas for Makers.

BB8_1A clever design for a homemade, radio-controlled BB-8 droid replica.

Read more on MAKE

The post Yet Another Cool BB-8 Droid Project appeared first on Make: DIY Projects, How-Tos, Electronics, Crafts and Ideas for Makers.

Feb
26

Who doesn’t like Star Wars, LEDs, and music? [Stathack] was looking for a unique piece of art to put in his living room… so he decided to make his own Vader EQ.

The EQ is a massive 4′ x 5′ piece made from plywood and MDF. [Stathack] traced the familiar helmet onto it by using a projector to project the outline onto the surface. Not having access to an extra large CNC or laser, he then painstakingly used a jigsaw to cut out all the white pieces of the design — holy cow.

This process only took weeks and weeks of sanding, filling and sanding again due to the excellent precision of a jigsaw.

Once that was all done, he created the backing plate out of MDF to provide structural support and mounting locations for the LEDs. Bit of spray paint later and a simple circuit with the Arduino and it’s both done, and awesome.

Too bad he filmed the video vertically… sigh.

Need more Vader? How about your own Sous Vadar?


Filed under: Arduino Hacks, led hacks


  • Newsletter

    Sign up for the PlanetArduino Newsletter, which delivers the most popular articles via e-mail to your inbox every week. Just fill in the information below and submit.

  • Like Us on Facebook