Posts | Comments

Planet Arduino

Archive for the ‘CNC machine’ Category

String art is impressive precisely because it is so difficult to make. Even a simple piece of string art will contain hundreds of feet of thread carefully looped around posts to create areas of varying density that act as shading. Everything from calculating the string’s path to physically laying down the string is a challenge. But after an immense amount of work, Paul MH was able to develop a machine that can produce string art at the touch of a button.

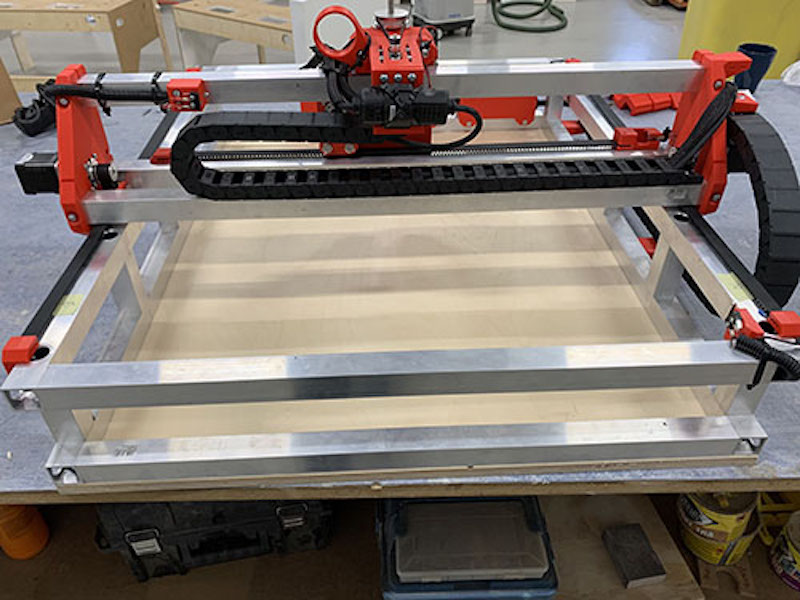
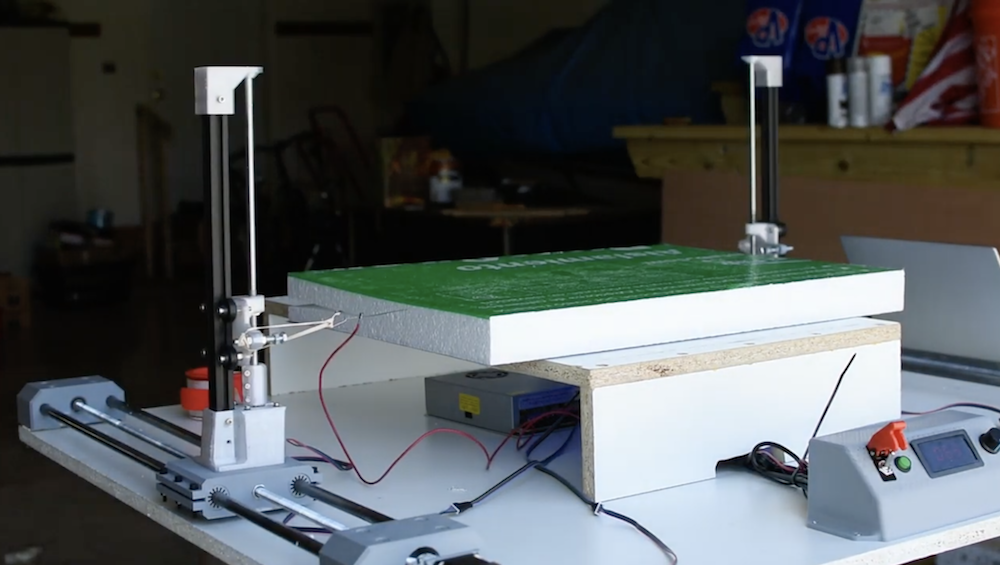
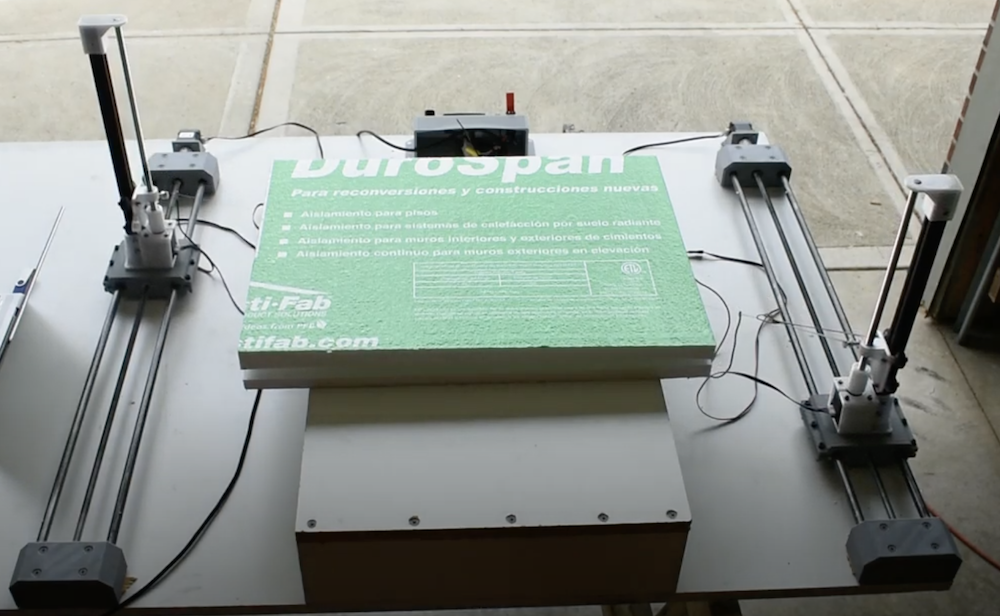
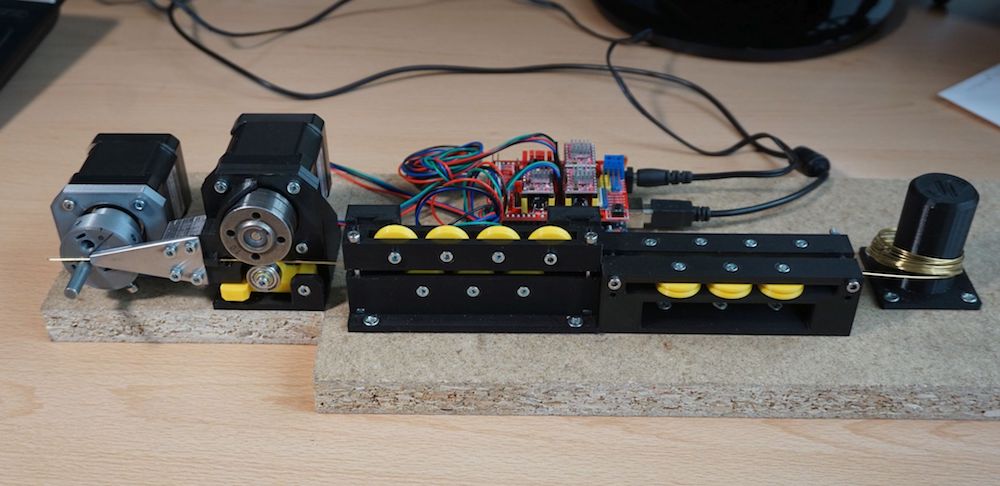
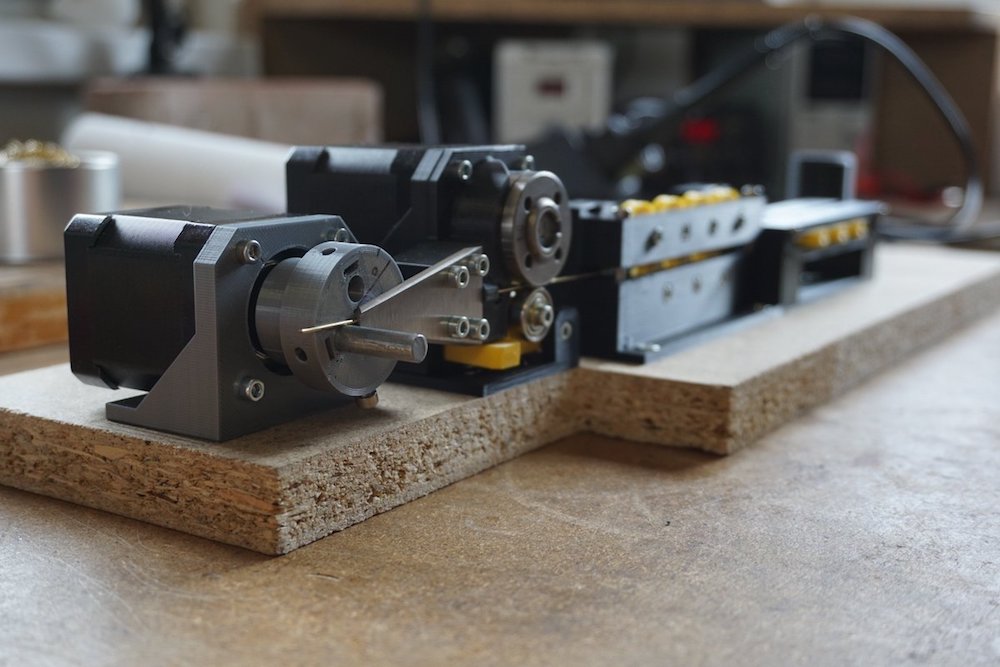
Paul spent years working on this project and it shows. Every step of the process required trial-and-error with different prototypes. To create an art piece, the machine first has to insert dozens or hundreds of nails into the foam bed. That necessitated the invention of a mechanism to feed nails and a neural network to verify that each nail feeds properly. The machine then has to convert an image into a string path, with that path avoiding collisions with nails, looping around nails enough to maintain tension, generating the proper string density, and preventing any tangles.

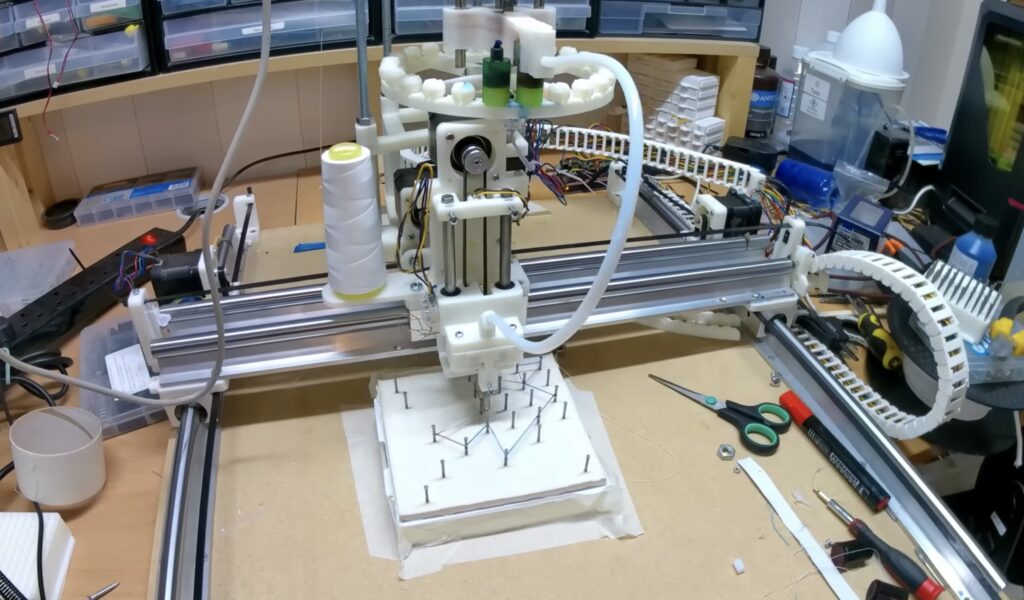
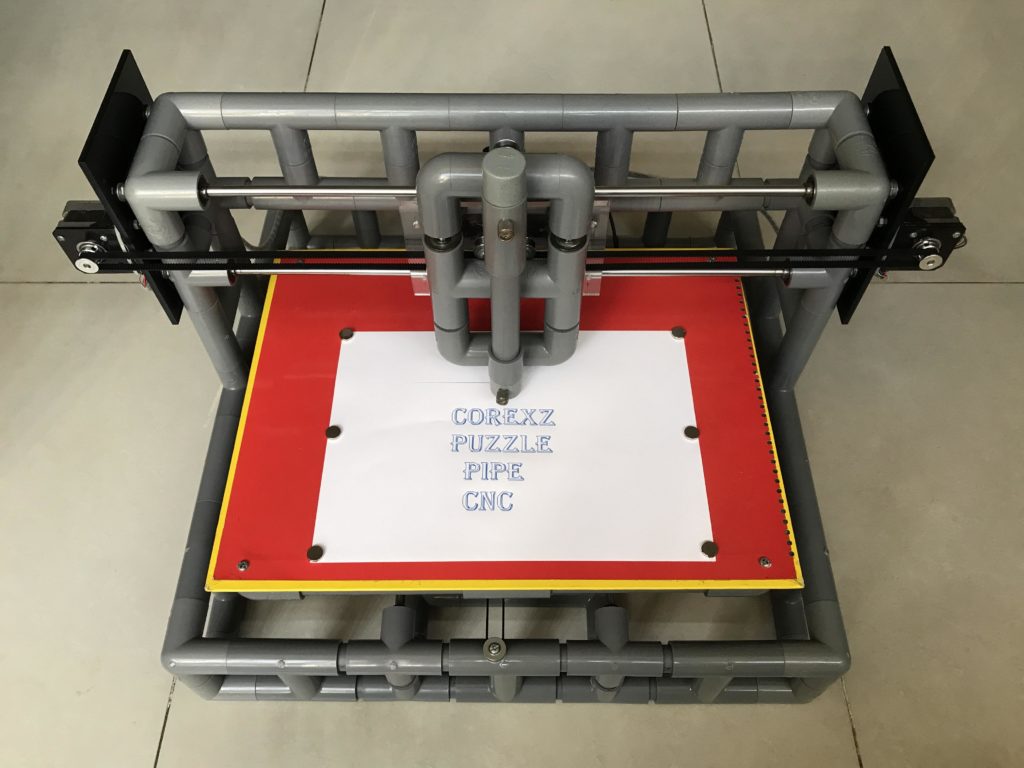
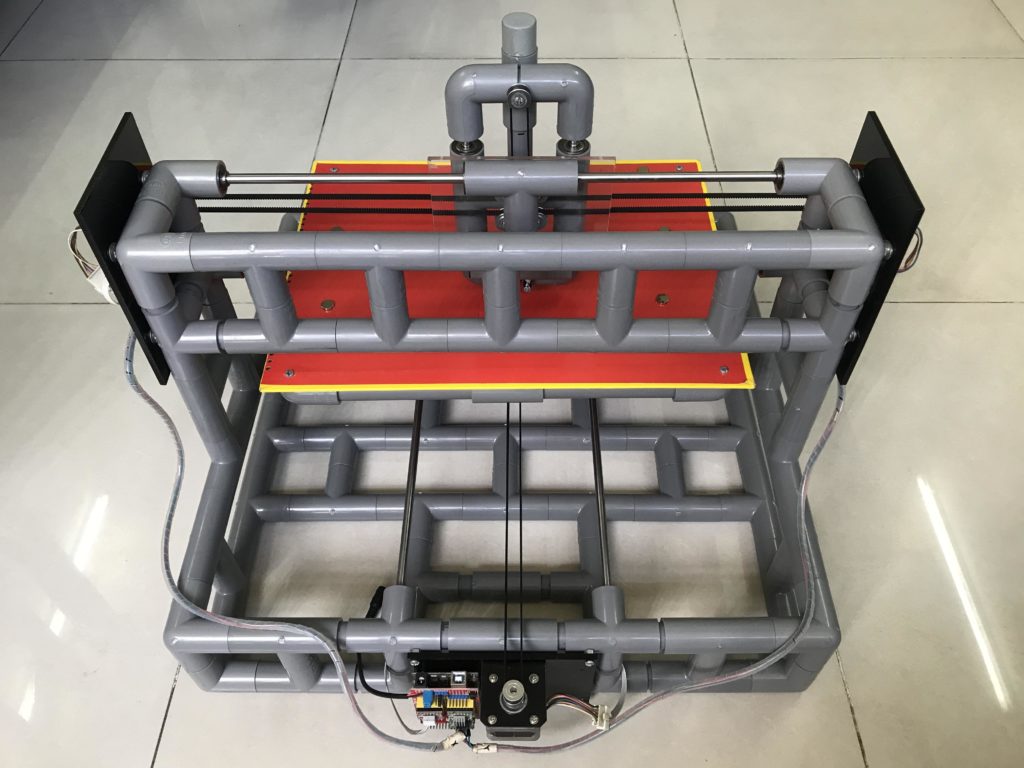
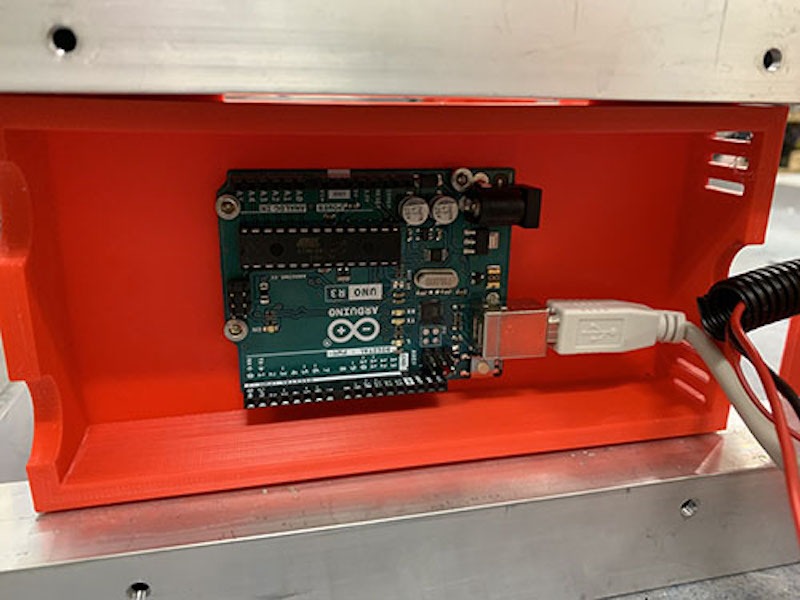
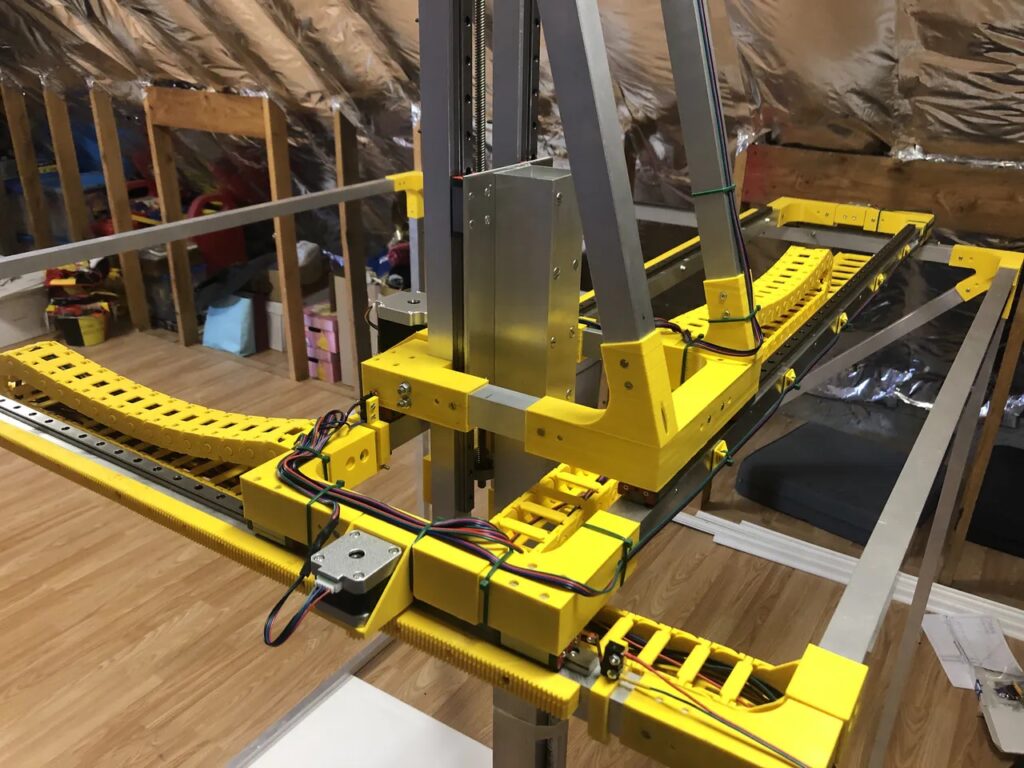
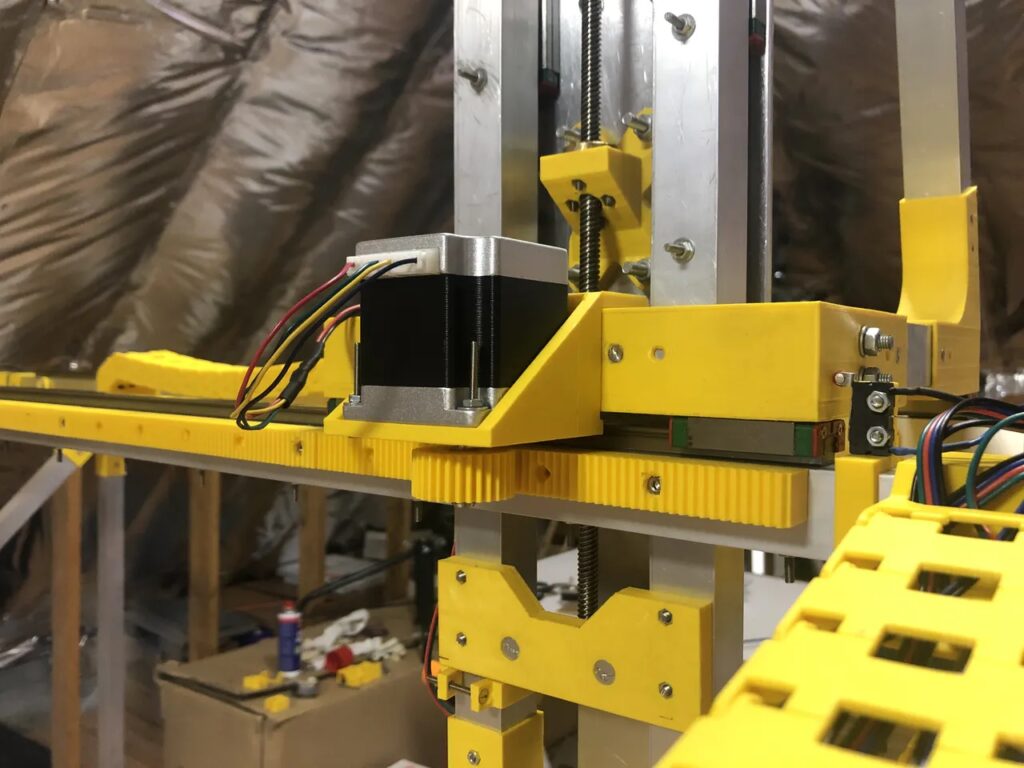
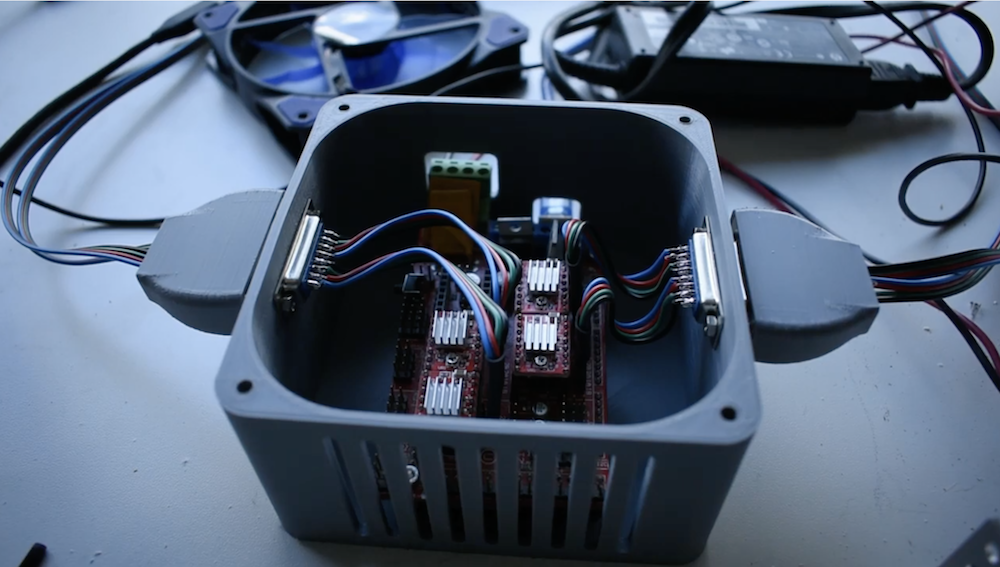
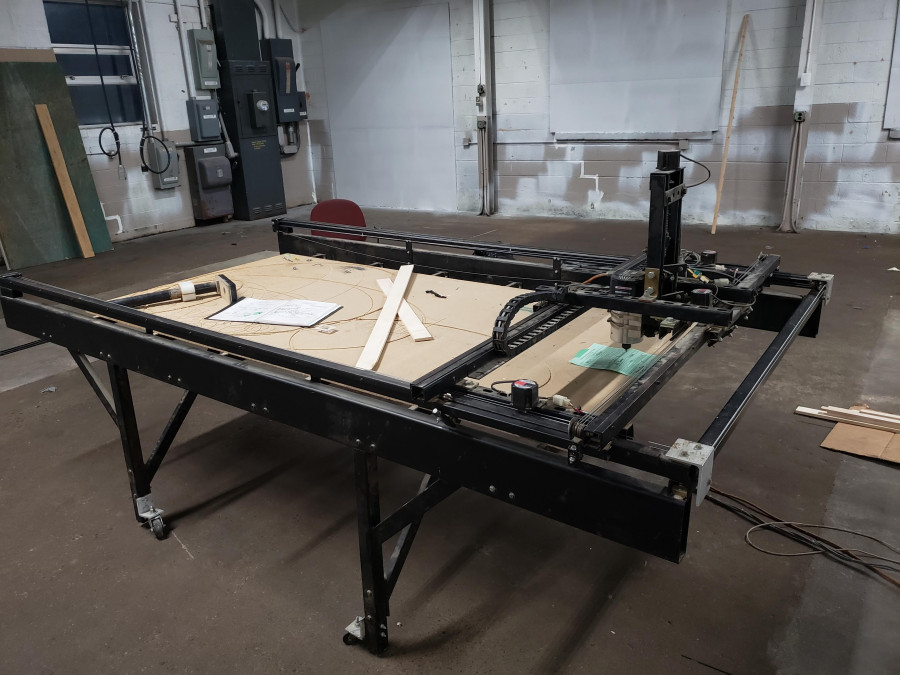
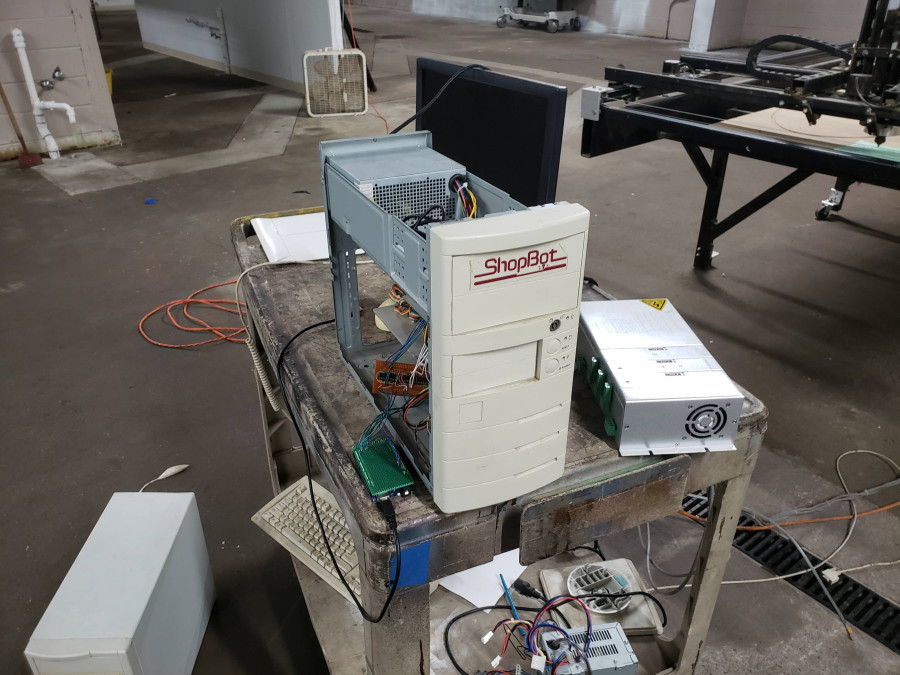
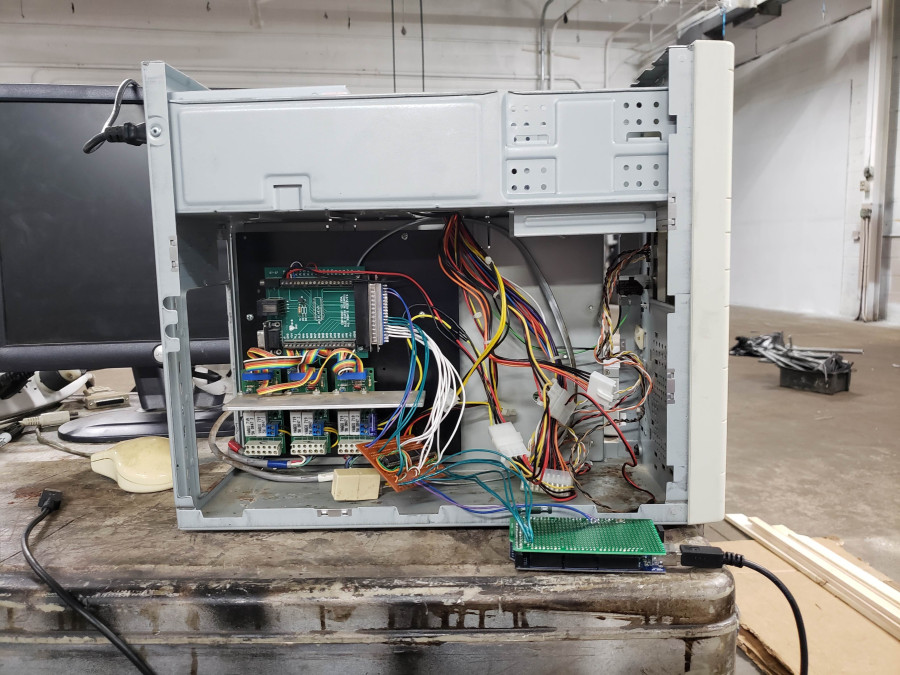
At its heart, this is a CNC machine that accepts custom g-code generated by Paul’s software. That G-code runs on an Arduino Mega 2560 board, which controls the machine’s motors through a RAMPS 1.4 shield. The concept is similar to a conventional DIY CNC router and the kinematic system is familiar, but this machine needed a multitude of custom parts. Most of those were 3D-printed over many iterations until Paul had a working machine.

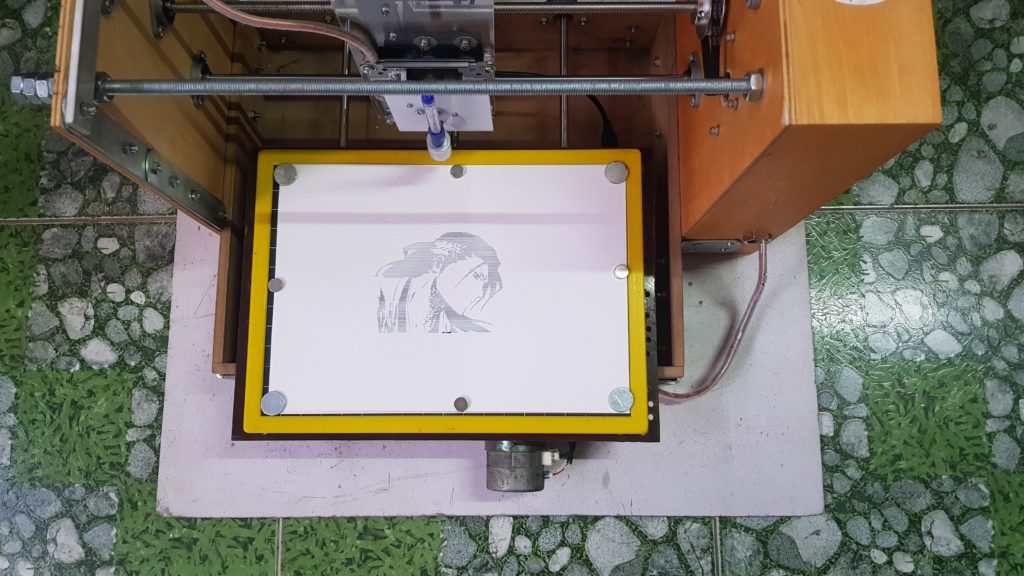
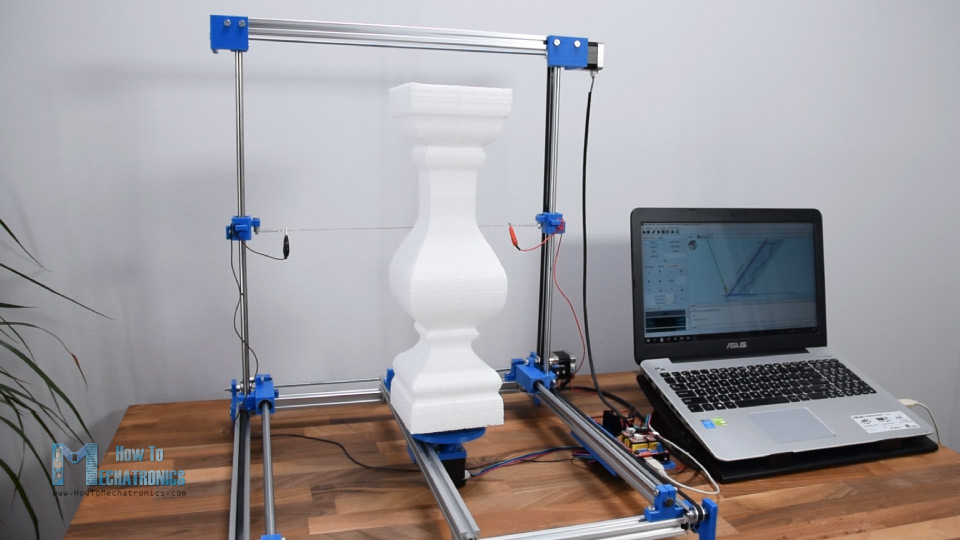
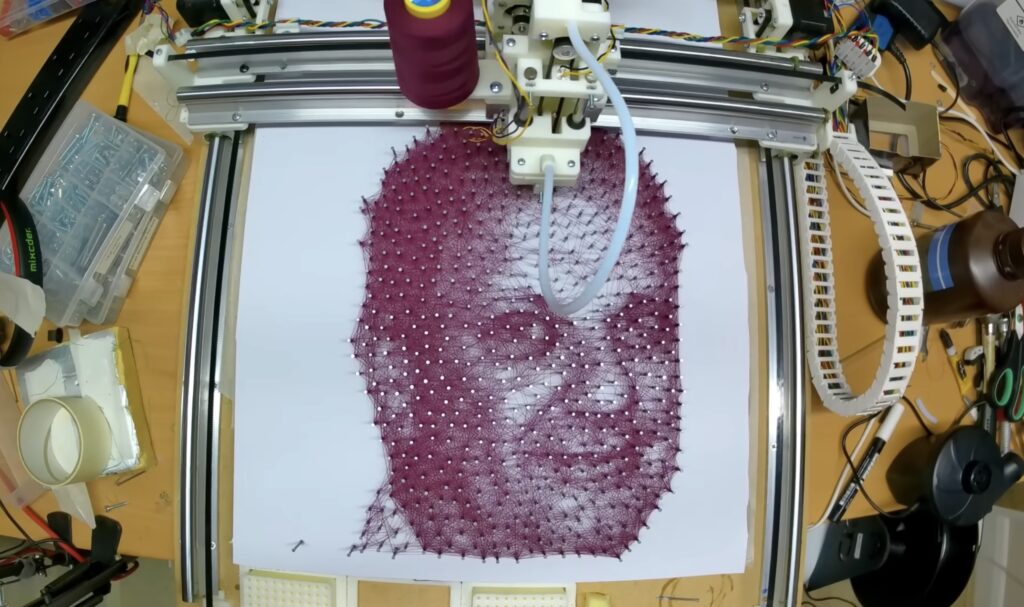
As you can see in Paul’s recent video update, the machine can produce very nice string art. It can take any image as input, but high-contrast pictures without a lot of fine detail work the best.

The post This machine automatically threads beautiful string art appeared first on Arduino Blog.

Instructables user tuenhidiy wanted to create a new kind of CNC plotter that was unlike nearly all of the others you’ve seen. Rather than use aluminum extrusions or wood, this machine is constructed from various pieces of PVC pipe all cut to exact lengths, hence its name, the “CoreXZ Puzzle Pipe Plotter.”

Electronics wise, the plotter runs on an Arduino Uno loaded with an instance of the ubiquitous GRBL firmware. Stacked on top was a CNC GRBL shield, which has three A4988 stepper motor drivers for delivering current to three NEMA17 motors. 

To assemble this PVC CNC machine, tuenhidiy started by building the lower frame from a plethora of T-joints and connectors along with several inserts for attaching the aluminum rods. The plate at the bottom of the machine glides across the Y axis via a pair of aluminum rods and a set of bearings whereas the perpendicularly placed X axis is stationary and moves in a similar manner using one stepper motor placed to the side. Across from this motor is another one, which manipulates the Z axis vertically. 

After adding a pen and connecting the motors to the shield, tuenhidiy opened the Universal Gcode Platform application and added a few different toolpaths for testing. As shown in the following video, the plotter does a great job at drawing both pictures and text accurately. For more details about this project, check out its tutorial on Instructables.

The post PVC pipe plotter prints pretty pictures appeared first on Arduino Blog.

3D printers are very popular in the maker community and CNC machines complement them well. While 3D printers fabricate parts by adding material over time, CNC mills and routers fabricate parts by subtracting material. That is preferable when working with large parts or when you require a lot of precision. If you want an affordable option, this guide will show how to build Ivan Miranda’s 3D-printed CNC machine design.

Miranda posted his first video about this 3D-printed CNC machine back in March, 2020. He eventually published the design files on his website, but didn’t provide many details on parts sourcing or assembly. The GitHub page linked above, created by Max Fischer, provides thorough guidance for people looking to build their own machines based on Miranda’s design. It gives you a detailed bill of materials and walks you through the entire build process with step-by-step photo instructions.

While this machine does require a lot of square tube aluminum extrusion and hardware like linear rails and bearings, all of the custom mechanical parts are 3D-printable. For strength and mechanical stability, you’ll want to print those using a material like PETG. The controller board is an Arduino Uno combined with a CNC shield, which controls the stepper motors via drivers. Like a 3D printer, the X and Y axes utilize drive belts and the Z axis has a leadscrew. The spindle motor, which spins the cutting end mill, is a handheld electric router.

The post Learn how to build your own massive 3D-printed CNC router appeared first on Arduino Blog.

CNC (Computer Numerical Control) mills, routers, and lathes are indispensable manufacturing tools. If you need a part that adheres to tight tolerances, you turn to a CNC machine. Industrial CNC equipment is usually large, heavy, and very expensive. But small models exist for light-duty hobby jobs. This DIY device designed by Brian Brocken stands out because it is huge, has five axes, and is 3D-printable.

The most basic CNC mills and routers have three axes, so they move in the X, Y, and Z directions. But additional axes help a machine perform more complex operations. A fourth axis most often rotates the work piece, while a fifth axis tilts the spindle that rotates the end mill. It is rare to see a DIY CNC machine with five axes, but Brocken pulled it off with this project that has a massive work area of one square meter.

Brocken performed all the design work within Autodesk Fusion 360. The frame of the machine is aluminum tubing and 3D-printed parts. An Arduino Mega board controls the stepper motors through a RAMPS 1.4 board. It accepts standard G-code, so Brocken can create toolpaths in Fusion 360 or other CAM (Computer-Aided Manufacturing) software. The frame lacks rigidity and there is no way it could handle milling aluminum or even wood. But it can mill foam, which is the intended purpose. It can also perform 3D printing and laser cutting. Brocken isn’t quite finished building his CNC machine, but it is already semi-operational.

The post This massive five-axis CNC machine is 3D-printable appeared first on Arduino Blog.

We’ve seen a number of homemade CNC machines throughout the years, but Tuenhidiy’s build — made from some discarded materials — is no less impressive. This unique CNC plotter features a frame cleverly constructed out of two wooden wine boxes, which appear to be the perfect size with space for an Y-axis bed and an upright structure that actuates X movements. For the Z component, a pen is lifted using parts from a recycled CD player drive.

Electronics-wise, the project is also quite interesting as it employs servos rather than steppers for its X and Y axes. Actuation is handled by an Arduino Uno with pre-installed GRBL firmware and a CNC shield, which sends commands to an Arduino Mega running custom firmware. The Mega — plus a custom adapter board and an L293D shield — takes care of PID control for the motors.

More details on the machine can be found in Tuenhidiy’s write-up, and you can see it demonstrated in the video below.

The post Two Arduinos are used to control this DIY three-axis CNC plottee appeared first on Arduino Blog.

When working with Styrofoam, a conventional CNC machine like a router or laser cutter just won’t do. However, as shown in Michael Rechtin’s excellent video below, a hot wire can carve foam like butter, creating custom wings for RC aircraft or whatever else you can dream up.

Rechtin’s build uses a double gantry system to pull the wire in a horizontal and vertical directions. As each is mechanically independent of the other, they can move in tandem, or in a skewed orientation for cutting across both the horizontal and vertical planes.

Control is via an Arduino Mega running Grbl, with a RAMPS 1.4 shield.

You may have a 3D printer or other “digital” tools like a laser engraver or CNC router, but what if you want to work with Styrofoam? As How To Mechatronics demonstrates in his latest project, many of the same techniques used there can be implemented to make your own Arduino-powered hot wire foam cutter.

This build is constructed with 20x20mm aluminum extrusion and 3D-printed parts, and uses an Uno board and CNC shield to drive three stepper motors. Two of these motors manipulate the wire in the horizontal and vertical directions, while the third controls a turntable that rotates the foam as needed.

As seen in the video below, it’s a brilliant design. Written instructions can be found in How To Mechatronics’ blog post, which walks you through the entire process from assembling the machine and connecting its components to preparing shapes and generate the G-code.  

Makerspace i3Detroit was the recent recipient of a free yet non-functioning CNC router. While out of commission when received, the device’s mechanical components and motors appeared to be in operational condition, plus it had a large work surface. The decision was made to get the CNC up and running for now, with the eventual goal of turning it into a plasma cutter.

First, they booted up its (Windows 95) computer and replaced a power supply on the controller. An adapter board for the controller was then built using info from this Arduino Forum post, allowing the router to be controlled with an Arduino Mega running grbl firmware

Although there is still some work to do, it can be seen happily jogging along in the video below, and appears well on its way to becoming a usable machine!

Jiri Praus enjoys using brass wire for his freeform sculptures, but isn’t a fan of making the same bends over again. To solve this problem, he designed a CNC machine to handle that task for him.

His device features a series of rollers to straighten out the wire, with a servo-driven puller that utilizes a roller normally used with a welding machine. A second servo then precisely bends the wire into shape, creating squares, hexagons and even springs under the control of an Arduino/CNC shield. 

You can see the project in action in the videos below, and if you want to build your own, the STL files for this mostly 3D-printed setup are up on GitHub.

Inventor Artist Darcy Whyte wanted a drawing robot that was light enough to carry around, and could quickly produce drawings. Naturally, he turned to an Arduino Uno, along with a CNC shield and a trio of A4988 stepper drivers. These control a NEMA 8 and two NEMA17 stepper motors in a gantry-style artistic setup.

The build is able to drag a marker across a page, apparently varying pressure applied with the z-axis, and thus how much ink is applied. In another mode, a pen can be used, which wobbles back and forth to create volume when needed. 

Both methods, as seen in the clips below, can sketch a very recognizable—though certainly distinct—portrait of Marilyn Monroe, or presumably whatever other image you choose to program in.


  • Newsletter

    Sign up for the PlanetArduino Newsletter, which delivers the most popular articles via e-mail to your inbox every week. Just fill in the information below and submit.

  • Like Us on Facebook