Posts | Comments

Planet Arduino

Archive for the ‘addressable led’ Category

Few things excite a Hackaday staff member more than a glowing LED, so it should be no surprise that combining them together into a matrix really gets us going. Make that matrix tiny, addressable, and chainable and you know it’ll be a hit at the virtual water cooler. We’ve seen [tinyledmatrix]’s work before but he’s back with the COPXIE, a pair of tiny addressable displays on one PCBA.

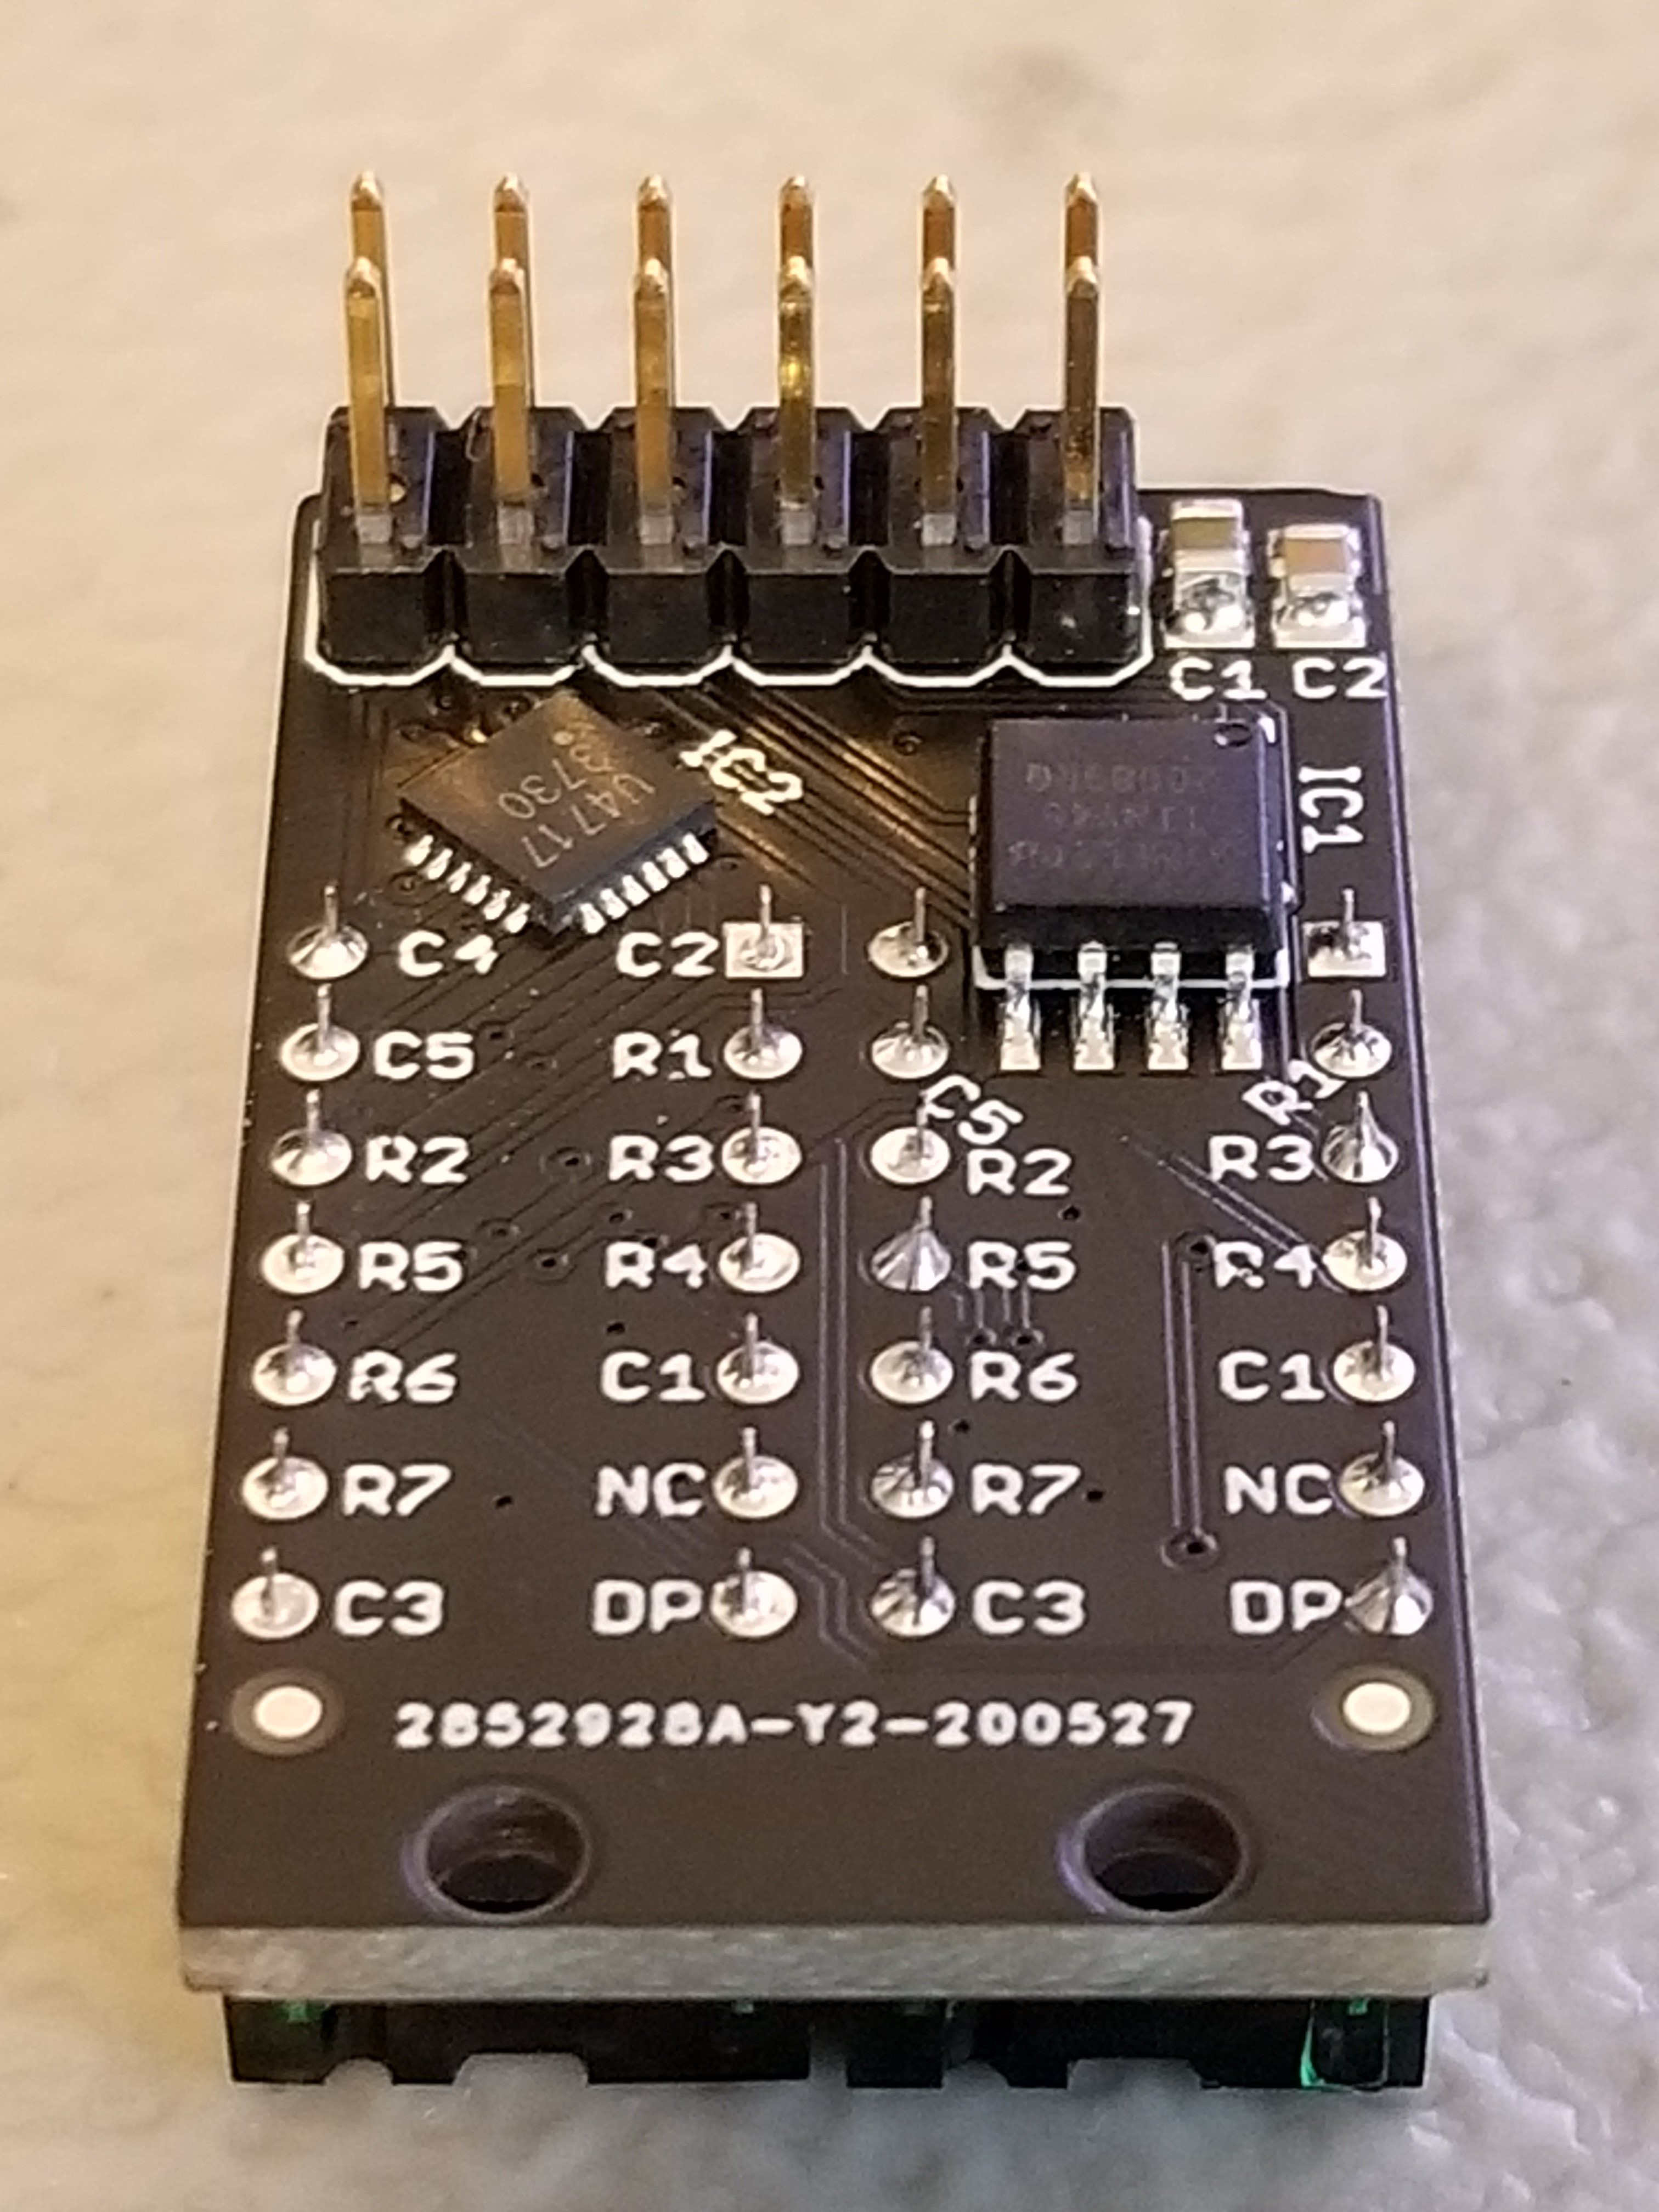
The sample boards seen at top are a particularly eye catching combination of OSH Park After Dark PCB and mysterious purple SMT LEDs that really explain the entire premise. Each PCBA holds two groups of discrete LEDs each arranged into a 5×7 display. There’s enough density here for a full Latin character set and simple icons and graphics, so there should be enough flexibility for all the NTP-synced desk clocks and train timetables a temporally obsessed hacker could want.

But a display is only as good as it’s SDK, right? The COPXIE is actually designed to be a drop in replacement for a different series of tiny LED matrices, the PIXIE by [Lixie Labs]. To complete the effect the COPXIE runs the same firmware and so has the same feature set. Each module (with two displays) can be controlled with just two pins (data and clock), and chains of more than 12 modules (24 displays) can be strung together. Plus there is a convenient Arduino friendly library which makes control a snap.

To build a COPXIE of your own, check out the schematic linked on the Hackaday.io page, and the layout at the OSH Park share link. Note that it seems like [tinyledmatrix] may not have completely validated these boards, but given there are plenty of photos of them working they seem like a safe bet.

When we last heard from [lixielabs] he was building Nixie tube replacements out of etched acrylic and LEDs. Well he’s moved forward a few decades to bring us the Pixie, a chainable, addressable backpack for tiny LED matrix displays.

Each Pixie module is designed to host two gorgeous little Lite-On LTP-305G/HR 5×7 LED dot matrix displays, which we suspect have been impulse purchases in many a shopping cart. Along with the displays there is a small matrix controller and an ATTINY45 to expose a friendly electrical interface. Each module is designed to be mounted edge to edge and daisy chained out to 12 or more (with two displays each) for a flexible display any size you need. But to address the entire array only two control pins are required (data and clock).

[lixielabs] has done the legwork to make using those pins as easy as possible. He is careful to point out the importance of a good SDK and provides handy Arduino libraries for common microcontrollers and a reference implementation for the Raspberry Pi that should be easy to crib from to support new platforms. To go with that library support is superb documentation in the form of a datasheet (complete with dimensions and schematic!) and well stocked GitHub repo with examples and more.

To get a sense of their graphical capabilities, check out a video of 6 Pixie’s acting as a VU meter after the break. The Pixie looks like what you get when a hacker gets frustrated at reinventing LED dot matrix control for every project and decided to solve it once and for all. The design is clean, well documented, and extremely functional. We’re excited to see what comes next!

Light painting has long graced the portfolios of long-exposure photographers, but high resolution isn’t usually possible when you’re light painting with human subjects.

This weekend project from [Timmo] uses an ESP8266-based microcontroller and an addressable WS2812-based LED strip to paint words or custom images in thin air. It’s actually based on the Pixelstick, a tool used by professional photographers for setting up animations and photorealism shots. The equipment needed for setting up the light painting sticks runs in the order of hundreds, not to mention the professional camera and lenses needed. Nevertheless, it’s a huge step up from waving around a flashlight with your friends.

The LED Lightpainter takes the Pixelstick a few notches lower for amateur photographers and hobbyists. It directly supports 24-bit BMP, with no conversion needed. Images are stored internally in Flash memory and are uploaded through a web interface. The settings for the number of LEDs, time for the image row, and STA/AP-mode for wireless connections are also set by the web interface. The project uses the Adafruit NeoPixel, ArduinoJson, and Bodmer’s TFT_HX8357 libraries for implementing the BMP drawing code, which also allows for an image preview prior to uploading the code to the microcontroller. Images are drawn from the bottom row to the top, so images have to be transformed before updating to the LED painter.

Some future improvements planned for the project include TFT/OLED support, rainbow or color gradient patterns in the LEDs, and accelerometer or gyroscope support for supporting animation.

There aren’t currently too many galleries of DIY LED-enabled light paintings, but we’d love to see some custom modded light painting approaches in the future.

This isn’t the first LED light stick we’ve seen, if you’re interested in such things.

Learning becomes interesting when you make it fun, interactive and entertaining. [Arkadi] built ShakeIt – an interactive game for the Mini MakerFaire in Jerusalem to demonstrate to kids and grownups how light colors are mixed. It is a follow up to his earlier project – Smart juggling balls which we featured earlier.

The juggling balls consist of a 6 dof sensor (MPU 6050), a micro controller, transmitter (NRF24L01+), some addressable RGB LED’s and a LiPo battery. An external magnet activates a reed switch inside the balls and triggers them in to action. The ShakeIt light fixture consists of an Arduino Nano clone, NRF24L01+ with SMA Antenna, buck converter, 74 addressable RGB LED’s, and a bluetooth module. The bluetooth module connects to a smartphone app.

[Arkadi] starts out by handing three juggling balls, each with a predefined color (Red, Green, Blue). When the ball is shaken, the light inside the ball becomes stronger. The ShakeIt light fixture is used as a mixer. It communicates with the balls and receives the value of how strong the light inside each of the smart balls is, mixing them up, and generating the mixed color.

The fun starts when the interactive game mode is enabled. Instead of just mixing the light, the Light fixture generates patterns based on how strong the balls are shaken. At first the light fixture shows all three colors filling up the central ball. The three contenders then fight out to get their color to fill up the sphere completely until only one color remains and the winner is declared.

The kids might be learning some color theory here, but it seems the adults are having a “ball” playing the crazy game. If you’d like to build your own shoulder dislocating ShakeIt game, head over to [Arkadi]’s github repository for the ShakeIt and the Juggling Balls. Check the video below to see the adults having fun.


Filed under: Arduino Hacks, led hacks


  • Newsletter

    Sign up for the PlanetArduino Newsletter, which delivers the most popular articles via e-mail to your inbox every week. Just fill in the information below and submit.

  • Like Us on Facebook