Posts | Comments

Planet Arduino

Archive for the ‘camera slider’ Category

If you do any kind of video content creation and you still rely entirely on static shots, then you’re missing out on an opportunity to generate visual interest that draws viewers in. Dynamic shots can do a lot to increase the production value of your videos, but most people can’t afford to hire a camera operator. That’s why you should check out Giovanni Aggiustatutto’s camera robot.

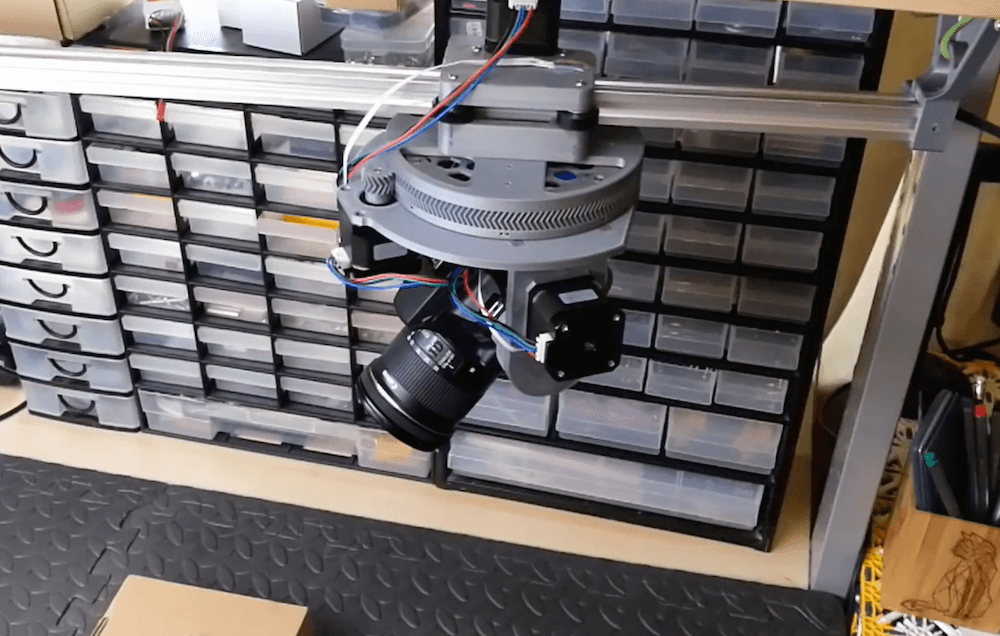
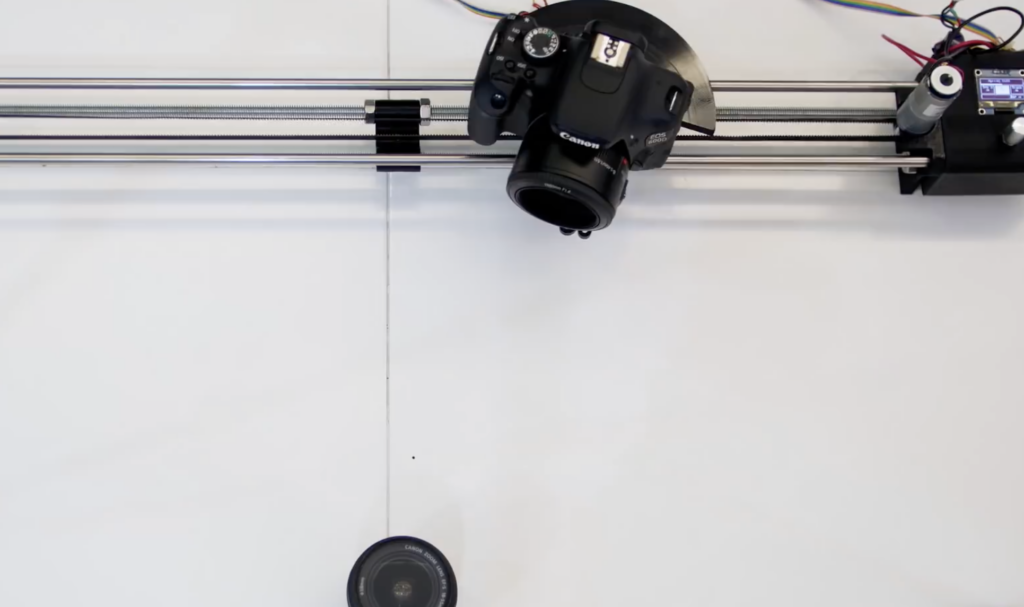
This device attaches to a standard tripod to provide motorized panning and tilting. While those movements are not comprehensive, they do allow for a lot of flexibility for capturing dynamic video. The best part is that the setup includes a remote with a joystick to make controlling the movement a snap. The remote lets users program movements ahead of time, which the device can then execute when it is time to get the shot. There is even a timelapse mode that will move the camera slightly between still captures.

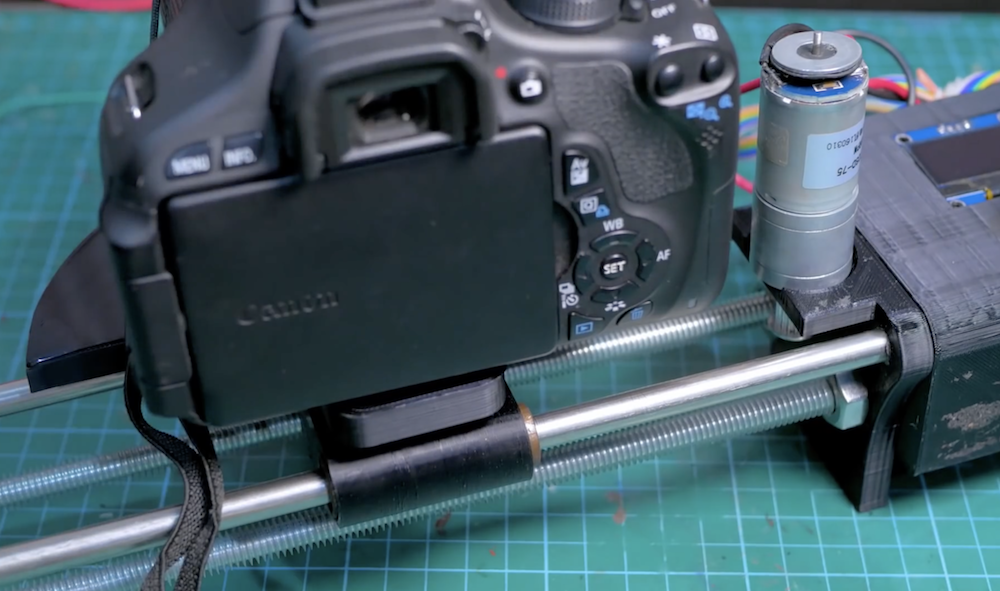
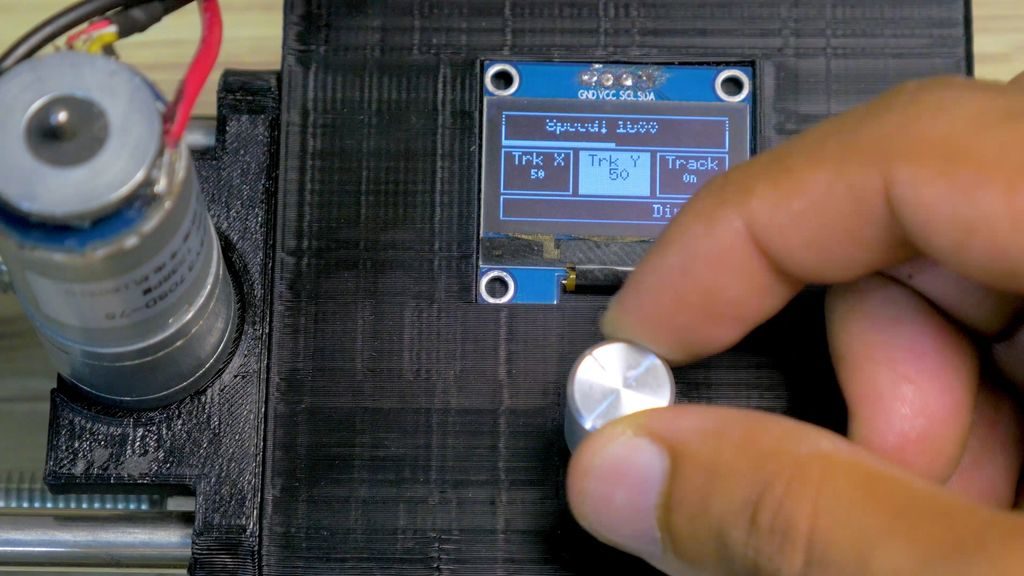
Because this pans and tilts, it needs two motors. Those are stepper motors controlled by an Arduino Nano Every board through two TMC2208 stepper motor driver modules. A joystick on the remote lets the user pan or tilt, while an LCD provides information. The remote connects to the main unit via an Ethernet cable. The enclosures and most of the mechanical parts are 3D-printable, but this project does require some hardware like pulleys, bearings, and aluminum tube.

If you’re ready to step up your video production game, this is a relatively easy and affordable way to do so.

The post Easily create your own robotic camera operator appeared first on Arduino Blog.

It’s 2021. Everyone and their mother is filming themselves doing stuff, and a lot of it is super cool content. But since most of us have to also work the video capture devices ourselves, it can be difficult to make compelling footage with a single, stationary overhead view, especially when there are a lot of steps involved. A slider rig is a good start, but the ability to move the camera in three dimensions programmatically is really where it’s at.

[KronBjorn]’s excellent automated overhead camera assistant runs on an Arduino Mega and is operated by typing commands in the serial monitor. It can pan ±20° from straight down and moves in three axes on NEMA-17 stepper motors. It moves really smoothly, which you can see in the videos after the break. The plastic-minimal design is interesting and reminds us a bit of an ophthalmoscope — that’s that main rig at the eye doctor. There’s only one thing that would make this better, and that’s a dedicated macro pad.

If you want to build your own, you’re in luck — there’s quite a lot of detail to this project, including a complete BOM, all the STLs, code, and even assembly videos of the 3D-printed parts and the electronics. Slide past the break to check out a couple of brief demo videos.

Not enough room for a setup like this one? Try the pantograph version.

“Have you ever wished you had an extra pair of hands in the workshop to handle the camera, while you were concentrating on your project?” KronBjron has, which led them to create an automated overhead camera assistant to help document instructional videos.

The device hangs a camera overhead and uses a trio of stepper motors to pan, tilt, and slide it around for extra interesting shots. It’s all controlled by an Arduino Mega and RAMPS 1.4 board, with user interface implemented via the serial monitor. Users can set up to 10 keyframe positions, and the camera rig will move from one point to another while it captures what’s going on below.

The assistant is made out of readily-available components, along with a structure that can either be 3D-printed or CNC’ed. However you construct it, this build looks like just the thing to take your videos to the next level!

The post Camera assistant takes shots of your workbench from above appeared first on Arduino Blog.

The prevalence of drones has made airborne photography much more widespread, especially among hobby photographers and videographers. However, drone photos aren’t without their problems. You have to deal with making the drone follow the shot which can be difficult unless you have a very expensive one. Worse, you can’t really fly a drone through heavily wooded or otherwise obstructed terrain.

[Makesome’s] friend faced these issues and wanted to buy a cable cam — a mount for the camera that could go back and forth on a cable strung between two trees or other structures. Instead of a design from scratch, they decided to cannibalize a cheap RC car along with an HP printer and the effect — as you can see in the video below — is pretty good.

Repurposing toys is an honored tradition and, after all, what do you need but a motor that goes forward and reverses? We can’t help but notice though that toy hacking is much easier now that you can 3D print custom widgets to connect everything together.

The video isn’t really a tutorial because you will likely start with a different car and have different needs. But there’s enough info there to give you some ideas. It looks like the car’s contribution was mostly the RF remote control portions. There’s also an Arduino and some drive electronics to take care of the motor donated by an old printer.

If you prefer to slide your camera on a rail, we’ve seen many setups for that. Or try a camera dolly on wheels.

DIY camera sliders are a great way to get professional-looking video shots on an amateur budget, but few can compare to the quality of this project by “isaac879.”

His device features a pan/tilt mechanism outlined in a previous video, but in the clip below he’s attaching it to a piece of aluminum extrusion to enable it to slide as well.

The build is controlled by an Arduino Nano, which actuates three stepper motors using A4988 drivers. The carriage is pulled along by a belt drive, via a stepper mounted to the carriage itself. This allows for easy disassembly when needed.

It’s a clever and extremely clean design, and the video shows some great examples of the shots it can take (even when upside down).

When filming your projects—or day-to-day life—static shots can be fun, but having a moving perspective often looks even better. The challenge is keeping the camera pointed at your subject, which maker Saral Tayal addresses with his automated slider.

This Arduino Uno-controlled slider is powered by a pair of brushed DC motors with encoders attached for feedback. One pulls the camera along a pair of rails on a set of linear bearings, while the other adjusts the camera’s horizontal angle using trigonometry to keep a particular object in-frame. 

Code and print files are available in Tayal’s write-up, and some beautiful resulting shots with an explanation of the project can be seen in the video below. 

B2B-1Woodworking and electronics, automatons and camera sliders. Ben Brandt's YouTube channel offers lots of cool projects.

Read more on MAKE

The post Weekend Watch: B2Builds Dives into Electronics and Woodworking appeared first on Make: DIY Projects and Ideas for Makers.


  • Newsletter

    Sign up for the PlanetArduino Newsletter, which delivers the most popular articles via e-mail to your inbox every week. Just fill in the information below and submit.

  • Like Us on Facebook