Posts | Comments

Planet Arduino

Archive for the ‘hvac’ Category

Shortly after setting the desired temperature of a room, a building’s HVAC system will engage and work to either raise or lower the ambient temperature to match. While this approach generally works well to control the local environment, the strategy also leads to tremendous wastes of energy since it is unable to easily adapt to changes in occupancy or activity. In contrast, Jallson Suryo’s smart HVAC project aims to tailor the amount of cooling to each zone individually by leveraging computer vision to track certain metrics.

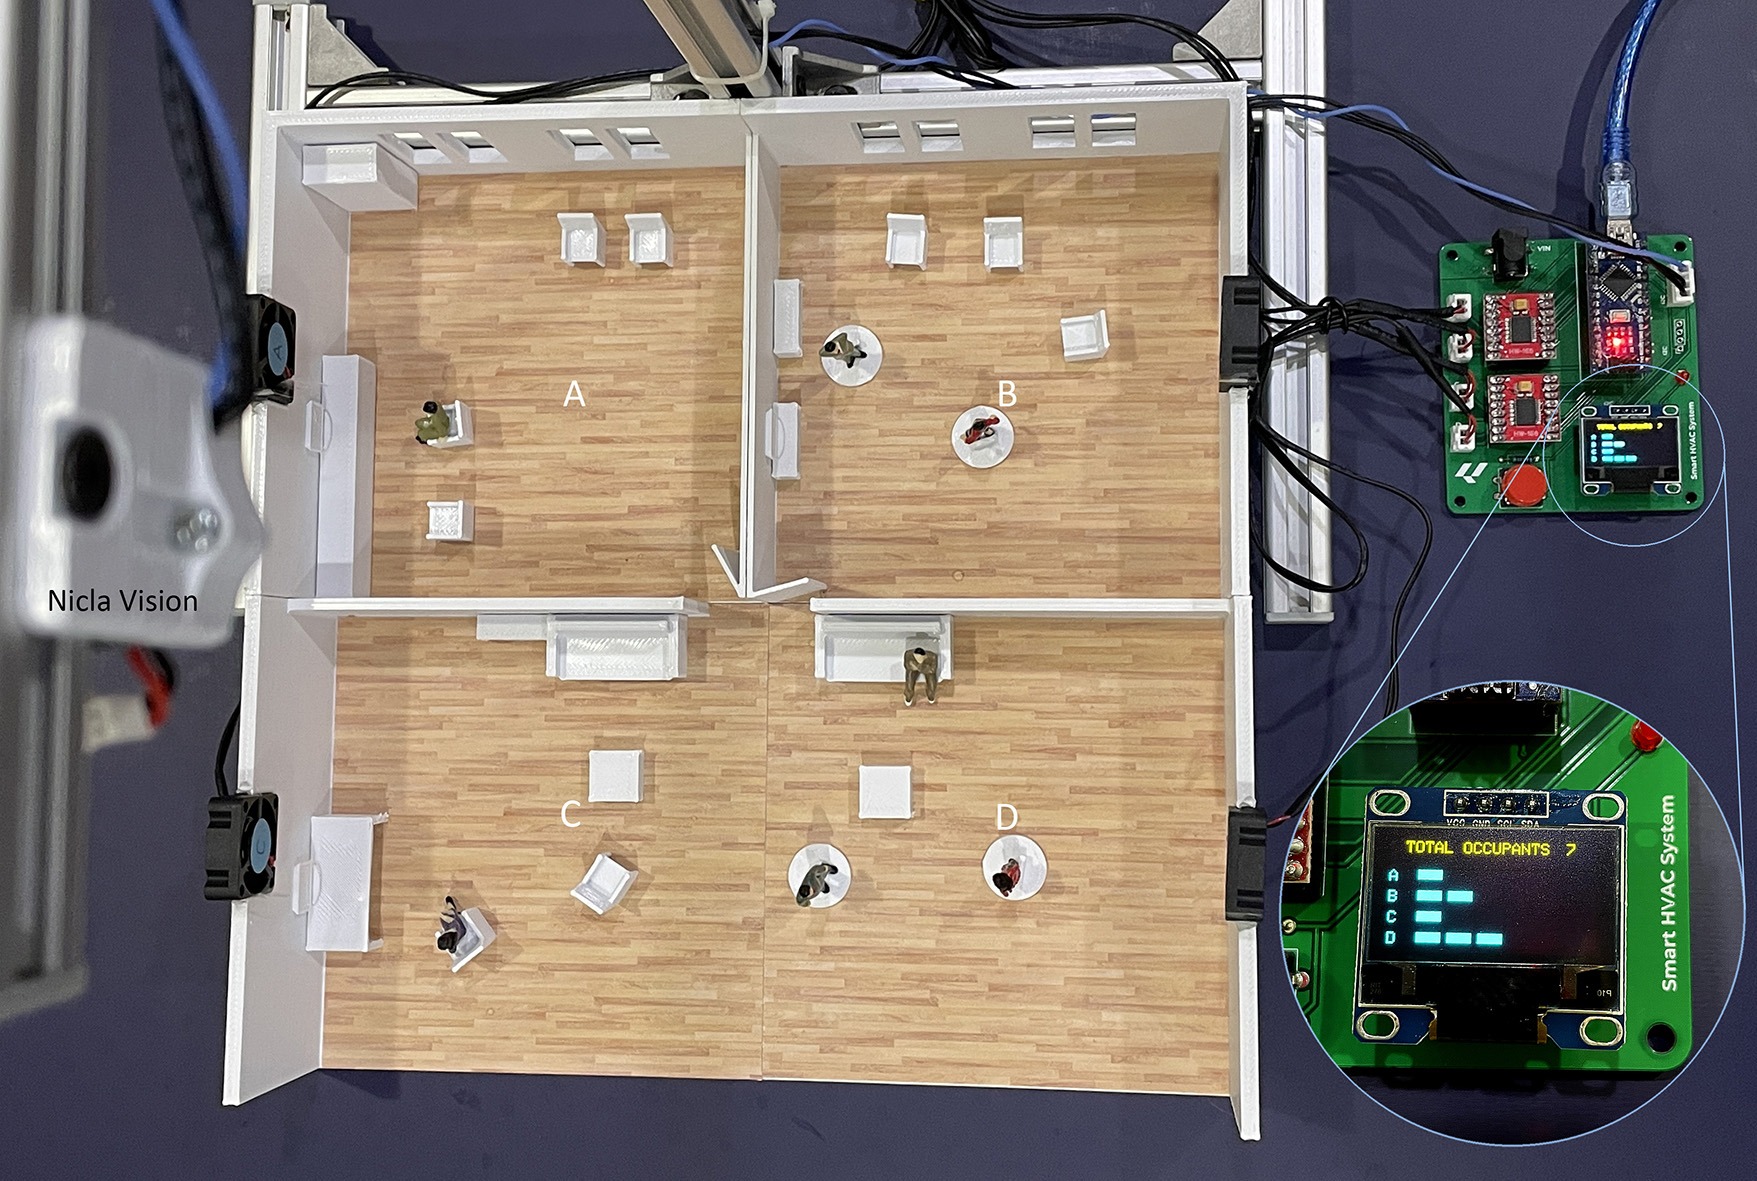
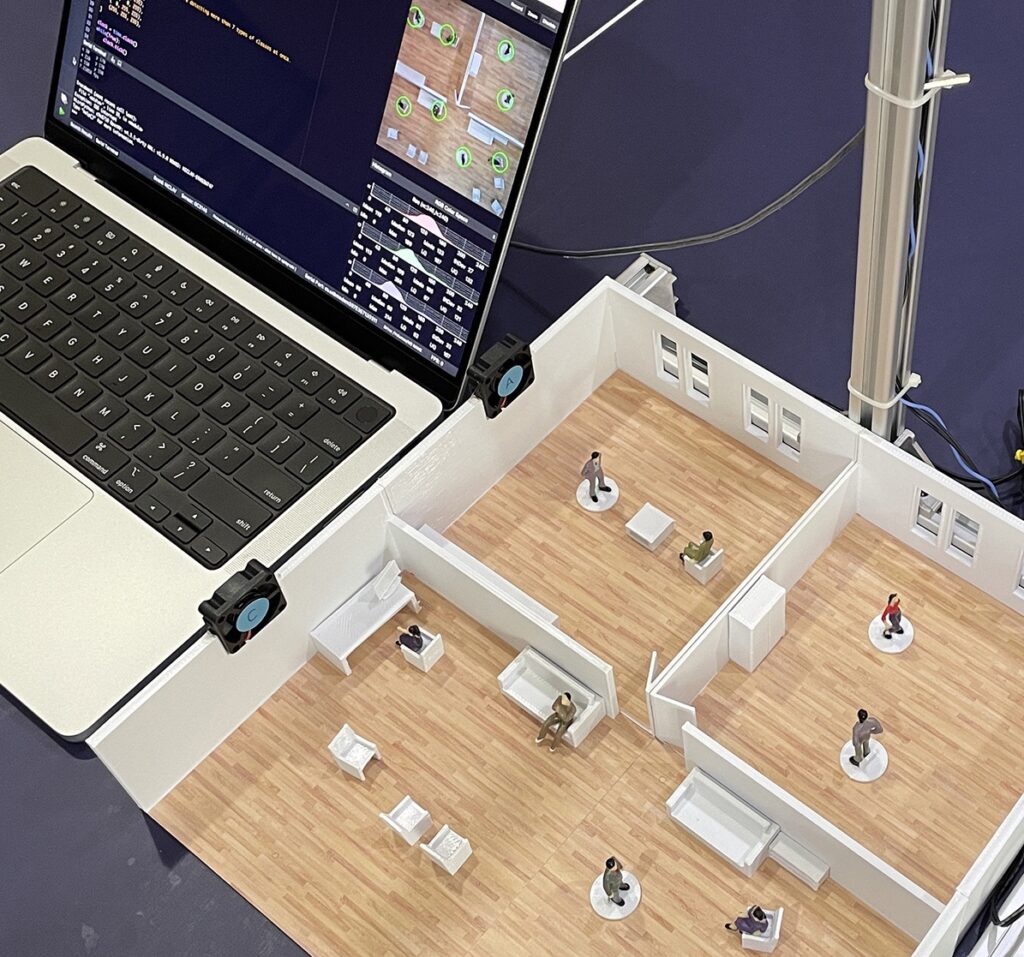
Suryo developed his proof of concept as a 1:50 scale model of a plausible office space, complete with four separate rooms and a plethora of human figurines. Employing Edge Impulse and a smartphone, 79 images were captured and had bounding boxes drawn around each person for use in a FOMO-based object detection model. After training, Suryo deployed the OpenMV firmware onto an Arduino Nicla Vision board and was able to view detections in real-time.

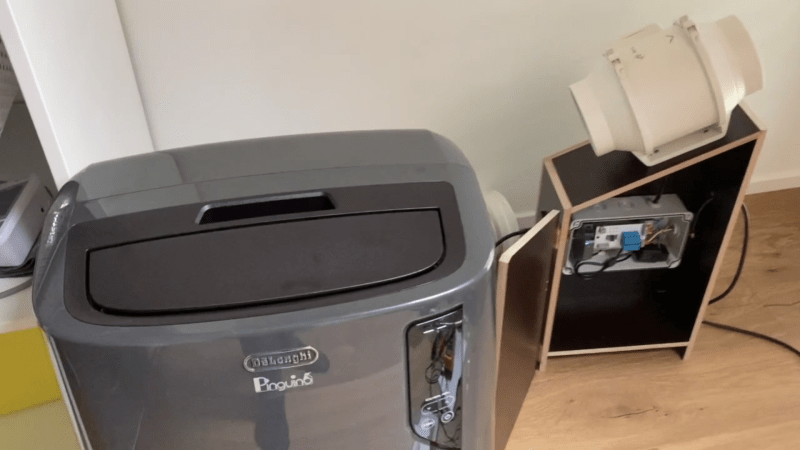
The last step involved building an Arduino library containing the model and integrating it into a sketch that communicates with an Arduino Nano peripheral board over I2C by relaying the number of people per quadrant. Based on this data, the Nano dynamically adjusts one of four 5V DC fans to adjust the temperature while displaying relevant information on an OLED screen. To see how this POC works in more detail, you can visit Suryo’s write-up on the Edge Impulse docs page.

The post Intelligently control an HVAC system using the Arduino Nicla Vision appeared first on Arduino Blog.

Portable air conditioning units are a great way to cool off a space during the hot summer months, but they require some place to blow the heat they’ve removed from your room. [VincentMakes] got a portable AC unit for his home, but he found that the place he wanted to put it was too far from the only window he could use to dump the hot air. Having too long of a duct on the hot air exhaust increases the back pressure on the fan which could cause it to prematurely fail, so [Vincent] used an extractor fan to automatically give is AC unit’s exhaust a boost on its way to the window.

Because his AC can operate at low, medium, and high speeds, he chose an extractor fan that also supported multiple speeds and took care to match the airflow of the AC and extractor fan to avoid putting too much strain on either fan. He designed a system to automatically set the speed of the boosting fan to match that of the AC using a Hall effect current sensor to measure the AC unit’s power draw and an Arduino Nano for control. A custom PCB interfaces the Nano to the Hall Sensor and control relays, and we have to applaud [Vincent] for keeping the +5V DC and 230V AC far, far away from each other. In addition to this fine electronics work, [Vincent] also built an enclosure for the fan controller that allows the fan to be mounted on top at an angle, which helps avoid having hard bends in the exhaust duct.

If this has you thinking about smart air conditioners to keep cool this summer, check out this ESP8266-powered smart AC system, or this Raspberry Pi-based system that controls both AC and blinds!

Most of North America has been locked in a record-setting heat wave for the last two weeks, and cheap window AC units are flying out of the local big-box stores. Not all of these discount units undergo rigorous QC before sailing across the Pacific, though, and a few wonky thermostats are sure to get through. But with a little sweat-equity you can fix it with this Arduino thermostat and temperature display.

We’ll stipulate that an Arduino may be overkill for this application and that microcontrollers don’t belong in every project. But if it’s what you’ve got on hand, and you’re sick of waking up in a pool of sweat, then it’s a perfectly acceptable solution. It looks like [Engineering Nonsense] got lucky and had a unit with a low-current power switch, allowing him to use a small relay to control the AC. The control algorithm is simple enough – accept a setpoint from an encoder, read the temperature sensor, and turn the AC on or off accordingly. Setpoint and current temperature are displayed on an OLED screen. One improvement we’d suggest is adding a three-minute delay between power cycles like the faceplate of the AC states.

This project bears some resemblance to this Arduino-controlled AC, but it seems more hackish to us. And that’s a good thing – hackers have to keep cool somehow.


Filed under: Arduino Hacks, home hacks


  • Newsletter

    Sign up for the PlanetArduino Newsletter, which delivers the most popular articles via e-mail to your inbox every week. Just fill in the information below and submit.

  • Like Us on Facebook