03
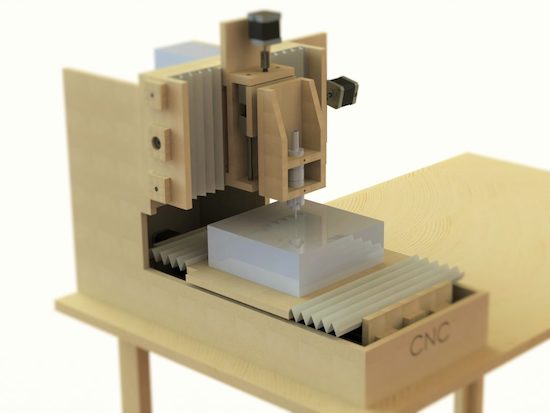
3D printers are very popular in the maker community and CNC machines complement them well. While 3D printers fabricate parts by adding material over time, CNC mills and routers fabricate parts by subtracting material. That is preferable when working with large parts or when you require a lot of precision. If you want an affordable option, this guide will show how to build Ivan Miranda’s 3D-printed CNC machine design.
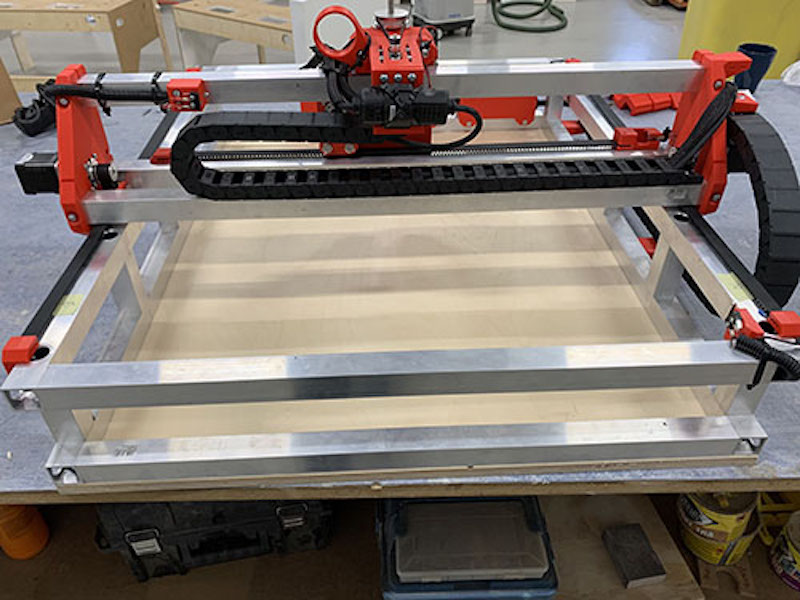
Miranda posted his first video about this 3D-printed CNC machine back in March, 2020. He eventually published the design files on his website, but didn’t provide many details on parts sourcing or assembly. The GitHub page linked above, created by Max Fischer, provides thorough guidance for people looking to build their own machines based on Miranda’s design. It gives you a detailed bill of materials and walks you through the entire build process with step-by-step photo instructions.
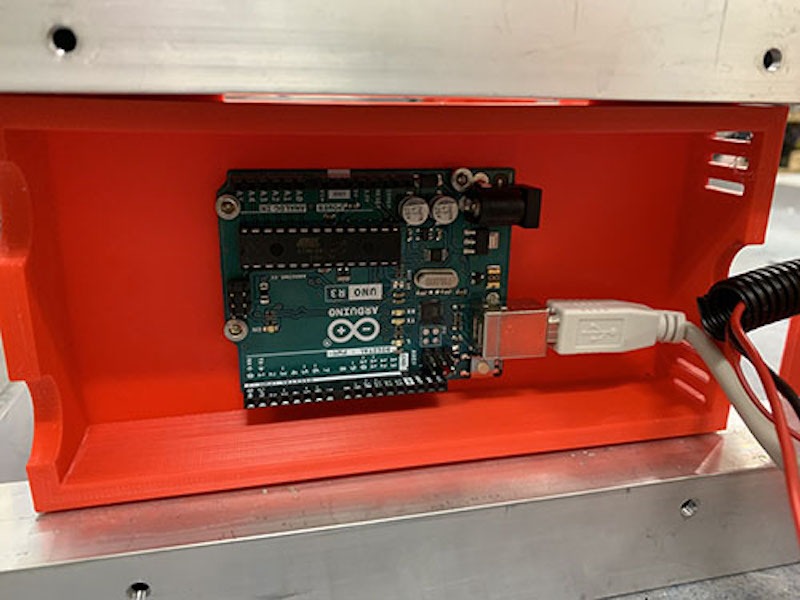
While this machine does require a lot of square tube aluminum extrusion and hardware like linear rails and bearings, all of the custom mechanical parts are 3D-printable. For strength and mechanical stability, you’ll want to print those using a material like PETG. The controller board is an Arduino Uno combined with a CNC shield, which controls the stepper motors via drivers. Like a 3D printer, the X and Y axes utilize drive belts and the Z axis has a leadscrew. The spindle motor, which spins the cutting end mill, is a handheld electric router.
The post Learn how to build your own massive 3D-printed CNC router appeared first on Arduino Blog.