Posts | Comments

Planet Arduino

Archive for the ‘RGB LEDs’ Category

Word clock in the style of the Christmas lights from Stranger Things. If you know, you know.

Will Netflix’s nostalgic hit Stranger Things be back for a fourth series anytime soon? We could pull out a Ouija board and ask the spirits, but we’d much rather ask closer to the source, i.e. a spirit in the upside down. And you know that the best way to do that is with LEDs — one for each letter of the alphabet so the spirit can spell out their messages.
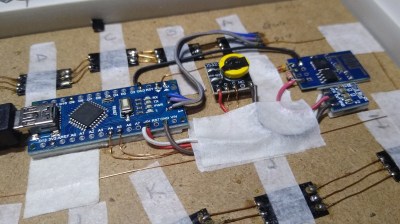
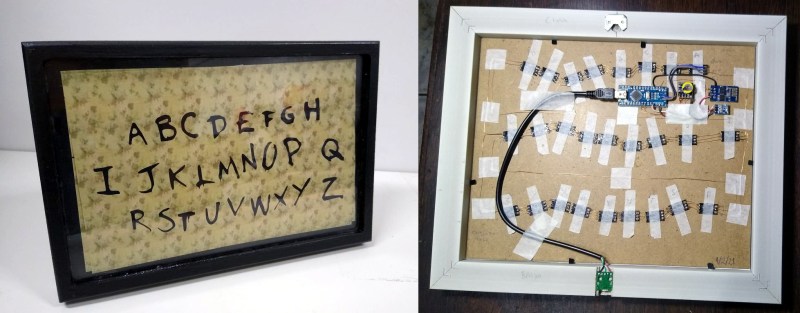
Arduino, ESP01, and real-time clock powering this Stranger Things word clockAlthough contact with the Demogorgon’s world isn’t likely with [danjovic]’s open-source Stranger Things board, you are guaranteed to get the time spelled out for you every minute, as in, ‘it’s twenty-five (or six) to four’. And if you want to freak out your unwitting friends, you can covertly send messages to it from your phone.

There are two versions now — the original desktop version, and one that hangs on the wall and uses a high-quality photo print for the background. Both use an ESP-01 and an Arduino to help drive the 26 RGB LEDs, and use a DS2321 real-time clock for timing. We love the enameled wiring job on the wall-mount version, but the coolest part has to be dual language support for English and Brazilian Portuguese. You can check out demos of both after the break.

We’ve seen many a word clock around here, but this is probably one of the few that’s dripping with pop culture. If it’s stunning modernism you want, take a look at this painstakingly-constructed beauty.

Call us easily amused, but we think it’s pretty amazing what can be done with a microcontroller, some RGB LEDs, and a little bit of plastic. Case in point is [andrei.erdei]’s beautiful and quite approachable fiber optic LED lamp. It’s a desktop-friendly version of a similar piece [andrei] made that is roughly nine times the size of this one and hangs on the wall. The build may be simple, but the product is intricately lovely.

We really like the visual density of this lamp — it’s just the right amount of tubes and strikes a balance between being too sparse and too chaotic. As you might expect, there’s an Arduino and some RGB LED strips involved. But the key to this build is in the 16 pieces of side-glow plastic fiber optic tubing. Side-glow is designed to let light escape along the length of the tube as opposed to end-glow, which is made to minimize light loss from one end to the other like a data pipe. This allows for all sorts of fun effects, and you can watch [andrei.erdei] go slowly and soothingly through the different colors and modes in the demo video after the break. Make sure you watch long enough to see the tubes move like the old Windows 3D pipes screensaver

Already have too many knickknacks and wall hangings? You’re missing out on prime real estate — the ceiling. Check out this fiber optic ceiling installation that reacts to music.

If you want to waste time in a meaningful way, get yourself an hourglass. It’s simultaneously mesmerizing and terrifying to sit there and watch the seconds slip through the threshold that separates possibility from missed opportunity.

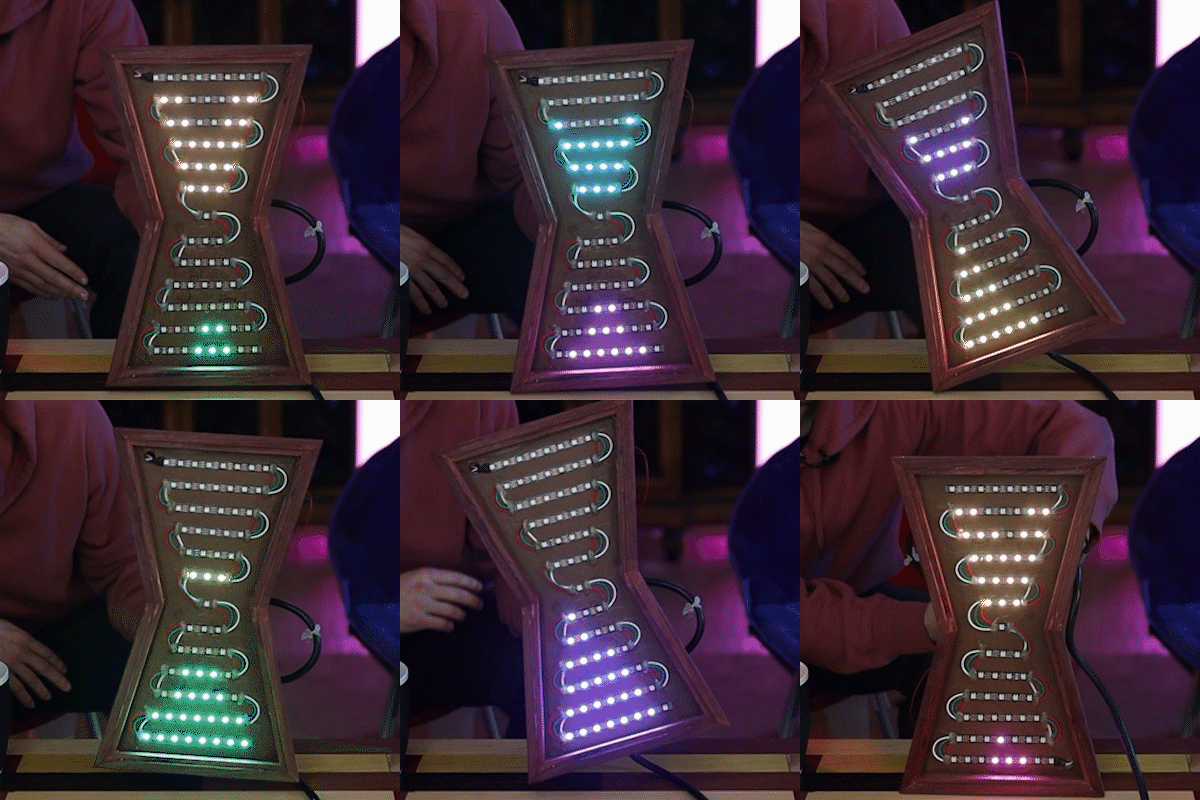
[Ty and Gig]’s LED hourglass is equally beautiful to watch. It doesn’t actually tell time, but that’s perfectly fine by us. What it does do is animate the LEDs to approximate grains of sand in gravity, no matter how the hourglass is tilted.

In either vertical orientation, the sand falls as long as there is some in the top. When the hourglass is horizontal, the LEDs settle just like real sand does. [Ty and Gig] achieved this with a whole lot of code that breaks the animation frames into structure arrays.

By contrast, the hardware part of this build is fairly simple: all that’s needed to replicate this build is some RGB LEDs a beefy power supply to drive them, an accelerometer, and a microcontroller.

[Ty and Gig] were planning to use an ESP8266, but misplaced it and went with an Arduino Mega instead. (You know what they say — buy a replacement and the one you lost will turn up almost immediately.) The beautiful frame is made from leftover purpleheart, a hardwood that turns purple with exposure to air. Check out the build video after the break.

Too lazy to reset your hourglass every hour? Here’s one that flips itself.

After the year humanity has endured, we could all use a little more relaxation in our lives. This atmosphere lamp is just the thing to set a relaxing ambience for work, studying, or hanging out. Just touch the surface and the light ripples to life, resembling the concentric circles that form on the surface of still water when it is touched. When the light settles, it looks like an inviting pool that’s ready for a nighttime swim.

There aren’t really any surprises inside — the lamp is operated via capsense by touching the center of the top. Three NeoPixel rings and an RGB LED strip provide the lighting, and an Arduino UNO runs the show. [Qttting_F] used an inexpensive ceramic bowl with a piece of acrylic for a lid, but this could just as easily be printed in white PLA or something. Check it out in action after the break.

Ambience is nice, but sometimes you need something more functional. Those types of lamps can be printed, too.

When [tnjyoung] was asked to build a huge lighted clock for a high school theater’s production of Cinderella with only two weeks before opening night, he probably wished for a fairy godmother of his own to show up and do it for him. But he and his team pulled it off, and it looks amazing. That medallion in the middle? It was laid out painstakingly by hand, using electrical tape.

This thing is 12 feet wide and weighs more than 500 pounds. Even so, it isn’t a permanent set piece, so it has to move up and down throughout the show on airplane cables. Now for the minutiae: there’s an Arduino Uno with built-in Wi-Fi that receives UDP commands from a phone to raise and lower the clock at the appropriate times. The ‘duino is also controlling two stepper motors, one for the hour hand and one for the minute hand.

Time is almost a minor character in the story of Cinderella, since she has to get back by midnight. Because of this, [tnjyoung] programmed a dozen or so time cues that move the steppers at various speeds to achieve different effects, like time flying by as she dances the night away with the Prince. Hour you still just sitting there? Sweep past the break to watch the build process fly by in a matter of minutes.

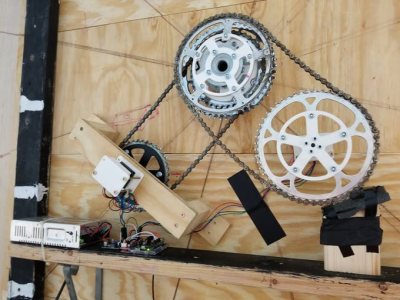
Got all the time in the world? Make a clock out of clocks. Clocks all the way down.

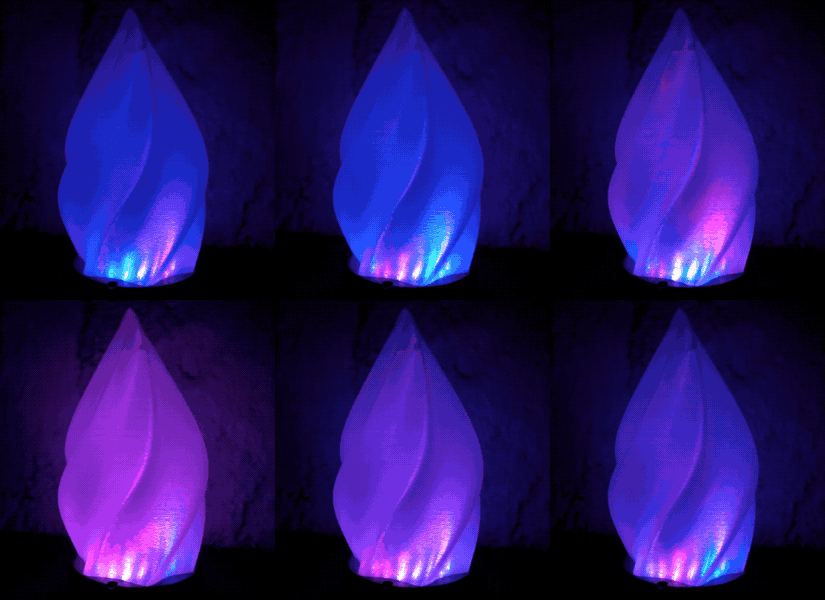
Have you ever wrapped up a nice blinky project only to be disappointed by the predictability of the light or the color patterns? When it came to lighting this LED candle, so was [fungus amungus]. But there’s a better way, and it involves noise.

Perlin noise was created in the early 80s by Ken Perlin while he was working on the movie Tron. Frustrated by the current state of computer graphics and too limited on space to use images, he devised an algorithm for generating natural-looking textures. Basically, you generate a bunch of numbers between 0 and 1, then assign values to those numbers, such as a range of greyscale values from black (0) to white (1), or the values from the color wheel. The result is much prettier than random numbers because the neighboring values for any given number aren’t radically different. You get nice randomness with hardly any overhead.

[fungus amungus] is using the FastLED’s noise function to generate the numbers, but there’s a whole lot more going on here. As he explains in the excellent video after the break, if you want to animate these values, you just add another dimension of them. Although [fungus amungus] is using a Trinket Pro and a NeoPixel ring, we think a simplified version could be done with a Circuit Playground Express using the built-in LEDs.

If you want to do it the hard way, start by making your own NeoPixel ring.

LED strips reacting to sound is nothing new; however, Paul Shulman’s setup does things a bit differently. Instead of responding to the tune’s overall volume, one musical frequency is analyzed and averaged; if the intensity changes sufficiently on that particular frequency, the corresponding lighting effect is also changed. This avoids the problem of analyzing a music source that doesn’t necessarily change with the final output volume.

A SparkFun Spectrum Shield is used for frequency separation. An Arduino handles signal analysis, which sends a change effect command to the lighting controller when needed. There’s also a wireless remote available to adjust the lighting manually. 

This system was designed with the goal of having color-chasing LED effects that automatically sync with a hard music line. The color-chasing effects observed in the video are actually not synchronized to the music, but the changing of effects is. The system works well across many genres of music. This system is unique in that music volume does not matter. Many commercial implementations control lighting effects based off of overall volume intensity. This is problematic, as many people do not control final music volume with the source of the music (i.e. leaving your PC volume constant and controlling speaker volume instead.

An additional feature of this system is that it contains a wireless remote and the ability to control the lights independent of the music. This allows for rapid light patterns at parties, and soothing ambient lighting at all other times.

Code for the project is available in Shulman’s write-up, and the results can be seen in the demo video below. 

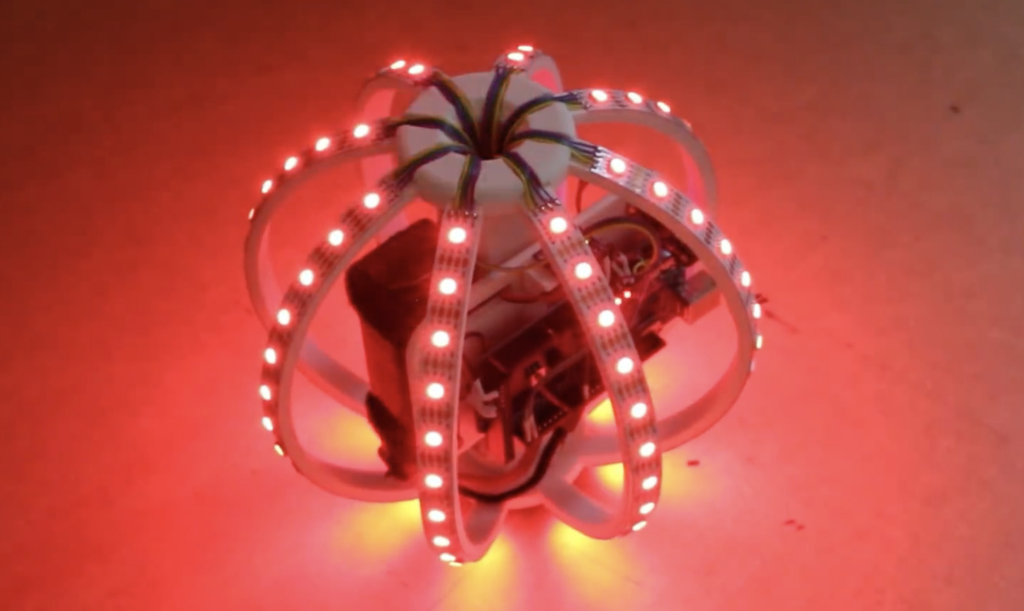
What would you get if you crossed a gigantic Christmas tree ornament with an LED strip and Arduino/IMU control? Perhaps you’d come up with something akin to this colorful “RGB LED Ball” by James Bruton.

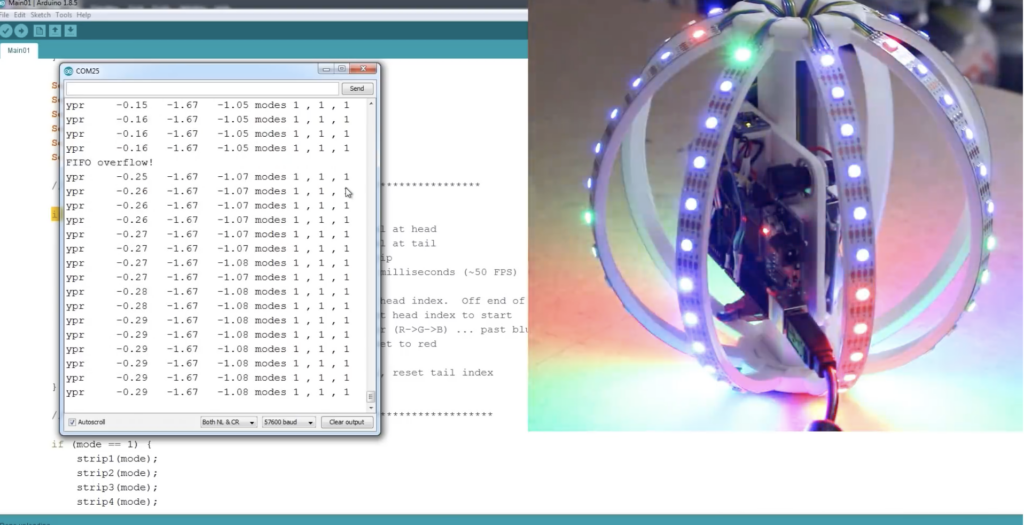
The device features eight curved supports along with a central hub assembly, forming a structure for APA102 RGB LED strips. Each of these is linked together via wiring that winds through the central hub making them appear to the Arduino Mega controller as one continuous chain of lights. 

Several animations can be selected with a pair of control buttons, and the ball even responds to movement using an MPU6050 IMU onboard. Files for the build are available on GitHub.

As YouTuber Evan Kale puts it, his set is was kind of boring. He decided to spruce things up by turning his ordinary door into an “alien portal,” lining it with a strip of RGB LEDs. Though this may not be the first time you’ve seen this type of lighting in action, he directs our attention to a few interesting details about using them in typical Kale style.

One interesting note comes around the 4:50 mark, where he points out his portal is controlled using Hue Saturation Lightness (HSL) via a potentiometer instead of RGB. This keeps the glowing effect consistent, while allowing color adjustment.

For this project, he employed an Arduino Nano, which looks like a great choice since it needs a limited amount of I/O. Using this tiny board, the entire control package can fit into his small 3D-printed enclosure.

You can see a demo of Kale’s “alien portal” below, and check out his channel for more fun Arduino projects!


  • Newsletter

    Sign up for the PlanetArduino Newsletter, which delivers the most popular articles via e-mail to your inbox every week. Just fill in the information below and submit.

  • Like Us on Facebook