
02
As the saying goes, it’s five o’clock somewhere; when the clock finally strikes the hour, that same clock can pour you a drink thanks to redditor [Diggedypomme].
This bar-clock can dispense beverages with up to four different spirits and four mixers, and takes orders over voice, keyboard, or web-controls. A belt-driven drink loading platform pushes out through a spring-loaded door and once the vessel is in place and the order received, peristaltic pumps dispense the spirits while servos open taps for the mixers — a far easier method to administer the often carbonated liquids. A Raspberry Pi acts as this old-timer’s brain, an Arduino controls the lights, and a HAT to controls the servos. Here’s a more in-depth tour of what’s going on behind the bar, but check out the video after the break for a full run through of a few drink orders!
In a future version, [Diggedypomme] wants music to play and the lights to flash different patterns depending on the drink being poured, as well as the option to serve multiple drinks in sequence. Some splashing when pouring the drinks might also be remedied by adjusting the height of the tap or a fitting a nozzle.
As cool as this old-timer beverage bot is, barbots aren’t limited to alcohol — tea is a viable option. However, if you prefer your drink dispensers a little more stripped-down, you might be surprised what two motors can accomplish.
[via /r/RASPBERRY_PI_PROJECTS]
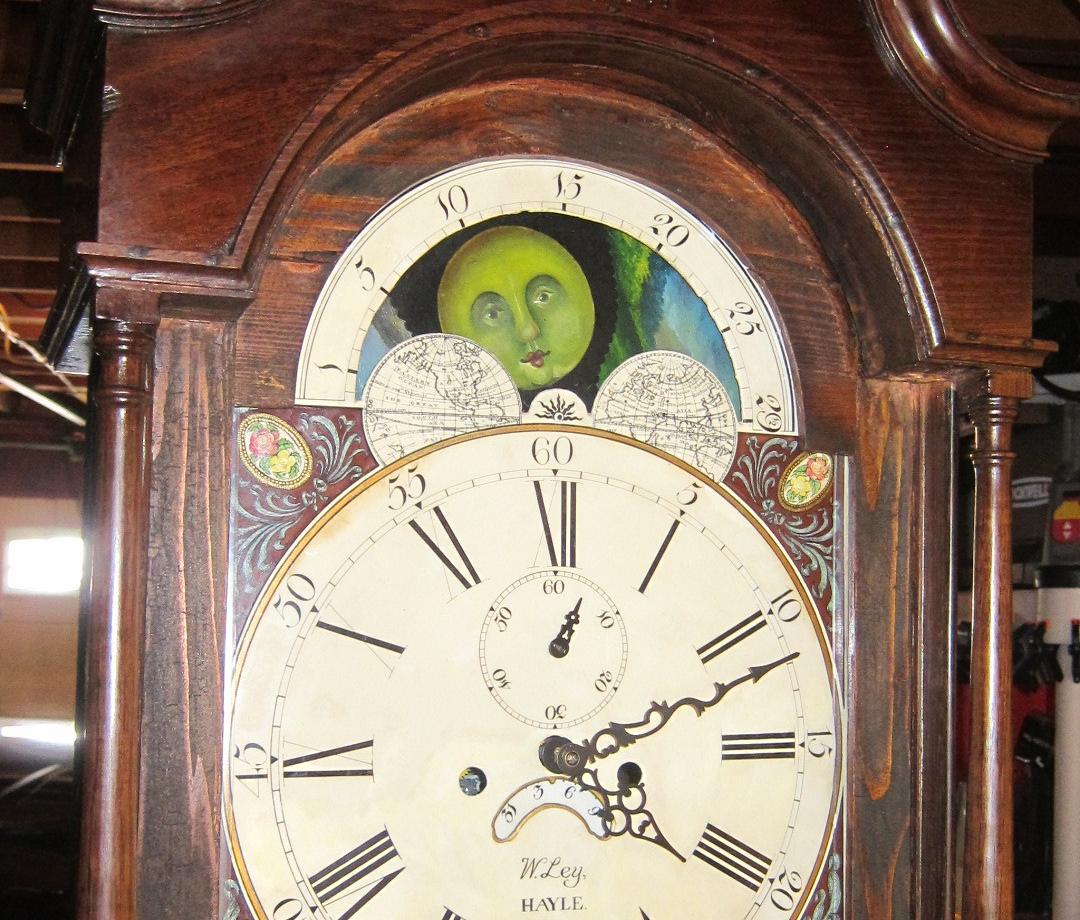
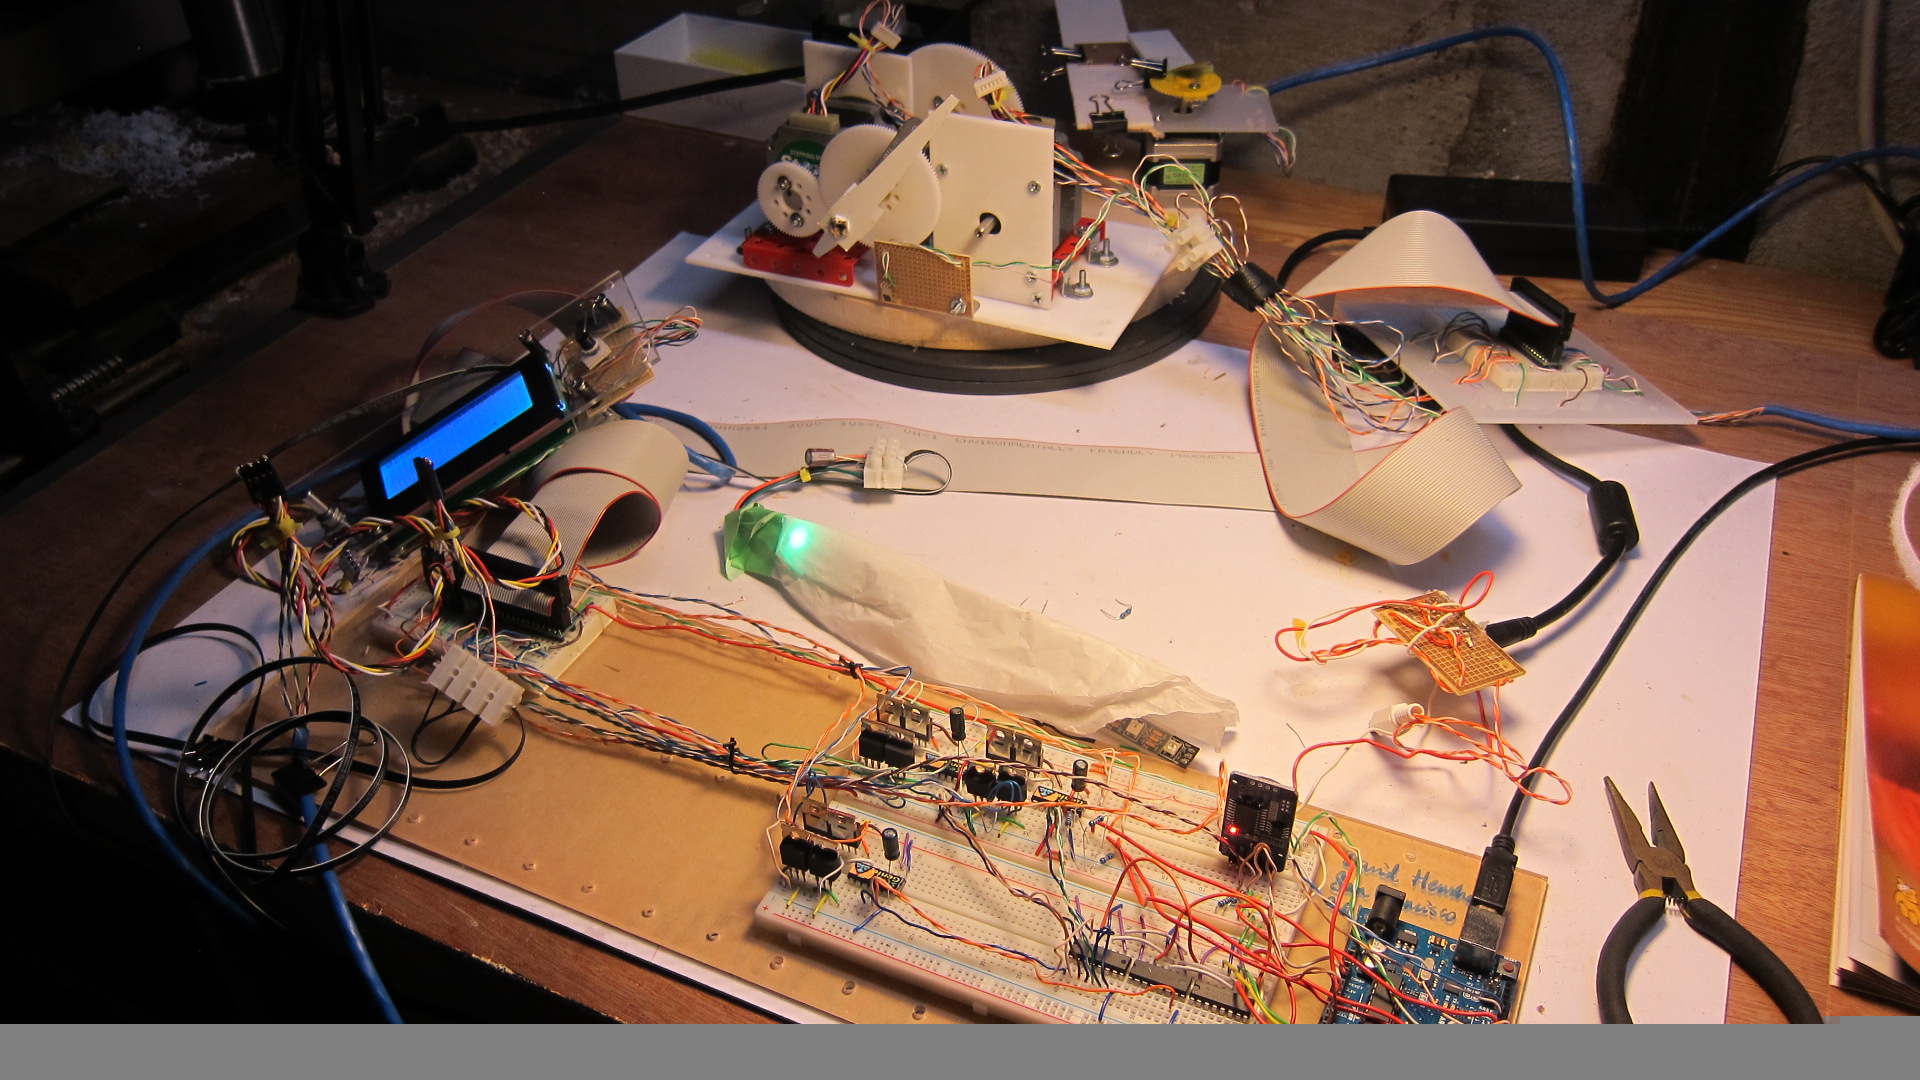
 He starts off by building a custom electro-mechanical clock movement, and since he’s planning as he progresses, meccano, breadboard and jumper wires were the way to go. Hot glue helps preserve sanity by keeping all the jumper wires in place. To interface with all of the peripherals in the clock, he decided to use a bank of shift registers driven from a regular Arduino Uno. The more expensive DS3231 RTC module ensures better accuracy compared to the cheaper DS1307 or similar clones. A bank of RGB LEDs acts as an annunciator panel inside the clock to help provide various status indications. The mechanical movement itself went through several iterations to get the time display working with a smooth movement of the hands. Besides displaying time, [David] also added a moon phase indicator dial. A five-rod chime is struck using a stepper motor driven cam and a separate solenoid is used to pull and release three chime hammers simultaneously to generate the loud gong sounds.

