08
NASA’s history if full of fascinating facts and trivia. For example, the Apollo Guidance Computer, which handled navigation and control for both the Apollo Command Module and the Apollo Lunar Module, ran with less RAM and processing power than a TI-83 graphing calculator. But reading that fact isn’t the same as actually experiencing the Apollo Guidance Computer for yourself. That’s why a maker used three Arduino boards to create a simulator.
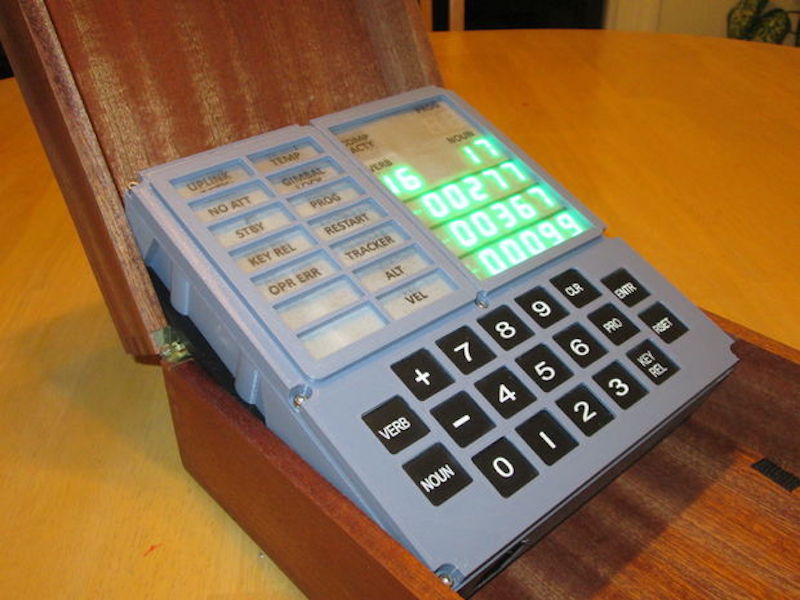
The actual Apollo Guidance Computer sat inside of a protective metal enclosure that is rather boring, but the DSKY (Display and Keyboard) interface, which acted like a terminal, had a very distinctive design. It had 19 buttons, including a numerical pad, situated below two displays. The left display had a several indicator lights, similar to your car’s dashboard, to show the statuses and warnings. The right display had numerical readouts for the program number, verb, and noun, as well as data and a computer activity status light.
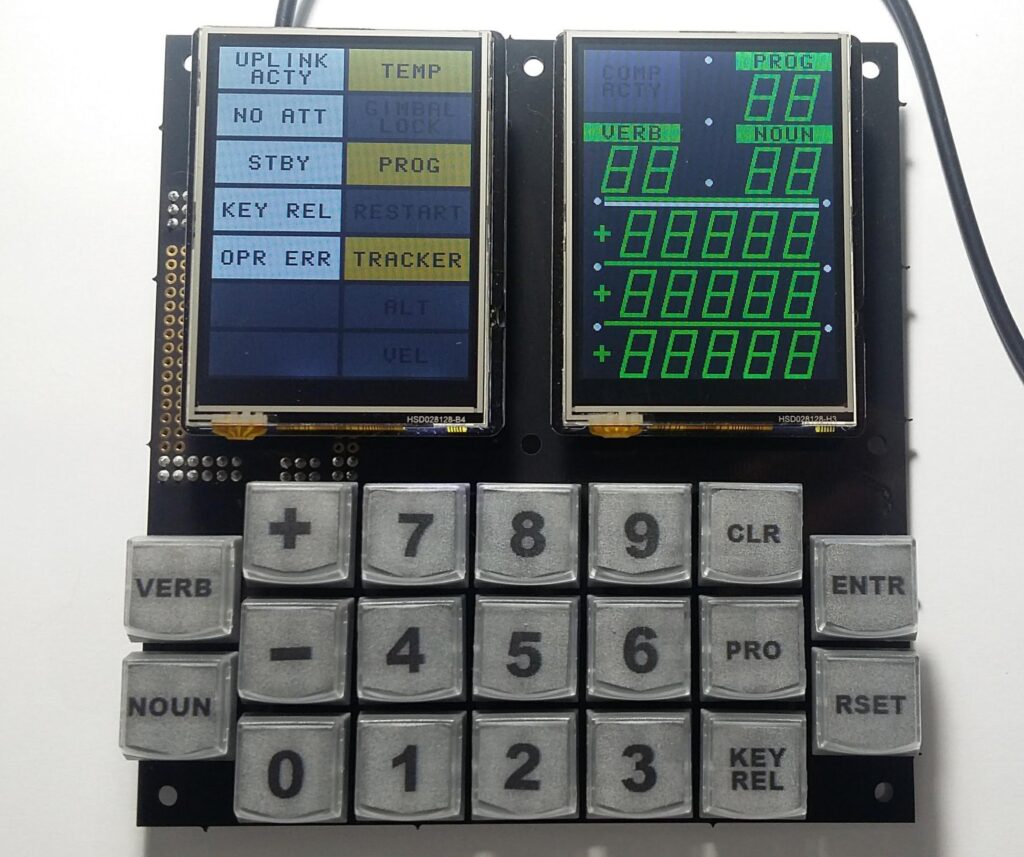
The Dual Screen Apollo DSKY simulator replicates all of that behavior when connected to a modern computer, which acts as the Apollo Guidance Computer. It has a couple 2.8″ 240 x 320 pixel LCD screens that mimic the DSKY’s displays. Below those are the same 19 buttons as the real DSKY. A pair of Arduino Nano boards control the two LCDs, while an Arduino Mega handles the keyboard. The Mega also appears as a virtual serial port when plugged into a computer. When MoonJS simulation software is running on the computer, the DSKY functions like the real deal.
If you want to get your hands on this cool little piece of Apollo history, it is currently for sale on Tindie.
The post Dual Screen Apollo DSKY simulates the Apollo Guidance Computer appeared first on Arduino Blog.