Posts | Comments

Planet Arduino

Archive for the ‘led coffee table’ Category

Snake is a classic game — more a genre of games — that dates all the way back to 1976 with the release of the Blockade arcade game. Many consoles and devices have received variations of Snake, putting it in the same league as Tetris and block breakers. Now Ty and Gig Builds have used an Arduino to construct a giant coffee table version of the game.

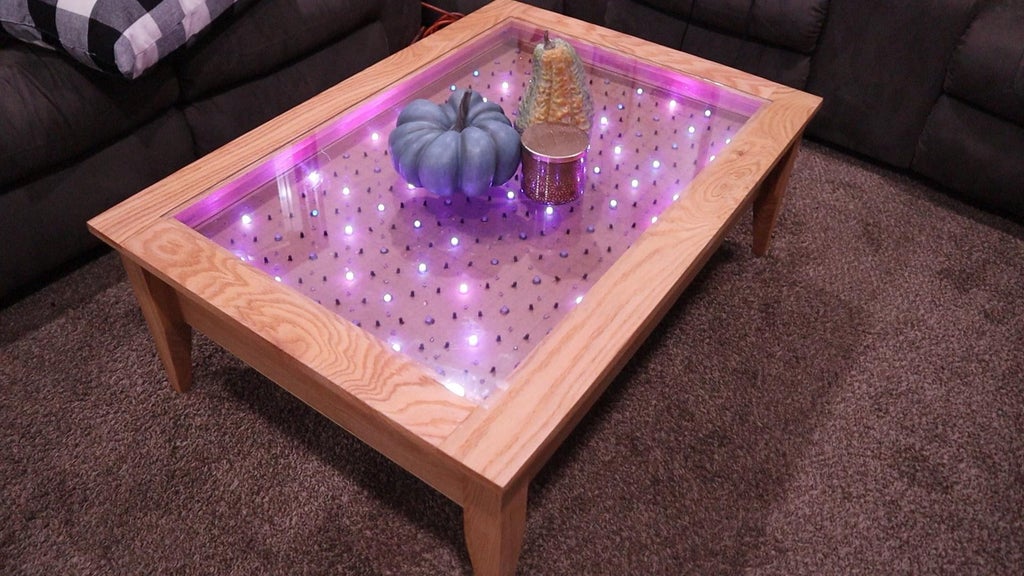
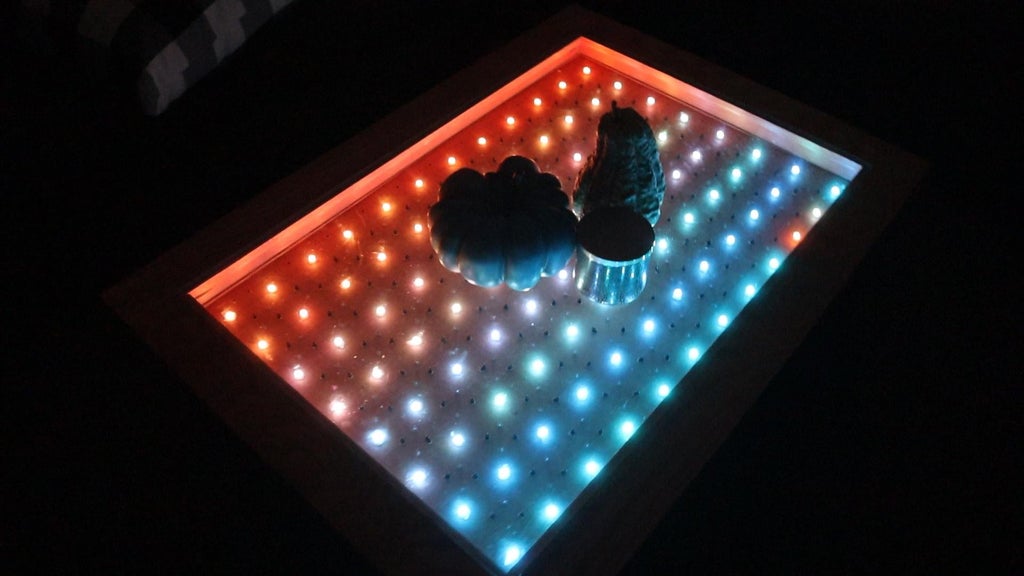
One of the reasons that so many variations of Snake exist is because it runs well on very low-resolution screens. That also made it perfect for this project, since an LED matrix makes for a great low-res display. Ty and Gig originally built that matrix for an interactive coffee table project and they were able to repurpose it for this game.

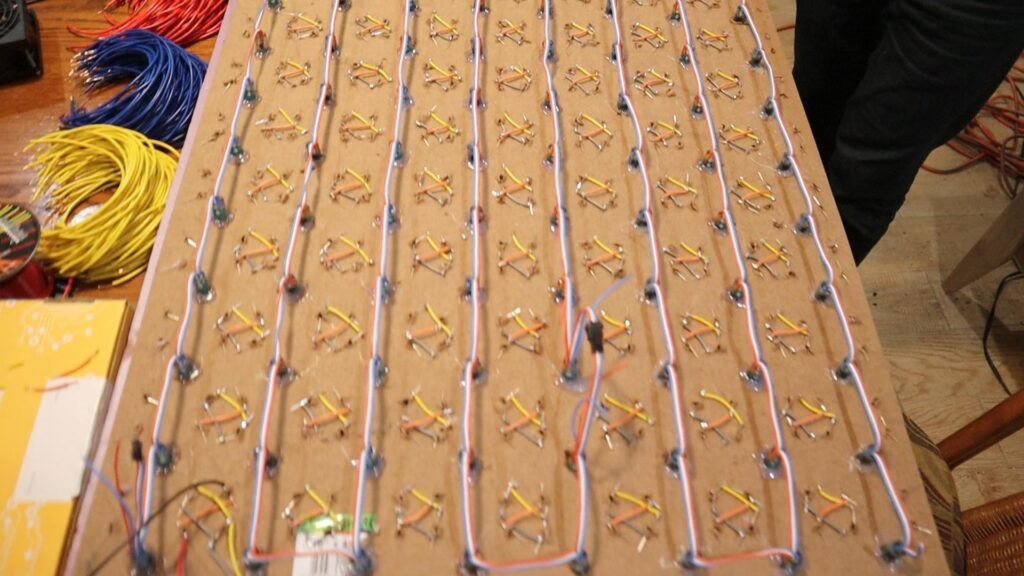
WS2811 individually-addressable RGB LEDs form that matrix. They shine through a holes drilled into a sheet of plywood mounted underneath the coffee table glass. An Arduino Mega controls those LEDs, but any Arduino board would work for the job. The only other hardware components are a 5V power supply and an analog joystick module.

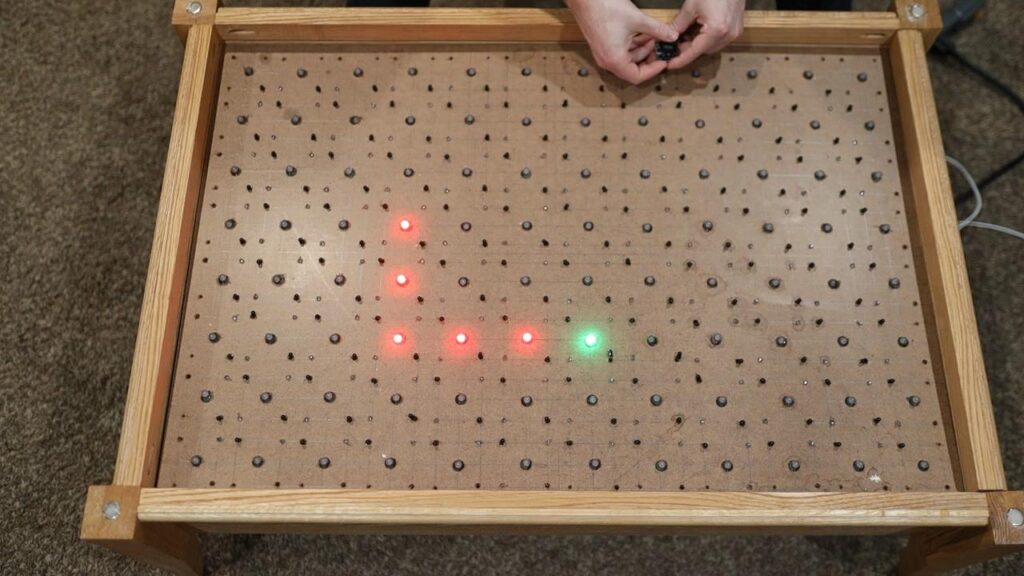
The joystick is comprised of two potentiometers, so the Arduino simply checks those to determine which direction to move. Programming was a small challenge, because the 1D array of LEDs had to be translated to the 2D display. With that figured out, programming the game was straightforward. Players direct the LED snake to collect as many apples as possible without colliding with itself, like they have done for the past four decades.

The post Bringing Snake to your coffee table appeared first on Arduino Blog.

The YouTube team “Ty and Gig Builds” recently decided to make their coffee table a little more interesting, adding a chain of 96 addressable LEDs underneath its clear surface. This would have been neat enough by itself, but their project doesn’t just stop there and instead embeds 154 IR emitters and 154 IR receivers, allowing it to react to what’s on top.

The setup, as you might imagine, required a lot of wiring along with custom shift register and multiplexer boards to accommodate its vast I/O needs. These discrete I/O are eventually funneled down to an Arduino Mega for control, creating a one-of-a-kind table that should make for a great conversation piece while holding coffee and other knickknacks.

Rather than buying a coffee table, Marija from Creativity Hero decided to build her own, adding an array of 45 programmable LEDs on top of a pine base.

An Arduino Mega is used to take input from 45 sensors corresponding to each LED in a grid made with MDF baffles, and commands each light to change colors based on whether something is placed on that square section. The on/off colors used can be selected via a Bluetooth smartphone app, allowing you to customize the furniture to your liking.

This unique LED coffee table can create beautiful atmosphere and will be a real focal point in my living room. I wanted to make a simple design with some interesting features that will take my room to a whole new level. It is controlled via a custom-made Android application, so I can easily change the reactive color, or the background color, and I can even adjust the brightness.

You can find full details on the project here, as well as the tools and parts you’ll need.

Some hackers make functional things that you can’t allow to be seen in polite company. Others make beautiful things that could come from a high-end store. [Marija] falls into the second category and her interactive LED coffee table would probably fetch quite a bit on the retail market. You can see a video of the awesome-looking table, below.

It isn’t just the glass, MDF, and pine construction. There’s also a Bluetooth interface to a custom Android application from [Dejan], who collaborated on the project. However, if you aren’t comfortable with the woodworking, [Marija’s] instructions are very detailed with great pictures so this might be a good starter project.

On the electronics side, there are addressable LEDs (WS2812Bs), a Bluetooth module, IR proximity sensors, and an Arduino. The proximity sensors needed a little hacking so the sensor can mount in a way that it can detect things through the glass top.

This is one of those projects that really points out how some relatively simple components can combine with software and mechanical construction to really create an eye-popping result. We were really impressed with the documentation, too, and if you are unsure about how to do the woodworking or the electronics, you’ll find a great guide with helpful pictures.

Now, if you don’t hang out with polite company, but only other hackers, you’ll probably opt for an EPROM table. If you get hooked on lighting up tables, you can move on to the mega LED desk after you finish this project, although that’s more of a metal project.


  • Newsletter

    Sign up for the PlanetArduino Newsletter, which delivers the most popular articles via e-mail to your inbox every week. Just fill in the information below and submit.

  • Like Us on Facebook