31
To say it’s been another challenging year would be an understatement, but it’s reassuring to see that the top 10 Arduino blog posts of 2021 show us that makers have persevered, undaunted.
As we sprint headlong into 2022 with hope for a return to normality (whatever that might actually look like!) we wanted to cast an eye back over the Arduino blog. These are the top posts from 2021, which prove that you can’t keep good maker down.
The Arduino community has been creating some of the best projects we’ve ever seen. It’s also exciting to note that it’s been another year when newcomers have taken up the electronics hobby. The presence of Arduino software posts in our top 10 Arduino blog posts of ‘21 suggests lots of people have been getting into the Arduino scene.
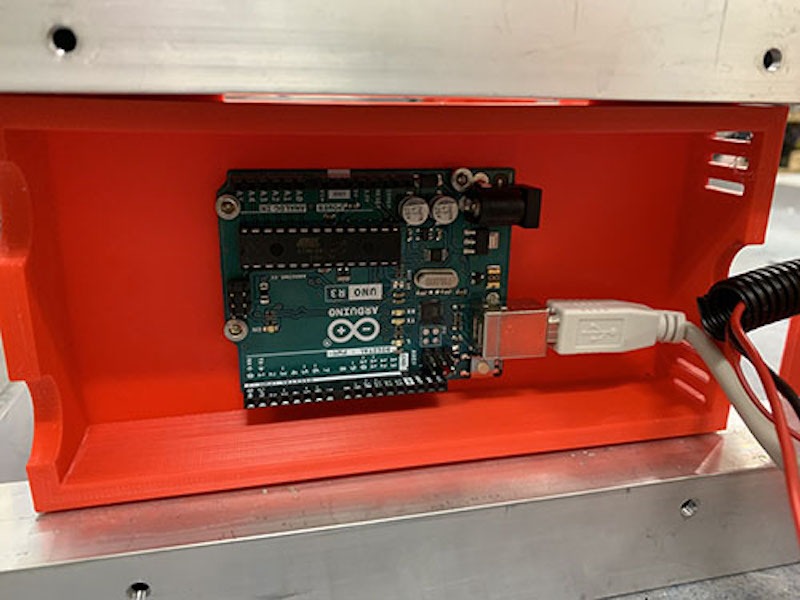
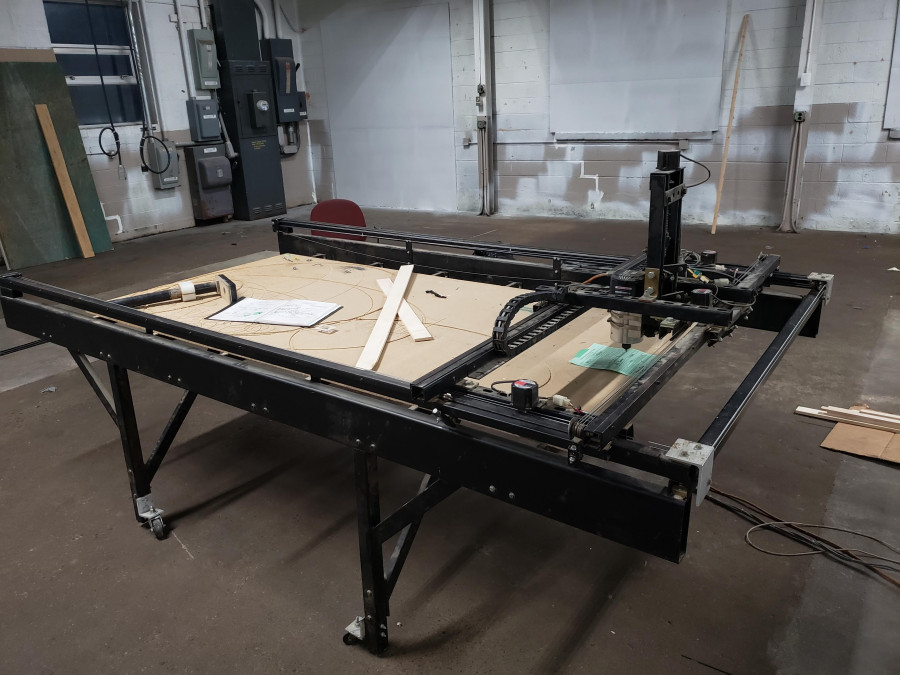
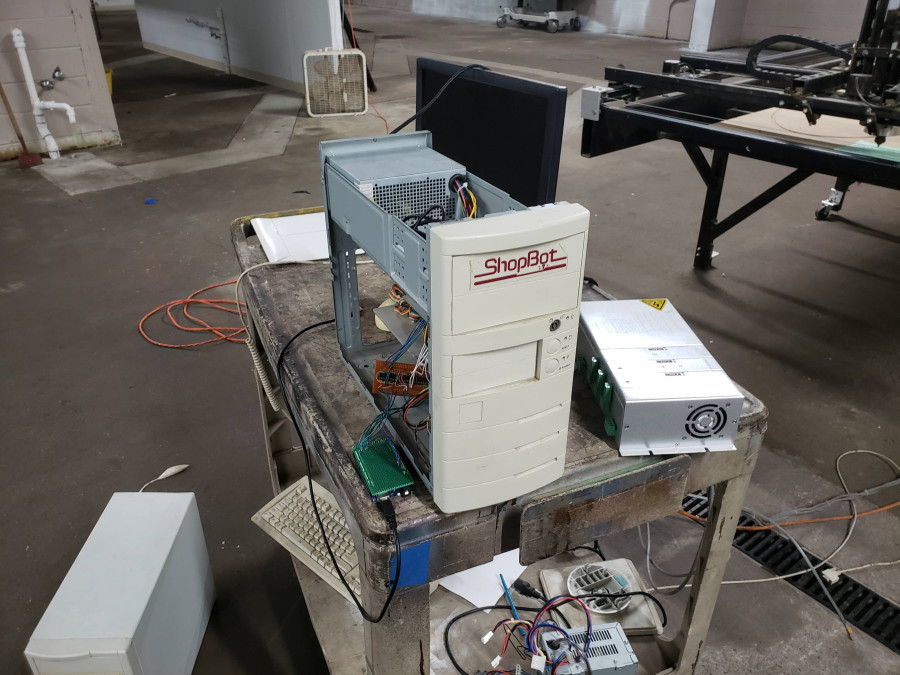
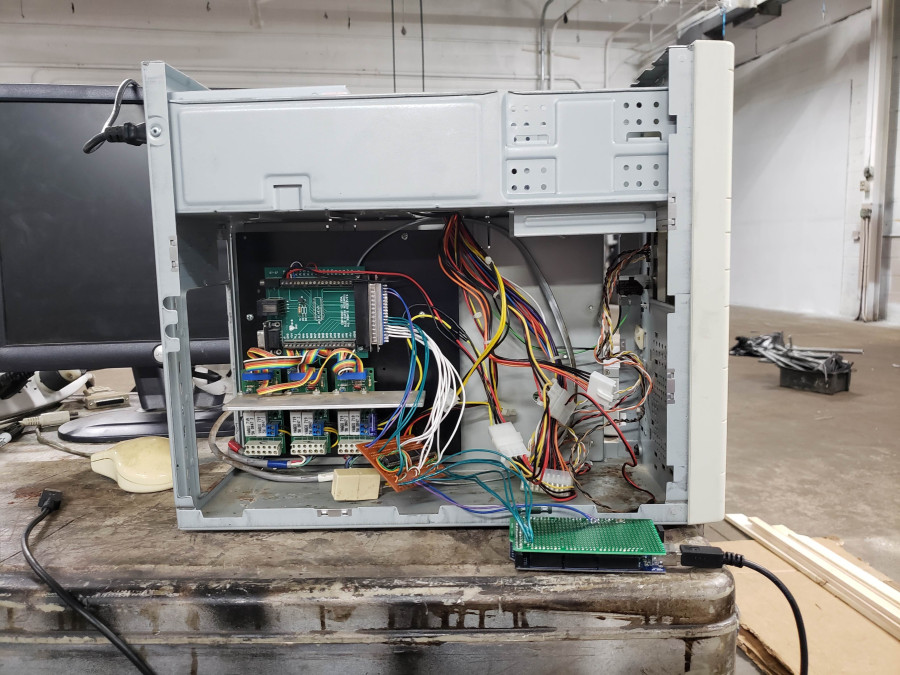
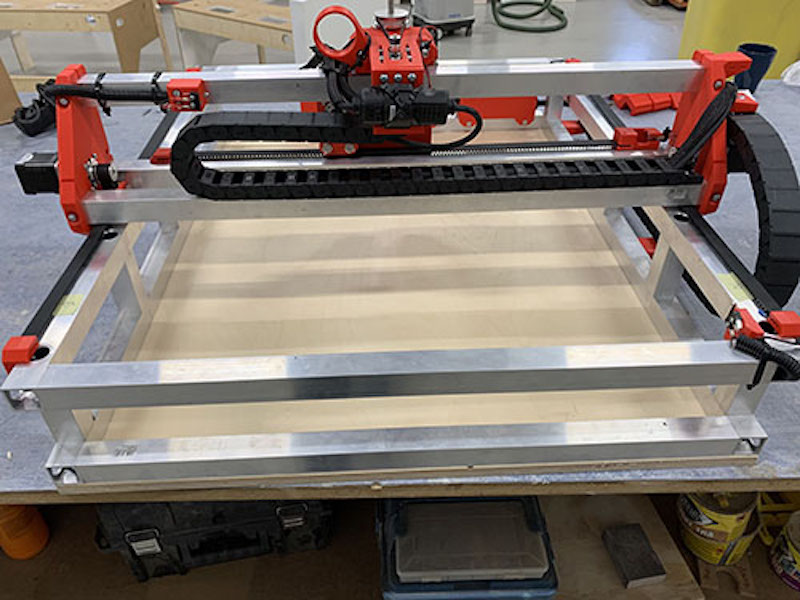
Learn how to build your own massive 3D-printed CNC router
If you want an affordable option, this guide shows you how to build Ivan Miranda’s 3D-printed CNC machine design.
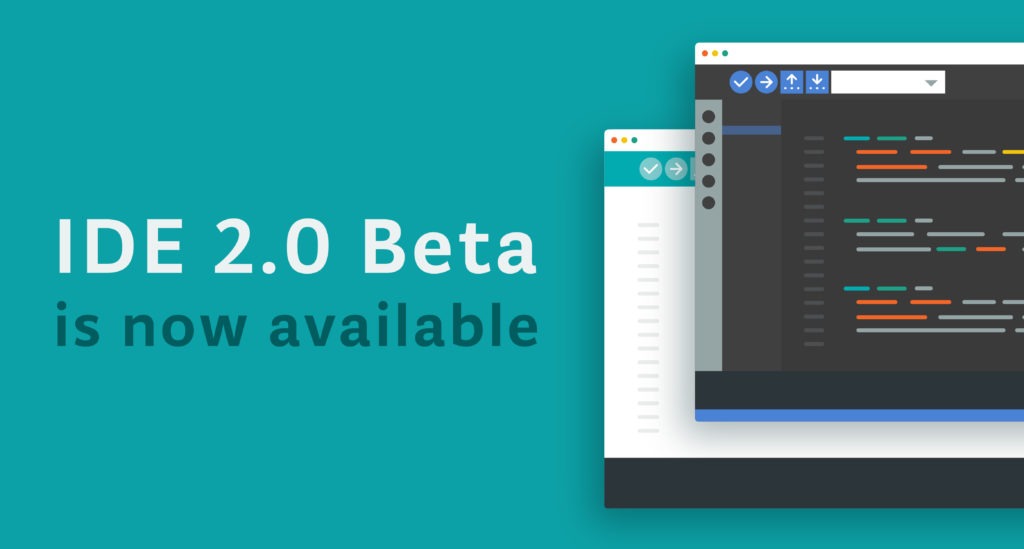
Announcing the Arduino IDE 2.0 (beta)
It was a great day when the famous Arduino IDE reached version 2.0 in March of 2021.
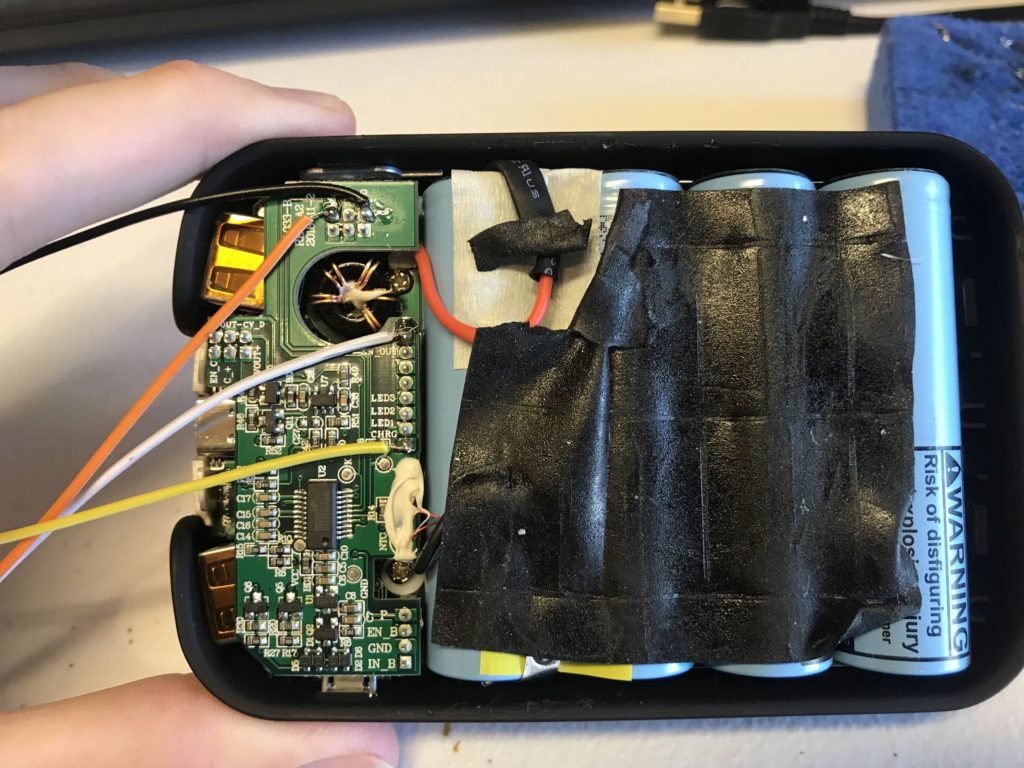
Hacking a USB battery bank to gather telemetry
Keenan Johnson needed more info for a new project and so he hacked a USB battery bank to gather telemetry.

The new Arduino CLI 0.19.0 is out and better than ever!
This release delivered tons of great enhancements, exciting new features and heaps of bug fixes.
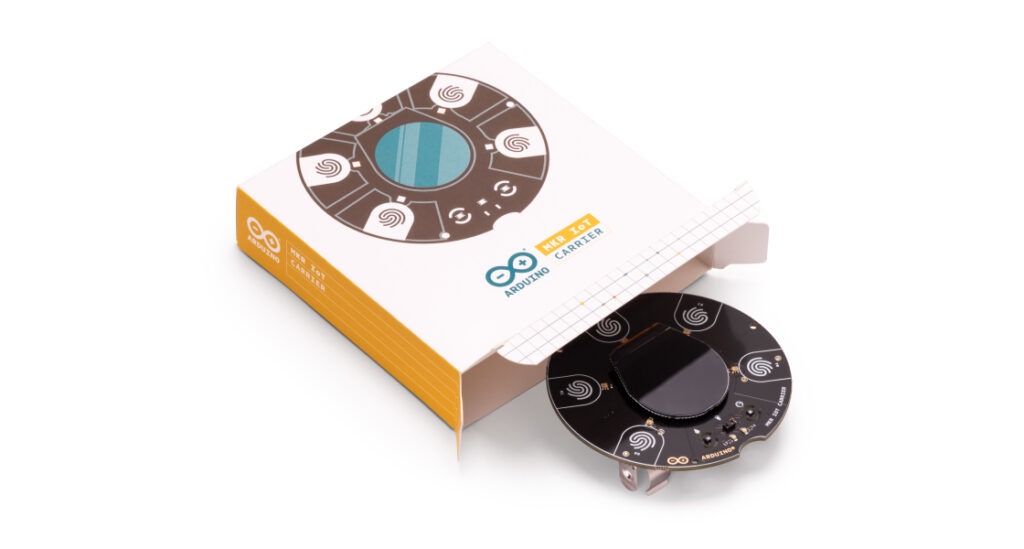
Arduino MKR IoT Carrier: Control what you want, how you want to!
By popular demand, we were pleased to announce in early 2021 that it’s possible to buy the Arduino MKR IoT Carrier.

Cascading LED stair lights prevent late night tumbles
Stephen Gidge and his roommate could have installed a new hall light, but they were both experienced with Arduino and so they created these cascading LED star lights instead.
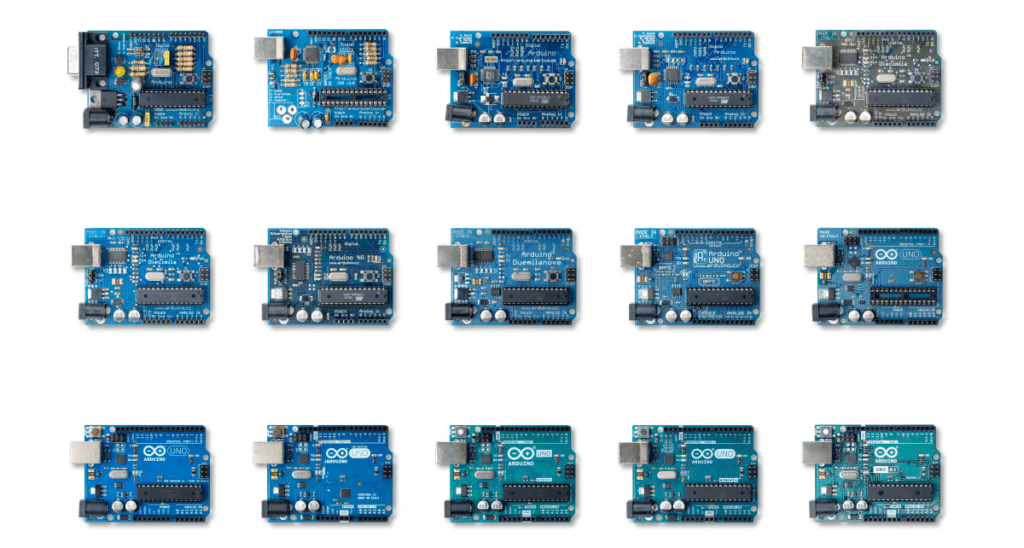
One board to rule them all: History of the Arduino UNO
With the UNO Mini Limited Edition flying off the shelves, we took a heartfelt look at the history of its inspiration, the ubiquitous UNO.
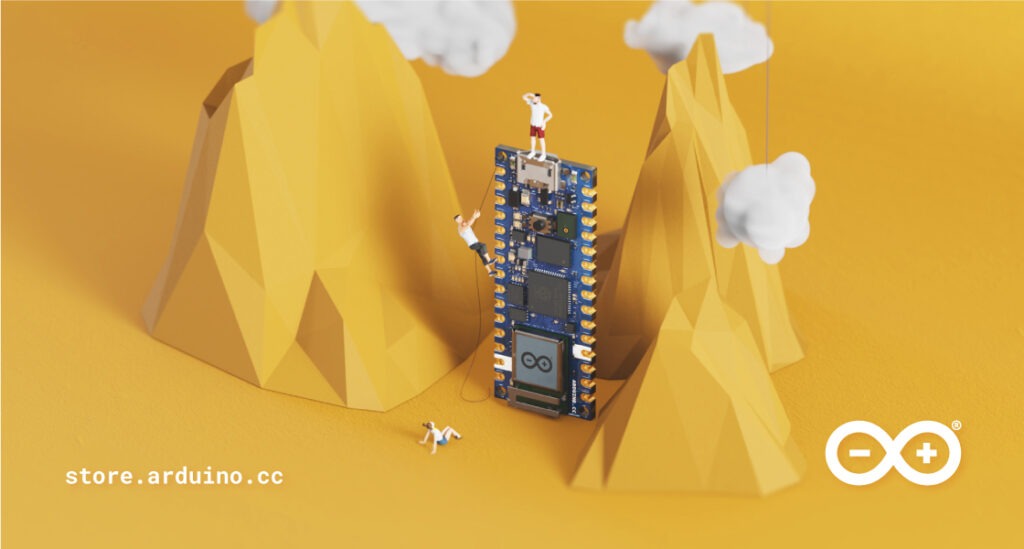
The Arduino Nano RP2040 Connect is here
The first Arduino board to include Raspberry Pi silicon arrived in 2021, to much fanfare.
Arduino Cloud now supports ESP32 devices
Support for ESP32 devices (on top of existing support for ESP8266) became available on the Arduino IoT Cloud in May, 2021. A huge step forward in bringing IoT devices of all kinds together.

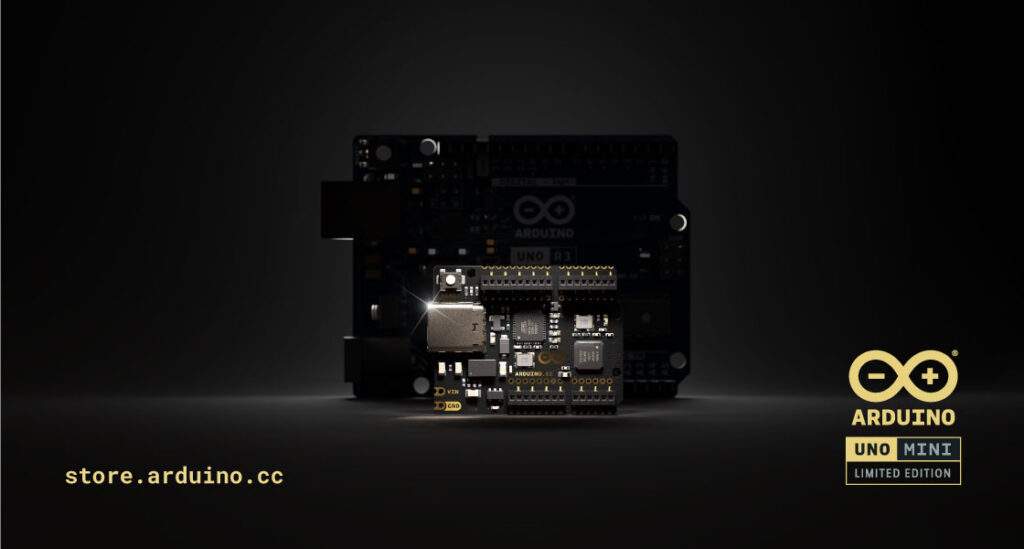
Introducing the Arduino UNO Mini Limited Edition: Pre-orders now open
Even though it only launched a couple of weeks ago, the Arduino UNO Mini Limited Edition announcement is one of the most viewed pages this year.
Happy New Year from all of us at Arduino!
The post Top 10 Arduino blog posts of 2021 appeared first on Arduino Blog.