Posts | Comments

Planet Arduino

Archive for the ‘continuous rotation servo’ Category

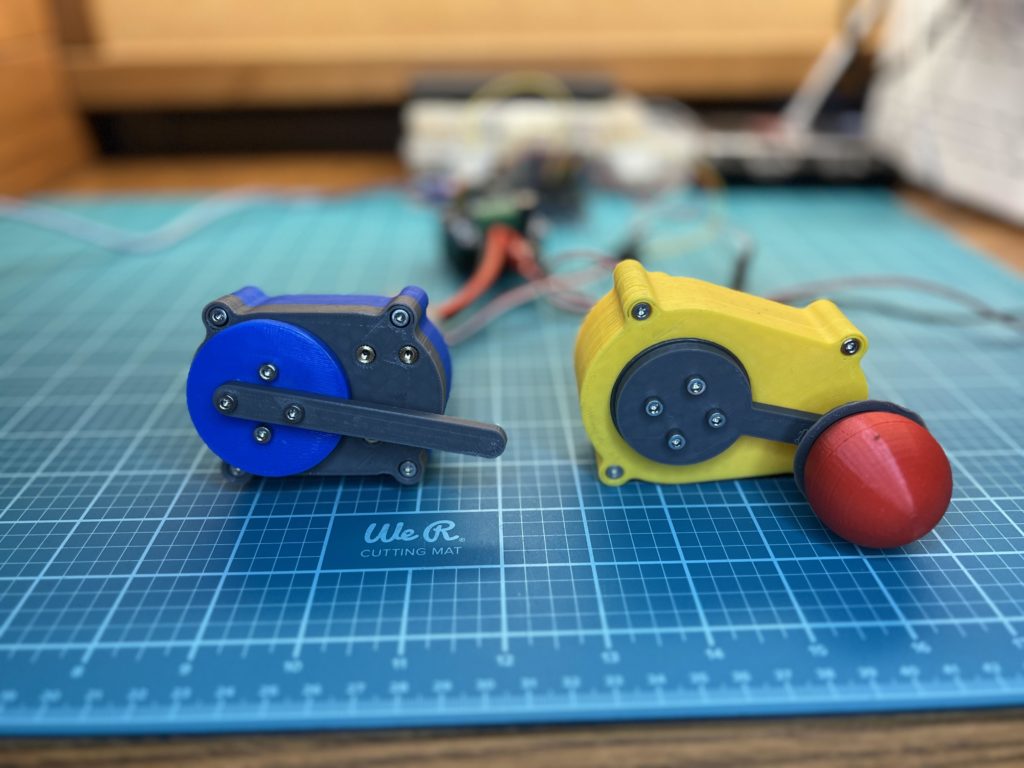
There are three types of motors that makers typically consider: stepper motors, servo motors, and DC motors (either brushed or brushless). Stepper motors are great when you need high precision and torque, but tend to have jerky movement. DC motors work well for high speed movement that doesn’t need any rotational accuracy. Servo motors are somewhat of a compromise between the two. But Aaed Musa’s 3D-printed continuous rotation servo motor is even better, because it is fast, smooth, and accurate.

This motor works like a standard servo motor, so you can set it to any desired position. But it features continuous rotation, an integrated gearbox to improve torque, very smooth movement, and a magnetic encoder to ensure accurate positioning. As you can see in the video, it responds almost instantly, moves fast, and isn’t jittery at all. Because all of the mechanical parts are 3D-printed, durability may be a concern. But otherwise this is a very attractive option.
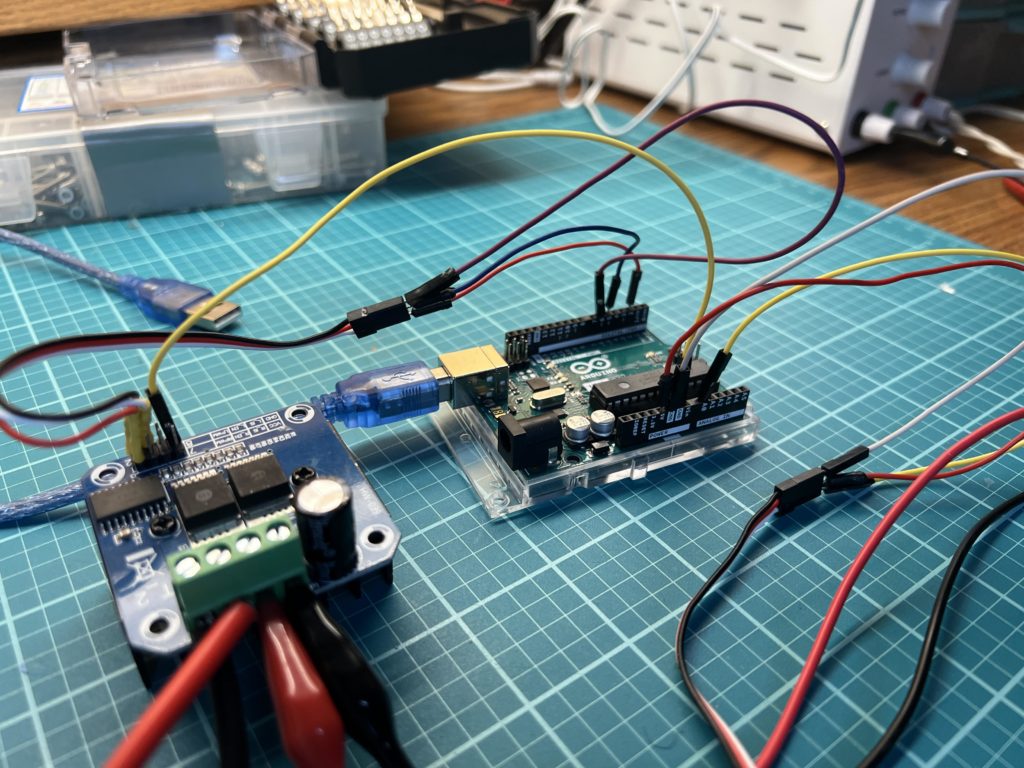
Musa designed this to work with a 600RPM DC gear motor. He then further reduced the output with a 3D-printed gearbox designed in Autodesk Fusion 360. An Arduino Uno board controls the motor through a BTS7960 motor driver and monitors the position with an AS5600 magnetic encoder. The total build cost should be around $30, not including the cost of the Arduino. More details on the project can be found in Muse’s Instructables write-up.

The post 3D-printed continuous rotation servo motor is super smooth appeared first on Arduino Blog.

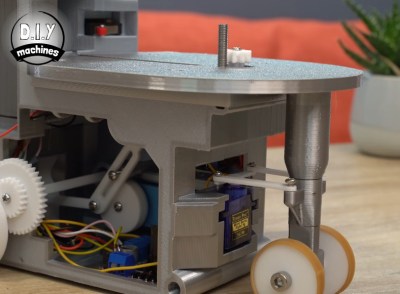
Oh, dominoes — the fun of knocking them down is inversely proportional to the pain of setting them all up again. [DIY Machines] is saving loads of time by automating the boring part with a remote control domino-laying machine. If only it could pick them back up.

This machine can be driven directly over Bluetooth like an R/C car, or programmed to follow a predetermined path via Arduino code. Here’s how it works: an Arduino Uno drives two servos and one motor. The 1:90 geared motor drives the robot around using a 180° servo to steer. A continuous servo turns the carousel, which holds nearly 140 dominoes. We love that the carousel is designed to be hot-swappable, so you can keep a spare ready to go.

[DIY Machines] really thought of everything. Every dozen or so dominoes, the machine leaves a gap in case one of the dominoes is tipped prematurely. There are also a couple of accessories for it, like a speedy domino loading stick and a fun little staircase bridge to add to your domino creations. Though all the machine files are freely available, [DIY Machines] requests a small donation for the accessories files. Check out the complete build video after the break, followed by a bonus video that focuses on upgrading the machine with an HM10 Bluetooth module for controlling it directly with a phone.

This certainly isn’t the first domino-laying device we’ve seen, though it might be the most accessorized. [Matthias Wandel]’s version uses only one motor to move and deal the dominoes.

[NathanKing] has a cute, rambunctious pupper who eats way too fast for her own good. He’s tried various distribution methods intended to get her to slow down, but she’s just too excited to eat. [Nathan]’s latest solution is to launch the food piece by piece using a catapult. The dog loves the gamified feeding method, which is sort of like one-way fetch. She gets a bit of exercise, and everyone is amused for the half hour it takes to fling 1.5 cups of food one piece at a time.

Electronics-wise, this food flinger doesn’t use much more than three servos and an Arduino Uno. Servo #1 pulls the arm back until it hits a limit switch. Servo #2 holds the arm down , and servo #3 rotates the food tube until it drops a unit of kibble into the spoon. Then servo #2 lets the arm go, and the tasty morsel flies about 30 feet (10 meters).

[Nathan] doesn’t offer step-by-step instructions, but there is more than enough detail to replicate this project. He used what he had on hand, such as scrap aluminium from another project for the frame. Future plans include swapping out the 6V lantern battery for rechargeable AAs, and downsizing to a Nano. We’ve fetched a couple of videos for you and thrown them in after the break. Go get ’em, reader!

Pets need plenty of water, especially during the summer. Here’s a no-sweat automatic watering solution we saw a few years ago.


  • Newsletter

    Sign up for the PlanetArduino Newsletter, which delivers the most popular articles via e-mail to your inbox every week. Just fill in the information below and submit.

  • Like Us on Facebook