Posts | Comments

Planet Arduino

Archive for the ‘Photogrammetry’ Category

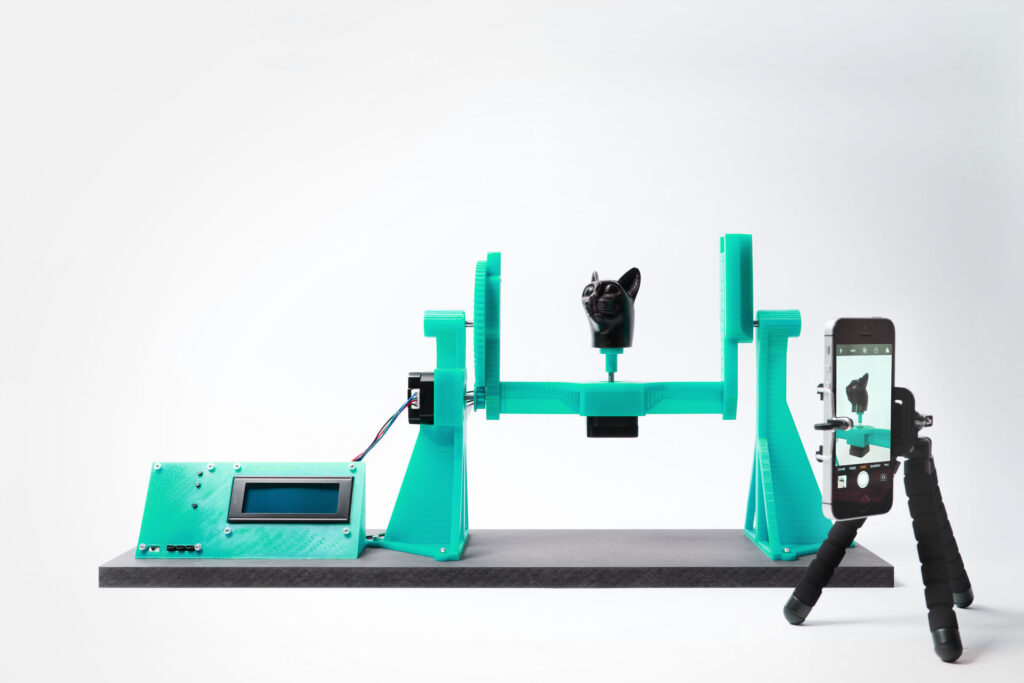
Have you built a 3D scanner yet? There’s more than one way to model those curves and planes, but the easiest may be photogrammetry — that’s the one where you take a bunch of pictures and stitch them into a 3D model. If you build a scanner like [Brian Brocken]’s that does almost everything automatically, you might consider starting a scan-and-print side hustle.
This little machine spins objects 360° and triggers a Bluetooth remote tethered to an iPhone. In automatic mode, it capture anywhere from 2-200 pictures. There’s a mode for cinematic shots that shoots video of the object slowly spinning around, which makes anything look at least 35% more awesome. A third mode offers manual control of the turntable’s position and speed.

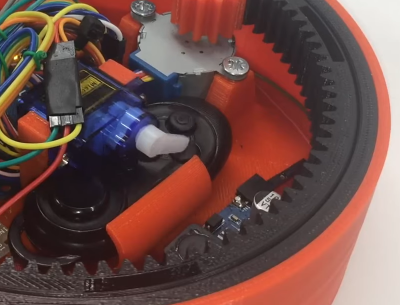
An Arduino UNO controls a stepper that moves the turntable via 3D printed-in-place bearing assembly. This project is a (vast) improvement over [Brian]’s hand-cranked version that we looked at over the summer, though both are works of art in their own right.

Our favorite part aside from the bearing is the picture-taking process itself. [Brian] couldn’t get the iPhone to play nice with HC-05 or -06 modules, so he’s got the horn of 9g servo tapping the shutter button on a Bluetooth remote. This beautiful beast is wide open, so fire up that printer. You can watch the design and build process of the turntable after the break.

Want to scan some really tiny things? Make a motorized microscope from movie machines.

Pictures can be a great way to record an event or object, but typically only do so in one perspective. In order to capture things in three dimensions, you’ll need to be able to snap multiple photos and stitch them together with software.

To take all the photos required for this process, “thomas_openscan” has come up with an automated device that rotates the object as needed, allowing him to capture images using a DSLR camera or even smartphone.

An early prototype is shown here, which actually moves a phone around the scanned object. The later, more refined version manipulates the object itself using an Arduino Nano and a pair of drivers to control a pair of bipolar stepper motors. 

More information on the project is available here and over on Thingiverse, and can be purchased or built depending on your needs.

Those just starting out in 3D printing often believe that their next major purchase after the printer will be a 3D scanner. If you’re going to get something that can print a three dimensional model, why not get something that can create said models from real-world objects? But the reality is that only a small percentage ever follow through with buying the scanner; primarily because they are notoriously expensive, but also because the scanned models often require a lot of cleanup work to be usable anyway.

While this project by [Travis Antoniello] won’t make it any easier to utilize scanned 3D models, it definitely makes them cheaper to acquire. So at least that’s half the battle. Consisting primarily of a stepper motor, an Arduino, and a EasyDriver controller, this is a project you might be able to assemble from the parts bin. Assuming you’ve got a pretty decent camera in there, anyway…

The general idea is to place a platform on the stepper motor, and have the Arduino rotate it 10 degrees at a time in front of a camera on a tripod. The camera is triggered by an IR LED on one of the Arduino’s digital pins, so that it takes a picture each time the platform rotates. There are configurable values to give the object time to settle down after rotation, and a delay to give the camera time to take the picture and get ready for the next one.

Once all the pictures have been taken, they are loaded into special software to perform what’s known as photogrammetry. By compiling all of the images together, the software is able to generate a fairly accurate 3D image. It might not have the resolution to make a 1:1 copy of a broken part, but it can help shave some modeling time when working with complex objects.

We’ve previously covered the use of photogrammetry to design 3D printed accessories, as well as a slightly different take on an automated turntable a few years ago. The process is still not too common, but the barriers to giving it a try on your own are at least getting lower.


  • Newsletter

    Sign up for the PlanetArduino Newsletter, which delivers the most popular articles via e-mail to your inbox every week. Just fill in the information below and submit.

  • Like Us on Facebook