Posts | Comments

Planet Arduino

Archive for the ‘Robot Dog’ Category

If you have an interest in robotics, it can be really difficult to know where to start. There are so many designs and kits out there that it becomes overwhelming. But it is best to start with the basics and then expand from there after you learn the ropes. One way to do that is by building MertArduino’s adorable app-controlled robot dog.

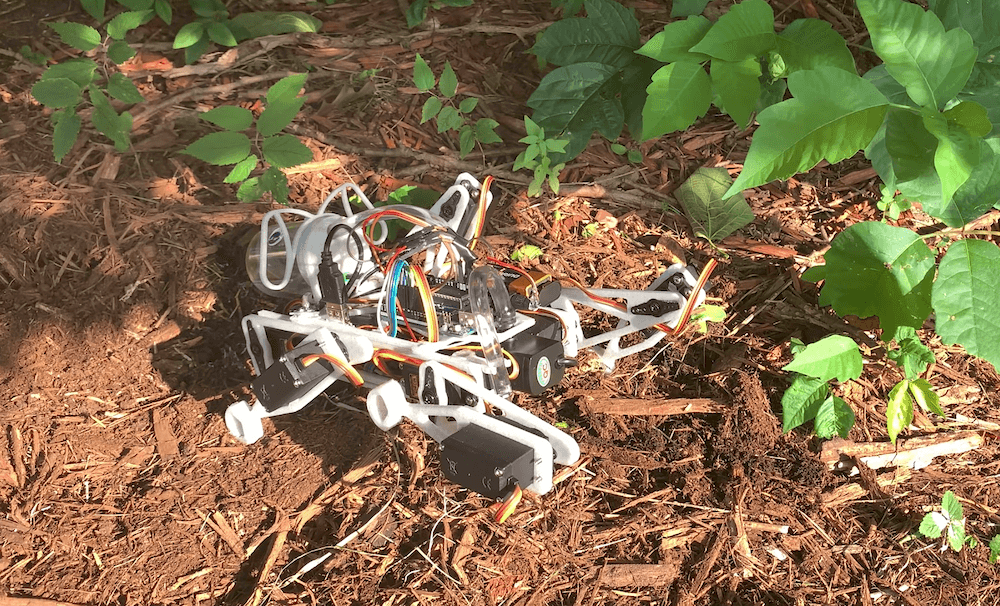
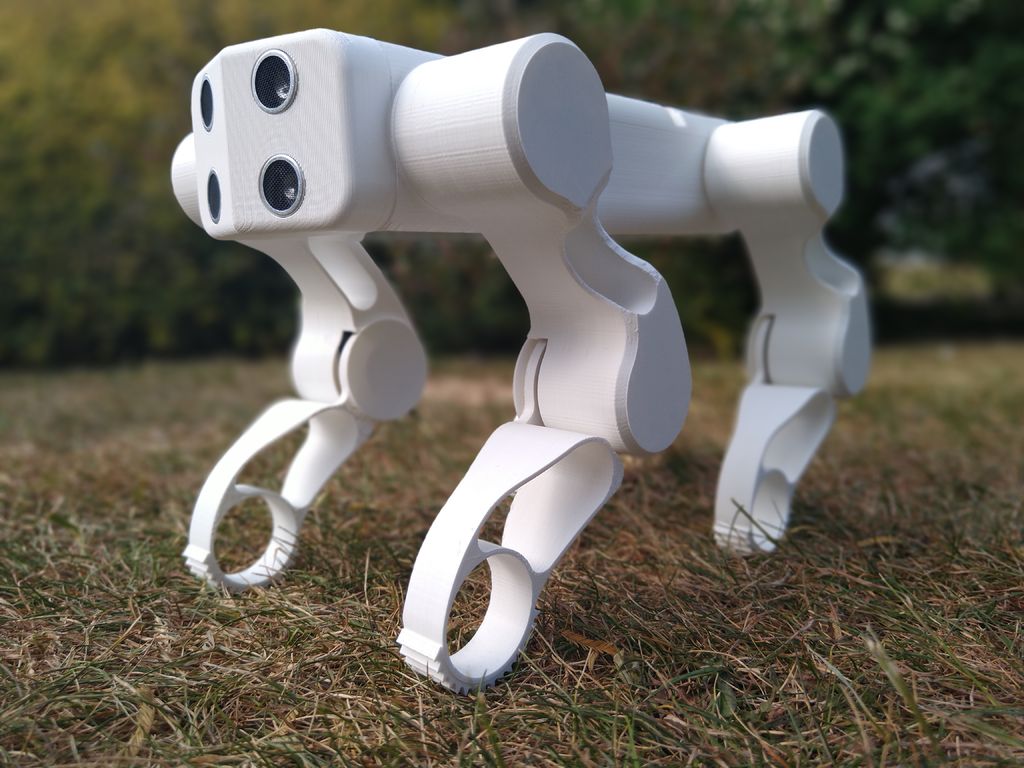
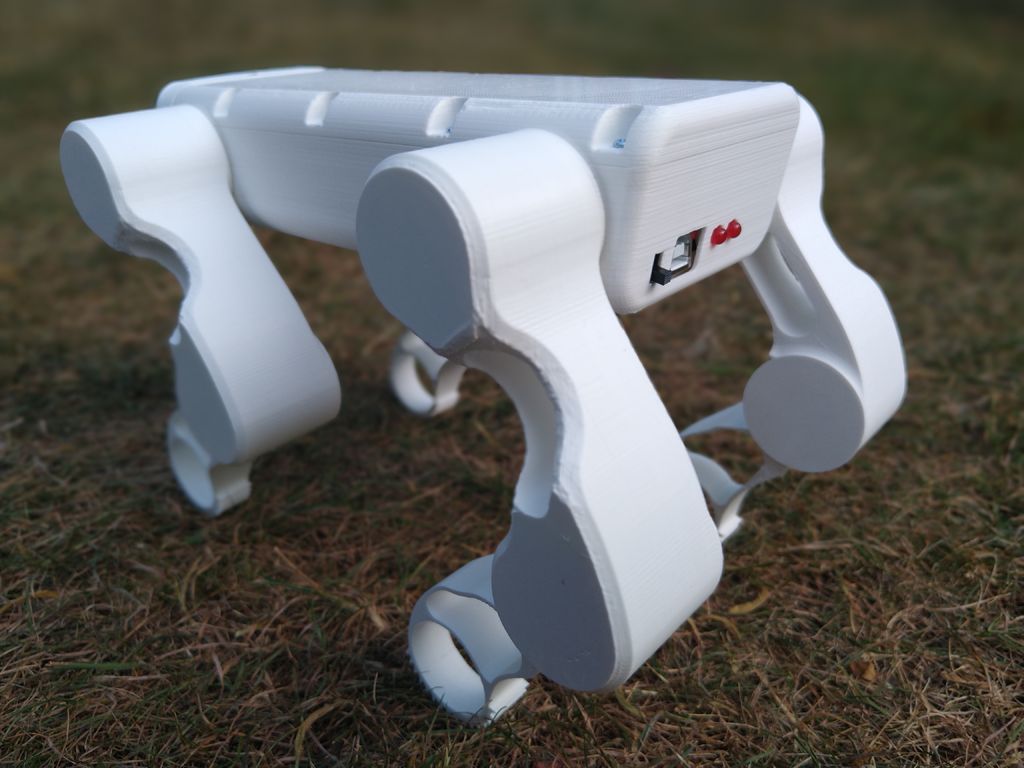
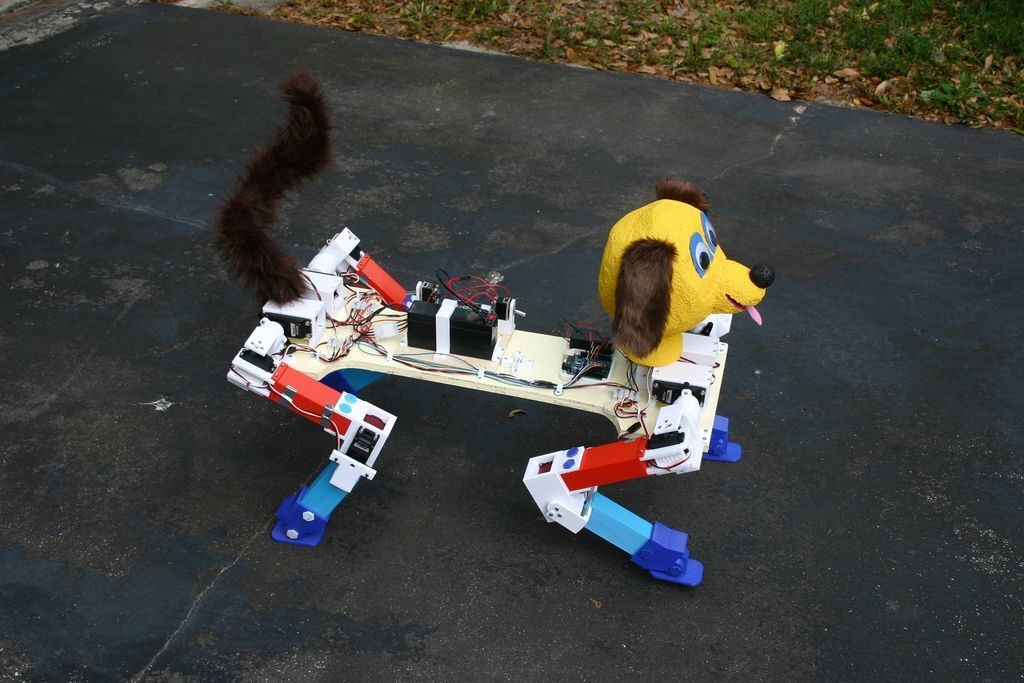
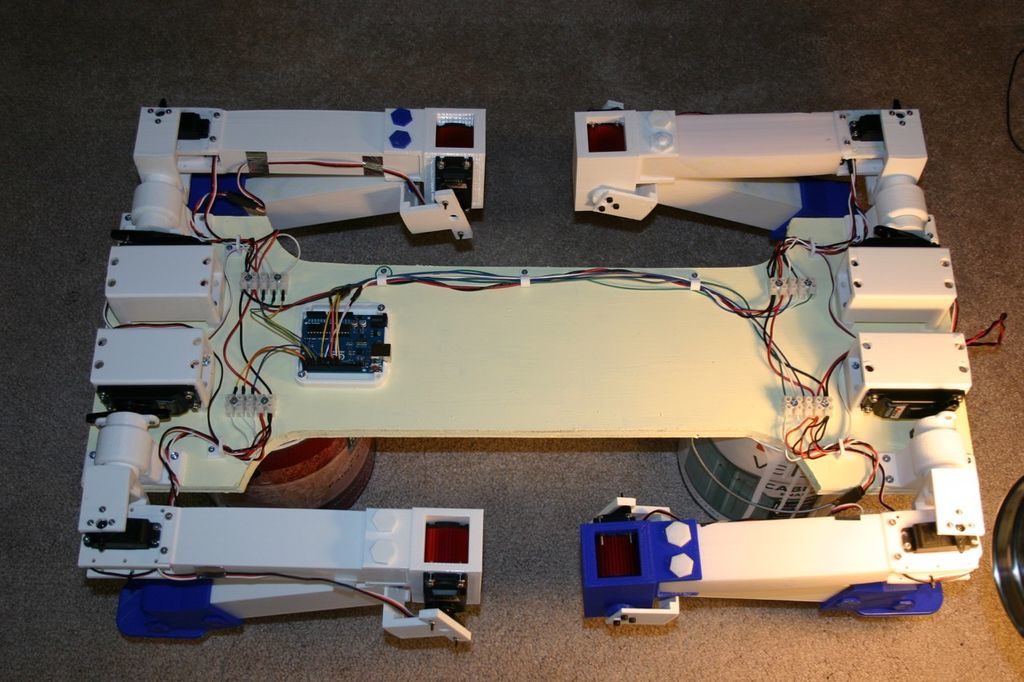
This is a little more complex than a typical line-following rover kit, but it is still approachable for beginners. It uses eight inexpensive MG90S hobby servo motors to walk on four legs, plus one more servo to rotate the head. The tutorial explains how to create a smartphone app for controlling the robot and there is an ultrasonic sensor hidden in the dog’s eyes to help it detect obstacles. 

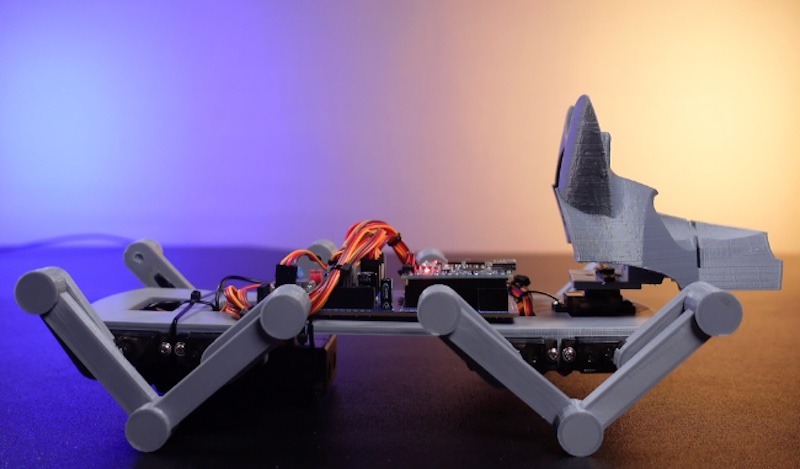
To construct this robot, you will first need to 3D print the body, legs, and head. Those parts are small enough to print on almost any model of 3D printer. You’ll then need the custom PCB, onto which all of the electronic components attach. You can order that from any PCB fabrication service. Using basic through-hole soldering techniques, you can populate that PCB with an Arduino Nano board, an HC-05 Bluetooth module (for communication with a smartphone), and various miscellaneous components like resistors and a voltage regulator. Power comes from a pair of 18650 lithium battery cells.

After assembly, you can begin controlling the robot using the provided app. Or you can follow the instructions to make your own app with the help of MIT’s handy block-based Scratch programming tool.

If you want to dip your toes into the world of robotics, this seems to be a fun way to do it.

The post Build yourself this simple app-controlled robot dog appeared first on Arduino Blog.

Poisonous plants, like poison ivy, can really ruin your day. In an effort to combat this “green menace,” YouTuber Sciencish decided to create his own quadruped robot.

The robotic dog is equipped with two servos per leg, for a total eight, which enable it to move its shoulders and elbows back and forth.

An Arduino Uno controller determines leg positions via trigonometric calculation, and when in position, it dispenses weed killer via a relay and aquarium pump setup. The reservoir can also be used to hold other liquids, whether for watering duties or even to provide extra fuel to a fire.

Daniel Hingston wanted to build a four-legged walking robot for several years, and with current coronavirus restrictions he finally got his chance. His 3D-printed robodog, dubbed “GoodBoy,” is reminiscent of a miniature version of Boston Dynamics’ Spot, which helped inspired the project. 

It’s extremely clean, with wiring integrated into the legs mid-print. Two micro servos per leg move it in a forward direction, controlled by an Arduino Uno.

Obstacle avoidance is provided by a pair of ultrasonic sensor “eyes,” allowing it to stop when something is in its path. An LDR sensor is also implemented, which when covered by its human minder commands it to present its paw for shaking.

Be sure to check out a short demo of GoodBoy below! 

Would you like a dog? Would you like a robot dog? If so, then this build by Michael Rigsby could be a great starting point. 

Rigbsy’s robotic pet features four servo-driven legs, with two-axis shoulder movement, as well as an articulated knee joint. As seen in the video below, it’s capable of picking itself up off the ground, and can then walk using a slow side-to-side gait.

An Arduino Uno uses the majority of its I/O pins to control the legs, and as of now, it travels forward with no directional control or sensor input. 

Instructions for the project, along code and 3D print files, are available in Rigsby’s write-up.


  • Newsletter

    Sign up for the PlanetArduino Newsletter, which delivers the most popular articles via e-mail to your inbox every week. Just fill in the information below and submit.

  • Like Us on Facebook