Posts | Comments

Planet Arduino

Archive for the ‘Arduino Plotter’ Category

Most plotters are planar, meaning they move in a single plane — though they often have the ability to move the tool up and down in the third axis. But if you convert one axis of the drawing plane into rotation, you get cylindrical plotting. That is how the rotary axis on a CNC machine works. If the tool moves in a third axis, you can even do conical plots. That’s exactly how CylinDraw makes it possible to plot directly onto cups and glasses.

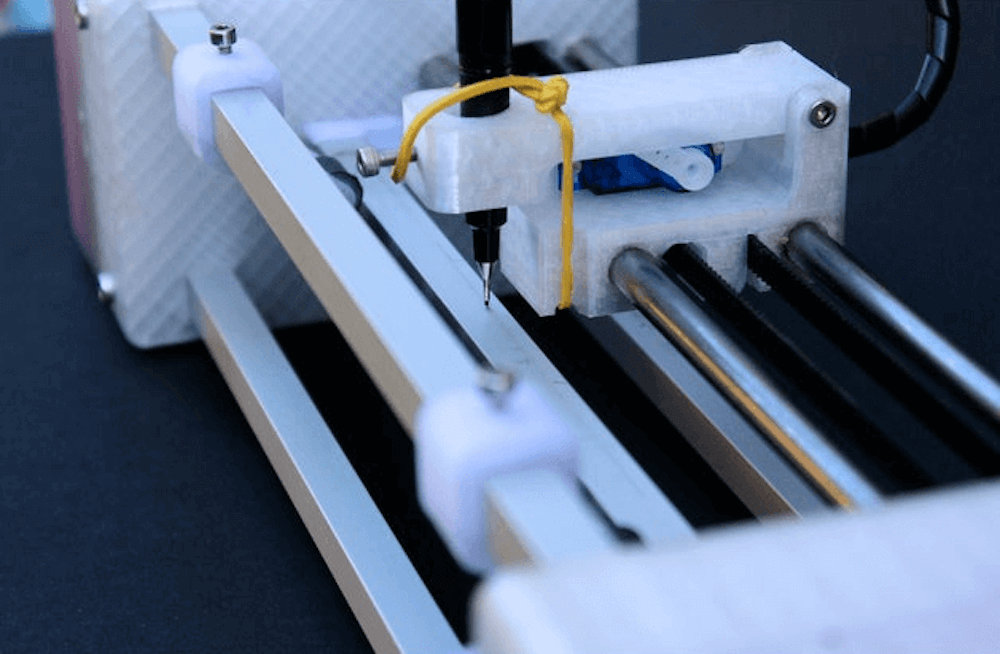
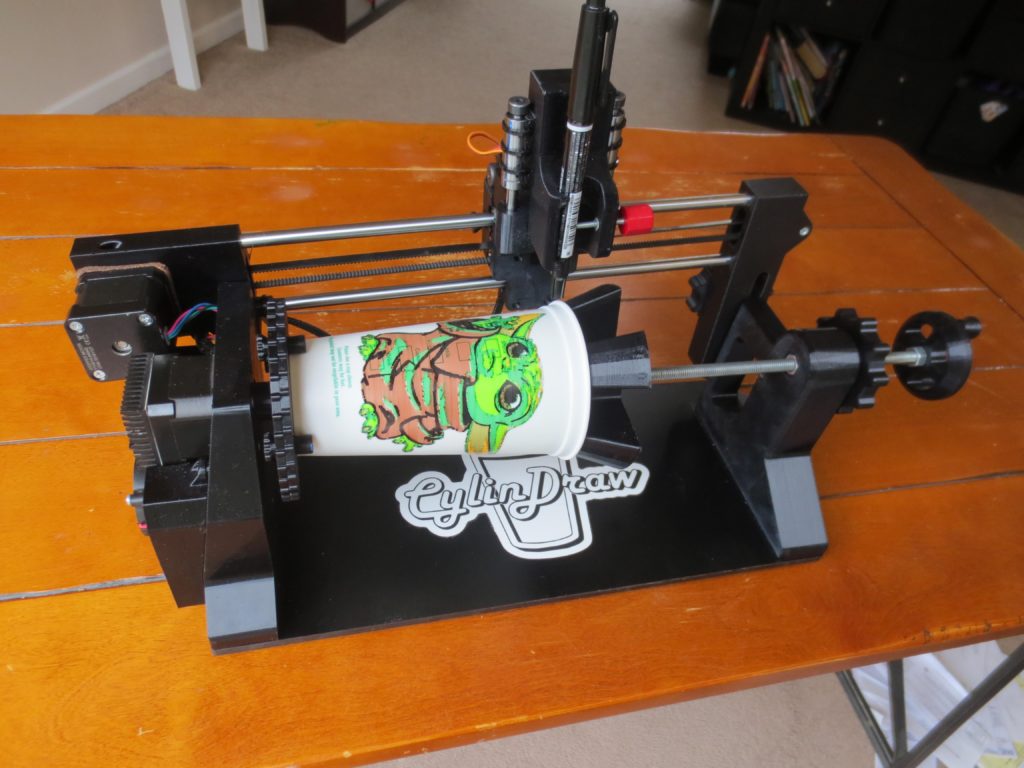
CylinDraw is an open source “cup-specific” plotter and engraver. It is a 2.5 axis machine with a rotary axis, similar to the famous EggBot egg plotter. Except instead of drawing onto the elliptical (in cross section) surface of an egg, CylinDraw plots onto the straight or sloped surface of cups, bottles, and similar objects. By equipping a Dremel or other rotary tool, you can also engrave onto a surface instead of drawing. If you do draw, the software also lets you swap pens to get a full color palette.

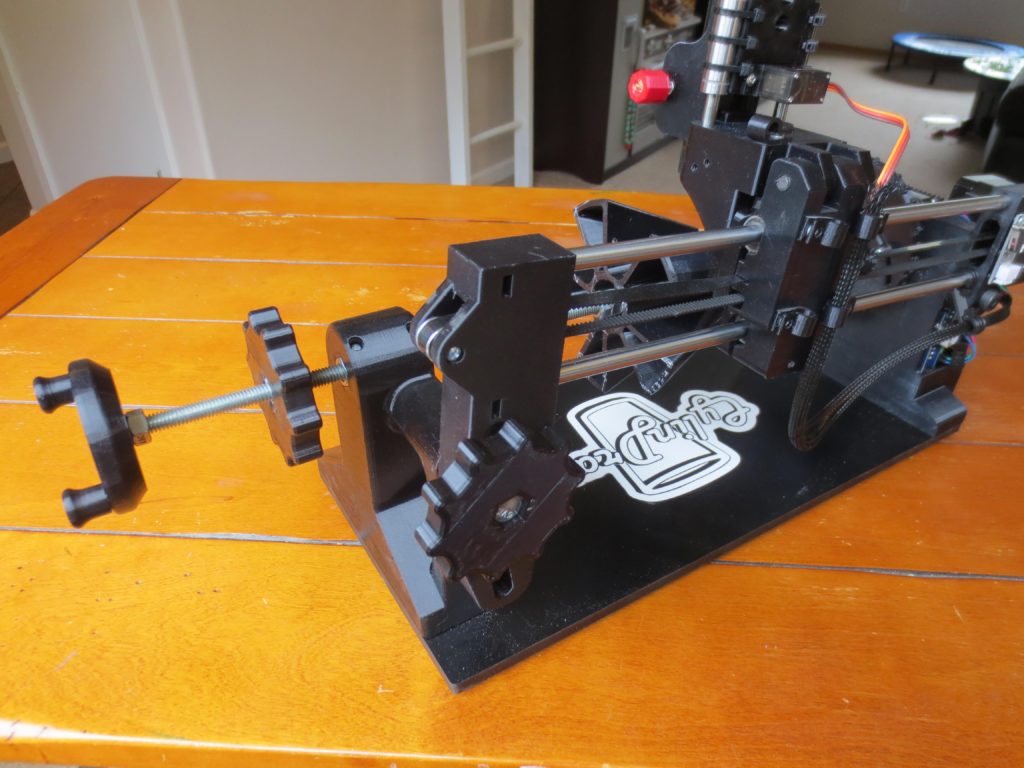
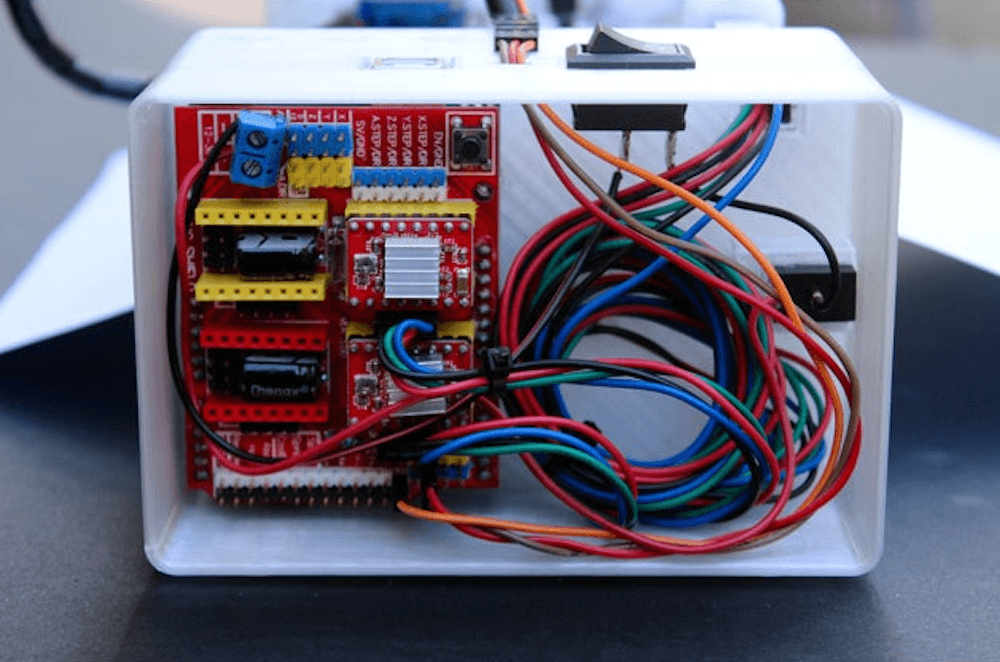
An Arduino Nano board controls CylinDraw’s operation, including the stepper motors that rotate the cup and move the tool along the X axis. The frame and many of the parts, including the lathe-inspired chuck, are 3D-printed. But it is the software that really differentiates CylinDraw from similar plotters. With this software, you can automatically convert images into G-code toolpaths for the Arduino to follow for plotting.

CylinDraw is currently available as a DIY hardware kit on Etsy if you want to build one for yourself.

The post Plot designs onto cups with CylinDraw appeared first on Arduino Blog.

Instructables user tuenhidiy wanted to create a new kind of CNC plotter that was unlike nearly all of the others you’ve seen. Rather than use aluminum extrusions or wood, this machine is constructed from various pieces of PVC pipe all cut to exact lengths, hence its name, the “CoreXZ Puzzle Pipe Plotter.”

Electronics wise, the plotter runs on an Arduino Uno loaded with an instance of the ubiquitous GRBL firmware. Stacked on top was a CNC GRBL shield, which has three A4988 stepper motor drivers for delivering current to three NEMA17 motors. 

To assemble this PVC CNC machine, tuenhidiy started by building the lower frame from a plethora of T-joints and connectors along with several inserts for attaching the aluminum rods. The plate at the bottom of the machine glides across the Y axis via a pair of aluminum rods and a set of bearings whereas the perpendicularly placed X axis is stationary and moves in a similar manner using one stepper motor placed to the side. Across from this motor is another one, which manipulates the Z axis vertically. 

After adding a pen and connecting the motors to the shield, tuenhidiy opened the Universal Gcode Platform application and added a few different toolpaths for testing. As shown in the following video, the plotter does a great job at drawing both pictures and text accurately. For more details about this project, check out its tutorial on Instructables.

The post PVC pipe plotter prints pretty pictures appeared first on Arduino Blog.

While computer printers are readily available, if you’d like a plotting device that drags a pen, marker, or whatever you need across paper to create images, your options are more limited. To fill this gap, studioprogettiperduti has come up with the d.i.d, or Deep Ink Diver.

This scalable pen plotter uses a frame made out of 3D-printed parts, as well as aluminum extrusion, which could be lengthened to support the size of paper that you need. A timing belt pulls the writing carriage back and forth, while a roller advances the paper. 

Control is handled by an Arduino Uno and a CNC shield, with a version of grbl that accommodates a servo used to lift the pen.

The materials and electronics used for the plotter are all standard and easy to source. The main frame is made of aluminum extrusion and 3D-printed connections. The motors are all standard NEMA 17 stepper motors and a single SG-90 servo motor. Everything is driven by a cheap Arduino Uno control board that handles the transition from g-code to movement. Furthermore, the software used to create G-code, Inkscape, is open source as well.


  • Newsletter

    Sign up for the PlanetArduino Newsletter, which delivers the most popular articles via e-mail to your inbox every week. Just fill in the information below and submit.

  • Like Us on Facebook