Posts | Comments

Planet Arduino

Archive for the ‘Vacuum Fluorescent Display’ Category

Small in size, low-resolution, blocky segments, and a limited color palette — all characteristics of the typical vacuum fluorescent display, any of which would seem to disqualify them as the display of choice for a lot of applications. But this is Hackaday, and we don’t really pay much attention to what we’re supposed to do, but rather to what’s fun and cool to do. So when we see something like a VFD game console, we just have to sit up and take notice.

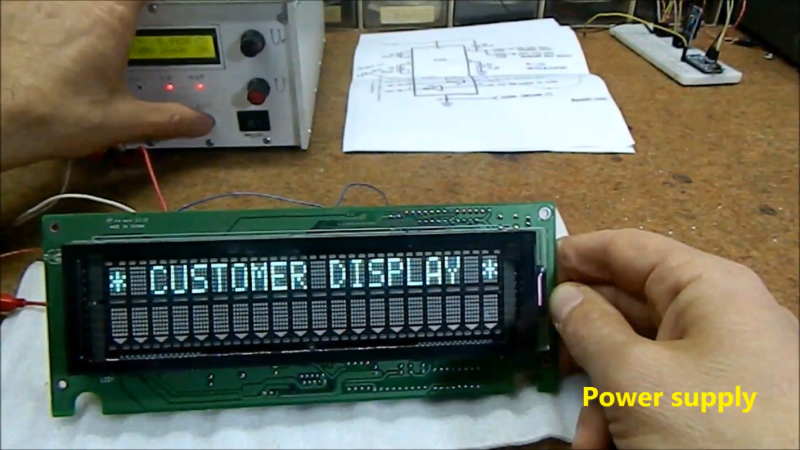
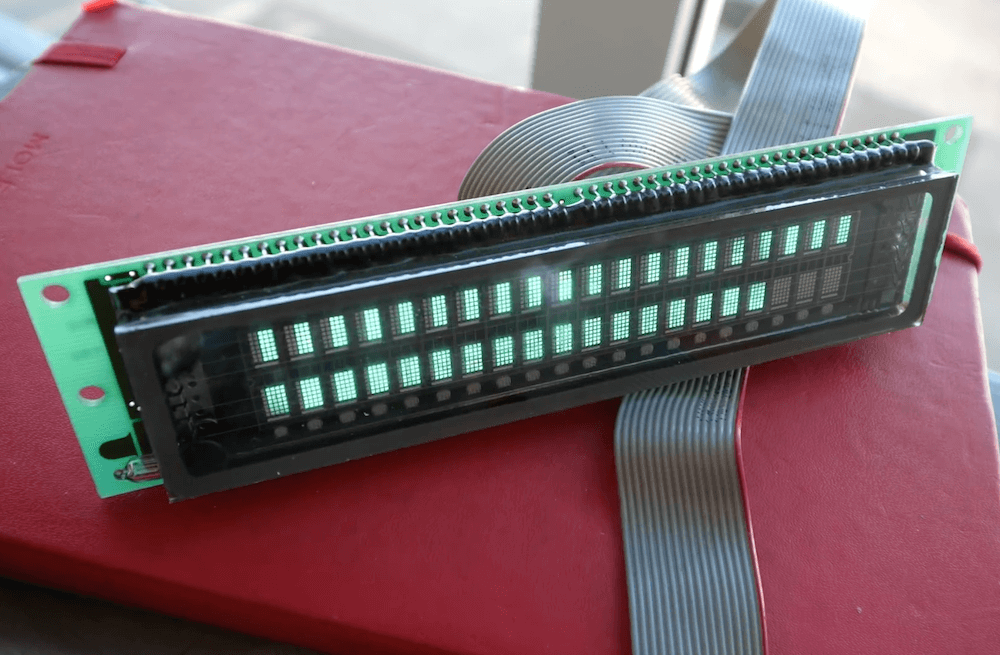
In a lot of ways, the design of [Simon Boak]’s Arduino-based VFD console is driven by his choice of display. The Noritake Itron GU20X8-301 VFD is a “tricolor” display with eight rows of 20 rectangular pixels. Each pixel is composed of six short linear segments, with alternating red and blue colors. Turning on either set of segments yields one of the two base colors, while turning on both yields a sorta-kinda whitish color, if you squint a bit.

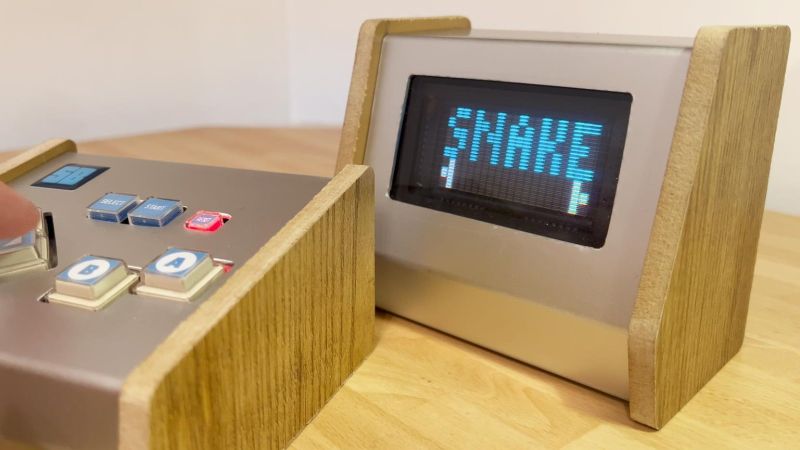
[Simon] chose a two-piece design for his console, with a separate controller and display. The controller holds the Arduino Nano and all the controls, plus a piezo buzzer for fun. The display case connects to the controller with a ribbon cable and holds the VFD power supply and driver. To celebrate the retro look of the VFD, both cases are decked out with woodgrain side panels. [Simon] chose appropriately blocky games for the console, like Snake, Conway’s Game of Life, and the venerable snow demo. We’d imagine Pong would be a good choice too, as well as perhaps Tetris if the display were flipped on its side.

We really like the look of this console, and we appreciate putting an otherwise obsolete display to use in a creative way. If you want to learn a little more about these displays, check out this love letter to the VFD.

For those of us old enough to remember the VCR (and the difficulty of programming one), the ubiquitous vacuum fluorescent display, or VFD, is burned into our memories, mostly because of their brightness and contrast when compared to the superficially-similar LCD. These displays are incredibly common even apart from VCRs, though, and it’s easy to find them for next to no cost, but figuring out how to drive one if you just pulled it out of a 30-year-old VCR is going to take some effort. In this build, [mircemk] shows us how he drives unknown VFD displays using an Arduino in order to build his own weather forecasting station.

For this demonstration [mircemk] decided to turn a VFD into a weather forecasting station. First of all, though, he had to get the VFD up and running. For this unit, which came from a point-of-sale (POS) terminal, simply connecting power to the device turned on a demo mode for the display which let him know some information about it. From there, and with the knowledge that most POS terminals use RS232 to communicate, he was able to zero in on the Rx and Tx pins on the on-board microcontroller and interface them with an Arduino. From there it’s a short step to being able to output whatever he wanted to this display.

For this project, [mircemk] wanted the display to output information about weather, but rather than simply pull data from some weather API he is actually using a sensor suite connected to the Arduino to measure things like barometric pressure in order to make a 12-hour forecast. The design is inspired by old Zambretti weather forecasters which used analog wheels to input local weather data. It’s an interesting build not only for the VFD implementation but also for attempting to forecast the weather directly with just a tiny sensor set instead of downloading a forecast to display. To do any better with your own forecasts, you’d likely need your own weather station.

A lot of electronics wind up in landfills, and when [Playful Electronics] saw an old cash register heading for the dump, he decided to give its VFD display a new life as an Arduino peripheral. While you might not find the exact same parts, it is still fun to watch him work through the process, and you might find some tips for doing your own upcycle project next time you see some old tech heading out to pasture.

The project was relatively straightforward since data for the display was available. It is meant to connect via RS232 with a point of sale printer, so working with it is pretty straightforward.

While VFDs aren’t the latest technology, they do work well, especially in bright environments like inside a car. It seems like having an RS232 display like this would be worth something. However, we did find a few units online for sale, they were priced pretty high. We bet there are some caches of surplus somewhere, though.

We can’t help but note that not all VFDs — or any kind of embedded display — are quite this easy to hack. On the other hand, if you want to really hack a VFD, you don’t have to use it as a display.

Vacuum fluorescent displays (VFDs) have a distinct cool blue-greenish glow, and were once used in a wide range of devices, from VCRs to microwave ovens and even car dashboards. Although extremely popular way back when, they can be more difficult to source today. In the video below, Scotty Allen of the Strange Parts YouTube channel takes on the challenge of getting a $600 ISE (now Noritake) display up and running with an Arduino Due.

The process starts with examining the datasheet to find that the Due’s 3.3V logic can indeed drive the 20×2 character display, then he constructs a custom adapter board to do just that. After more datasheet lurking, head scratching and hacking, he finally got it to show “Hello world!” toward the end of the clip, along with some simple animations. 

The VFD control is part of a larger build that will be revealed in the future, and a good reminder of just how much trial and error is needed to succeed in making something awesome.


  • Newsletter

    Sign up for the PlanetArduino Newsletter, which delivers the most popular articles via e-mail to your inbox every week. Just fill in the information below and submit.

  • Like Us on Facebook