Posts | Comments

Planet Arduino

Archive for the ‘IoT Cloud Dashboard’ Category

Arduino Cloud web page

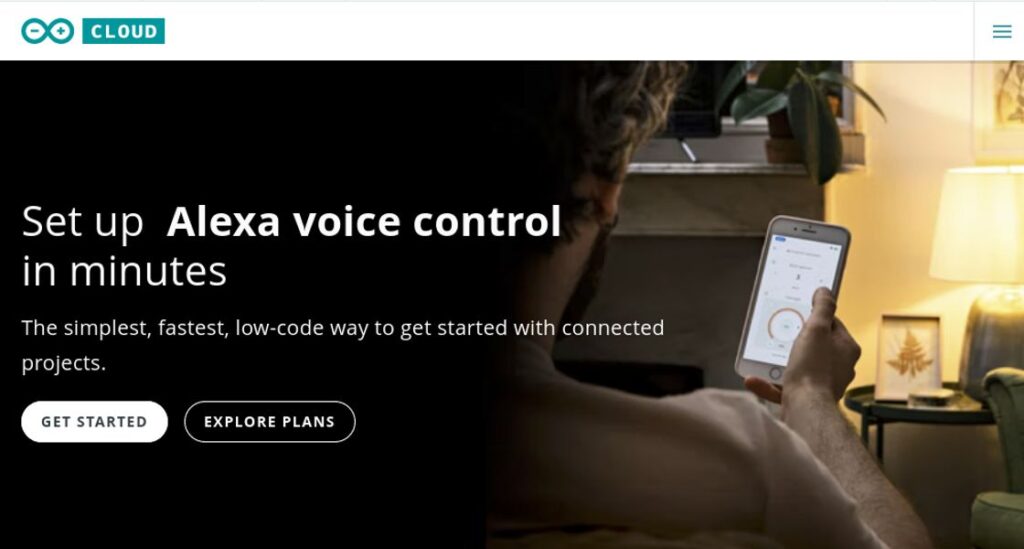
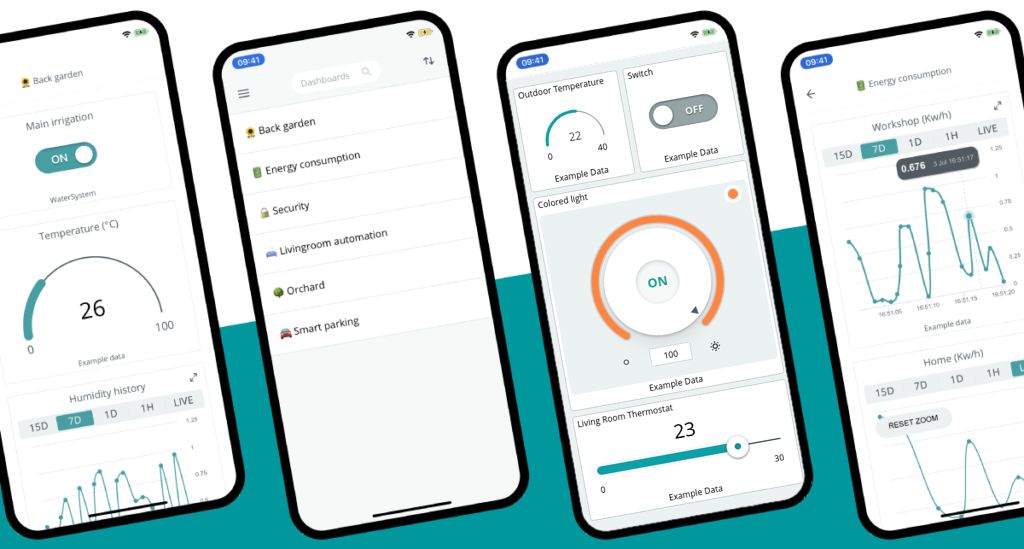
As Arduino Cloud continues to evolve and we see more and more people adopting the platform, we wanted to make sure there was a strong focal point for newcomers to find out what it’s all about. Which is why we just released cloud.arduino.cc, to give you a one-stop shop for learning everything about Arduino Cloud.

cloud.arduino.cc

There’s a lot rapid development around Arduino Cloud since the webpage was first launched. Excitement both inside and outside Arduino for delivering new Cloud features and improvements has, admittedly, overtaken our efforts to keep the webpage spick and span. The cobbler’s shoes always has holes in them, as the saying goes!

But no longer. Our web team has been working hard since well before Christmas to give Arduino Cloud the webpage it deserves. It’s a place where newcomers can easily learn what it’s all about and what it offers, and it’s somewhere that experienced Cloud users can stay up to date.

Learn about Arduino Cloud

Everything About Arduino Cloud

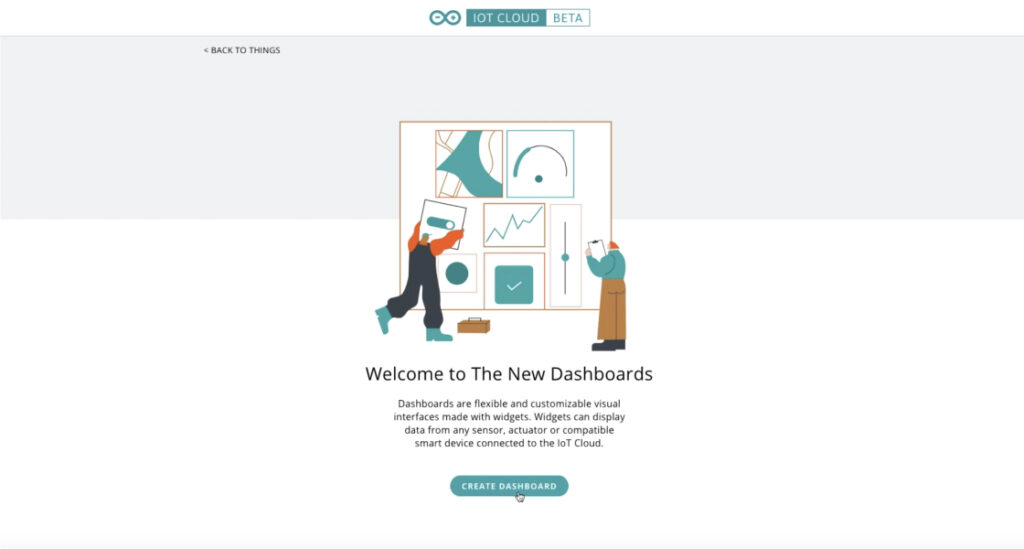
The new page is broken down into a variety of different sections, intended to make it as easy as possible to learn when you want, and find what you need.

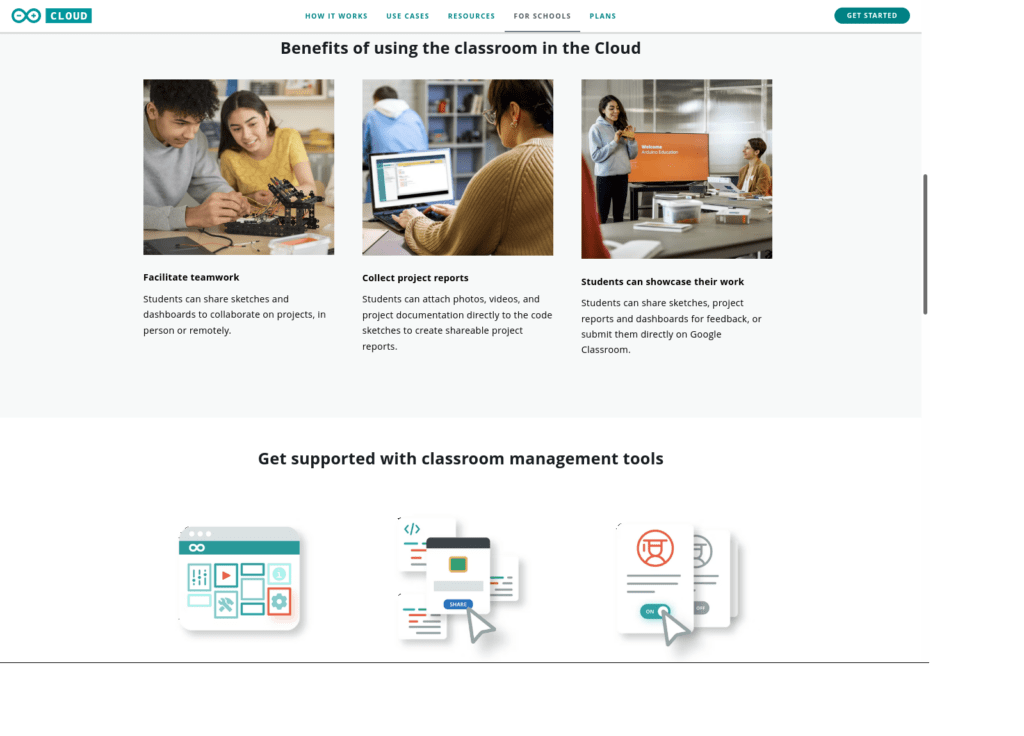
Whether it’s info about features, the different plans, getting started or news about new developments, it’s all found a home at cloud.arduino.cc. All the resources you need are gathered together there, including learning how you can use Arduino Cloud in the classroom.

Arduino Cloud in the classroom

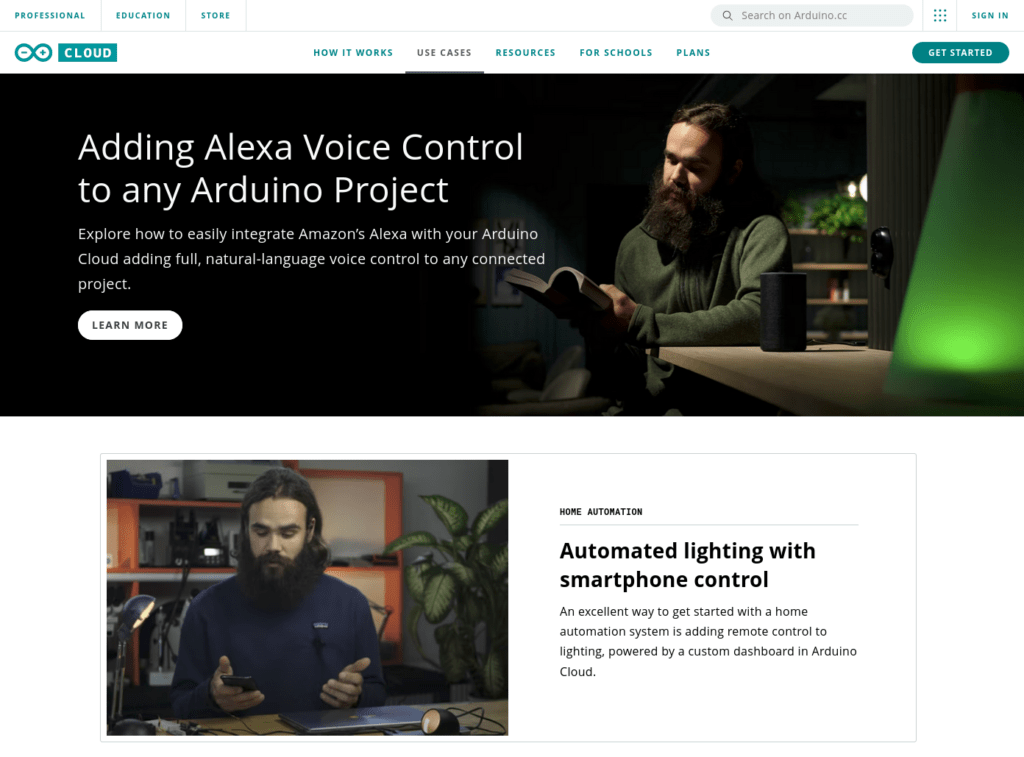
There’s also a whole section dedicated to use cases, which we’re particularly excited about. Use cases are an excellent place to learn what you can do with the Cloud, and to get inspiration. But they’re also an excellent showcase of what people in the Arduino Community have achieved.

So to that end, we’re always keen to hear from anyone out there who has a working example of an Arduino Cloud project, and wants to show it off. Get in touch if you think your project might be suitable for an official Arduino Cloud use case.

In the meantime, please take a look at the brand new home for Arduino Cloud, and share it far and wide with the rest of the community.

The post A New Way to Connect with Arduino Cloud appeared first on Arduino Blog.

Arduino Cloud Mobile Dashboards

You’ve now got a way to optimize your Arduino Cloud dashboards for small screens, and Facebook login for the smartphone apps and your account. It’s been a busy few weeks! Only yesterday we rolled out LoRaWAN connectivity in Arduino Cloud using The Things Stack. Now we’ve even more great features to tell you about, so let’s jump right into them.

Mobile Optimized Dashboards for Arduino Cloud

Dashboards are one of Arduino Cloud’s crowning achievements. Fully customizable, and a powerful way to control boards, devices and projects, while also letting you visualize all kinds of data. It really is a cornerstone of Arduino Cloud’s offering.

A little while ago we made some changes to widget sizes, and the way they’re labelled. It gave you a much better view of the data, and made the sizing more compact. This was the first step in a redesign of Arduino Cloud dashboards that now let us improve visibility on small screens, too. 

As you probably know, your dashboards instantly work in the free Arduino IoT Remote app, too. It gives you smartphone control with no coding required. Today this great feature gets a shot in the arm, as you can now edit a dashboard’s layout for a mobile screen.

Arduino Cloud Mobile Dashboards

Let’s say you add a button to a new dashboard. You can now increase its size on the big screen, but reduce its size on the mobile layout. They can be in totally different positions, too. Arduino Cloud will automatically display the dashboard in the optimal size depending on your device. So you always get the best view and most ergonomic layout.

Any settings for the widgets are maintained regardless of the dashboard size. So if you link the button to a variable on the desktop dashboard, it’s also linked for the mobile layout. This way, you can optimize the layout without having to replicate any work in the settings.

At the top of the dashboard screen, you’ll now see a mobile layout button. This lets you switch between views, so you can customize the dashboard for both screen sizes. It’s available right now, so go give it a try.

Facebook Login for Arduino Cloud

Since we’re talking about Arduino Cloud updates for small screens, we also added another minor, but very useful tweak.

You can already log into your Arduino Cloud account using Google or Apple accounts. Or your Arduino account, obviously. There’s now the option to log in by connecting to Facebook, too.

It speeds up the process by only requiring a quick button click/tap, so you can get on with building those awesome mobile dashboards even faster!

As always, we want to hear your thoughts on these changes, so please let us know over on social media.

The post Arduino Cloud gets Mobile Dashboards and Facebook Login appeared first on Arduino Blog.

Templates let you build IoT projects without code

Templates are here for the Oplà IoT Kit. This is a new feature that takes you from unboxing your kit to uploading a sketch and getting a project up and running in record time. And you can do the whole thing without needing any coding.

Arduino Cloud Templates for Oplà IoT Kit

Arduino Cloud is all about ease and simplicity. So it’s been no small task in the background, creating a way to import dashboards, sketches, things and variables that get projects up and running in just a few clicks.

To kick things off, we’ve brought these templates to the awesome Oplà IoT Kit. This way, you have more options than ever before. You don’t need any coding skills at all to make a fully functional, connected IoT project. It’s the spark that will start the fire of your new passion for electronics!

Arduino templates for Opla IoT Kit

Oplà IoT Kit Projects

The kit includes a host of projects so you can get started with IoT. These projects are carefully developed to create a strong foundation that lets anyone develop a working understanding of connected projects. Whether you’re teaching or learning, this kit is for you.

There’s still a lot of value in following these projects from start to finish, of course. Building control dashboards is one of the most powerful tools in the Arduino Cloud arsenal, for example. But there’s no quicker way to get started than importing a template. You can get to grips with things through pre-built, working demo content. Being able to see the finished project and work backwards is an excellent way to understand the inner workings.

There’s a super simple wizard that helps you import an Oplà IoT Kit project. It walks you step-by-step through the short process, creating and uploading the sketch, connecting the devices and adding a dashboard. It’ll connect your boards to Arduino Cloud and set them up automatically as you go.

Templates are ready and available for the following example Oplà IoT Kit projects:

  • Home Security Alarm
  • Inventory Control
  • Personal Weather Station
  • Remote Controlled Lights
  • Smart Garden
  • Thermostat Control
  • Thinking About You

Simply register your kit, and get signed up to the Arduino Cloud. If you’ve got a new Oplà IoT Kit there’s a free 12 month subscription included in the box, although you can do all this with the free Cloud plan too. Once you’re in, select the project you want to build with your Oplà IoT Kit. Then just click the “Import” button and follow the wizard as it takes you through the quick and easy process.

Do you like the new dashboard templates? Let us know if the comments where you’d like to see this Arduino Cloud feature go next.

The post Create projects fast, with no coding, using Oplà IoT Kit templates appeared first on Arduino Blog.

The new dashboard for the Arduino IoT Cloud comes with a host of enhanced features. It allows you to gather and display data from multiple IoT devices in one dashboard, and control those devices as required through your dashboard to fully integrate your solution.

Using widgets to connect to the properties enables you to set up a new dashboard in minutes, and you can fully customize your dashboard by: grouping devices however you like, dragging and dropping to rearrange the layout, and selecting from multiple options to visualize the data.

It is now possible to import historical data into the dashboard to provide a backdated view for all your properties, hence creating a new dashboard  no longer means losing previous information. You can present the information in your dashboard as far back as you’ve been collecting the data.

A new ‘duplicate dashboard” function lets you copy any of your existing dashboards setup and layout, plus you can easily see which things are associated with which devices when setting up a new solution.

It really is that simple!


  • Newsletter

    Sign up for the PlanetArduino Newsletter, which delivers the most popular articles via e-mail to your inbox every week. Just fill in the information below and submit.

  • Like Us on Facebook