10
Hackaday readers have certainly seen more than a few persistence of vision (POV) displays at this point, which usually take the form of a spinning LED array which needs to run up to a certain speed before the message becomes visible. The idea is that the LEDs rapidly blink out a part of the overall image, and when they get spinning fast enough your brain stitches the image together into something legible. It’s a fairly simple effect to pull off, but can look pretty neat if well executed.
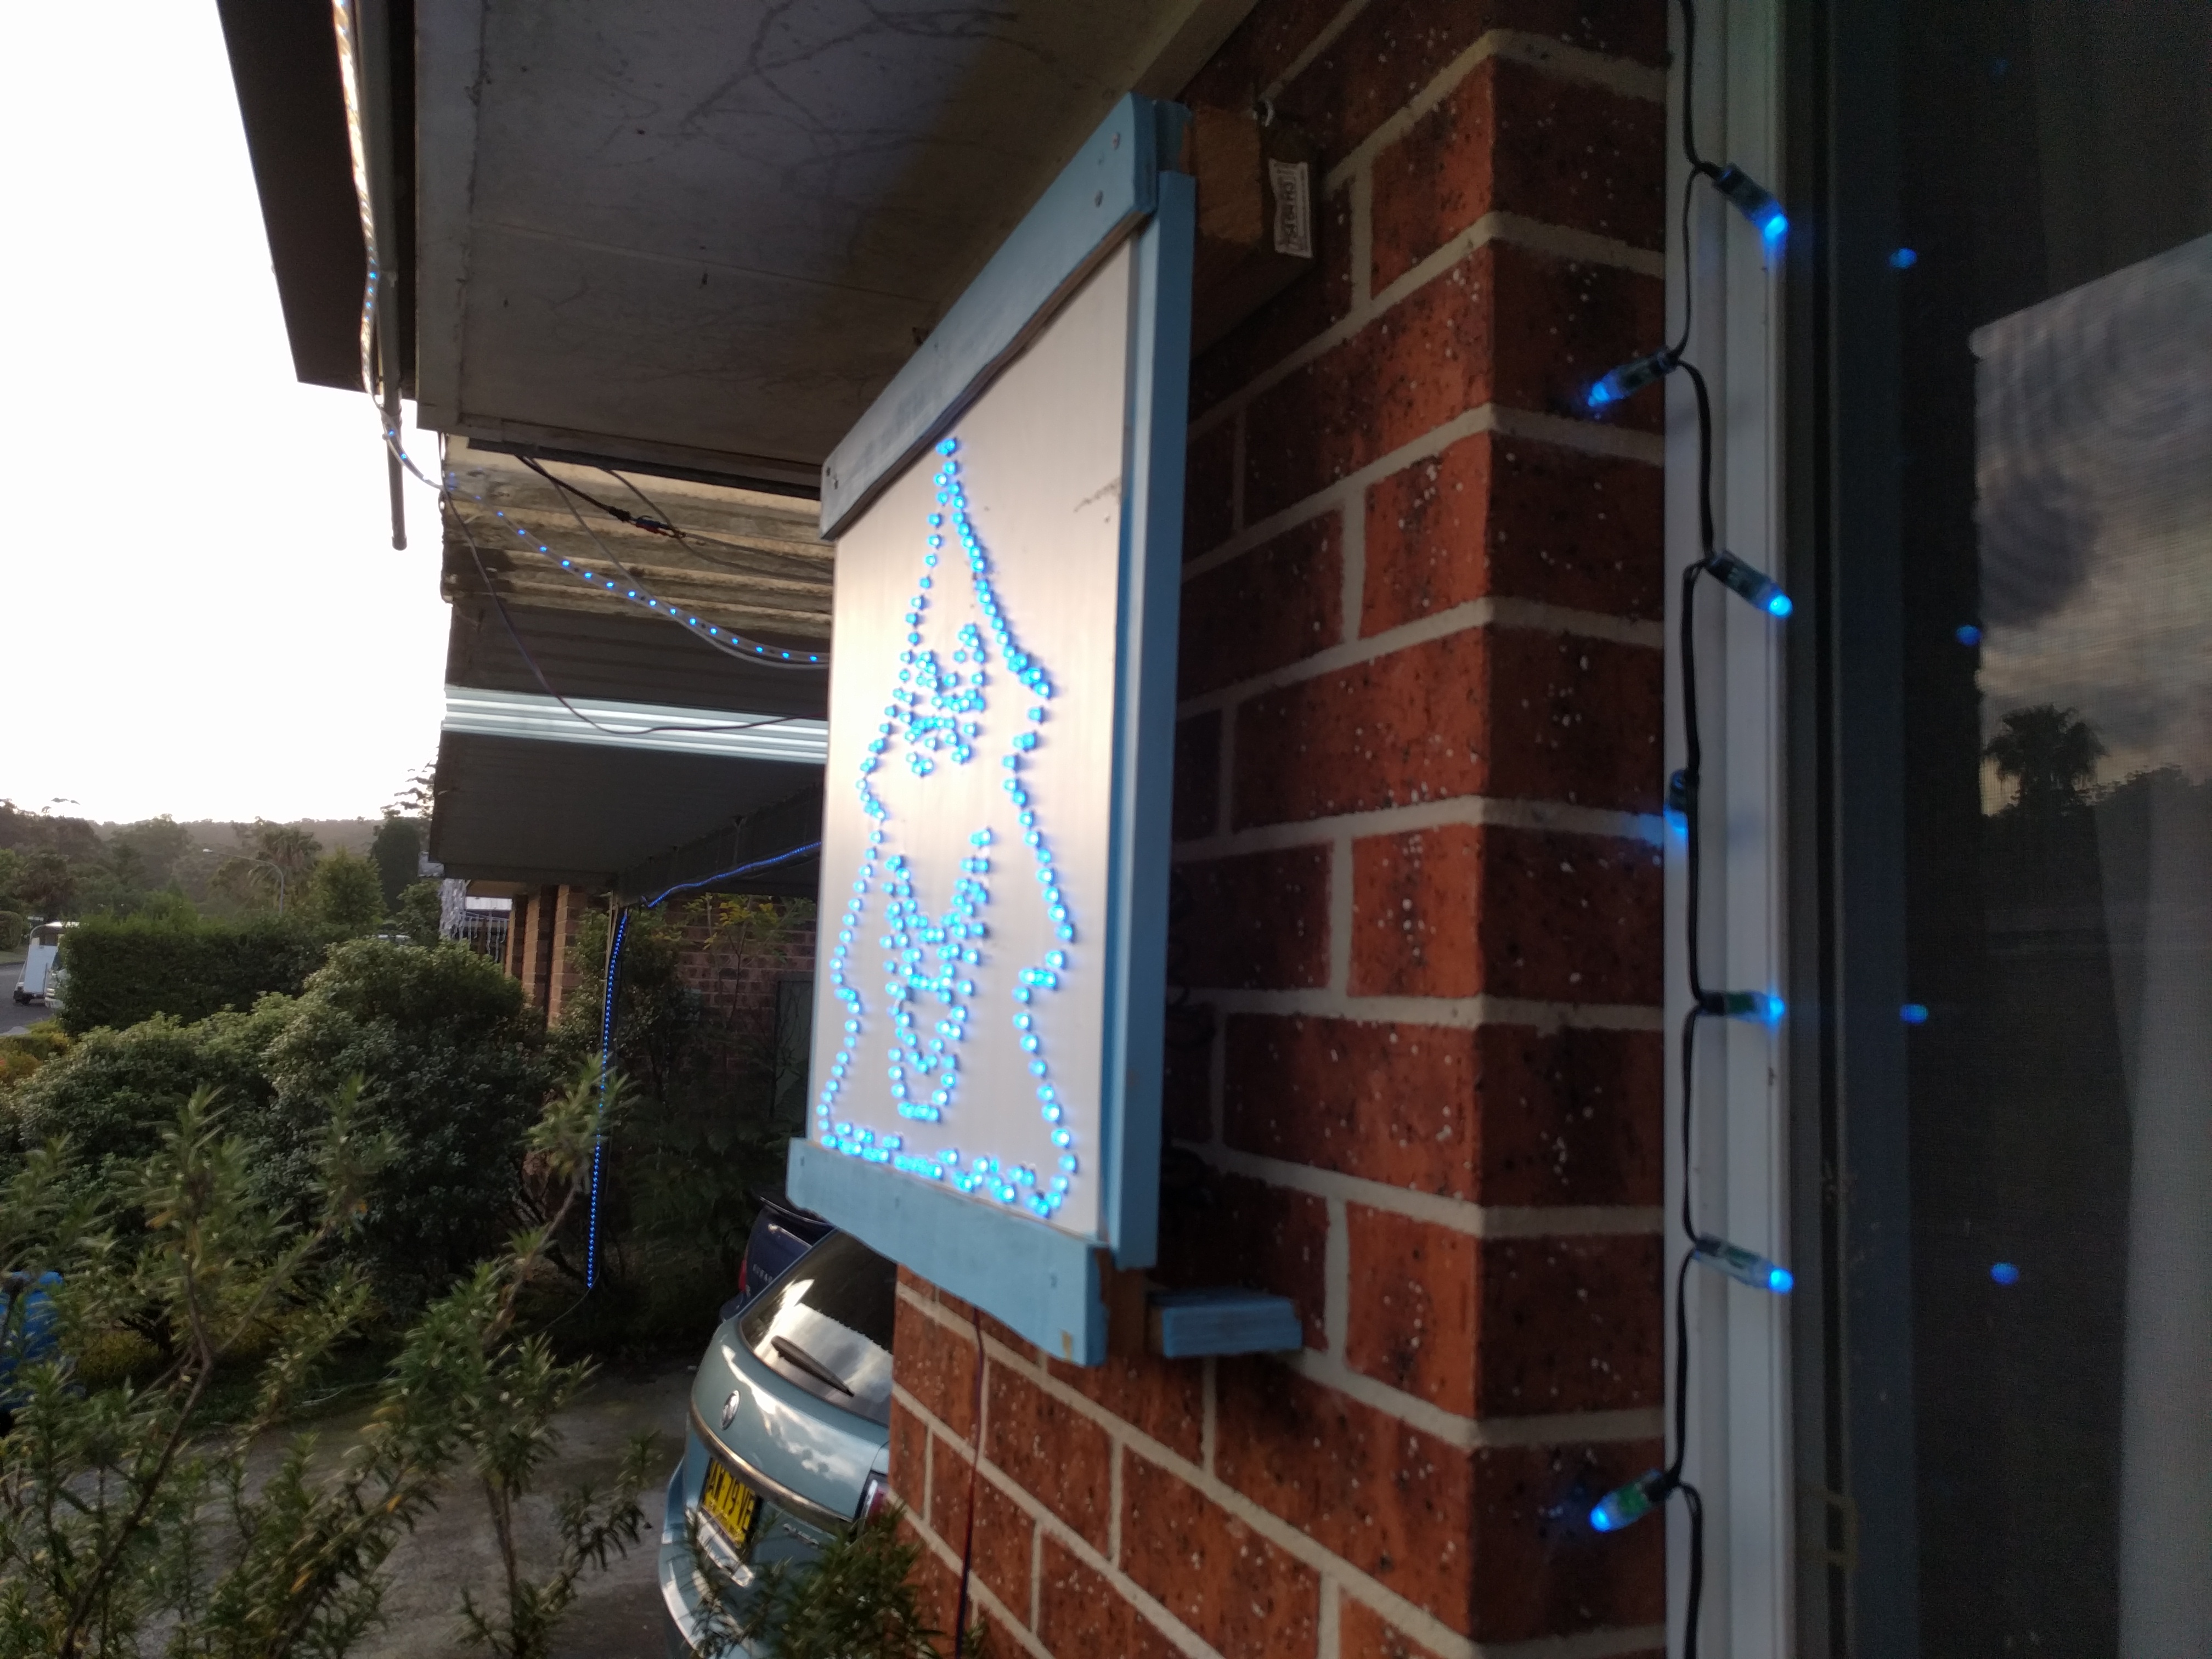
 But [Andy Doswell] has recently taken an interesting alternate approach to this common technique. Rather than an array of LEDs that spin or rock back and forth in front of the viewer, his version of the display doesn’t move at all. Instead it has the viewer do the work, truly making it the “Chad” of POV displays. As the viewer moves in front of the array, either on foot or in a vehicle, they’ll receive the appropriate Yuletide greeting.
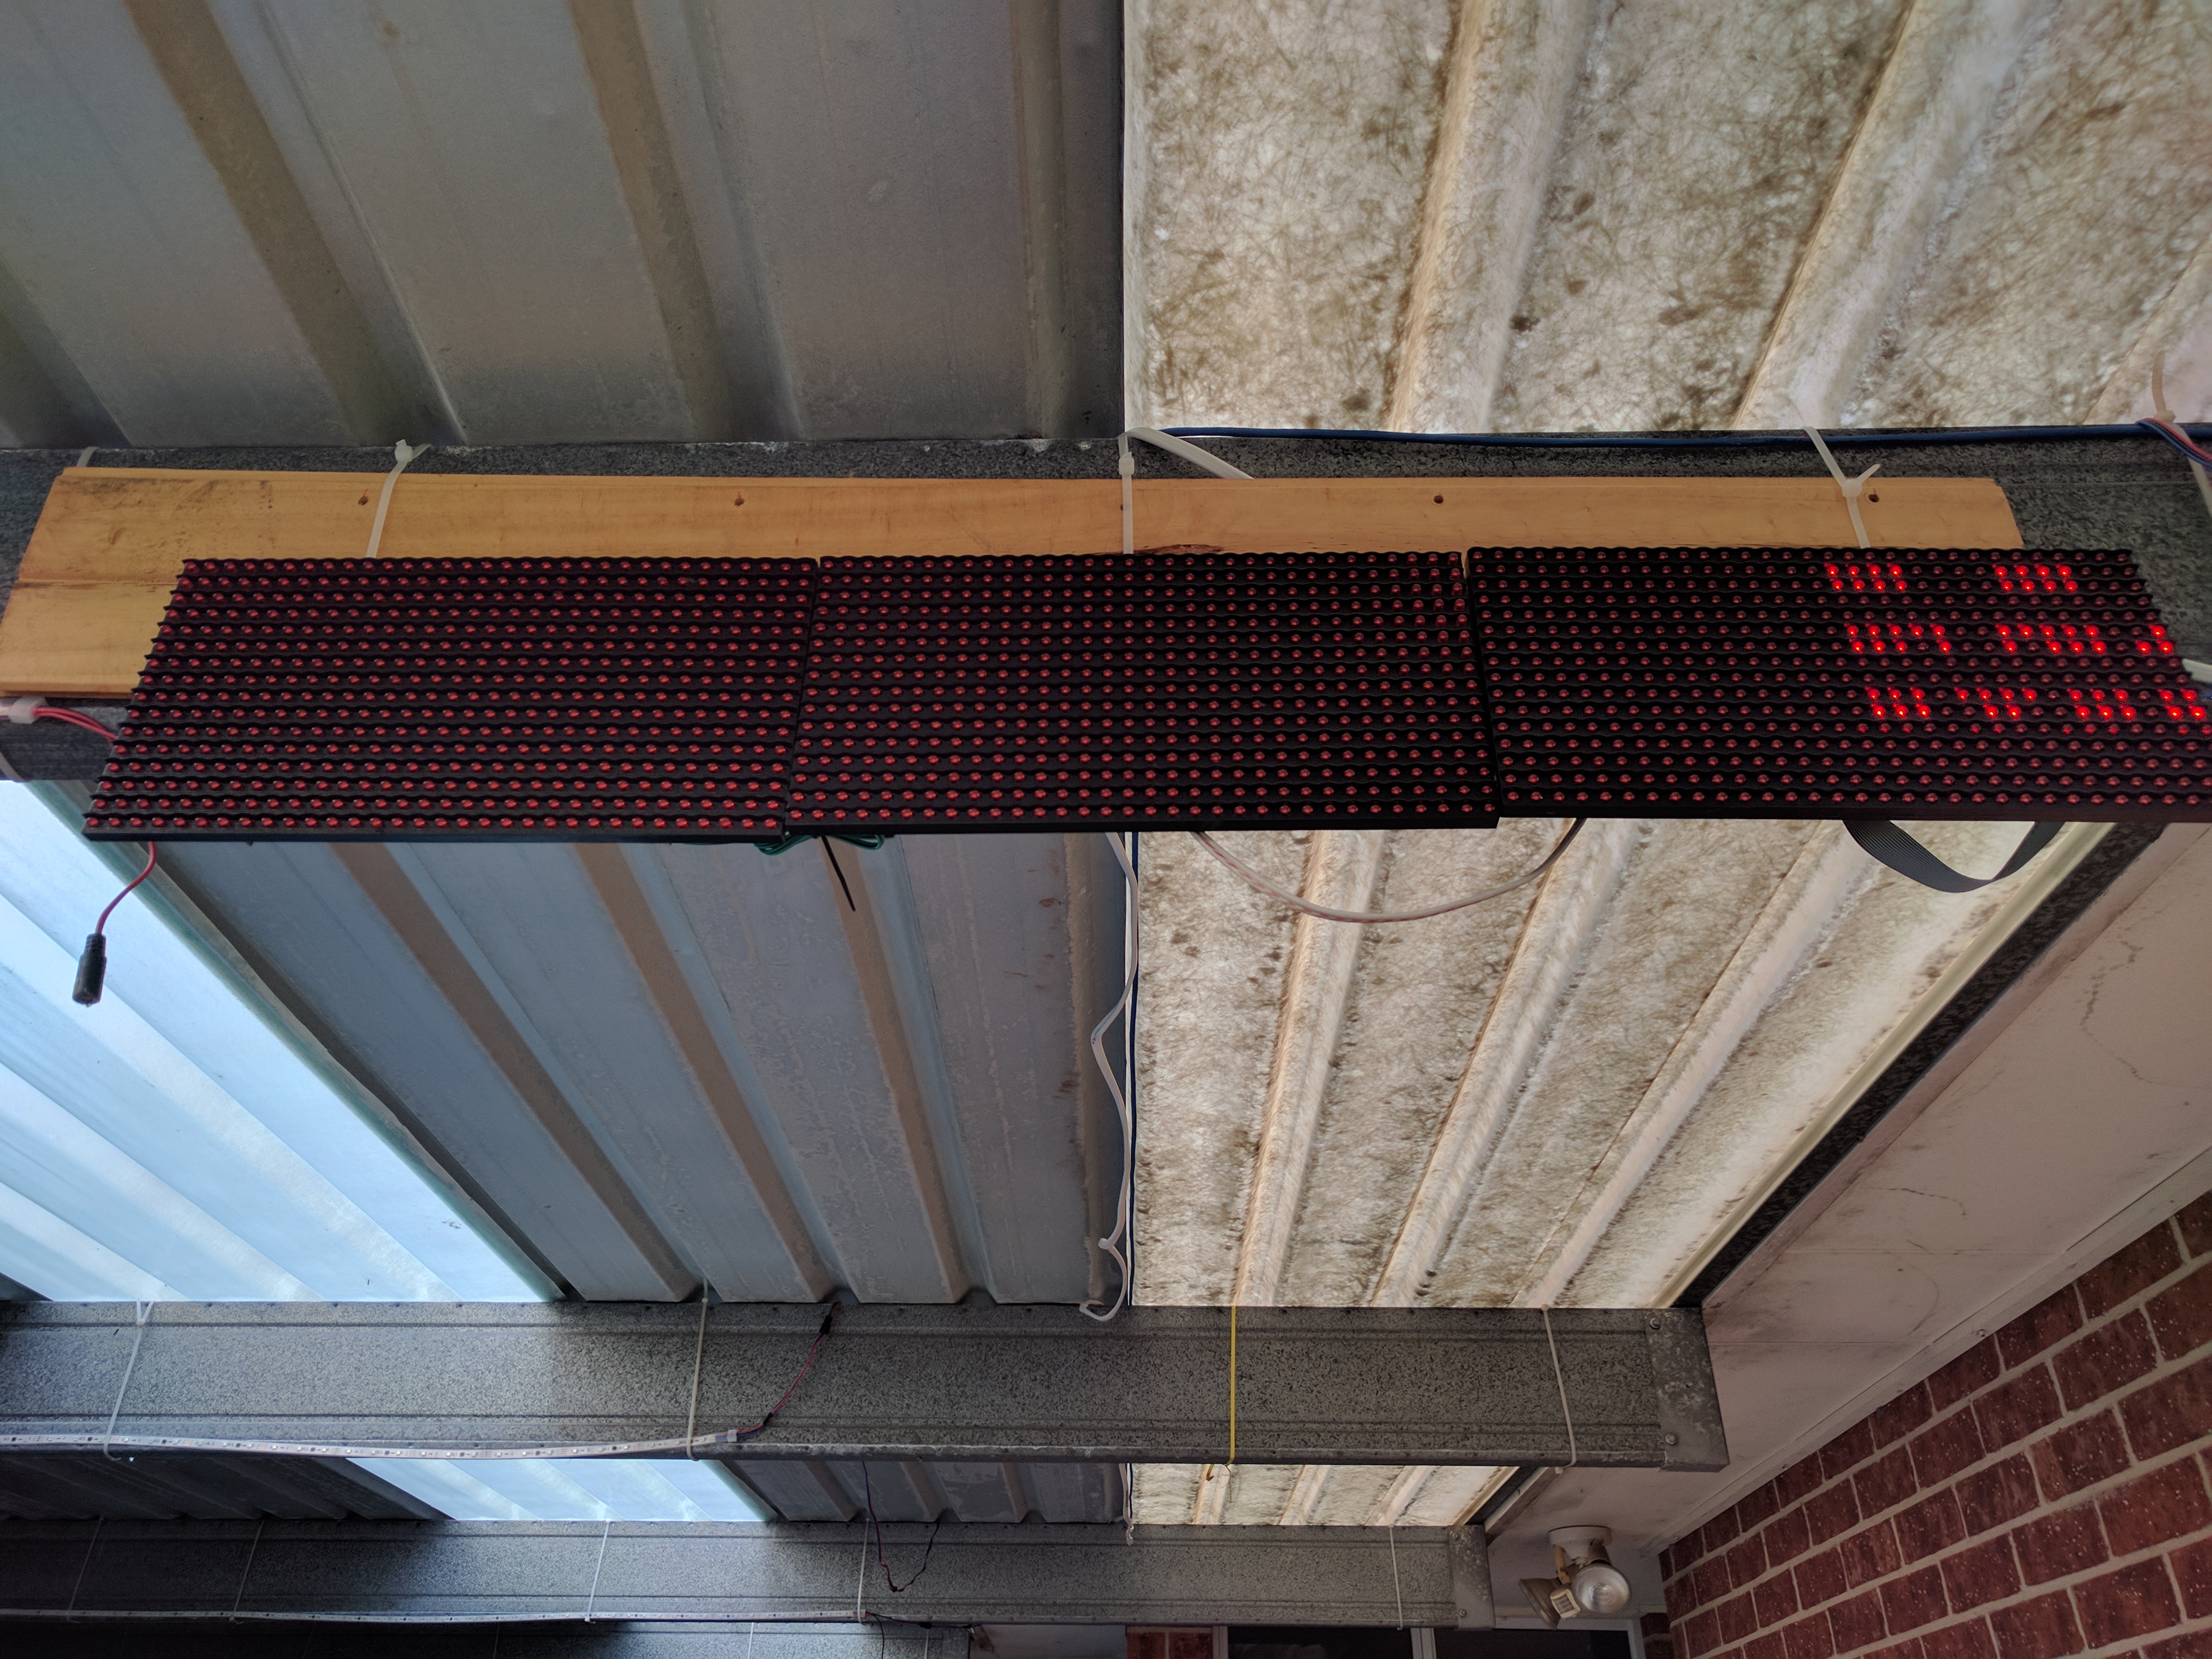
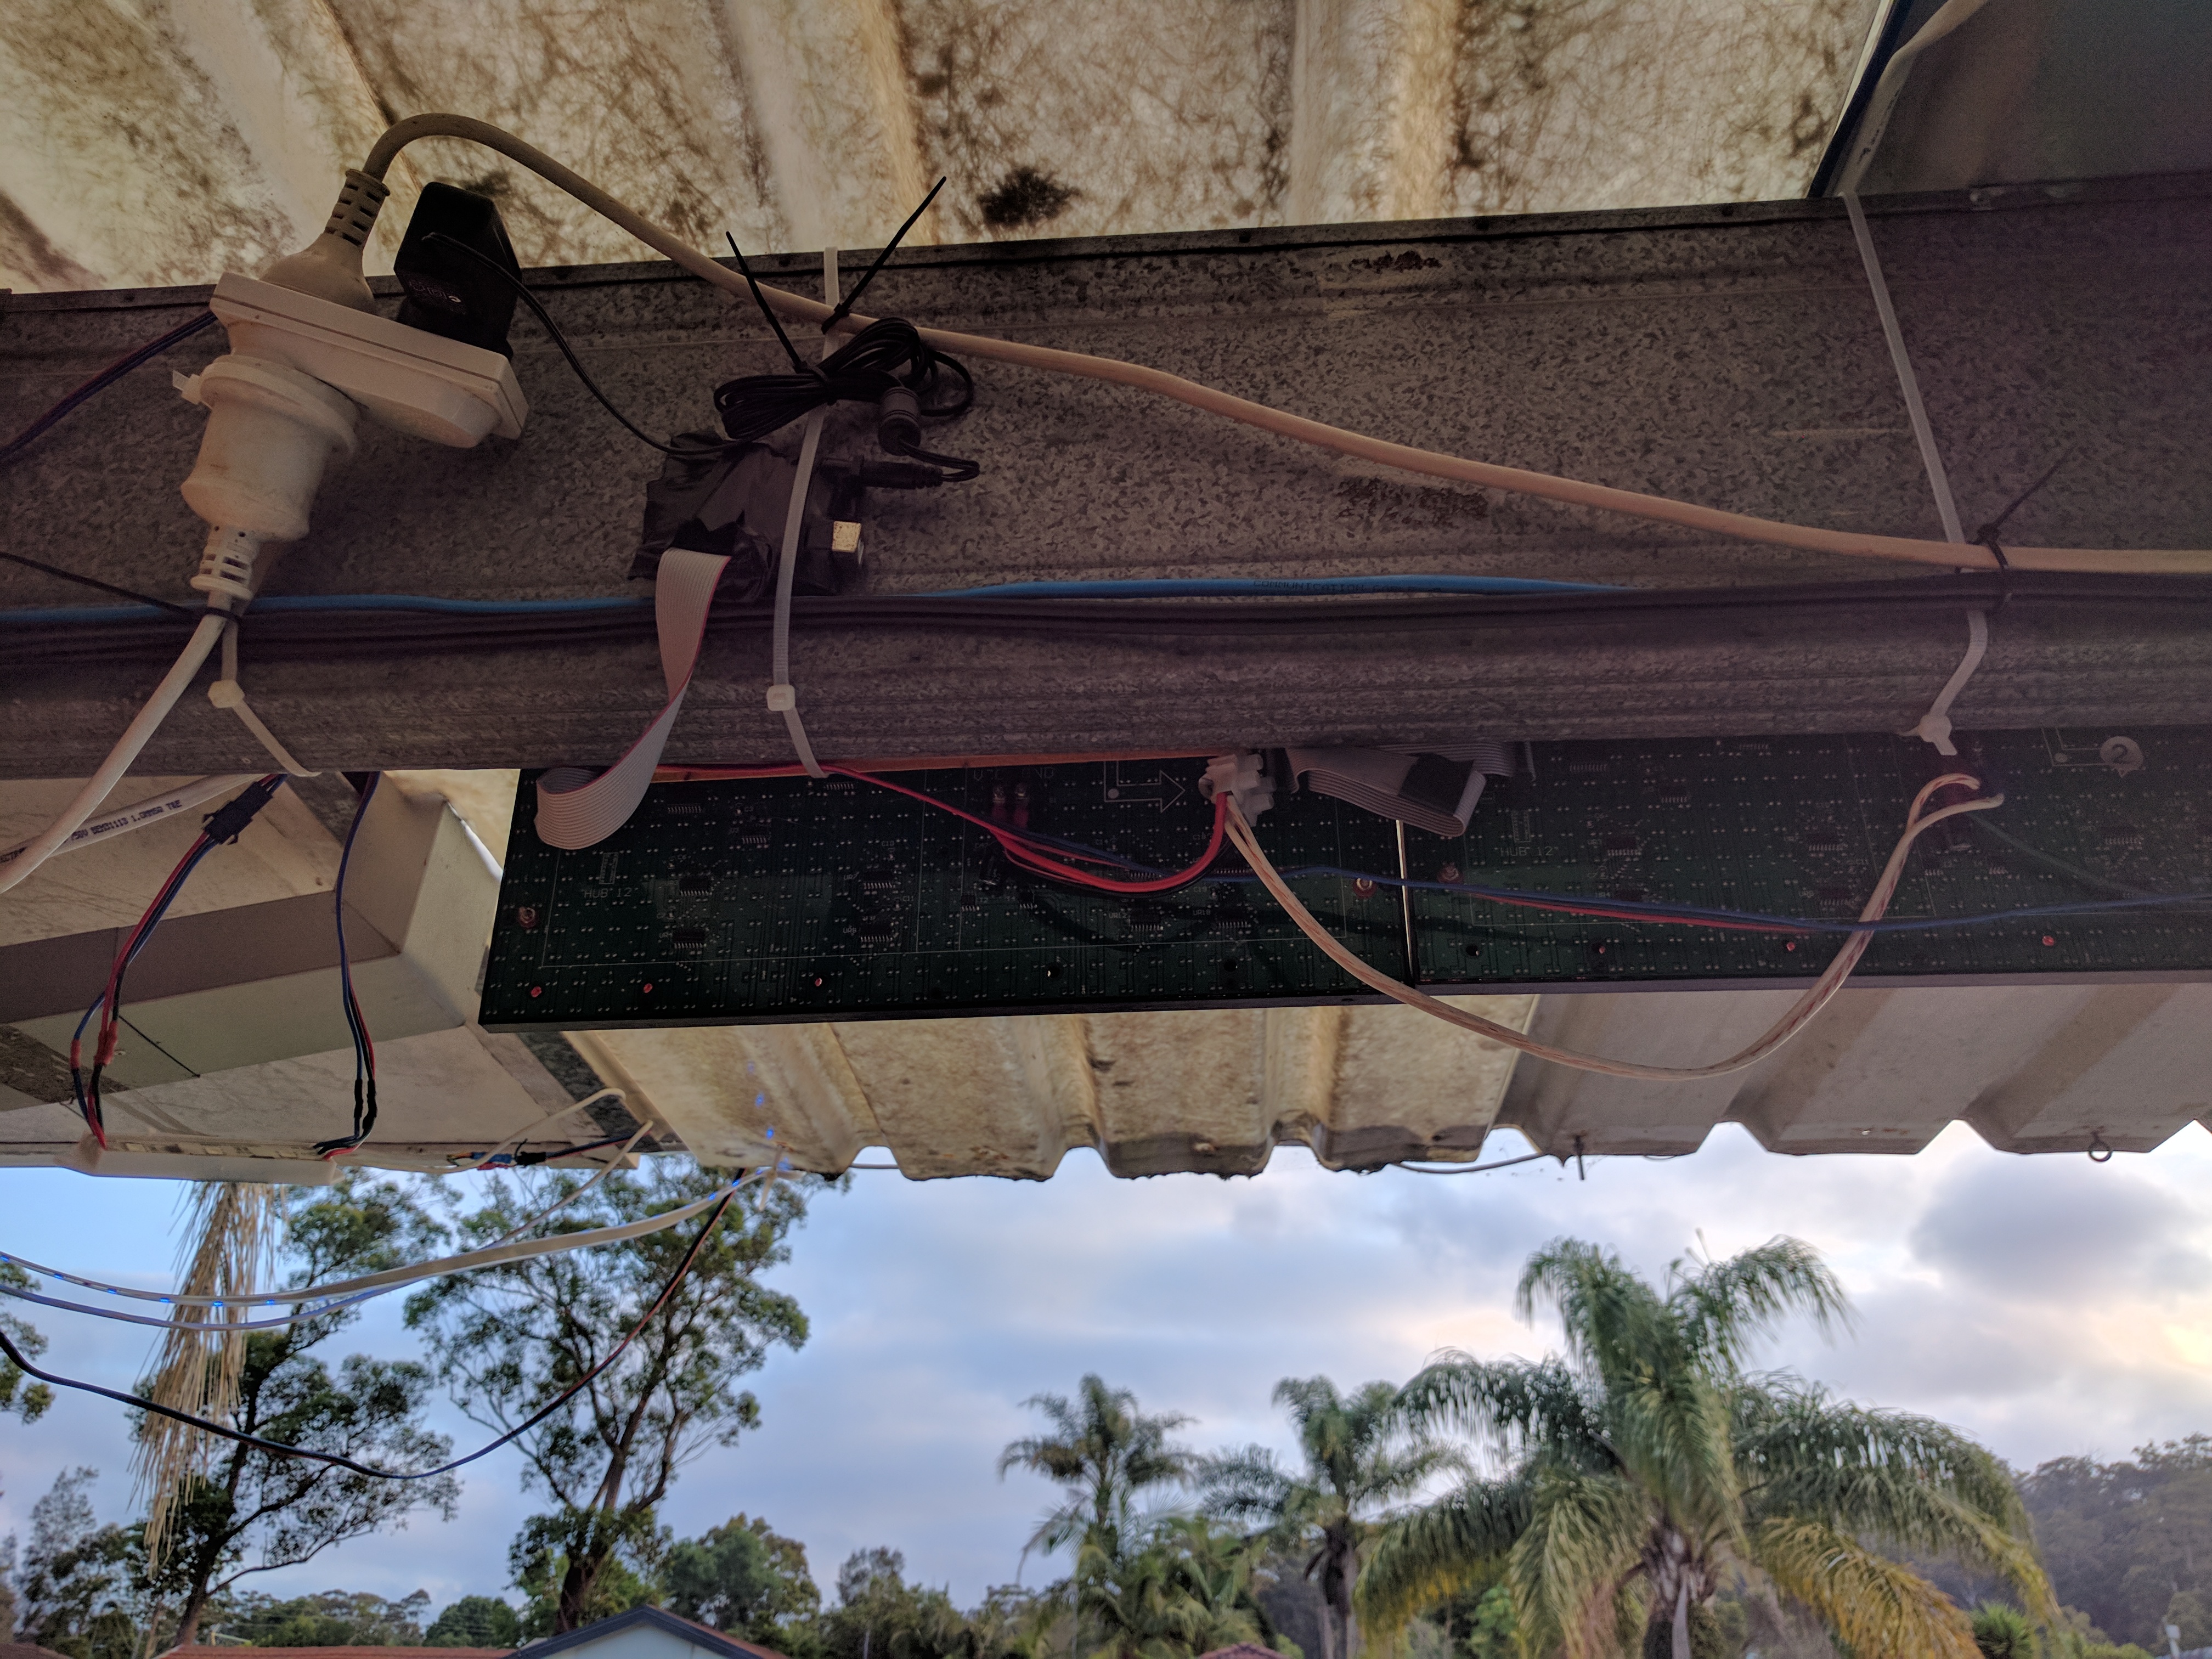
In a blog post, [Andy] gives some high level details on the build. Made up of an Arduino, eight LEDs, and the appropriate current limiting resistors on a scrap piece of perfboard; the display is stuck on his window frame so anyone passing by the house can see it.
On the software side, the code is really an exercise in minimalism. The majority of the file is the static values for the LED states stored in an array, and the code simply loops through the array using PORTD to set the states of all eight digital pins at once. The simplicity of the code is another advantage of having the meatbag human viewer figure out the appropriate movement speed on their own.
This isn’t the only POV display we’ve seen with an interesting “hook” recently, proving there’s still room for innovation with the technology. A POV display that fits into a pen is certainly a solid piece of engineering, and there’s little debate the Dr Strange-style spellcaster is one of the coolest things anyone has ever seen. And don’t forget Dog-POV which estimates speed of travel by persisting different images.
[Thanks to Ian for the tip.]
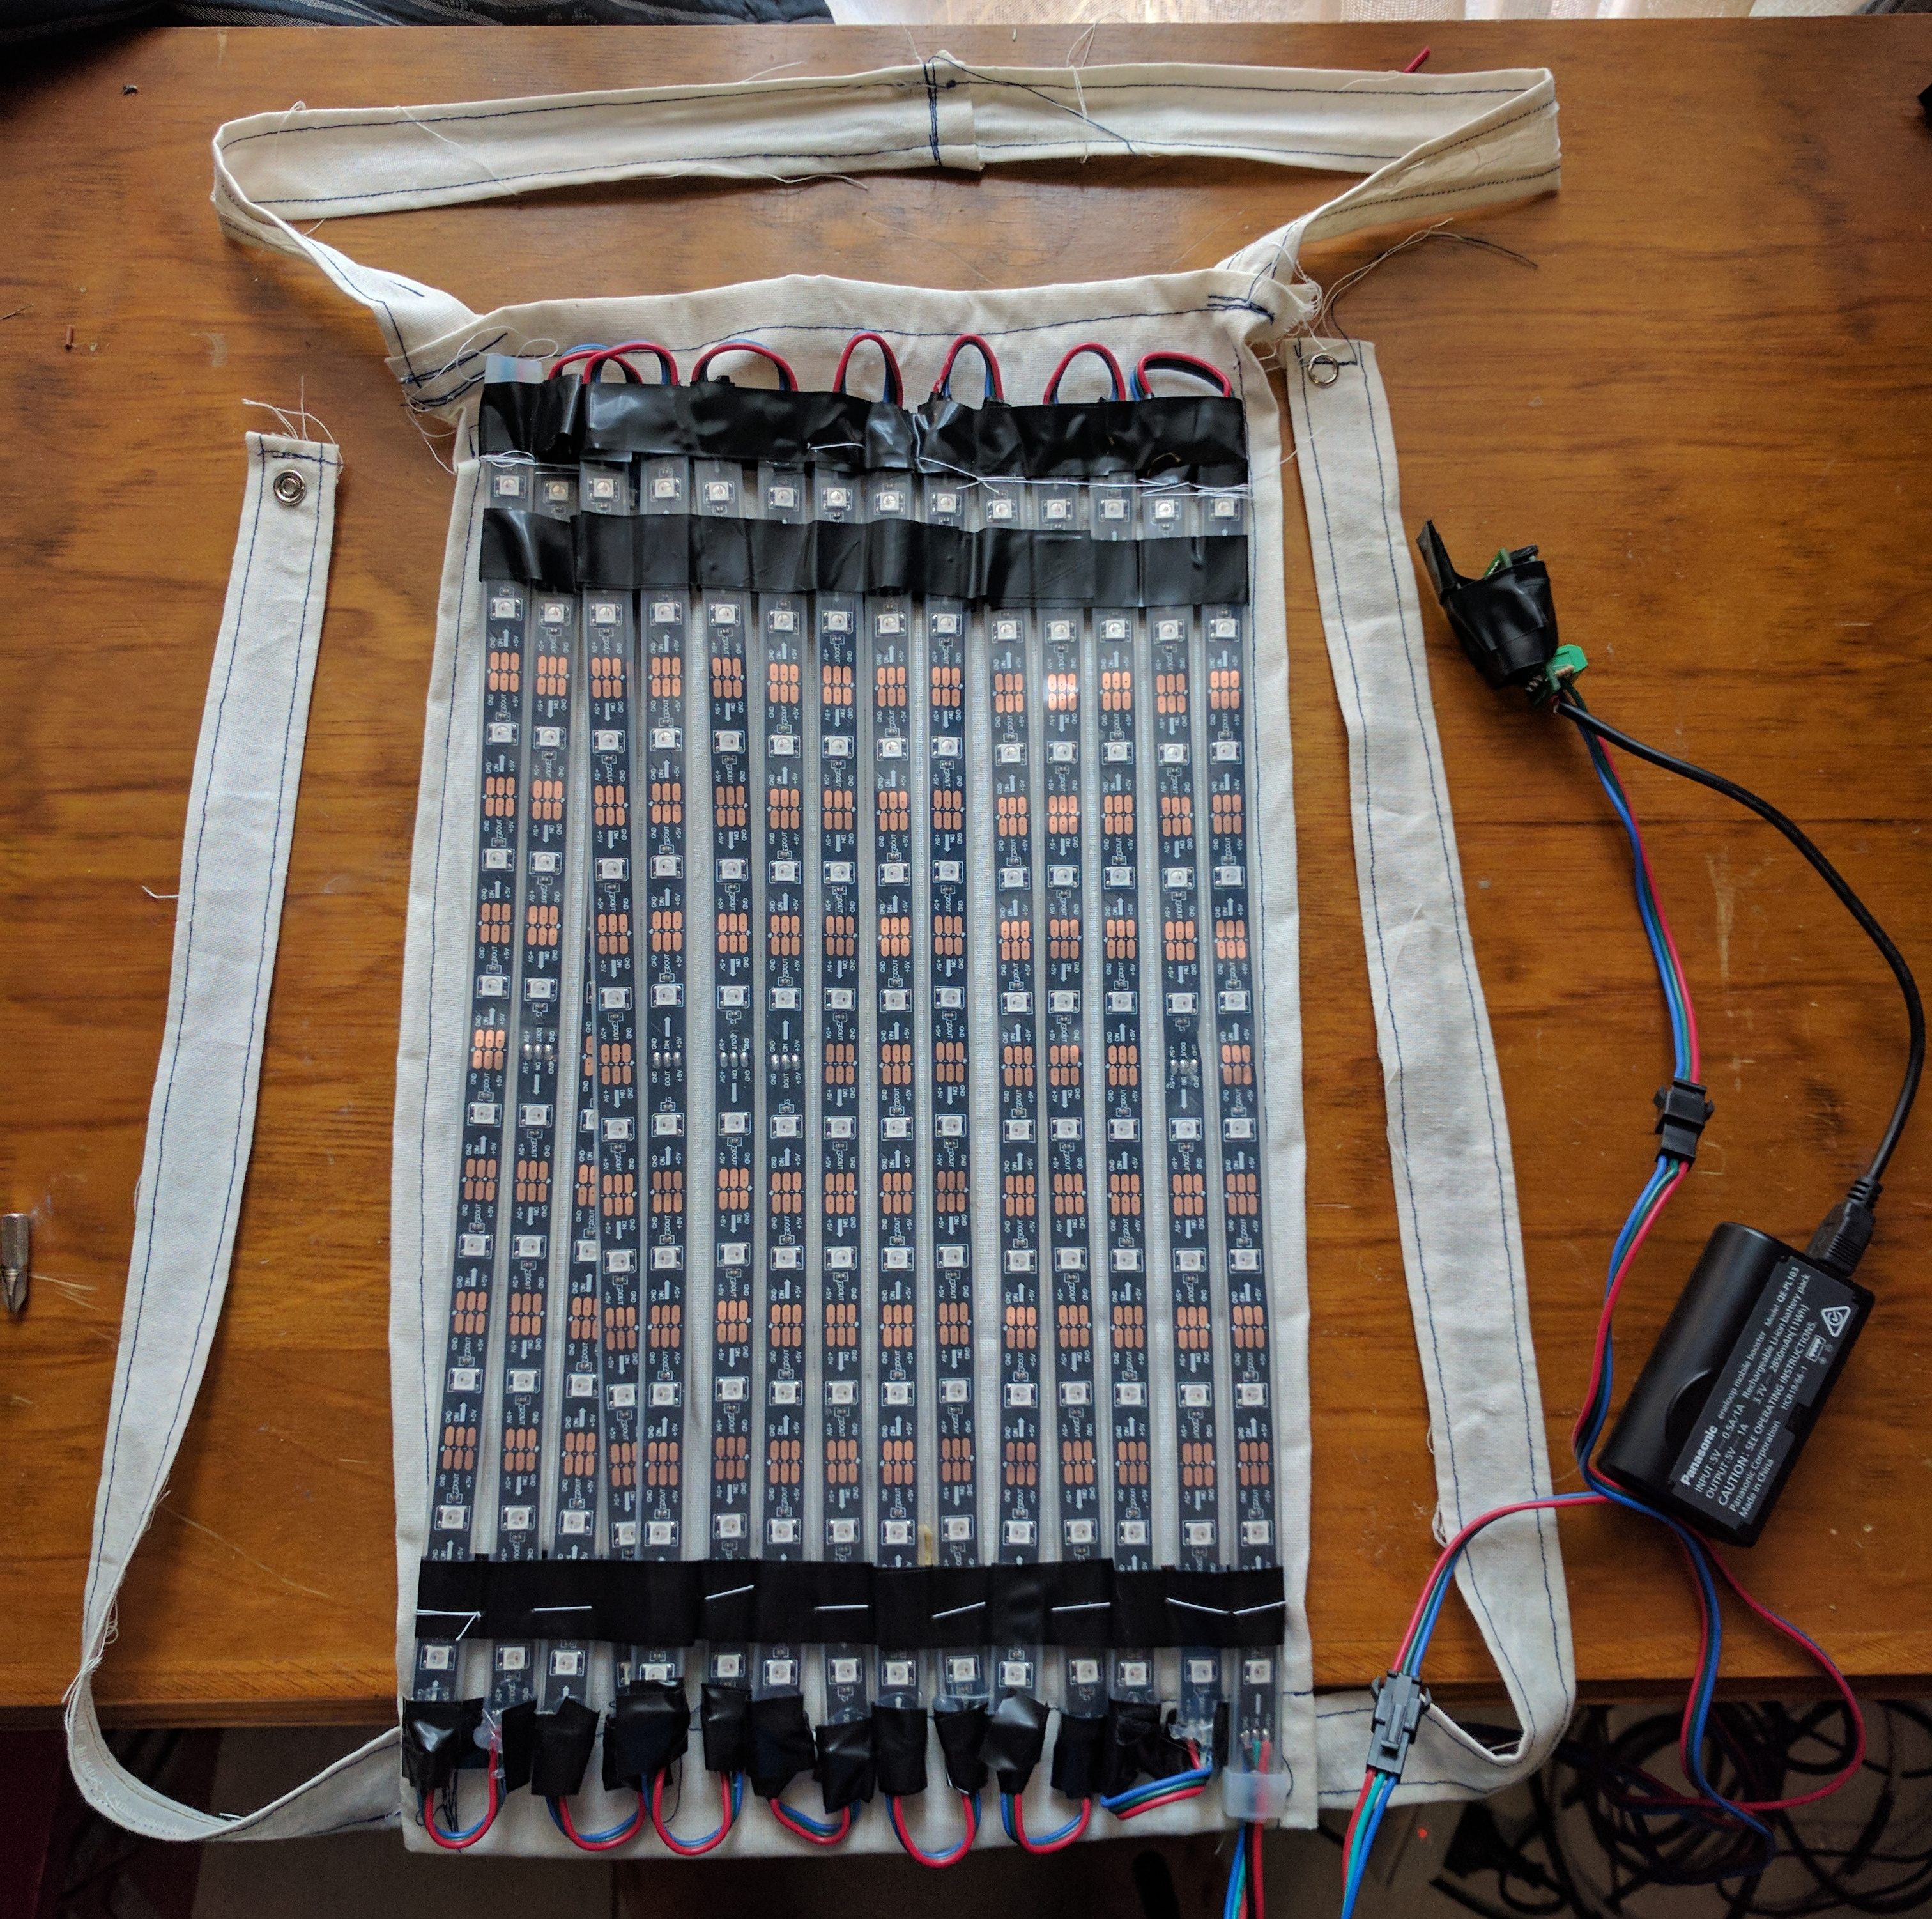
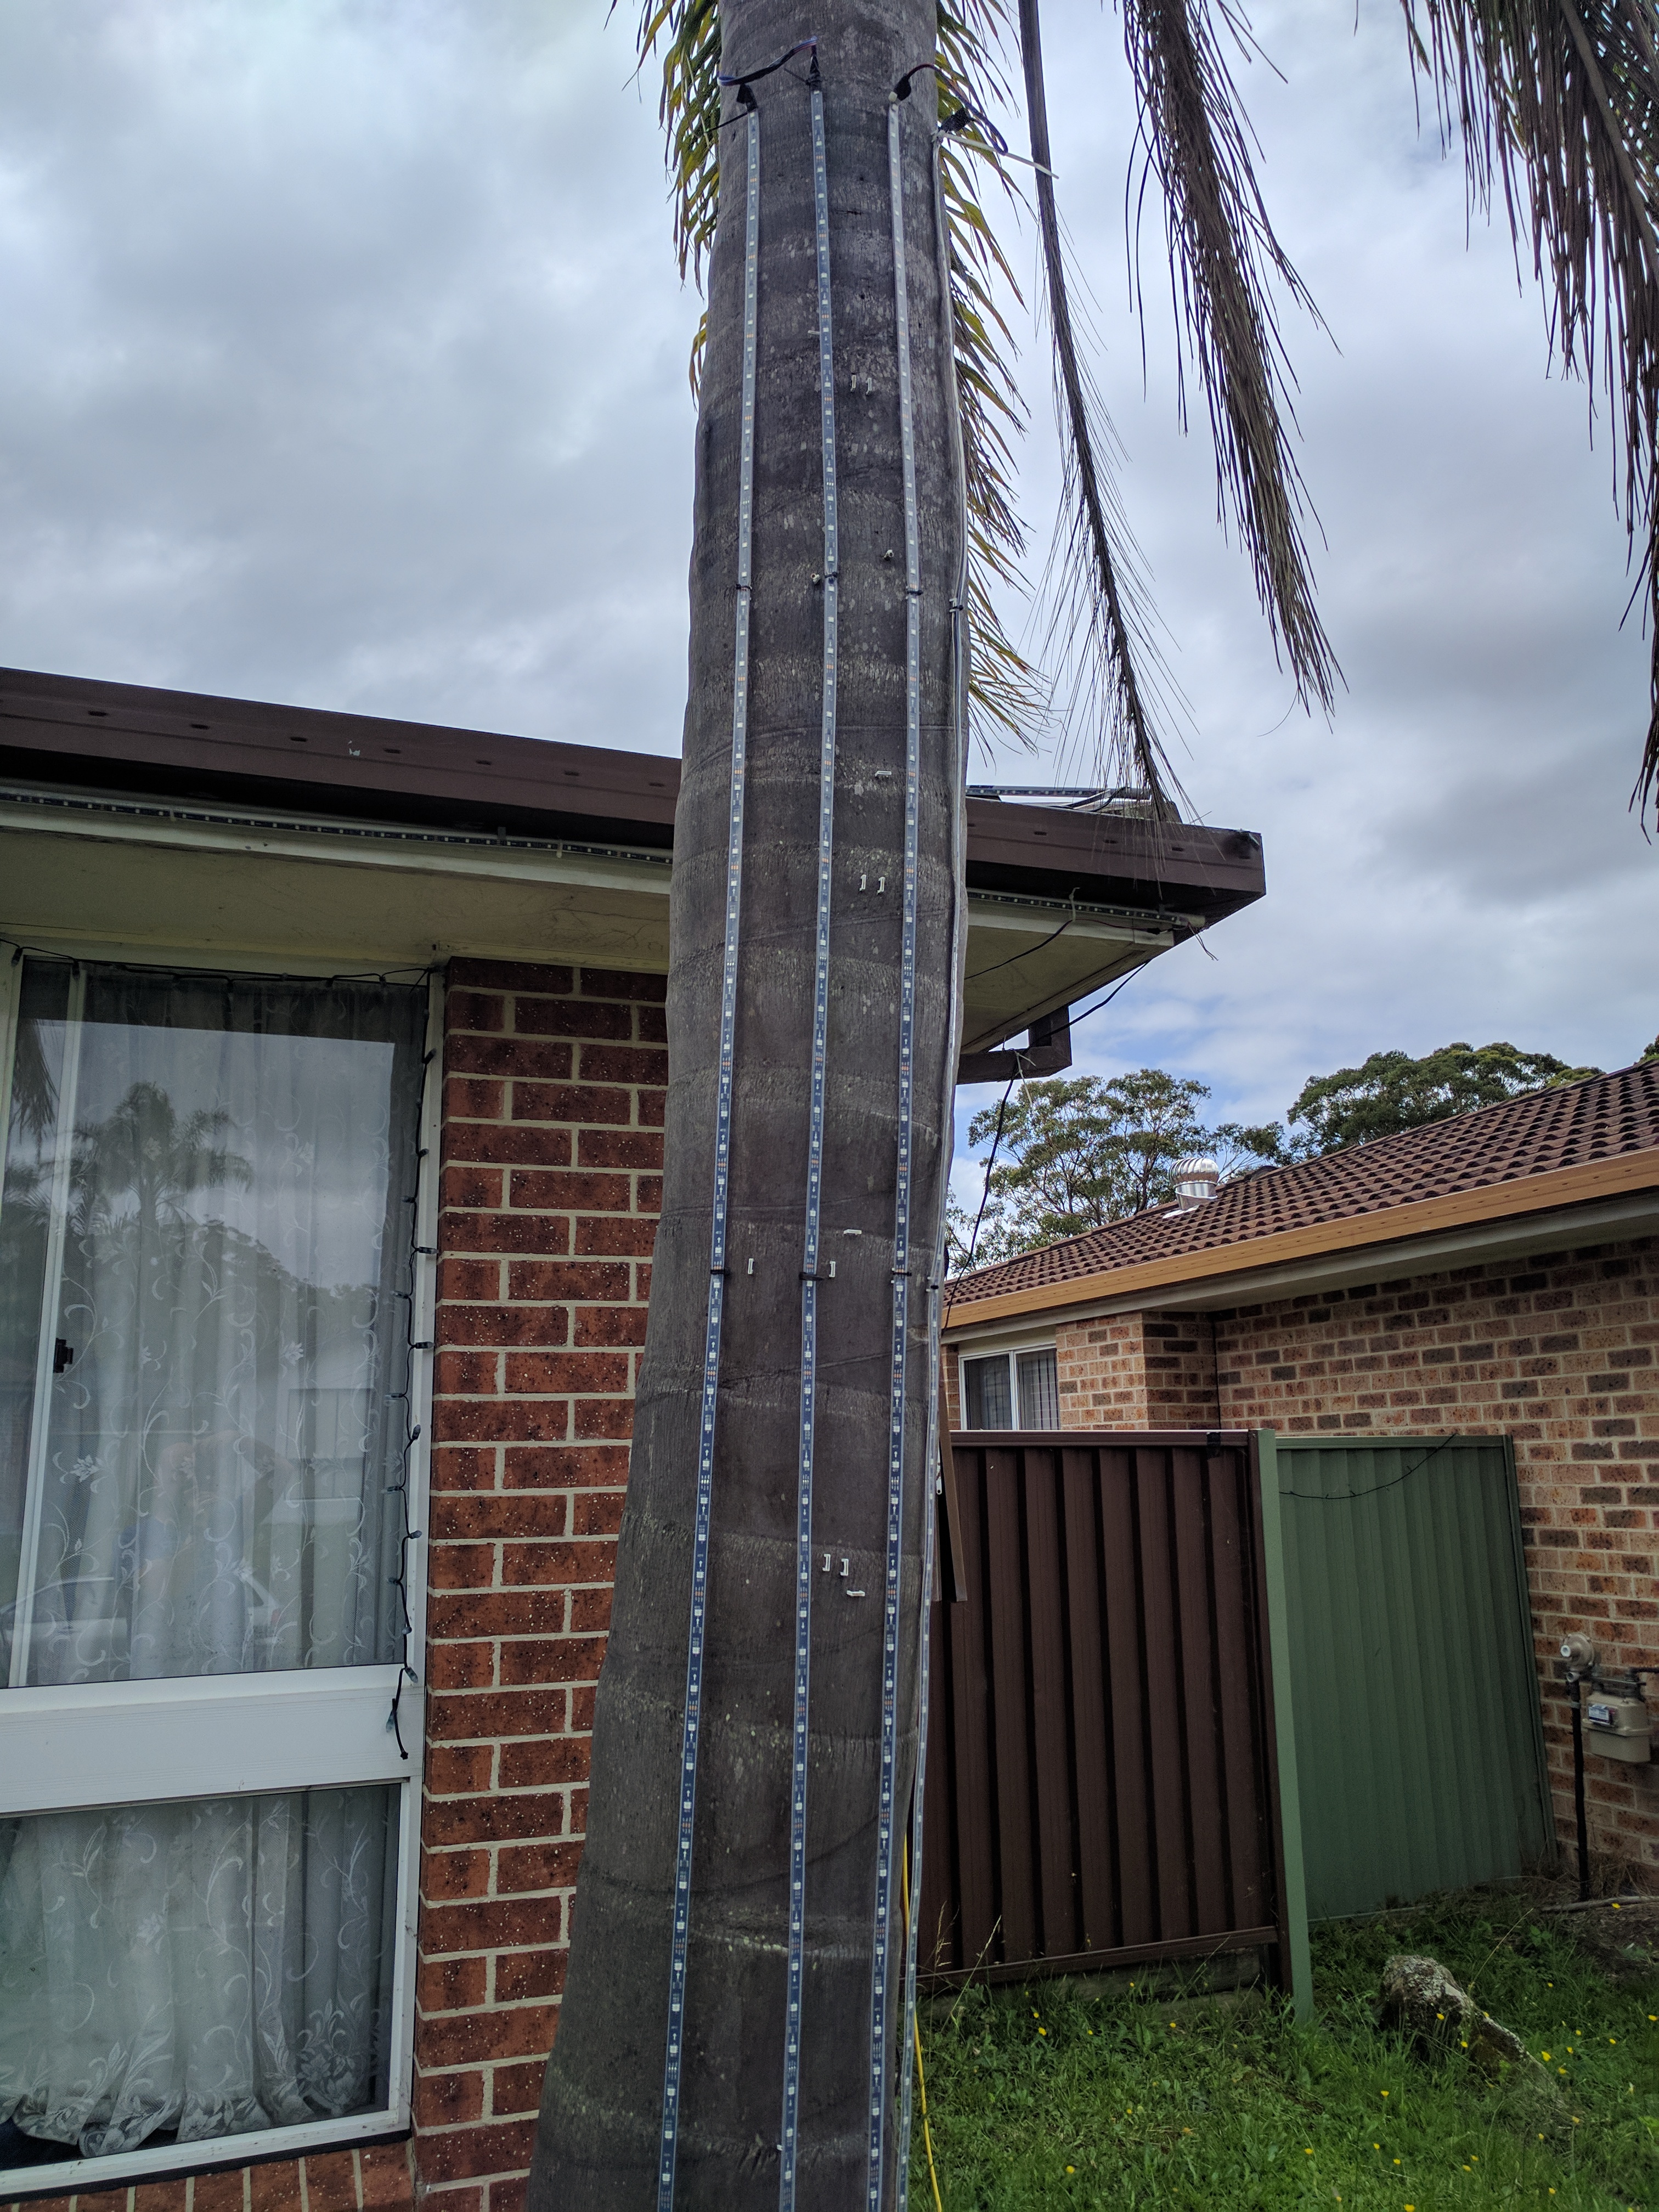
 ) It is made from a 5m led strip running on 5V The strip is 150 individual WS2811 pixels split into 15 sections of 10 pixels. The entire strip is connected to a Pixel-Wifi (ESPPixelstick clone) powered by a small USB battery. The Pixel-Wifi support E1.31 so the shirt is treated as a small matrix in my display. I made the apron from some fabric scraps my wife had – the strips are then sewn onto the apron with some electrical tape keeping them in spot.
 ) It is made from a 5m led strip running on 5V The strip is 150 individual WS2811 pixels split into 15 sections of 10 pixels. The entire strip is connected to a Pixel-Wifi (ESPPixelstick clone) powered by a small USB battery. The Pixel-Wifi support E1.31 so the shirt is treated as a small matrix in my display. I made the apron from some fabric scraps my wife had – the strips are then sewn onto the apron with some electrical tape keeping them in spot.