For those with an interest in robotics, there is little in this world more enticing than a robot arm. A rover may be able to drive around, but so can a cheap RC car. A robot arm, on the other hand, can do real work, like stacking blocks or moving colored balls from one bin to another. But what if you want to control that robot arm over the internet? Engineer Zero has a nice tutorial explaining exactly how to do that.
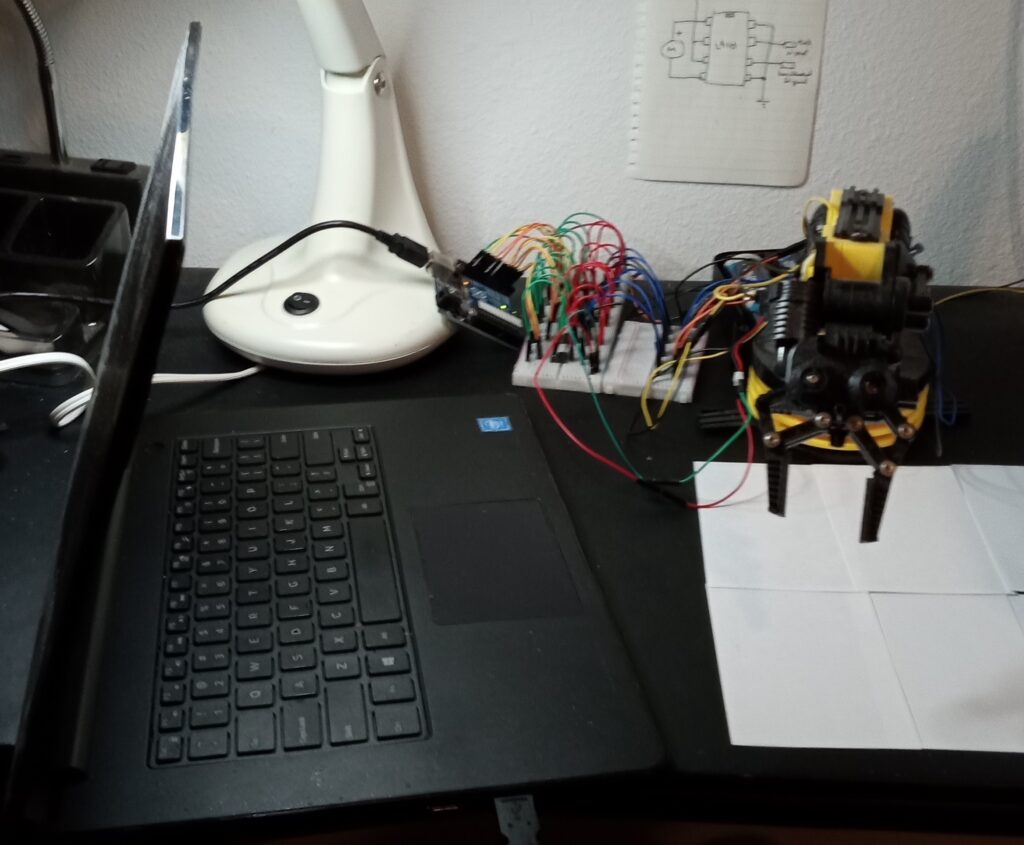
Engineer Zero started with a cheap OWI-535 “Robotic Arm Edge” kit, which isn’t much more than a toy. It comes with a cheap little controller that lets the user manually operate the arm, but that’s it. To upgrade it into a “real” robot arm, Engineer Zero connected its five motors to an Arduino Uno board through L9110 motor drivers. That let them control the robot arm from their computer and provided the potential for other kinds of control.
In this case, the control that Engineer Zero was interested in was remote. Not just from across the room, but from anywhere in the world. They already had the Arduino connected to a cheap old laptop, so they just needed a way to interact with that laptop from afar. To accomplish that, they used a Google Chrome extension called Chrome Remote Desktop. When installed on the local computer’s and remote computer’s browsers, that extension lets the remote computer control the local computer — the remote computer being a second laptop. Engineer Zero can take that second laptop anywhere in the world with an internet connection, and they’ll be able to control their robot arm.
There are many reasons why you might want to know the local barometric pressure. Maybe you do long-range target shooting and want to know how it will affect your ballistic trajectory. Or maybe you want to evaluate the performance of an internal combustion engine. To find that information, you’ll need a barometer like this digital model built by Mirko Pavleski that channels vintage aesthetics.
A traditional analog barometer looks a bit like a watch, with a dial readout. But many researchers wanted to record barometric pressure over time, and they would use a graphing instrument resembling a seismometer. Pavleski’s digital barometer replicates that functionality, showing barometric pressure over a period of 24 hours on an LCD bar graph. A numerical readout shows the total change over that period of time.
The components for this project include an Arduino Nano, a BME280 temperature, humidity, and pressure sensor, and a 16×4 character LCD display. Normally, a display like this can only show alphanumeric characters, but Pavleski was clever and used custom character blocks to create the bar graph. The components reside inside of a PVC enclosure with self-adhesive wallpaper to give it a classic look.
Back in the ’90s, Cyril Rossignol had a dream of controlling his model railroad with his computer. While that was possible at the time, it wasn’t easy and would have required some serious skill with hardware and programming. But today, thanks to development boards like those from Arduino, this is a much more accessible project. That’s how Rossignol was able to achieve his dream and control a model railroad with a vintage Atari ST.
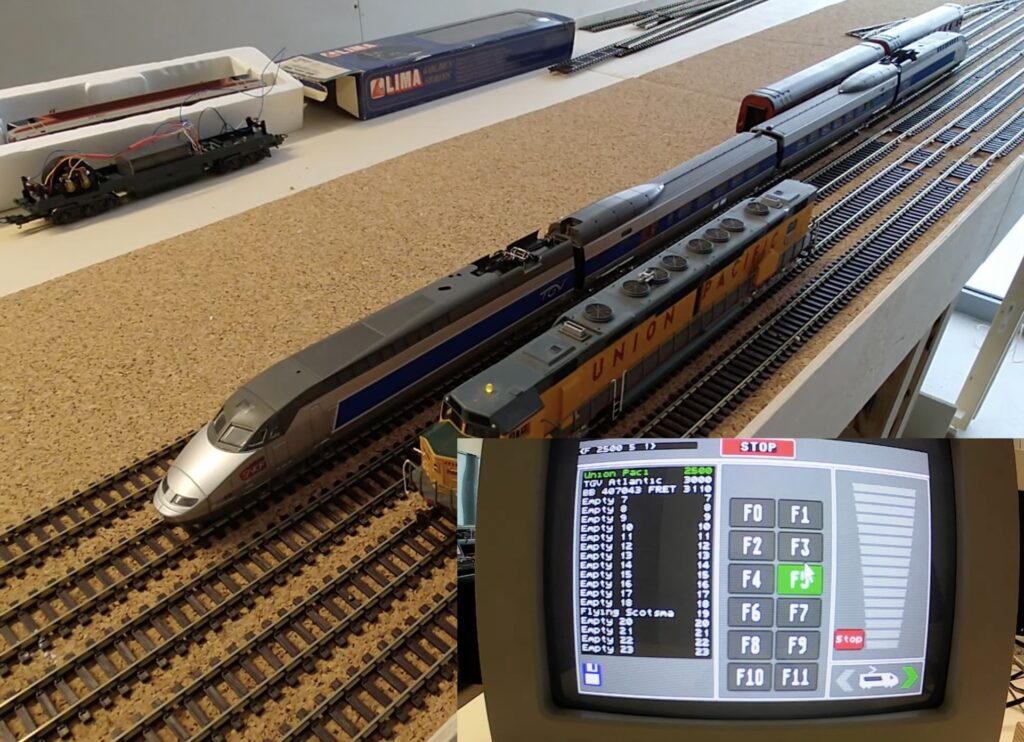
The Atari ST line of computers hit the market in the mid 1980s and featured mouse-controlled GUIs (graphical user interfaces). Rossignol recently found his vintage Atari 1040 STE while sorting through old belongings and realized that he could accomplish his dream from the ’90s using an Arduino as an intermediary between the computer and the model railroad. With a custom software interface programmed for the Atari, Rossignol was able to control his model locomotives from his computer.
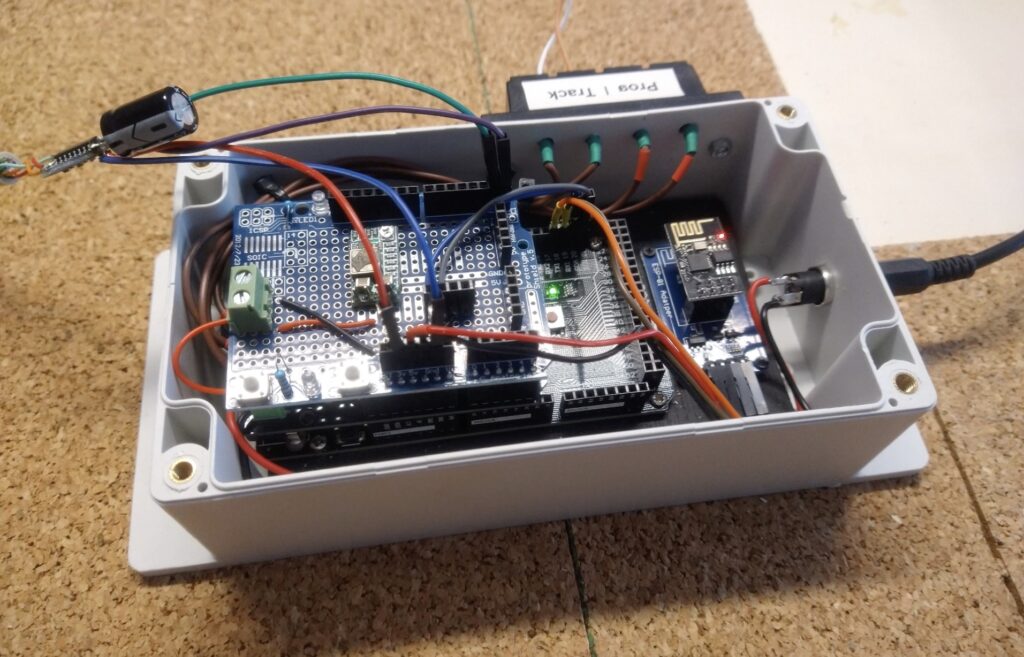
Rossignol’s model railroad features DCC (Digital Command Control), which controls the amount of power and its polarity going to the tracks, as well as switches. Rossignol just needed a way for his Atari to communicate with the DCC. For that, he chose an Arduino Mega 2560 board. The Atari talks to the Arduino via an RS232-to-TTL converter, and the Arduino, in turn, talks to Rossignol’s DCC-EX via I2C.
This setup was a success and now Rossignol can operate his trains with his Atari, just like he envisioned 30 years ago.
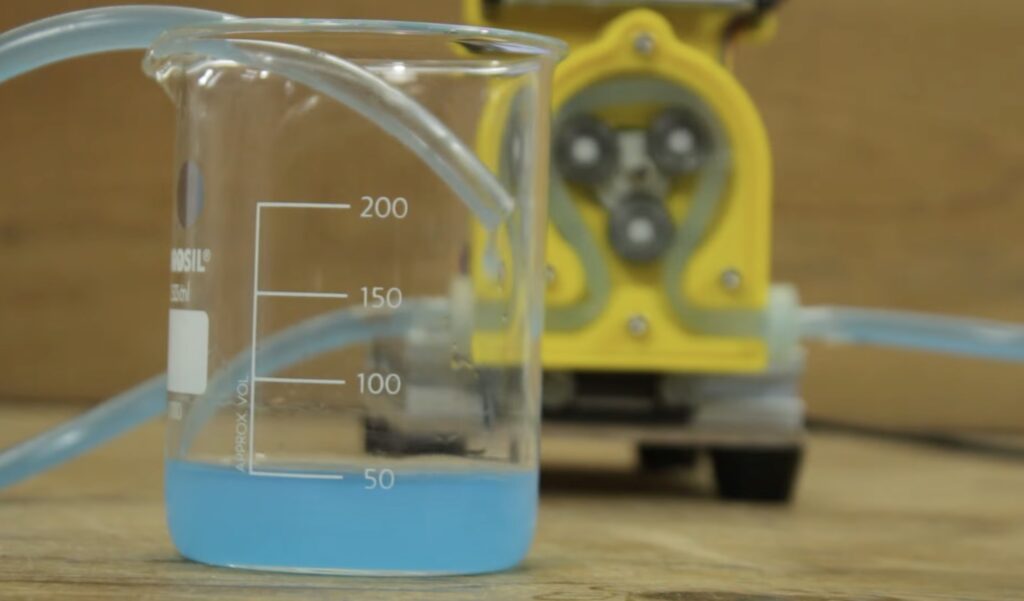
There are many different fluid pumping mechanisms to choose from, but the peristaltic pump is a great choice when you don’t want the liquid to contact any moving parts. That is ideal for beverage dispensers and medical equipment, because the liquid only touches the tube it runs through and that is easy to clean or replace. If you want to build your own peristaltic pump, YouTuber Mr Innovative created a DIY design that utilizes an Arduino for precise control.
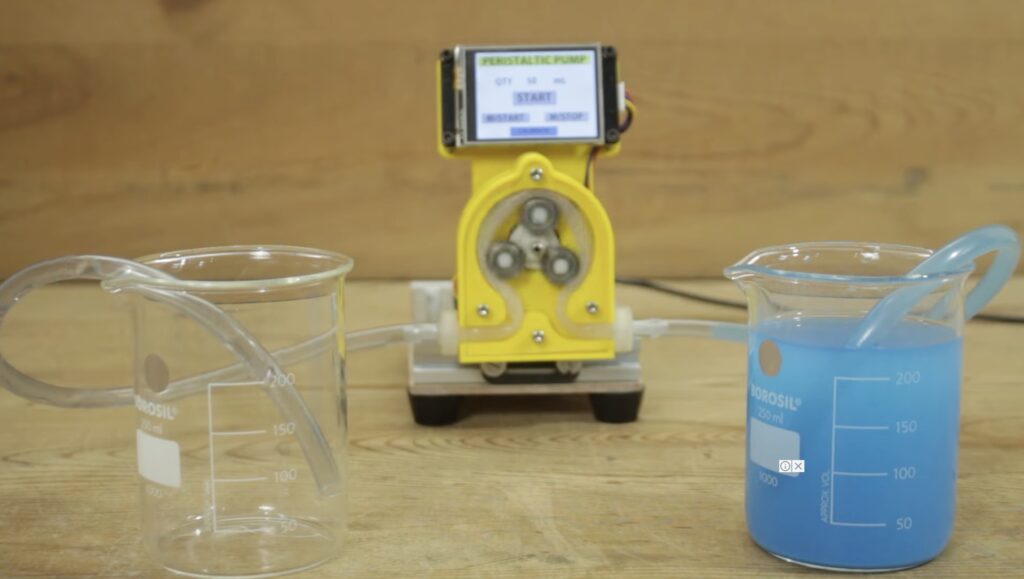
A peristaltic pump works by pushing the liquid through a flexible tube. Inside the pump there are rollers that spin while pushing against the tube, forcing the liquid (or air) along. The rollers only make contact with the outside of the tube, so there is no risk of contamination. To clean the inside of the tube, one only needs to run a solution through the pump. If contamination is a serious concern, as would be the case for medical equipment, it is easy and affordable to replace the entire tube.
Mr Innovative kept this DIY peristaltic pump design simple. The 3D-printed pump housing mounts onto a stepper motor, which turns the rollers. Those rollers are three skate bearings mounted in a triangular formation. The flexible tube runs through the housing around the outside of the rollers. As with other projects from Mr Innovative, this uses an Arduino Nano mounted onto a custom driver board to control the stepper motor. A Nextion LCD touchscreen lets the user enter how much liquid to pump. To calibrate that, the user simply runs the pump for one minute and measures the amount of liquid pumped during that time.
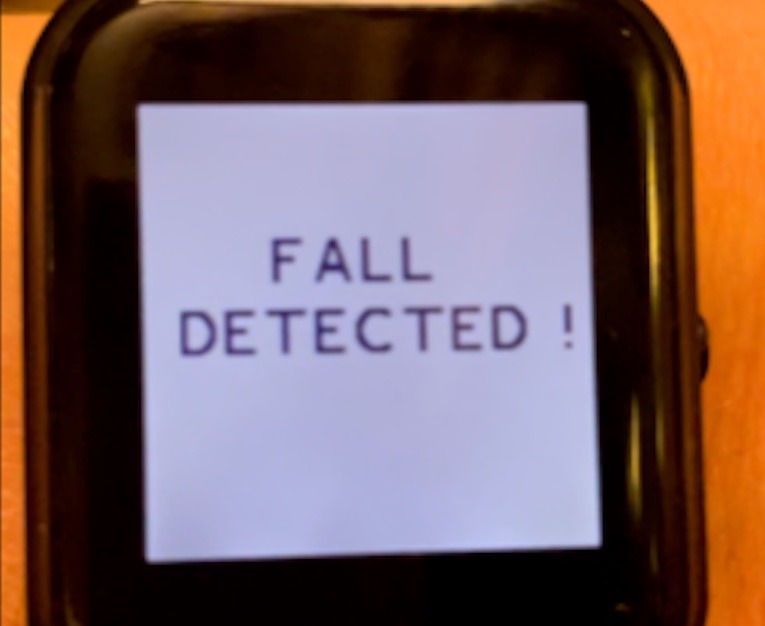
Bone density, strength, and coordination all decrease as we age, and this fact can lead to some serious consequences in the form of slips, falls, and other accidents. In Finland, falling is the most common type of accidental death among those age 65 and over, amounting to around 1,200 per year. But Thomas Vikstrom hopes to decrease this number by detecting falls the moment they occur through the use of the Arduino Nicla Sense ME’s accelerometer together with a K-Way jacket and a smartwatch.
At first, Vikstrom tried to gather and label data for all kinds of activities, including sitting, walking, running, driving, etc., but later realized anomaly detection would be much better suited for this application. After collecting around 80 seconds of data with Edge Impulse Studio, he trained an anomaly detection model to detect when any out-of-the-ordinary events occur. The model was then deployed to the Nicla Sense ME by integrating the inferencing code with a BLE service that outputs a positive value when a fall is detected, as well as illuminating the onboard LED.
To receive this information, Vikstrom added a Bangle.js smartwatch to the system which automatically calls an emergency number if the wearer fails to intervene. For more information about this project, you can check out his Edge Impulse docs page here. Although only a proof of concept, this K-Way demonstrates how tinyML-powered outerwear can be used to detect falls, and together with cellular network devices send for help in case the user is immobile.
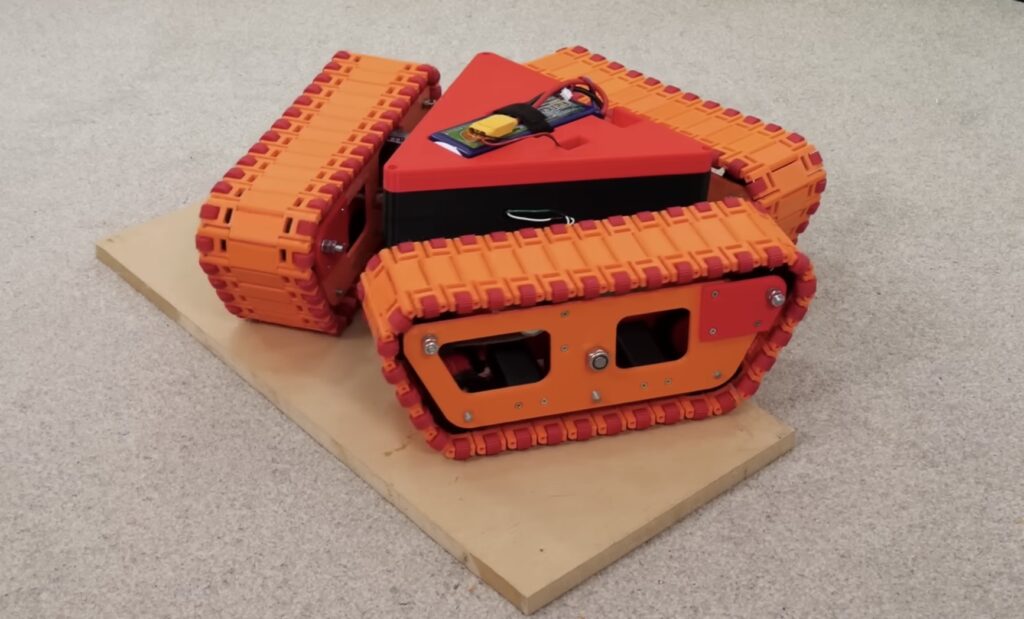
Tanks are already quite maneuverable, because the tracks allow them to rotate in place. But what if they were even more maneuverable and could drive in any direction? About a year ago, James Bruton built a small robot tank that had that capability thanks to a triangle-shaped track system with omniwheel-style rollers. But it had trouble climbing over obstacles, so Bruton redesigned his omnidirectional Triangle Tank in his newest video.
The overall concept is the same as the original: three tank tracks arranged in a triangle formation contain rollers perpendicular to the track direction. The rollers let the tracks slide freely side-to-side, but provide grip when the track moves forward or backward. With three of those tracks, the robot can move in any direction by vectoring the relative rotational speeds. The original design struggled, because it couldn’t get traction unless it was flat on the ground. The new design has three differences to address that: trapezoidal tracks, a sort of pivoting suspension system, and dual rollers positioned on the outsides of the tracks.
Bruton 3D-printed all of the parts, with the exception of the hardware and electronic components. Those components include an Arduino Mega 2560 board, an OrangeRX DSM radio receiver, and a trio of motor drivers. Power comes from a hobby LiPo battery pack and Bruton can use his custom DSM radio transmitter for control.
The new Triangle Tank proved to be much more capable than the first version. While it isn’t quite as adept as a regular tank, it is far more maneuverable and does a pretty good job of clearing obstacles.
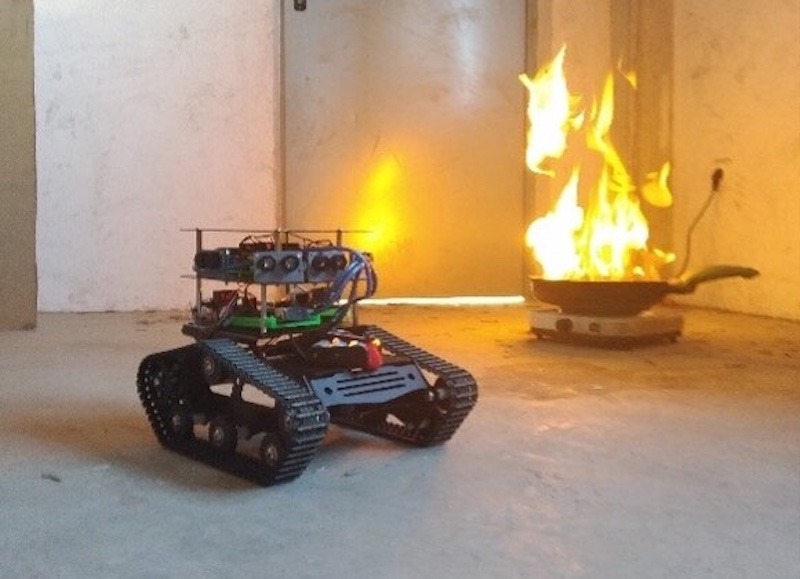
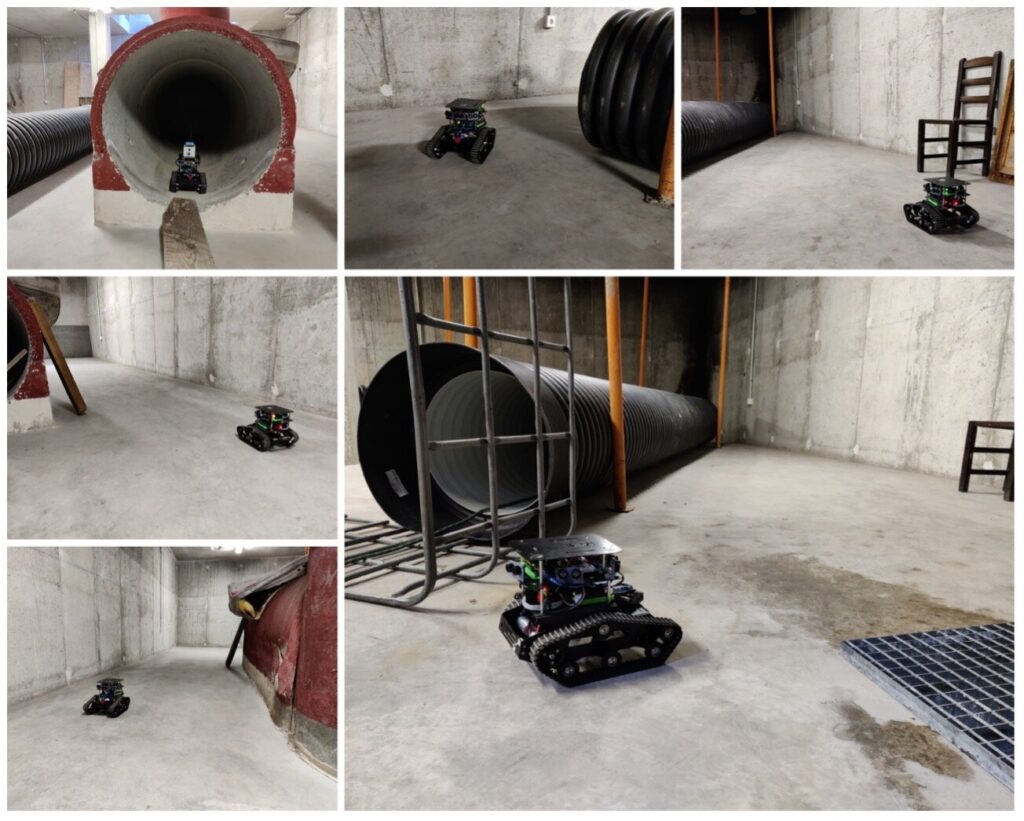
Firefighting is a dangerous profession, but it is possible to mitigate some of that danger with good data. When firefighters entered a burning building, their biggest fear is the unknown. They don’t know if they can trust the structural integrity of the building, if there is a pocket of toxic or explosive gas, or how to navigate the interior to find casualties. As part of a project called HelpResponder, a team of researchers from Universidad Rey Juan Carlos and Universidad Autónoma de Madrid created a robot that can enter a building to gather the data firefighters need to do their job safely.
This robot, which is a mid-sized rover, can operate via manual control or in an autonomous mode. In both cases, its job is to explore buildings, either during a fire or after a disaster, to map the interior and find hazards. Its camera system allows for visual detection, but it also has a host of integrated sensors for detecting elevated temperatures, gas pockets, and more. With that information, firefighters can then enter the building and rescue anyone trapped inside while avoiding hazardous areas or bringing the equipment necessary to deal with them.
Control and monitoring happens on two levels. At the high level, a Raspberry Pi 4 Model B single-board computer records video, handles mapping operations, and coordinates autonomous navigation. At the low level, an Arduino UNO WiFi Rev.2 collects incoming sensor data and controls the motor driver. The onboard sensors include a temperature/humidity sensor, an air quality sensor, and ultrasonic sensors for navigation. Thanks to a modular design, additional hardware can be added to fit specific scenarios.
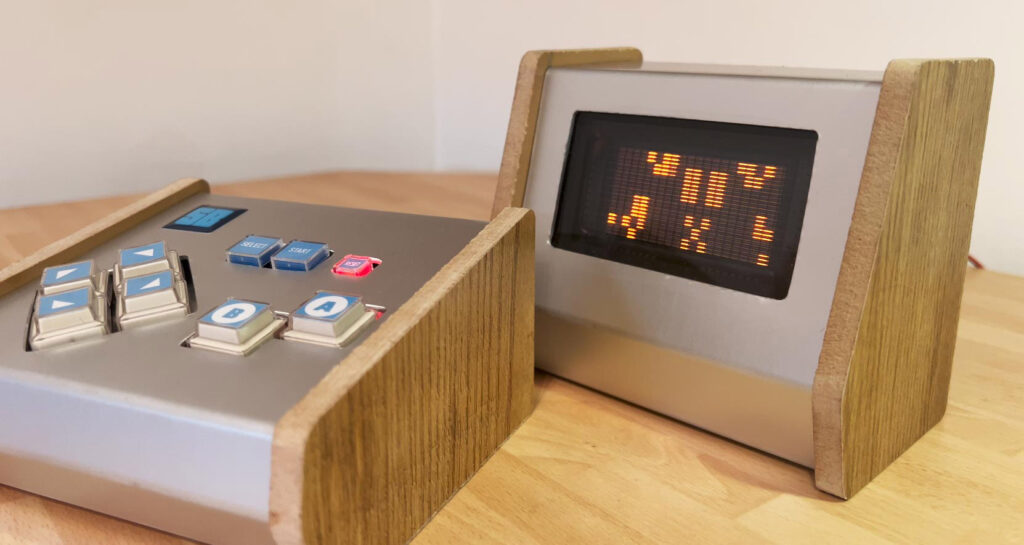
VFDs (vacuum fluorescent displays) were common a few decades ago and have a nice, distinct glow that many find appealing. But like Nixie tubes and CRTs, VFDs have are outdated and almost obsolete at this point. They can’t come close to matching the price or functionality of modern LCD and OLED screens, but they still have a lot of charm. Simon Boak harnessed that charm when he built this custom video game console that features a VFD.
This console is 100% custom and looks fantastic. It has two parts: the display and the controller. Both have enclosures made of formed sheet metal and wooden side panels, which enhance the retro aesthetic. Users can run Conway’s Game of Life, play a snake game, watch a snow animation, or draw within a painting program. If the user wants to keep their art, they can save it to EEPROM for later viewing.
Boak originally planned to build this as a custom 6502 machine and program everything in Assembly, but realized that that plan was a bit too ambitious. Instead, he built this console around an Arduino Nano board. The screen is a Noritake Itron Gu20x8, which can display three different colors across the 20×8 grid of pixels. The controller uses an array of push buttons and there is a piezo buzzer for sound effects.
While the current game/program selection is limited, Boak now has a console for which he can develop as many games as he likes.
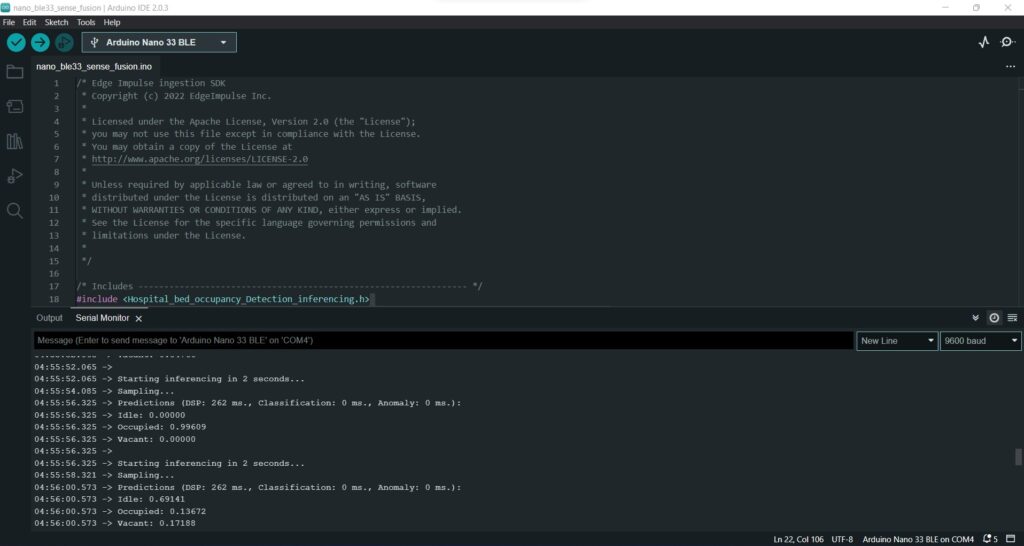
In care facilities and hospitals, being able to tell when beds are occupied or free is vital knowledge for the staff, as they can move onto other tasks more quickly with up-to-date information. Adam Milton-Barker’s hospital bed occupancy detection system aims to accomplish this goal by combining embedded machine learning models into connected hardware for gathering real-time data.
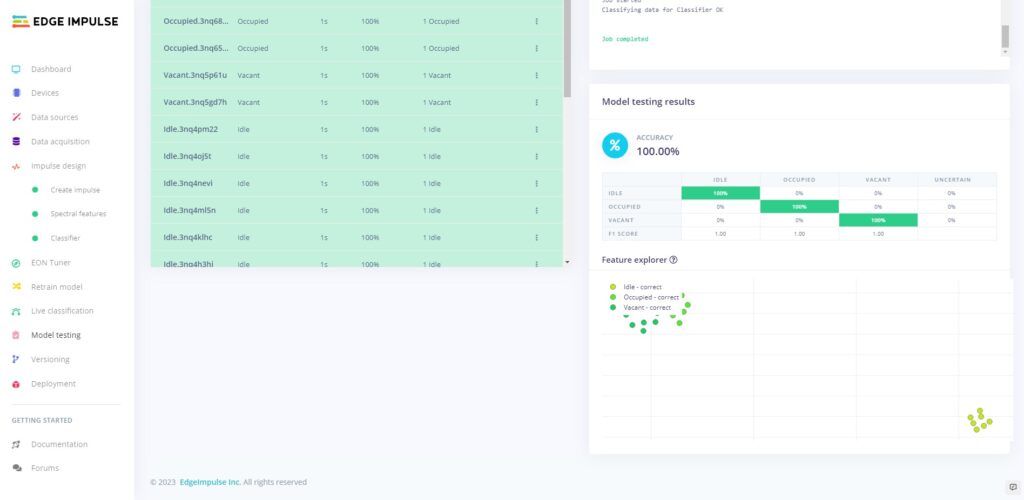
Milton-Barker’s first step was to create a new Edge Impulse project and add several samples of himself either getting into bed for an occupied status or standing up to indicate a vacancy by taking continuous measurements from a Nano 33 BLE Sense’s built-in accelerometer, gyroscope, and magnetometer. Once passed through a spectral analysis block, the resulting nine-channel data was used to train a classification model that could accurately detect when a person either gets in or out of bed, or for a lack of general activity.
The resulting model was exported as an Arduino library and added to a custom sketch that fuses the readings from each of the sensors’ three axes and passes it through the same spectral analysis block and the now-trained model to receive an inference.
In his project write-up, Milton-Barker speculates that this solution could be further extended by leveraging the Arduino’s onboard LEDs, Bluetooth connectivity, and recognizing more motions.
These days, everyone seems to turn to robots for automating tasks in the physical world. But robots are often clumsy and unreliable — not to mention expensive. Trains, on the other hand, are famous for their reliability. With that in mind, YouTuber James Whomsley designed a model train railway to bring coffee from his kitchen to his desk.
Whomsley’s home office is downstairs, but his coffee machine is upstairs in his kitchen. He didn’t want to make that trek every time he needed caffeine, so he constructed a model railroad track that traverses the distance. When he wants a coffee, he activates the train. It leaves his desk carrying an empthy mug on a car, goes to the kitchen, stops at the coffee machine, starts the brewing process, waits until the mug is full, then returns to the desk. That is simple in theory: an Arduino Uno board at each end detects the train and controls power to the rails. But the stairs posed a real challenge.
Model trains receive their power through the tracks, which means that those tracks must make a complete electrical circuit. To move the train on an elevator up and down the stairs, Whomsley had to find a way to break the circuit and then reconnect it. Once again, an Arduino detects the presence of the train. When it does, it activates a motor in a LEGO elevator lift mechanism. That starts moving the elevator platform either up or down, which breaks the circuit. When the lift reaches the top or bottom, it touches contacts to complete the circuit, which restores power and lets the train continue on its journey to deliver bean juice.
Planet Arduino is, or at the moment is wishing to become, an aggregation of public weblogs from around the world written by people who develop, play, think on Arduino platform and his son. The opinions expressed in those weblogs and hence this aggregation are those of the original authors. Entries on this page are owned by their authors. We do not edit, endorse or vouch for the contents of individual posts. For more information about Arduino please visit www.arduino.cc
You are currently browsing the PlanetArduino weblog archives.