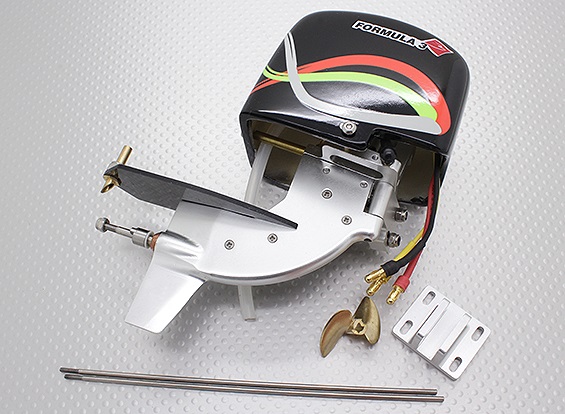
The Hobbyking SS series comes with a limited range of programming functions and are designed to be plug-n-play. A perfect ESC for those looking for something simple to use and economic.
Spec. Weight: 63g Size: 55x35x8mm Cells: 12-24Ni MH ~ 4-8S Li Po Max Current: 60A Burst : 70A No BEC Timing: 1/7/15/30 programmable PWM: 8/16K
Features.
Constant current 60A Max 70A
Li-Poly 4-8 cells
Low Resistant 0.0017 Ohms;
Dynamic Braking
BEC: opto
Auto shut down when lose signal
Slow down at 3.0V per cell Lipo, Cut-off at 2.9V per cell Lipo 0.8V NiMh
User Programming options.Battery setting Throttle Range Brake setting 4 options: Direction and Cutoff Type Timing Mode Setting: 1 / 7 / 15 / 30 PWM setting: 8K/16K
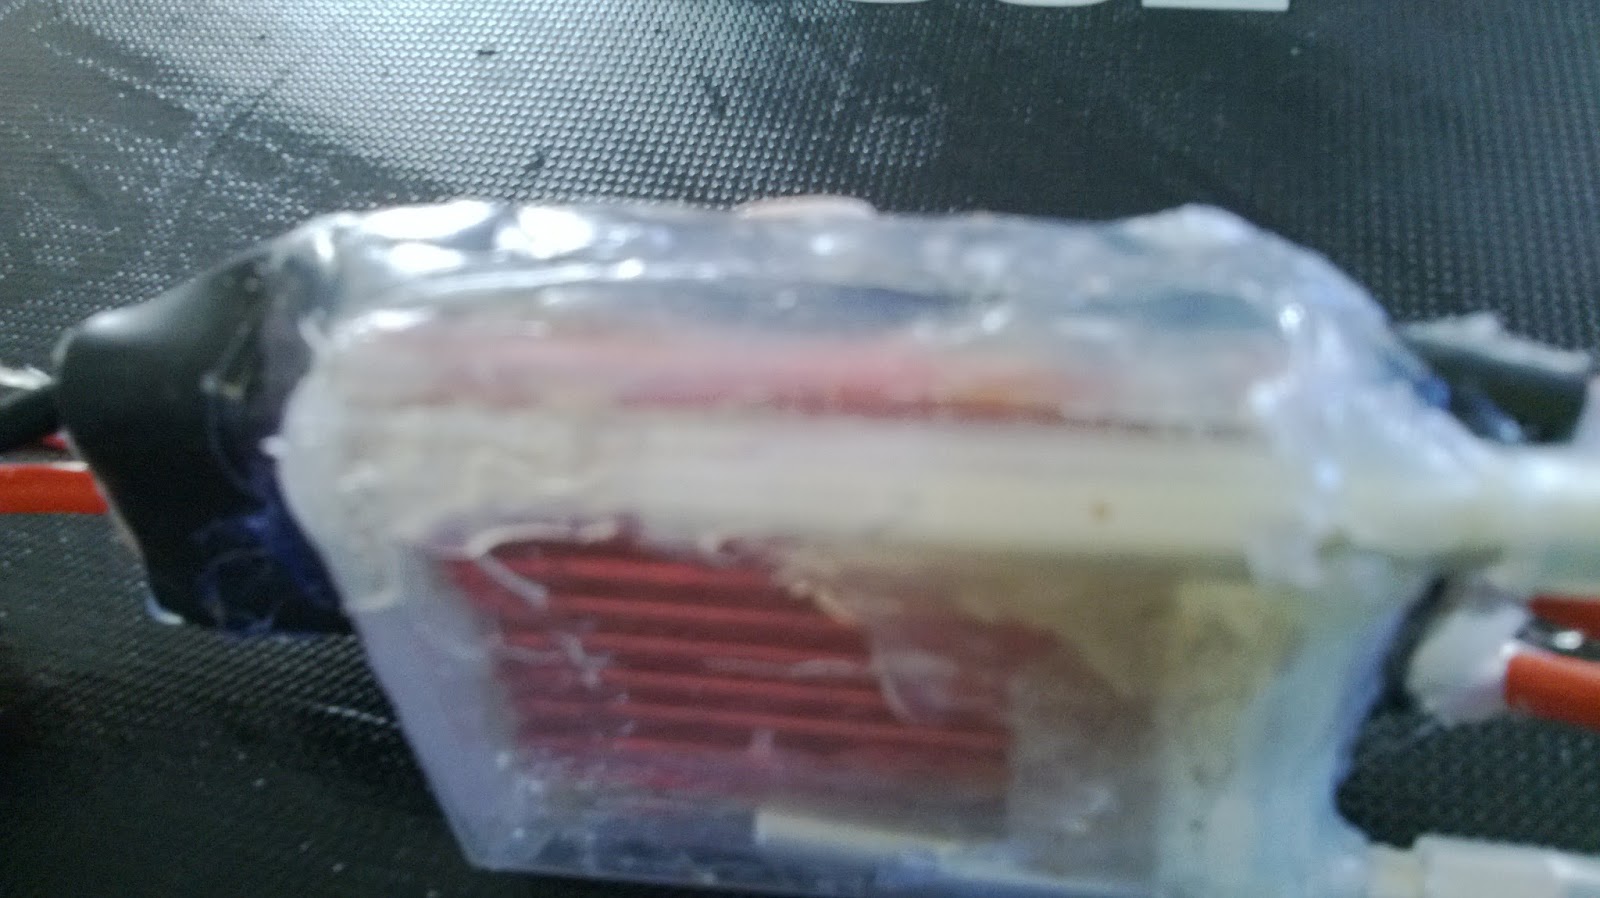
Marinize an aero ESC with a TicTac box some epoxy Aluminium tube and hot glue. A nice water tank directly on the heatsink over the FET's lots of volume flow seems more than adequate Its epoxied on with hot glue over that to seal any holes.
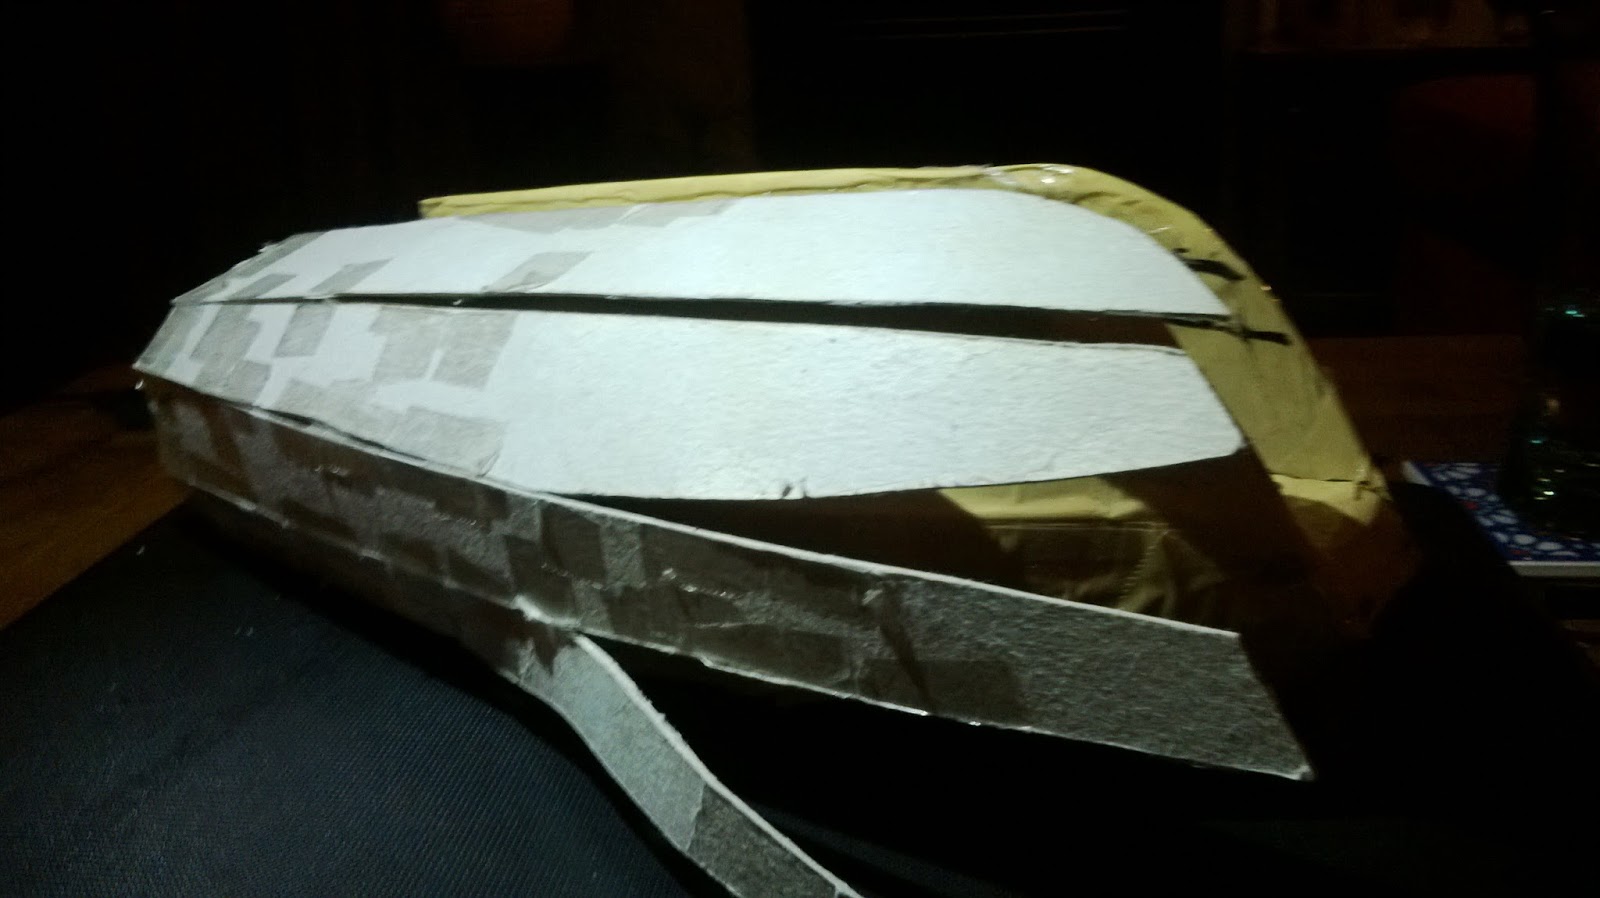
A recent purchase of a 5hp Mercury as a wing engine for Buttercup has re-kindled my desire to build a runabout catamaran design I have had in mind for a while now.
9 ft long by 4ft 6" beam in thin ply just to hold the shape then fiberglass sheathed on the outside and a full layup in side.
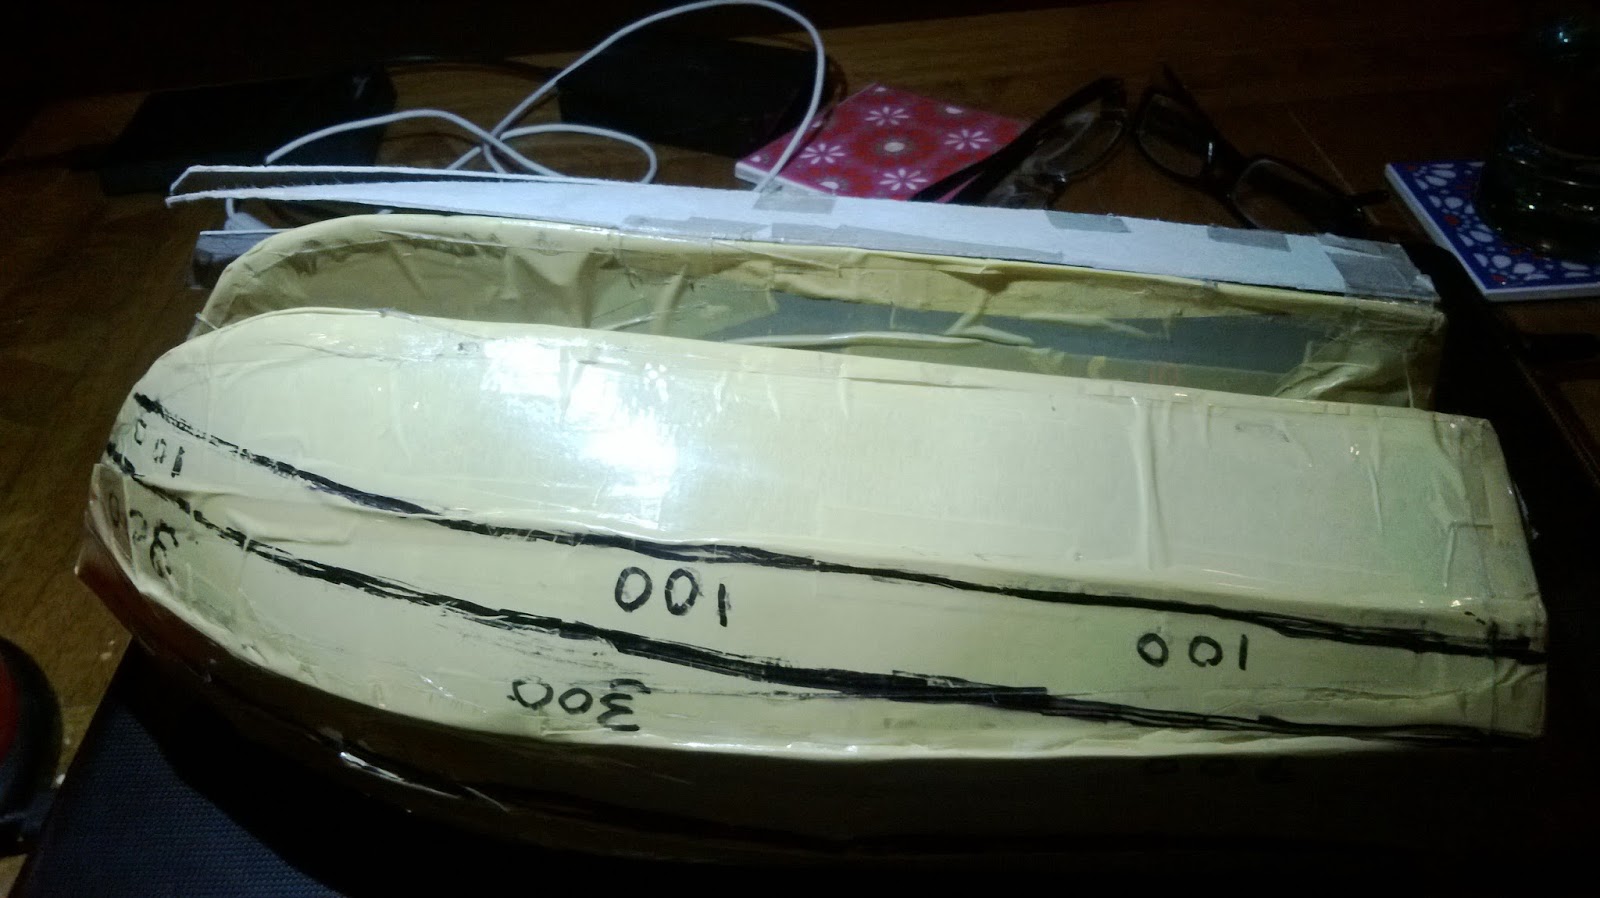
The above mockup has been around now a couple of years. A feature of the design is two of the bottom panels have one completely straight edge.
I have a 4 foot mockup in the same proportions 2:1 length to beam with the hulls an tunnel one third of the beam. The tunnel should make the hull very stiff longitudinally, and a bulkhead one third of the length near the bow make the cardboard mock up very stiff torsionally.
The tape weighs 15 Grams and add so much durability in a crash
The wing is a 200 mm chord with a 10 mm under camber shown above. It has a single aileron and elevator. Wing Area: 14 dm² 1.5 ft² Wing loading: 28.57 g/dm² 9.37 oz/ft²
Dropped the wing removed some of the lower fuse that was damaged in a bad landing. Lost 50 grams in the process and the wheels which are no good at our field.
The angle of incidence remains the same as the plans. I'm hoping the lowering of the wing relative to the thrust line will reduce the nose up tendency with power.
Baby Fogey 50% Baby Fogey flew on a rare calm day she's a bit to heavy with a 2 cell 500mAh nice wee plane will take her to the indoor flying club another time once I have reduced the mass so its not so fast. Here ars some more 50% Fogey's Indoor Micro Old Fogey
flitetest.com Old Fogey in Coroplast Some tail heavy flying quite a hairy flight the CG was set as specified on the plans. The next flight was much better with the CG set at the wing leading edge unfortunately no video from that flight the camera went missing near the end of the session in the grass somewhere :(
New Indoor 50% Fogey This video shows piloting using the bad method. The Coroplast held up well (which is why I love it so) with the pretty hard impact failed on the foam to Coroplast interfaces which it what I hoped would happen when I flew it into the ground at mach 1 Its all fixed now and ready for a calmer day as I was una ble to figth the wind, she just climbed with every gust of our patented New Zealand summer wind Testing today I found I don't have enough thrust to roll on our course grass at the field.Hand launching in our typically wind weather this time of year she flew but had very little power in reserve. More power :0
The Turnigy L2210 1650kv should solve the problem for another 26 Grams well forward, and I get double the thrust. I still needed to move the GC forward with the 24 Gram so the bigger 50 Gram motor solves that without adding ballast.
Hextronic 24 Gram 1700kv not enough grunt on test today, won't roll on my flying field.
Servos mounted externally
Underside wing detail
Foam joints to set tip angle whole wing weighs 215 Grams
center section is 500 mm tips as the plan
Wing detail braced front and rear with Carbon tubes 16 grams
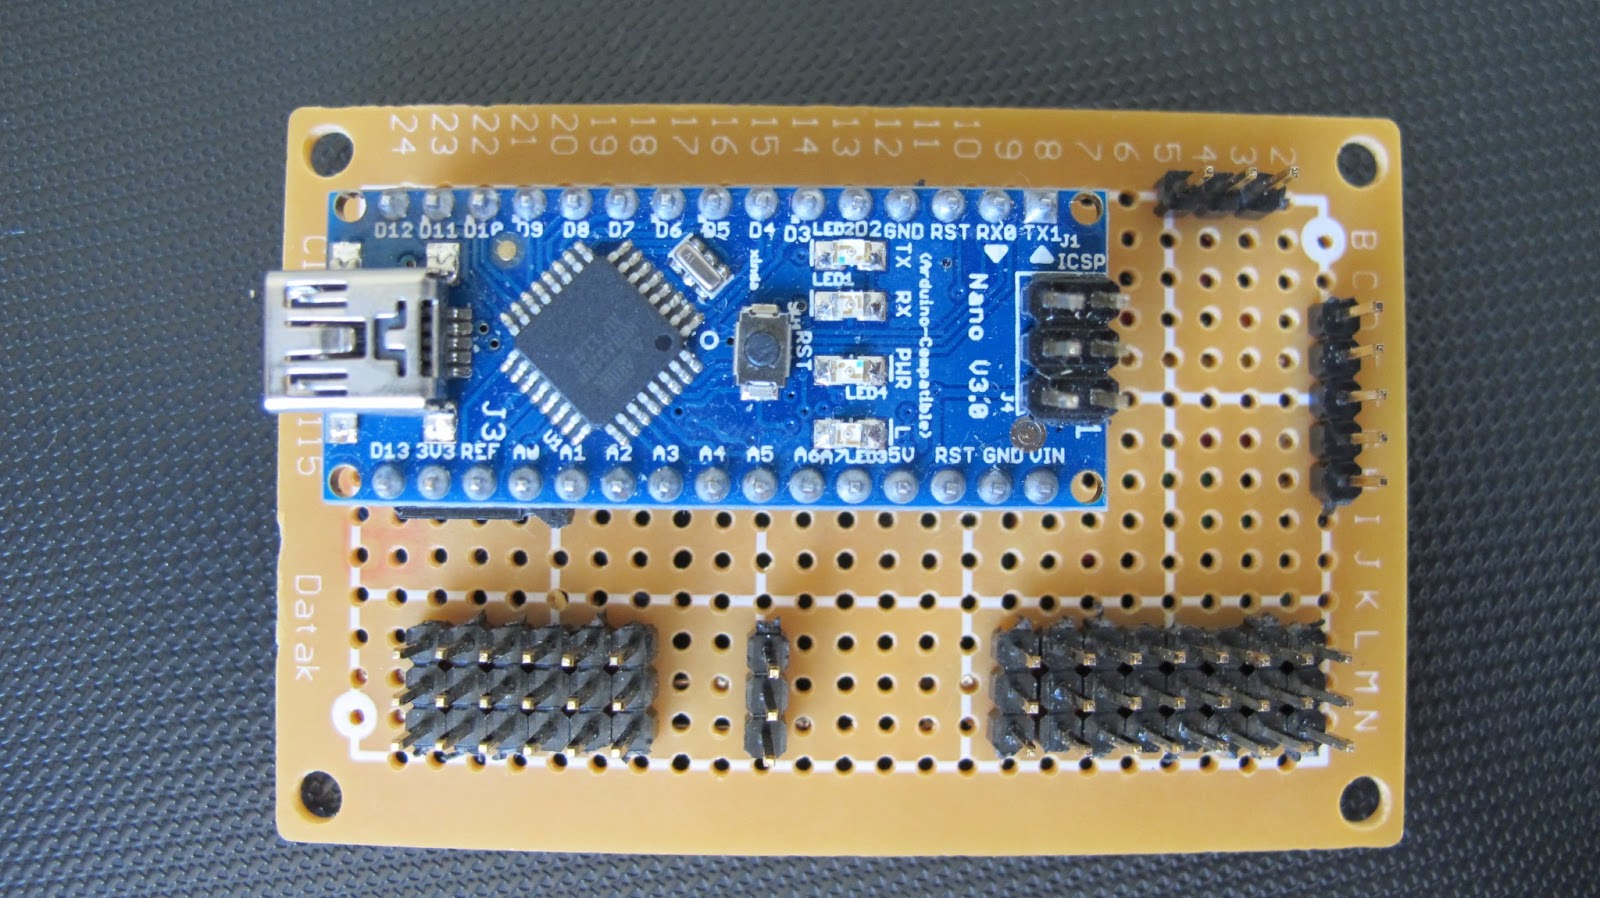
HK i86 gyro board
I put a hatch over the empty chamber in the nose as the CG is stubbornly to far back
Progressing mounted the servos on the outside so they are accessible. Now with a yellow rail fin with Bamboo spars, still nice and light.
Motor mounted and made a hatch over foam nose structure for the RX and any other bits. The ESC will be on the bulkhead in the air flow
The 610mAh battery is mounted well forward with Velcro to get the CG forward, the CG seem stubbornly to far aft will probably need some balance or a 1000mAh 3C to balance her out.
My glue less Coroplast and 25mm thick extruded Polystyrene foam construction using high strength double sided tape and Bamboo skewers Currently the air frame weighs 376 Grams bare, not servos, radio, motor or battery.
First use a Pritt Stick to fix the plans to the inside and cut round with a sharp knife. I glued along the lines on the plan only so I could get the paper off.
I used the blunt end of my steel rule to crease the flutes where all bend lines are on the plan
Then I removed the plan paper before the glue was fully dry which makes it easier to get off.
This is the outside surface
Make a renforceing foam core to fit inside the tail section so you don't have to glue the corners, used double sided tape on 3 sides of the foam core.
Looking aft from the nose and top view with sides folded up
Adding the fron bulk head. This peice makes the whole fuse pretty stiff torsionally along its length. Th nice feature of Coro and double sided tape is it fails at the tape joint in a crash.
Front bulkhead in position at right angles and flush with the ben of the bottom section. The bulkhead is 100 mm high and in my case 64mm wide
Note the coroplast want to bend along the middle of a flute so the width you get will corespond to the pitch of the flutes in the Coroplast used.
Front bulkhead with a line at 55 mm from the bottom
From the top
Cut a 55mm piece of foam for behind the screen upto the leading edge
55 X 64 mm
Fixed and chamfered to accept the wing section
Now an 80mm piece for the motor mount. This will be re-enforced further with wood for the motor fixings, and may be the only glued part on the fuselage
I mounted the 80mm section flush with the fron of the topand pegged it with Bamboo. This whole structure add lots of strength to the structure, for very little weight
On the scales
The whole fuselage weighs 115 grams around 15 grams lighter than in the calcs sheet predicted.
Tail fin cut to the pattern and rudder hinge crease made, no hinge required
Added a 40 mm flat for inside the foam in the tail. The fin has a couple of Bamboo skewers up it for stiffness :) Foam center block on wing center section. I rationalized the center span to 500mm as it turned out to be some odd number of mm being 18 inches and I am building in Napoleon units Wing mounted on fuse
Made two 32mm wing sections in foam for the ends of the mid span.
Two sections cut, next time I will cut the profile as one piece then half it :)
Wing profile cut into foam
Wing tips temporarily secured with packing tape for her first photo shoot
She's a bit shy and isn't showing us her tail yet :) Like the colour of her dress myself
Planet Arduino is, or at the moment is wishing to become, an aggregation of public weblogs from around the world written by people who develop, play, think on Arduino platform and his son. The opinions expressed in those weblogs and hence this aggregation are those of the original authors. Entries on this page are owned by their authors. We do not edit, endorse or vouch for the contents of individual posts. For more information about Arduino please visit www.arduino.cc
You are currently browsing the archives for the scratch build category.


.jpg)


