Arduino is an open-source electronics platform based on easy-to-use hardware and software. It’s intended for anyone doing interactive projects. Arduino programming is done using a simple IDE that runs on your computer. In this article, we’ll recommend the best laptops for Arduino programming to help you get started on your next project.
Are you short on time? Check our top choices!
 |  |  |
| Apple MacBook Air Laptop with M2 chip | Microsoft Surface Laptop Studio | Razer Blade 15 Laptop |
- Processor: Apple M2 chip
- Hard Disk Size: 512 GB
- Ram Memory Size: 8 GB
|
- Processor: Intel Core i7-11700
- Hard Disk Size: 1 TB
- Ram Memory Size: 32 GB
|
- Processor: Intel Core i7-11800H
- Hard Disk Size: 1 TB
- Ram Memory Size: 16 GB
|
| | |
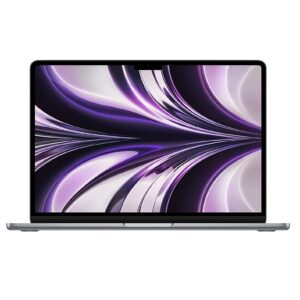
Apple MacBook Air Laptop With M2 Chip
Apple has announced a new version of its popular MacBook Air laptop, which now comes with an M2 chip specifically for programming Arduino boards. The new laptop also features 8 GB of RAM and a 512 GB hard disk size. Its screen size remains at 13.6 inches.
This latest version of the MacBook Air is ideal for those who want to use it for programming purposes. The M2 chip makes it easy to compile code and work with Arduino boards. In addition, the storage capacity will be welcomed by users who want to store more data and files on their computers.
Pros- Arduino IDE great optimized for M2 chip
- Up to 18 hours of battery life
- Versatile connectivity
- Easy to use with Arduino
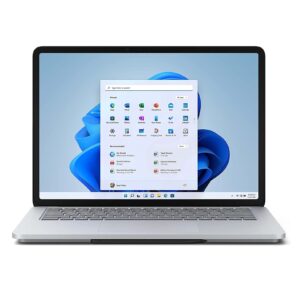
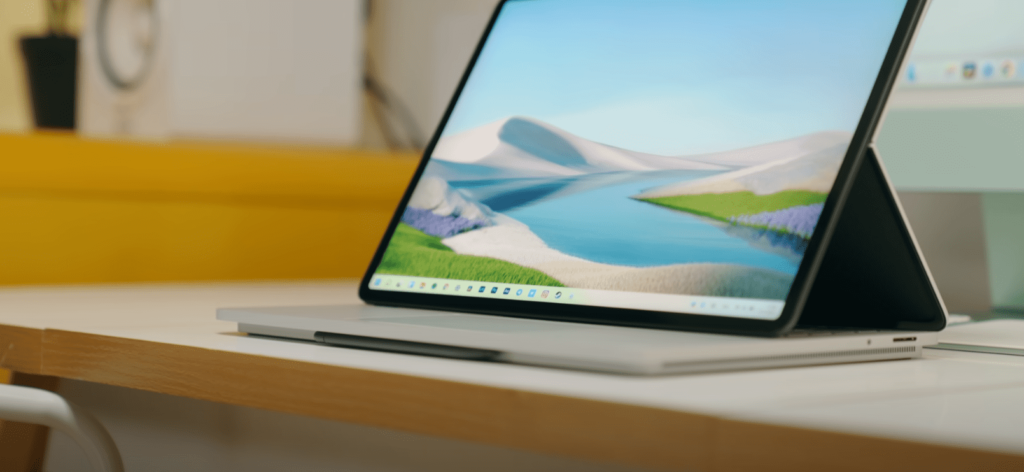
Microsoft Surface Laptop Studio
Arduino programming is a breeze on the Microsoft Surface Laptop Studio, thanks to its large 14.4″ touchscreen display and powerful Intel Core i7-11700 processor. With 32 GB of RAM and 1 TB of hard disk space, you’ll have plenty of room to store your sketches and programs.
The Surface Laptop Studio is a great choice for programming Arduino because it is lightweight and portable yet still has enough power to handle even the most complex programming tasks. Plus, the large touchscreen display makes it easy to see your code and make changes on the fly. And if you need more storage space or processing power, you can always upgrade the RAM or storage size later on.
Pros- Great optimized for working with Arduino
- New USB 4.0 ports with Thunderbolt 4 support
- The keyboard is great for programming
- The screen is extremely high-quality
Cons- The battery life not so good
- It is a little overpriced
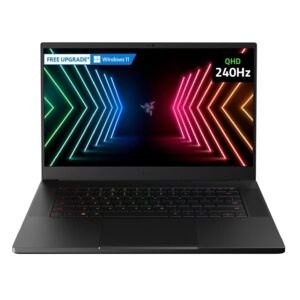
Razer Blade 15 Laptop
If you’re looking for a laptop to do some Arduino programming on, the Razer Blade 15 is a great option. It’s powered by an Intel Core i7-11800H processor and has 16GB of RAM. Plus, it has a 1TB hard drive and an NVIDIA GeForce RTX 3060 graphics card.
The Razer Blade 15 also comes with a handy Thunderbolt 3 port, making it easy to connect to external peripherals like an Arduino board. And if you need even more power, you can always opt for the Razer Blade Pro 17, which features an even more powerful processor and graphics card.
Pros- Vapor chamber cooling for maximized thermal performance
- Next-gen display to meet your programming needs
- Hardware optimized for Arduino development
Cons- The laptop comes with no cables
- Only 3 USB ports
Apple MacBook Pro Laptop With M2 Chip
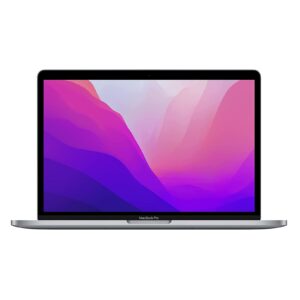 Apple’s new MacBook Pro comes with an M2 chip and a hard disk size of 512 GB. This 8-core CPU laptop is ideal for Arduino programming. With its powerful processor and large hard drive, the MacBook Pro can handle any Arduino project you throw at it.
This powerful machine is capable of running the Arduino IDE and compiling sketches quickly. The built-in M2 chip provides plenty of processing power for even the most complex sketches. The display is perfect for viewing code, and the backlit keyboard makes it easy to work in low-light conditions. The touch bar can be customized to provide quick access to the most frequently used tools.
Pros- Up to 20 hours of battery life
- Brilliant display for programming
- Versatile connectivity
Cons- The laptop has only two ports
Dell XPS 13 9310 Touchscreen Laptop
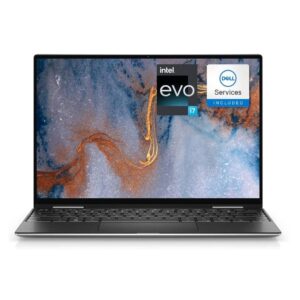 The Dell XPS 13 9310 Touchscreen Laptop is specifically designed for those interested in Arduino programming. Its Intel Core i7-1195G7 processor and 16 GB of LPDDR4x RAM make it more than capable of handling complex Arduino projects.
Plus, its 512 GB SSD provides plenty of storage space for your code and data. And at just over 2.8 pounds, it’s one of the most compact laptops on the market, making it perfect for those on the go. So if you’re looking for a laptop that can keep up with your Arduino programming ambitions, the Dell XPS 13 9310 Touchscreen Laptop is definitely worth considering.
Pros- Free of materials like mercury, cadmium, lead and some phthalates
- The 1500:1 contrast ratio great for programming needs
- The laptop uses adaptive performance
- Materially superior and durable
Cons- The battery life not so good
The Buyer’s Guide
Things to Consider Before Buying a Laptop for Arduino Programming
When it comes to laptops, there are a few things you need to take into account before making a purchase for Arduino programming. The most important factor is processor speed. You’ll want a laptop with a fast processor so that your programs can run quickly and smoothly. Another thing to consider is the amount of RAM. Having more RAM will allow you to store more data and programs on your laptop. Lastly, make sure the laptop has enough storage space for all of your files and programs.

Laptop CPU
While any computer can be used for Arduino programming, using a laptop CPU has some advantages. Laptops are portable, so you can take your project with you and work on it anywhere. They also tend to have more powerful processors than desktop computers, so compiling and uploading code will be faster.
Here are some things to keep in mind if you’re looking for a laptop to use for Arduino programming. Look for a model with an Intel Core i5 or i7 processor if you are looking for a Windows-based laptop, or M1 or M2 chip if you are looking for MacBook.
Laptop RAM
If you’re looking to get the most out of your Arduino programming, you’ll need to make sure you have enough RAM on your laptop.
The minimum amount of RAM you’ll need is 4GB, but 8GB or more is even better.
With the right amount of RAM, you’ll be able to run multiple programs and sketches simultaneously without any issues.
HDD vs. SSD for Arduino Programming
Anyone who has ever tried to use a laptop for Arduino programming knows that the process can be painfully slow. This is often due to the fact that the laptop’s hard drive needs to be faster to keep up with the demands of the Arduino IDE.
There are two main types of hard drives: HDD and SSD. HDD stands for Hard Disk Drive, and SSD stands for Solid State Drive. Both types of drives have their own advantages and disadvantages when it comes to Arduino programming.
HDD drives are much cheaper than SSD drives, but they are also much slower. This can make a big difference when you’re trying to compile programs or upload sketches to your Arduino board.
SSD drives are much faster than HDD drives, but they are also more expensive. If you are serious about programming with Arduino, you should consider buying an SSD drive. This will make your life much easier when it comes to writing code and uploading sketches.
Laptop Price
If you’re looking for a laptop to use for Arduino programming, you may be wondering how much you should expect to pay. Here’s a look at some of the factors that can affect laptop prices for this type of work.
The type of processor in your laptop will affect its price, with faster processors tending to be more expensive. You’ll also need a fair amount of RAM to run Arduino programming software smoothly, so laptops with lower amounts of RAM may not be suitable.
Storage is another important factor to consider, as you’ll need space to store your Arduino sketches and other files. Laptops with large hard drives or solid state drives will be more expensive than those with smaller storage capacities.
The brand and model of laptop can also affect the price, with some models being more expensive than others.
Windows vs. Linux vs. macOS for Arduino Programming
When it comes to programming Arduino, there are three main operating systems that people use: Windows, Linux, and macOS. Each has its own benefits and drawbacks. Here’s a look at each one to help you decide which is best for your needs.
Windows is the most popular operating system for Arduino programming. It’s easy to use and there are a lot of resources available for beginners. However, it can be difficult to get some of the more advanced features working properly.
Linux is a great option for those who want more control over their operating system. It’s also very stable and has a lot of features that Windows doesn’t have. However, it can be challenging to learn if you’re not familiar with it.
macOS is a great choice if you’re looking for an operating system that’s easy to use and has all the features you need.
FAQ
Are AMD-based laptops good for Arduino programming?
Yes, AMD-based laptops are good for Arduino programming. They are fast and have a lot of features that make them ideal for programming.
Are Intel-based laptops good for Arduino programming?
Yes, Intel-based laptops are good for Arduino programming. They are fast and have a lot of features that make programming easier.
Which is better: Intel or AMD for Arduino programming?
There is no definitive answer to this question since it depends on personal preferences and what you plan to use your Arduino for. For example, some people prefer Intel processors because they are faster and more powerful, while others prefer AMD processors because they are more affordable. Ultimately, it is up to you to decide which is best for your needs.
Is 4 GB of RAM enough for a laptop for Arduino programming?
Yes, 4 GB of RAM is enough for a laptop for Arduino programming. The minimum requirements for the Arduino IDE are 512 MB of RAM and a 1 GHz processor.
Are MacBooks good for Arduino programming?
Yes, MacBooks are good for Arduino programming. They have a variety of ports and connections that make it easy to connect to an Arduino board, and the macOS operating system is very stable and easy to use.
Are Asus laptops good for Arduino programming?
Yes, Asus laptops are great for Arduino programming. They have a lot of features that make them ideal for coding and programming, and they’re also very affordable.
Are Dell laptops good for Arduino programming?
Yes, Dell laptops are good for Arduino programming. They have a lot of features that make them ideal for programming, including a large display and a full-sized keyboard.
Are Acer laptops good for Arduino programming?
Yes, Acer laptops are good choice for Arduino programming. They are affordable and have all the features you need to get started with programming Arduino.
Are Lenovo laptops good for Arduino programming?
Yes, in most cases, Lenovo laptops are good for Arduino programming. They are well-built and have good performance. However, some users have complained about poor quality control, so be sure to do your research before buying one.
Do you need a powerful laptop for Arduino programming?
No, you don’t need a powerful laptop for Arduino programming. But a powerful laptop will make the process easier and faster, but it’s not necessary.
Related Video: How To Pick The Best Laptop For Programming
Summing Up
In conclusion, the best laptops for Arduino programming are the MacBook Air/Pro with an M2 chip, the Microsoft Surface Laptop Studio, the Razer Blade 15 Laptop, and the Dell XPS 13 9310. All of these laptops have the necessary specs for running Arduino programming software, and they also have other features that make them stand out from the rest. So, if you’re in the market for a new laptop to use for your Arduino programming projects, be sure to check out these four models.
The post The 5 Best Laptops for Arduino Programming: Ultimate Guide appeared first on NerdyTechy.


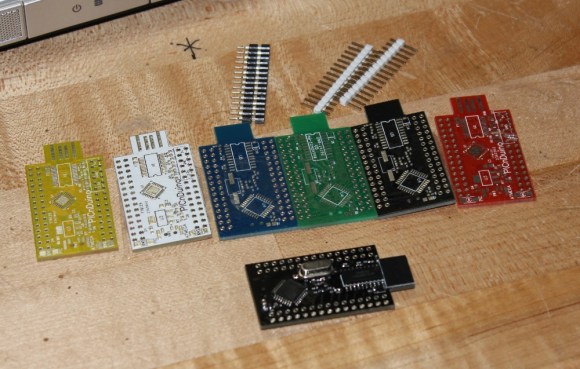
 This board is about 1.5 inches by 1 inch… like two postage stamps side-by-side. It hosts the FCC and CE approved module which
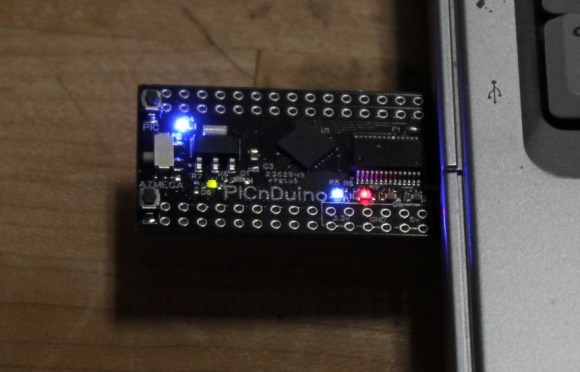
 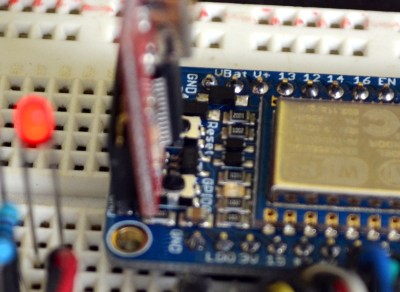 To the right I tried out my 5V Sparkfun FTDI board and as advertised, the HUZZAH can be programmed with either 3.3v or 5V logic levels.
 Adafruit has a Board Manager for Arduino IDE. Perhaps this is common knowledge but I don’t often work with this IDE and it’s the first time I’ve run into it. What can I say, it kicks ass!
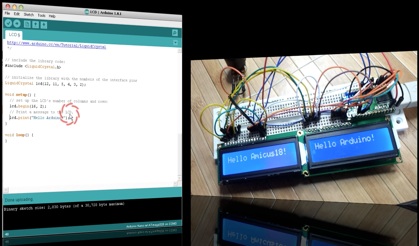
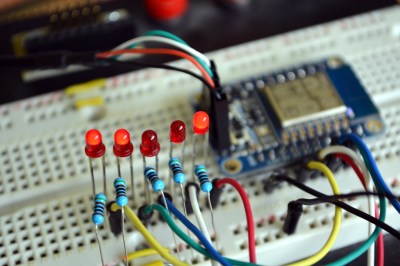 To prove my point, I knocked out this quick binary counter that uses five LEDs as outputs. I’m not leveraging any of the WiFi features on this, but the compiled binary is 174,358 bytes and the Arduino IDE reports this board has a max capacity of 524,288 bytes. It five I/O used for LEDs there are still four more digital pins, the two UART pins, and an ADC input.