Posts | Comments

Planet Arduino

Archive for the ‘train’ Category

Certain hobbies come in clusters. It isn’t uncommon to see, for example, ham radio operators that are private pilots. Programmers who are musicians. Electronics people who build model trains. This last seems like a great fit since you can do lots of interesting things with simple electronics and small-scale trains. [Jimmy] at the aptly-named DIY and Digital Railroad channel has several videos on integrating railroad setups with Arduino. These range from building a DCC system for about $45 (see below) to a crossing signal.

There are actually quite a few basic Arduino videos on the channel, although most of them are aimed at beginners. However, the DCC — Digital Command and Control — might be new to you if you are a train neophyte. DCC is a standard defined by the National Model Railroad Association.

Model trains pick up electrical power from the rails. DCC allows digital messages to also ride the rail. The signal shifts from positive to negative to indicate marks and spaces. By diode switching the electrical signal, the train or other equipment can get a constant supply of current. However, equipment monitoring the line ahead of the diodes can read the data and interpret it as commands.

To accommodate old equipment, you can stretch the high or low values to make the average voltage either positive (forward) or negative (reverse). This can heat up DC motors, though, so it may shorten the life of the legacy equipment.

The build uses an available Arduino library, so if you want to get into the protocol you’ll have to work through that code. We had to wonder if there were other places where passing power and data on the same lines might be useful. There are other ways to do that, of course, but this would be a reasonable place to start if you needed that capability.

If you want to use an mBed system instead of an Arduino, there’s a great tutorial for that. Either way, it is just the thing for your next coffee table.
[kodera2t] discovered the VL53L0X Time of Flight sensor and thought it would make a great way to control the operation of a model train without touching it.

The sensor was small enough for an N-gauge train, which translates to 1:148 scale or about 9mm from rail to rail. His idea was to build a tiny control board that could fit inside the locomotive: 10mm by 40mm. His board consists of the ToF sensor, an ATMega328P-MMH, USB-serial, and a Texas Instruments DRV8830 motor driver. he powers the board via the 6V running through the track.

Right now [kodera2t]’s using the ToF as sort of a gestural controller to get the train to start rolling, but one could imagine the sensor could be incorporated into more advanced programming, like having the train speed up on straightaways and slow down on a curve, based on the height of the bridge over it.

We’ve published a bunch of [kodera2t]’s tiny circuit board projects here on Hackaday, including the smallest basic computer, his minimal frequency counter, and his VFD amplifier.


Filed under: Arduino Hacks
Sep
15

Subway radar

Public transit can be a wonderful thing. It can also be annoying if the trains are running behind schedule. These days, many public transit systems are connected to the Internet. This means you can check if your train will be on time at any moment using a computer or smart phone. [Christoph] wanted to take this concept one step further for the Devlol hackerspace is Linz, Austria, so he built himself an electronic tracking system (Google translate).

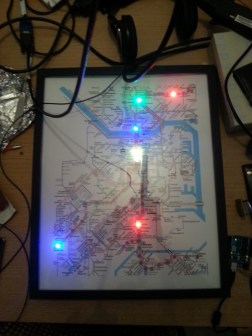
[Christoph] started with a printed paper map of the train system. This was placed inside what began as an ordinary picture frame. Then, [Christoph] strung together a series of BulletPixel2 LEDs in parallel. The BulletPixel2 LEDs are 8mm tri-color LEDs that also contain a small controller chip. This allows them to be controlled serially using just one wire. It’s similar to having an RGB LED strip, minus the actual strip. [Christoph] used 50 LEDs when all was said and done. The LEDs were mounted into the photo frame along the three main train lines; red, green, and blue. The color of the LED obviously corresponds to the color of the train line.

The train location data is pulled from the Internet using a Raspberry Pi. The information must be pulled constantly in order to keep the map accurate and up to date. The Raspberry Pi then communicates with an Arduino Uno, which is used to actually control the string of LEDs. The electronics can all be hidden behind the photo frame, out of sight. The final product is a slick “radar” for the local train system.


Filed under: Arduino Hacks, Raspberry Pi
Jun
08

A DIY magnetic levitation vehicle to inspire future engineers

arduino, diy, DIY Arduino, girls, maglev, magnetic levitation, MakerFaire, train, wireless, xBee Comments Off on A DIY magnetic levitation vehicle to inspire future engineers 

DIY maglev

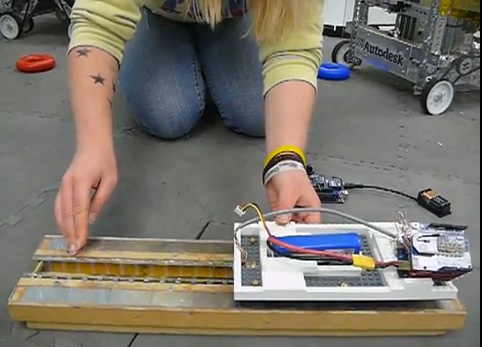
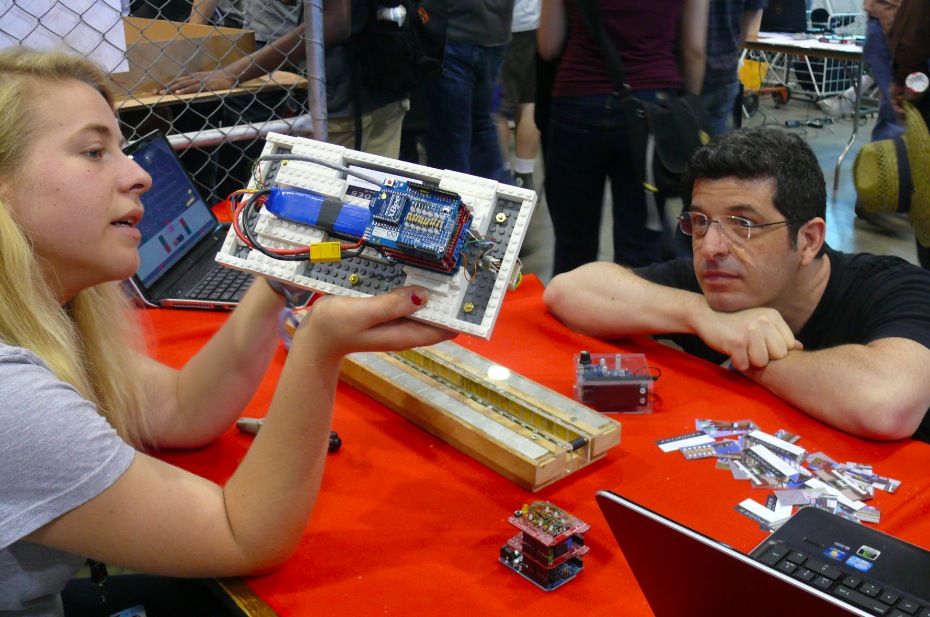
Next to our Arduino booth at Makerfaire Bay Area we had a cool project created by Antipodes, a girls robotics team headquartered in Pacifica, California, USA. It’s a Do It Yourself (DIY) remote controlled (RC) model maglev with electromagnetic propulsion, or shortly called maglev.

A maglev is just like a conventional train but instead of wheels it has magnets and it levitates!

The team did a great job not only for the results achieved but especially in sharing the project’s documentation, detailed with all the steps for the construction through videos and pictures so that others can more easily follow in their footsteps.

DIY maglev


The maglev, which won the Maker Faire Editor’s Choice blue ribbon,  contains Arduino UNO, Arduino  Wireless Protoshield, plus many other components you can explore in their videos below and in the project page.


  • Newsletter

    Sign up for the PlanetArduino Newsletter, which delivers the most popular articles via e-mail to your inbox every week. Just fill in the information below and submit.

  • Like Us on Facebook