06
In today’s modern world, smart technology is revolutionizing the way we interact with our surroundings. From managing our home’s energy consumption to controlling appliances remotely — such as washing machines, fans, coffee makers, and even air conditioners. Smart devices offer us a level of convenience and control that was once unimaginable. However, dealing with multiple apps for various systems can be cumbersome and inefficient. This is where an integrated platform like the Arduino Cloud comes into play, offering a unified dashboard to control all your smart devices. Moreover, if you’re an Arduino enthusiast, you’ll be excited to learn how Node-RED can bridge the gap between commercial products and the Arduino Cloud. Last, but not least, you can integrate this project with the rest of your Arduino Cloud projects automating your appliance control using other devices’ data.
In this blog post, we’ll delve into a fascinating project that demonstrates how you can harness the power of Arduino Cloud and Node-RED to control TP-Link smart plugs, giving you the ability to manage and monitor your appliances from a centralized hub.
TP-Link smart plugs and Kasa
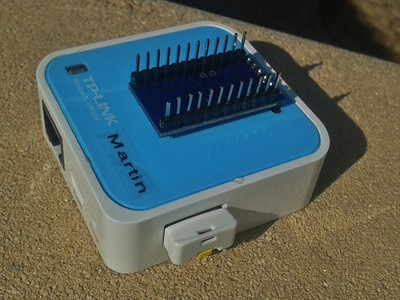
TP-Link smart Wi-Fi plugs are intelligent devices that transform everyday appliances into smart ones, enabling remote control via your Wi-Fi network. These plugs are part of TP-Link’s smart home ecosystem, designed to offer enhanced convenience and control over your home appliances. To manage and control these smart devices, TP-Link has developed the Kasa Smart platform. Through the Kasa Smart app, you can easily schedule, automate, and control your connected devices, making your home even smarter. Importantly, Kasa Smart provides an API that facilitates seamless integration with other platforms.
Arduino Cloud: Simplifying IoT development
The Arduino Cloud is a versatile platform that simplifies the creation, deployment, and management of IoT devices. It supports a range of hardware, including Arduino boards, ESP32/ESP8266-based boards and devices programmed with Python, JavaScript or Node-RED. This platform is a boon for makers, IoT enthusiasts, and professionals, as it enables them to build connected projects without needing extensive coding skills. Arduino Cloud lets you manage and monitor connected devices through customizable dashboards, offering real-time visualizations of device data. These dashboards can be accessed remotely using your favourite browser or via the Arduino IoT Cloud Remote mobile app, available for both Android and iOS devices, ensuring that you’re in control no matter where you are.
Node-RED: Bridging the gap
Node-RED is an open-source visual programming tool designed to facilitate the connection and automation of devices, services, and APIs. Its browser-based flow editor enables users to effortlessly create workflows by dragging and dropping nodes onto a canvas and connecting them. Each node represents a specific functionality or service, such as data input/output, data transformation, or communication with external systems. Popular in the Internet of Things (IoT) realm, Node-RED simplifies the integration of sensors, devices, and cloud services, empowering users to craft sophisticated IoT applications and automation systems without traditional coding. In this blog post we will see how Node-RED can act as a middleware between TP-Link smart plugs and the Arduino Cloud.
Project setup: Getting started
To embark on this exciting journey of controlling TP-Link smart plugs with the Arduino Cloud and Node-RED, you’ll need a few prerequisites:
- A TP-Link smart Wi-Fi plug (such as HS100)
- The Kasa app installed on your mobile phone
- An Arduino Cloud account
- An instance of Node-RED (running locally or in the cloud)
No Arduino, ESP32, or ESP8266 devices are required for this project.
Step-by-step implementation
Here’s a concise overview of the steps you’ll undertake to bring your project to life:
- Configure your TP-Link smart plug: Begin by adding your TP-Link smart plug to the Kasa app on your mobile device. This process connects your plug to both your Wi-Fi network and the internet, enabling remote control.
- Create the device in the Arduino Cloud: In the Devices section of Arduino IoT Cloud, create a new device. This process involves selecting “Any Device” and following the instructions in the wizard. Don’t forget to save your Device ID and Secret Key.
- Create the Node-RED flow: Access your Node-RED instance and import the provided code. This code configures the integration between the TP-Link smart plug, Arduino Cloud, and Node-RED.
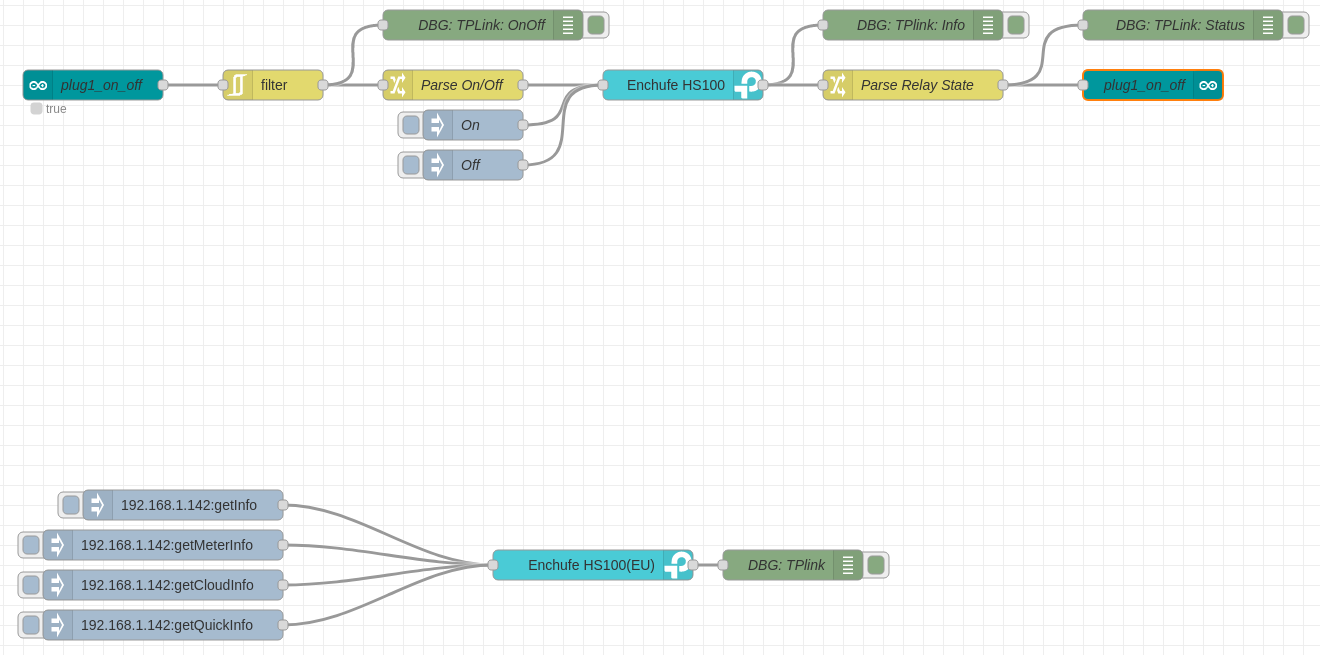
- Configure the Kasa and Arduino Cloud nodes: Within Node-RED, you’ll need to input the IP address of your TP-Link smart switch and configure the connection to Arduino Cloud using the API key you generated.
- Create the Arduino Cloud dashboard: Navigate to the Dashboards section of the Arduino Cloud and create your dashboard. Customize it to your liking for easy monitoring and control.
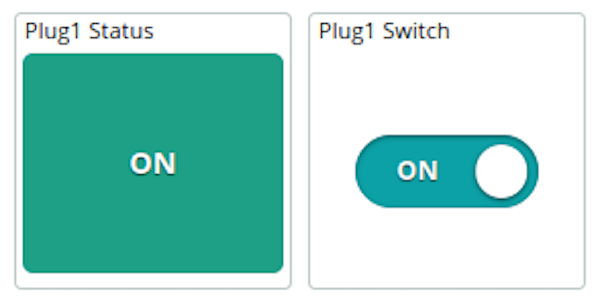
- Test the System: With everything set up, it’s time to test your creation. Access your Arduino Cloud dashboard to observe the status of your smart plug and control it using the provided button.
Try it now!
Experience the future of home control now. Discover how Arduino Cloud and Node-RED combine to command TP-Link smart plugs. Create your Arduino Cloud account and dive in at the Project Hub project page and transform your home today!
The post Controlling home appliances with Arduino Cloud and TP-Link smart plugs appeared first on Arduino Blog.