Posts | Comments

Planet Arduino

Archive for the ‘geiger counter’ Category

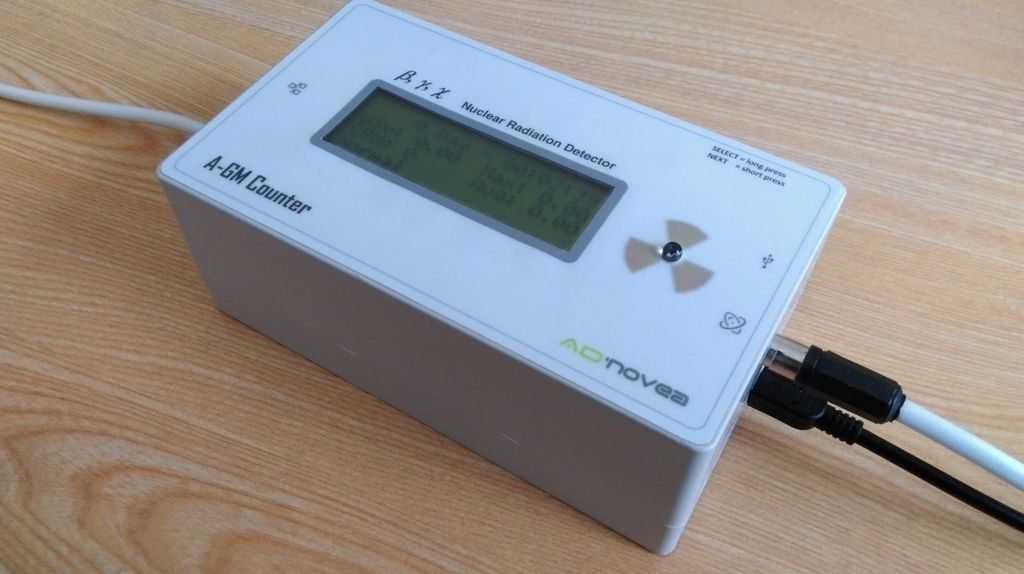
You’ve seen movies and TV shows with Geigers counters: handheld devices that click when they detect radiation — the faster the clicks, the stronger the radiation. Those clicks are actually the result of inert gas briefly made conductive by bursts of energy released by ionizing radiation particles entering the sealed Geiger–Müller tube. YouTuber The Edison Union had the clever idea to use those clicks as triggers for generative music and turned to Arduino to make it happen.

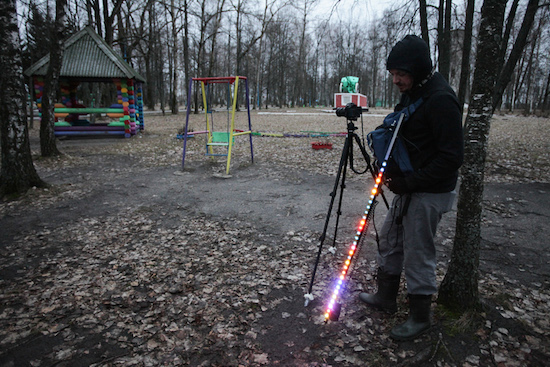
This is part of a larger project called The Cherenkov Effect, which seeks to explore Cold War-era anxieties related to nuclear power and nuclear weapons. The Cherenkov Effect does that through a combination of performance art and generative music. And what better way to generate that music than with radiation?

In this case, that radiation comes from Strontium-90 and Polonium-210. While those are less dangerous to handle than many other radioactive materials, they still aren’t safe and you shouldn’t replicate this project if you don’t know the proper procedures.

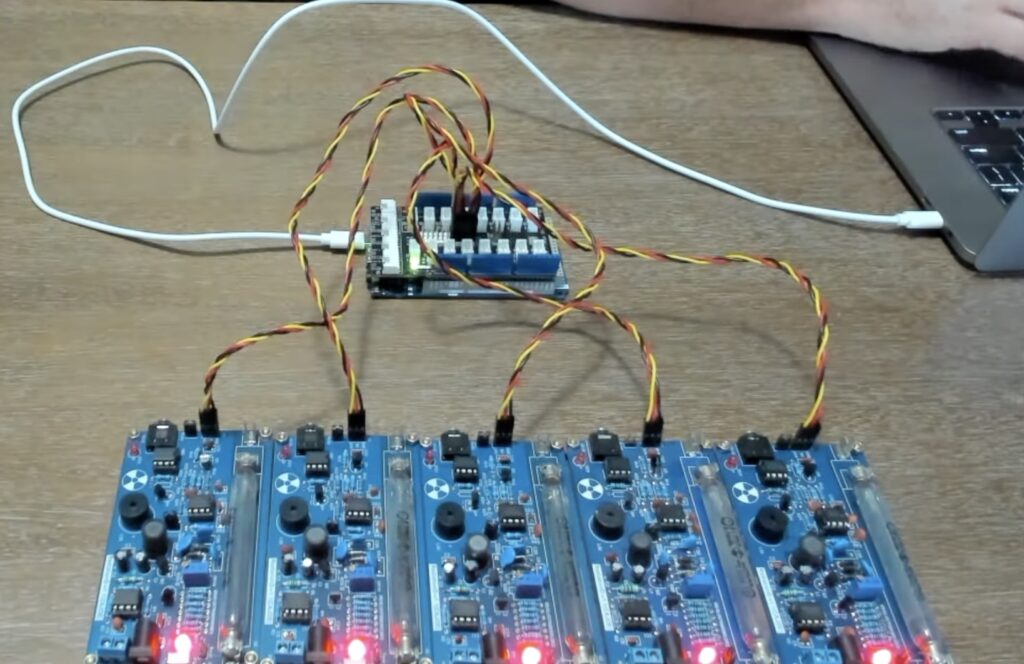
The Edison Union uses Ableton Live to produce the music for The Cherenkov Effect, but needed “seeds” for the generative processes that turn into audible notes. Those seeds come from five Geiger counter modules that connect to an Arduino GIGA R1 WiFi board through a Seeed Studio Grove Shield. The Arduino sketch counts radioactive pulses, then passes that data on to a Processing sketch that performs the generative music functions. The latter is where The Edison Union is able to get creative regarding the sound produced. Finally, Processing sends notes to Ableton Live to synthesize.

Now when The Edison Union moves Strontium-90 or Polonium-210 around the array of Geiger counters, the device will generate and play music based on the radiation it receives. 

The post Radioactively generated music with the Arduino GIGA R1 WiFi and Ableton Live appeared first on Arduino Blog.

While you may not have a graduate degree in nuclear physics, you likely have some inkling that large amounts of radiation should be avoided. In order to monitor local levels, AdNovea has come up with a DIY Geiger-Müller counter, which displays values on a 20×4 LCD screen.

The device uses an SBM-20 or STS-5 tube to measure radioactivity, with an Arduino Nano to process this input. It can be employed as a standalone unit, or transmit readings wirelessly via an Ethernet interface. Data can then be tracked over time with a web app, or even shared with the wider world over the Internet.

This DIY low-cost ($50$/€43) C-GM Counter project provides hardware and firmware for building a Geiger-Müller counter device aka G.M. Counter for continuous measurement of the radioactivity level. It is based on an Arduino Nano, a 20 chars x 4 lines LCD display, a W5100 Ethernet card, a 400V power supply and very few components around. The number of components has been kept to minimum for easy assembling and reducing the cost.

The C-GM Counter is able to run as a standalone radioactivity counter or for ensuring long term radioactivity monitoring, the C-GM counter can be used in association with A-GM Manager (in the sequel) that is an open-source web application running on a SOHO server (e.g. QNAP sells Small Office Home Office servers). A-GM Manager is also able to publish the C-GM Counter measures on the worldwide shared map managed by GMC MAP. Finally, there is also a Node-RED version for integration of the C-GM Counter with Node-RED such as the QNAP IoT framework.

1_img3021-11low

Cosmic Bitcasting is a digital art and science project emerging from the idea of connecting the human body with the cosmos by creating a wearable device with embedded light, sound and vibration that will provide sensory information on the invisible cosmic radiation that surrounds us. This open-source project actually works by detecting secondary muons generated by cosmic rays hitting the Earth’s atmosphere that pass through the body.

Artist Afroditi Psarra and experimental physicist Cécile Lapoire worked together to develop a prototype of the wearable cosmic ray detector during a one-month residency at Etopia in Zaragoza, and is currently on display at the Etopia-Center for Art and Technology in Zaragoza as part of the exhibition REVERBERADAS.

img3553

Cosmic Bitcasting is comprised of an Arduino Lilypad, High Flex 3981 7×1 fach Kupfer blank conductive thread from Karl Grimm, Pure Copper Polyester Taffeta Fabric by Less EMF, white SMD LEDs, a coin cell vibration motor, and an IRL3103 MOSFET with a 100 Ohm resistor to drive the motor.

Intrigued? Take a look at the video below and read the diary of the residency to learn more!


Even three decades after the Chernobyl disaster and five years after the incident at the Fukushima Daiichi power plant, each of the surrounding communities are still impacted by dangerous radiation levels. However, since the source of the problem is invisible, the relative risks remain difficult to communicate. As a result, the motivation and urgency to help those affected continue to diminish.

In order to visualize the threat, photographer Greg McNevin has mapped real-time measurements using long-exposure photographs of areas in Fukushima and Russia’s Bryansk region. To do this, McNevin and his team combined a custom Geiger counter with an LED stick and an Arduino-based controller. The detection device picks up radiation levels as it is moved around and outputs this data as an analog signal, which is then converted into white, orange or red lights — based on the severity of the reading.

Walking through a photo with shutter open anywhere from 20 seconds to five minutes allows us to create dynamic walls of undulating light, highlighting contamination in the environments it exists.

White shows levels under 0.23uSv per hour (1mSv per year), which is the Japanese government’s guideline for decontamination (which assumes people spend 8 hours a day outside and 16 hours inside). Russia’s official “norm” level is roughly the same, 0.20uSv/h.

Orange shows contamination levels elevated above this, up to 1.0uSv per hour (roughly 5mSv per year) – a range where protective measures to minimise radiation exposure should be considered. Protective measures can include resettlement, decontamination, special health services, food controls, etc. Russian communities are obligated to be resettled above this level.

Red shows radioactivity greater than 1.0uSv per hour (upwards of 5mSv per year) – a level where protective measures to minimise radiation exposure are necessary.

Using this tool in areas affected by Chernobyl and Fukushima, we found that places decontaminated by the authorities consistently exhibit radiation levels elevated above official guidelines. We also found that using the same scale, places in Russia’s Bryansk region demonstrated comparable levels of contamination now, 30 years later, as places in Fukushima do today.

As the photographer explains, this project is not a critique of the government’s decontamination efforts, but rather a demonstration of the long-term effects radioactivity has on the environments and those living within them. Be sure to check out all of McNevin’s photos, as well as learn more about the project here.

(Photos: Greg McNevin/Greenpeace)

Random number generators come in all shapes and sizes. Some are software based while others, known as true random number generators, are hardware based. These can be created from thermal noise, the photoelectric effect and other methods. But none of these were good enough for [M.daSilva]. He would base his off of the radioactive decay of Uranium 238, and construct a working nuclear powered random number generator.

diagram

Because radioactive decay is unpredictable by nature, it makes for an excellent source for truly random data. The process is fairly simple. A piece of old fiestaware plate is used for the radioactive source. Put it in a lead enclosure along with a Geiger tube. Then wire in some pulse shaping circuitry and a microcontroller to count the alpha particles. And that’s about it. [M.daSilva] still has to do some statistical analysis to ensure the numbers are truly random, along with making a nice case for his project. But all in all, it seems to be working quite well.

Be sure to check out the video for quick rundown of [M.daSilva’s] project. If randomness is your thing, make sure you check out entropy harvested from uninitialized RAM, and the story behind the NIST randomness beacon.

The 2015 Hackaday Prize is sponsored by:


Filed under: Arduino Hacks

In case your blissfully unaware of the radiation levels in your own home and city, did you know you can buy Arduino compatible Geiger Counters? They aren’t even that expensive! But, like any Arduino compatible board –they need a bit of dressing up to look like the real deal. [Folkert van Heusden] shows us his design, complete with directional LEDs and a laser cut enclosure.

He bought his first Geiger counter module a few years ago from Sparkfun — they retail for about 150 bones so they aren’t exactly cheap. But then he found an equivalent one on Aliexpres for about a quarter the cost — what did he have to lose? Really, he just wanted a cheap one he could walk around with and maybe scare his coworkers. 

Using his trusty laser cutter, he built an enclosure for the board and his Arduino. Then he populated it with LEDs to display more information. A nice big 7-segment display shows off the number of radioactive particles detected in the past hour, and past minute, and an LED bar display shows the count to the last second — i.e. if this thing is fully lit up you’d probably better get out of there!

Curious to learn more about radiation? [Veritasium] filmed an excellent adventure — to some of the most radioactive places on earth.

We’ve seen lots of Geiger counter builds over the years, and one of our favorites is this solid state version [Toumal] built.


Filed under: Arduino Hacks, laser hacks, tool hacks

geiger

We’re assuming [Toumal] was desperately bored one day, because in the depths of the Internet he found some really cool components to build a solid state Geiger counter.

The Arduino and touchscreen are rather standard fare [Toumal] picked up on eBay for about $30. What really sets this project apart from all the other geiger counter builds we’ve seen is the solid state geiger counter [Toumal] used. This device uses a specially-made photodiode made by First Sensor to detect gamma emissions from 5 to 1000 keV.

[Toumal] put all the software for his Arduino touch screen radiation detector up on github. To be honest, we’re really impressed with the rad sensor [Toumal] used for this project, so if you ever decide to pick one of those up, he’s got your back with an Arduino library for it.


Filed under: Arduino Hacks, chemistry hacks


  • Newsletter

    Sign up for the PlanetArduino Newsletter, which delivers the most popular articles via e-mail to your inbox every week. Just fill in the information below and submit.

  • Like Us on Facebook