GitHub user touchgadget converts a Logitech Extreme 3D Pro flight joystick into a Nintendo Switch compatible gamepad. This allows a player to play two thumb stick games using one hand.
No soldering required. This does not work for any other flight stick.
An Adafruit Feather RP2040 with USB Type A Host and joystick are powered by the Nintendo Switch so a battery is not needed. Just plug the joystick into the Feather then plug the Feather into the Switch. The software is coded in Arduino.
See the details and code on GitHub. Under an MIT license.
Conserving energy is something every animal does, and we humans are no exception.
Especially when energy costs are high — something many of us have been uncomfortably aware of in recent years — figuring out ways to live life without burning through excess fuel (and polluting the environment) is a serious priority.
Technology has promised many solutions here, with all kinds of energy-saving products on the market claiming to cut energy bills in half while saving the planet. But how many of these gadgets actually work? And could it be better to make your own?
In this article, we’ll look at some of the most common energy-saving devices and some examples of homemade alternatives from Arduino users.
Why is energy saving important?
There are several good reasons to focus on saving energy, both for your own benefit and to help others. These include:
It saves money. Energy costs are still high around the world, and being careful about managing your energy usage can have a significant impact on your energy bill.
It helps save the planet. The burning of fossil fuels contributes to climate change, and wasting less energy means your personal impact on this will be lower.
It’s healthier. Carbon emissions and other fuels can pollute the environment and negatively impact our collective health. According to one report, cutting energy consumption by 15% for one year could save six lives and save up to 20 billion US dollars in health costs.
What are energy-saving devices?
Energy-saving devices are products designed to help you cut down on your energy usage, and they can approach this task from many different angles. Here are a few of the most common examples:
LED light bulbs that use significantly less electricity than their traditional incandescent counterparts.
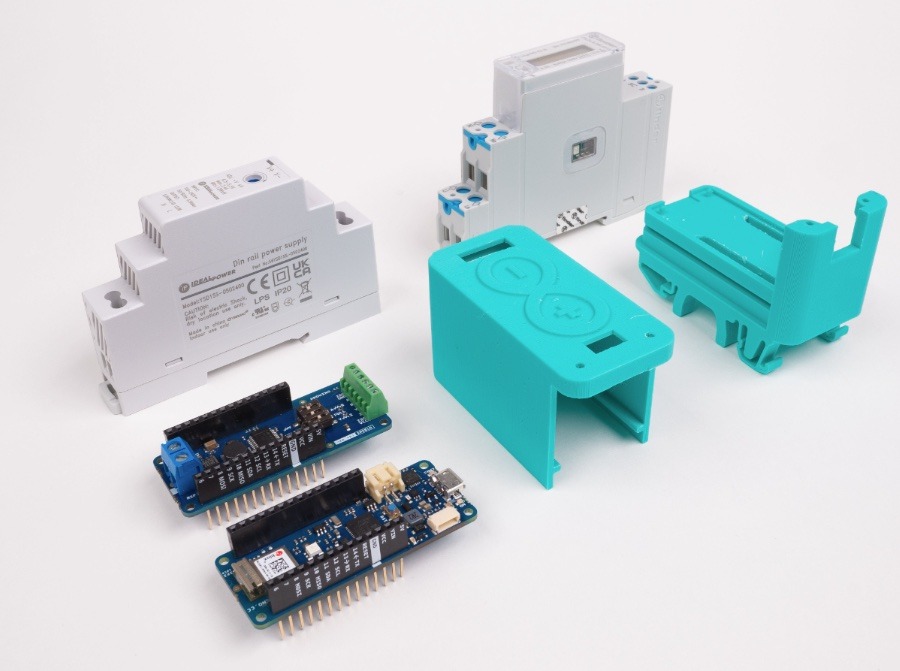
Smart energy meters that keep track of your usage, suggest adjustments when energy is being wasted, and help you make more efficient and informed choices.
Energy-efficient appliances like washing machines and AC units, designed to use minimal energy with no waste.
Do energy-saving devices really work?
So, do these devices really work, or is it just hype and marketing?
The (perhaps unsatisfying) answer is… sometimes. Some energy-saving devices like LED bulbs and highly rated efficient appliances can have a tremendous impact on your usage and save you noticeable amounts of money.
Others — especially more complicated-sounding devices that don’t come with official accreditation — may end up being a waste of money.
The third category here is devices that can work as long as you use them correctly. This applies to tools like smart meters, which can help you make extremely useful changes to your energy usage as long as you pay attention to them and act on the insights they provide.
3 ways to save energy with Arduino
You don’t have to buy your energy-saving devices from the store, of course. With some basic coding knowledge and a few simple components, you can put together your very own projects at home. Many Arduino users have done exactly that, with impressive results.
Let’s check some out!
Smart energy meters
One Redditor and Arduino user decided to develop their own version of a smart meter to help monitor energy usage and save costs.
The device monitors amp, watt, and unit energy and allows you to view this data from your Android phone. Even more impressively, you can also turn devices on or off from your phone, managing your home’s energy usage from wherever you are. On top of that, if your devices consume more than 500W, the tool will turn them off automatically.
This Arduino IoT-based energy meter is another great example of how to carefully track your energy usage through the Arduino Cloud.
Glasses that save power
If your eyes are closed, do you even need the lights to be on?
That’s the idea behind a pair of glasses that automatically turn off the lights in your home whenever you close your eyes, helping you save on your electricity bill.
To add some extra spice, you can even add a TENS unit to make the glasses physically shock you into keeping your eyes closed longer. Evil, perhaps. Hilarious — definitely. Check out the video here.
Snap circuits – energy saving
The best way to build lifelong good habits around energy saving is to start young.
EDUcentrum’s snap circuits project is designed to introduce kids to the world of circuitry and electronic prototyping, while also teaching them about energy saving.
The project teaches kids how to assemble their own snap circuits while learning about key topics like home automation and energy saving.
Share your own Earth Day projects!
Have you made any energy-saving devices or projects of your own? If so, we’d love to hear about them. Share the details in the comments below!
Psst! For a limited time, we’re offering a special opportunity to create your own sustainable smart project with the Arduino Cloud, an all-in-one IoT solution to visualize your sensor data with stunning dashboards. Follow these three steps to give it a try:
2. Enter code EARTHDAY during checkout, valid between April 19th and April 30th, 2024.
3. Unlock access to all advanced features, including over-the-air updates, unlimited shareable dashboards, data retention, real-time alerts and much more.
Whether you’re passionate about conservation or simply curious about the possibilities, now is your chance to join the community and make a difference. This offer is exclusively for new users not currently on any paid plan. You will have the flexibility to cancel at any time.
Don’t miss out — embrace innovation while honoring our planet.
Controls an RGB LED mounted inside the exhaust pipe of an RC. On heavy throttle it starts glowing red, ease up on the throttle afterwards and you get flashing colours as it backfires.
ggwave-arduino is an Arduino library for transferring data over sound for microcontrollers.
There is an iPhone & Android app for transmitting digital data via sound to an ESP32 development board with an Adafruit Electret microphone. The second breadboard (on the right) can also send data to the breadboard on the left.
The GitHub repo has an examples folder for sample circuits.
See a demonstration video below and more on GitHub.
Christoph Döberl tweaked a motor fader from a mixpanel to use it as an internet-connected light dimmer with lots of IoT magic.
To demonstrate the possibilities and make a cool project, we decided to build a light dimmer with the motor fader. The idea is to read the sensor in the fader and dim a smart light bulb accordingly. When adding multiple input interfaces each fader can be adjusted to represent the correct value by controlling the motor. The resistance sensor allows a stepless control for any brightness level, which comes in handy especially in the evening hours where a dimmed light can be particularly soothing.
An ESP32 is used to read the sensor and interface with the motor. It comes with a bunch of IO pins as well as Bluetooth and WLAN, so basically enough for this small project. The resistance sensor is read using ADC and the motor is controlled via a motor driver.
Brian Dorey documents building a remote controller for three Elgato Key Lights using a low-cost ESP32 WiFi module with push switches and indicator LEDs.
This project is an upgrade to the previous blog post where I created a simple remote-control switch to turn on and off a single WiFi-connected Elgato Key Light.
The lights do not have any buttons for manual control, and you need to either use the Elgato Control Center app on a mobile device or the desktop software to change the settings or turn the lights on and off.
The lights retain their previous light level and colour temperature settings, so a simple controller with three push buttons would be ideal to allow remote control without needing to use the mobile app or start the main PC every time we wanted to use the lights.
A 3D printed case encloses the project electronics. The code is written in Arduino.
The project is documented here and the code is on GitHub.
DivingBoard is a homemade MIDI controller aiming to solve the lack of parameter accessibility on the Roland JD-Xi synthesiser. It differs from other solutions – customizability and potential ease-of-use are greater, and general use with a range of synthesisers is possible, rather than just with the JD-Xi.
The project uses an Arduino Nano running Arduino and a Raspberry Pi Zero 2 W running Python.
The Whiskey Tango Hotel blog looks to simulate the lights of fireworks with a single long strip of NeoPixels, aka WS2812B addressable LEDs.
Fireworks are also pretty cool. On the downside they can be dangerous, scare wildlife, start fires, be expensive, illegal, etc. So, until we can afford our own fleet of drones we settled on this alternative.
The hardware is an ESP8266 and a WS2812B LED-strip with 300 LEDs (16.5 feet). We wanted to use a Arduino Nano (because we had one), but due to the amount of memory needed to define the arrays for the 300 LEDs we went with an ESP8266 (because we had one).
See the video below and the post with Arduino source code.
Mike Rankin posts on GitHub a wall charger mount version of a CO2 monitor has been slowly evolving for a while.
It started out as a sensor on a Qwiic (STEMMA QT) connector but was too messy with the two cables. This version uses a make USB-C connector and is design to push onto a wall charger. No cord or cables of any kind required and to upload a new sketch you can plug it into the side of your laptop.
It’s back to school! Whether you are a student or not, Arduino’s Project Hub is a great place to never stop learning, thanks to the wealth of knowledge, experiments, and plain cool ideas our community so generously shares. The three highlights we’ve selected among the projects uploaded in June indeed all have something to teach us… with one valuable lesson in common: the past has a lot to offer, if we take the time to recharge, rediscover or revamp it just a little!
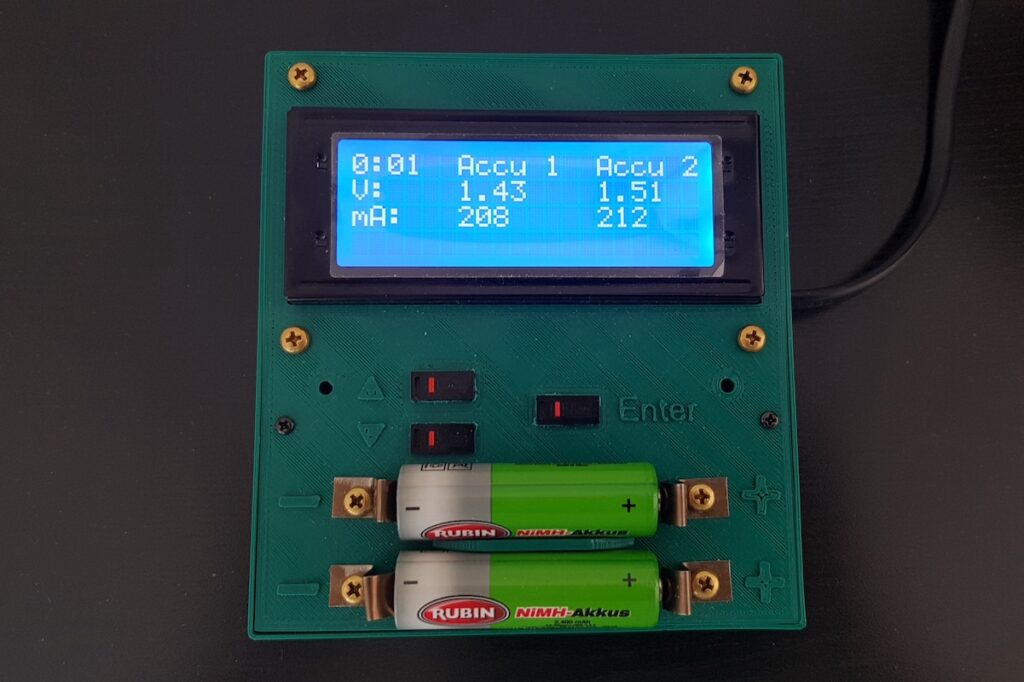
This tutorial is so clear it can make anyone feel capable of building their own charger – with additional functionalities such as determining battery wear. Batteries always have to be handled with care, but if you have the skills to customize code and solder a circuit according to the schematic provided, more power to you! All you need are an Arduino Nano and a few other common components.
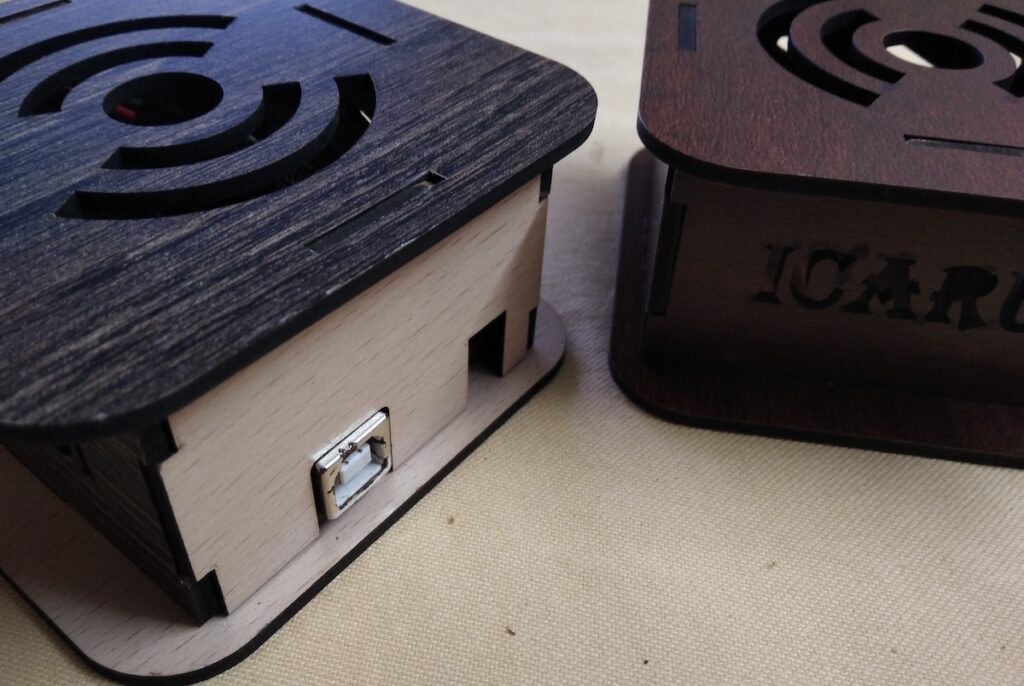
This is not just a project, but a wonderful deep-dive on wireless communication where you’ll learn about the ISM band, ASK modulation, and synchronous and asynchronous demodulation. More importantly, you might rediscover the “simpler and older radio frequency devices and schemes” that are perfect to save resources on smaller projects. In this case, they will be all you need to implement wireless communication interfacing a Nano with a 433 MHz RF module.
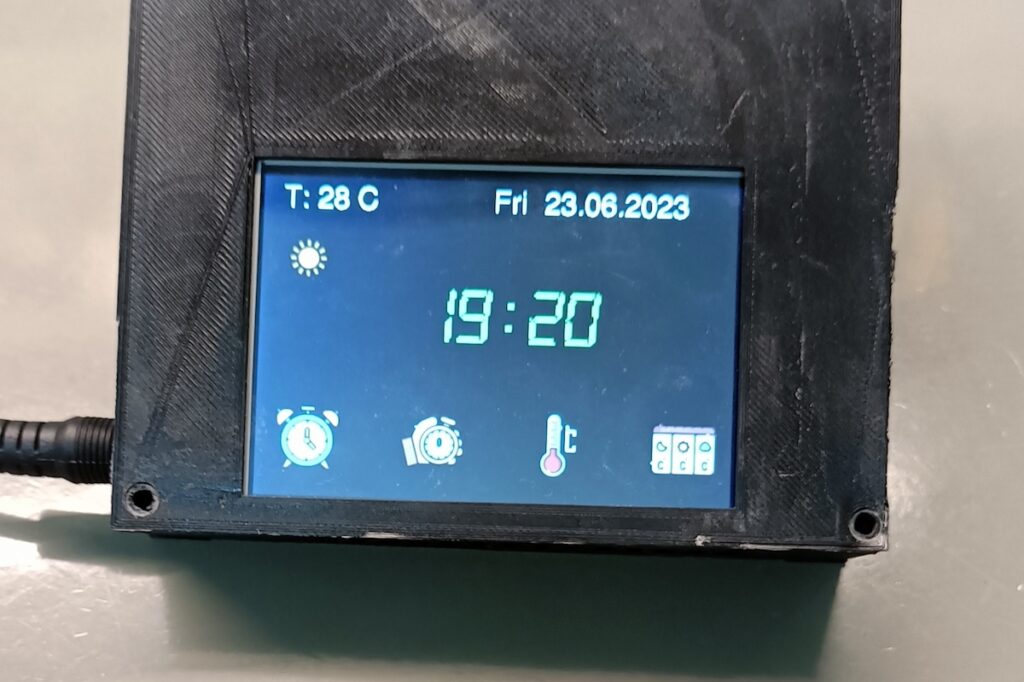
Time and date, timer and alarm, but also detailed temperature data and even the weather forecast: you can have it all in one clock! With this project, Project Hub user dzh121 improved upon a previous version of theirs by adding a touchscreen and displaying more information. An impressive device that makes great use of Arduino IoT Cloud-based dashboards.
For your chance to be selected for a $100, $300 or even $500 gift card to spend on the Arduino Store, submit your best project on the Project Hub! We will be awarding three new entries every month, as detailed in the complete terms and conditions. Good luck!
Planet Arduino is, or at the moment is wishing to become, an aggregation of public weblogs from around the world written by people who develop, play, think on Arduino platform and his son. The opinions expressed in those weblogs and hence this aggregation are those of the original authors. Entries on this page are owned by their authors. We do not edit, endorse or vouch for the contents of individual posts. For more information about Arduino please visit www.arduino.cc
You are currently browsing the archives for the projects category.