Posts | Comments

Planet Arduino

Archive for the ‘arduino capacitance meter’ Category

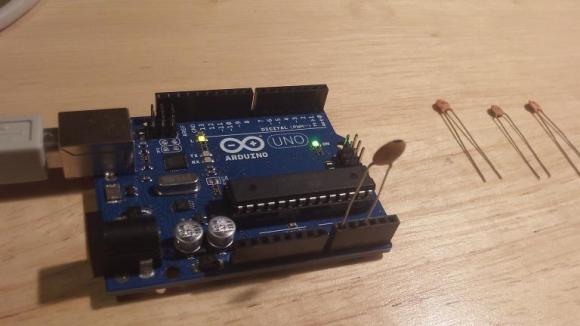
If you are just starting out in electronics, you need tools. But it is hard to build all your tools. Even though we see a lot of soldering station builds, you really ought to have a soldering iron to build the station. It is hard to troubleshoot a multimeter you just built if you don’t have a multimeter. However, a capacitance meter is a handy piece of gear, relatively simple to build, and you should be able to get it working without an existing capacitance meter. [gavinlyonsrepo] presents a simple design using an Arduino, an OLED display, and a few components.

The principle of operation is classic. On one range, the Arduino charges the capacitor through one resistor and discharges it through another while timing the operation. The amount of time taken corresponds to the capacitance.

The other range doesn’t use external components but relies on the internal resistance of the Arduino and the stray capacitance in the chip and the board. Because these parameters vary, you’ll need to calibrate the device with a capacitor of known value.

This is one of those projects that would have been more complicated before microcontrollers. With an Arduino or similar device, though, it is pretty straightforward.

We looked at a project that explores the second method in depth quite some time ago. We’ve seen some similar meters in the past you might enjoy.

Jan
23

Capacitance Measurement with the Arduino Uno

arduino capacitance meter, arduino hacks, diy capacitance meter Comments Off on Capacitance Measurement with the Arduino Uno 

CapTestBoard1

Have you ever found the need to measure the capacitance of a capacitor? No multimeter handy (for shame)? Well, as it turns out you can actually measure capacitance using your Arduino Uno, with no external components, and only ~20 lines of code.

[Jonathan Nethercott] does an excellent job explaining a capacitance test circuit which uses a reference capacitor to calculate the unknown capacitance. He further explains that, with the Arduino Uno, you can remove the reference capacitor from the circuit, and simply use the stray capacitance present in the board and microcontroller, which can be calculated. This results in the test circuit being as simple as plugging in your capacitor to pins A0 and A2.The code is quite simple: it sends a 5V pulse to the capacitor and measures the voltage on the other side, looping every half second, and outputting the data onto a chart.

It does, however, require calibration. [Jonathan] measured a known capacitor for a baseline, and used that data to calculate the stray capacitance in the Arduino. Once calibrated, he found that you can easily achieve a resolution of about 1% for capacitors between 3.5pF and 225pF, and around 5% for capacitors between 0.5pF and 1300pF — you can see the results of his analysis here. He plans on determining the accuracy and linearity too, but he will need some very accurate reference capacitors.


Filed under: Arduino Hacks


  • Newsletter

    Sign up for the PlanetArduino Newsletter, which delivers the most popular articles via e-mail to your inbox every week. Just fill in the information below and submit.

  • Like Us on Facebook