In this article we examine another style of vintage display technology – the incandescent seven-segment digital display. We are using the FFD51 by the IEE company (data sheet.pdf) – dating back to the early 1970s. Here is a close-up of our example:
You can see the filaments for each of the segments, as well as the small coiled ‘decimal point’ filament at the top-right of the image above. This model has pins in a typical DIP format, making use in a solderless breadboard or integration into a PCB very simple:
It operates in a similar manner to a normal light bulb – the filaments are in a vacuum, and when a current is applied the filament glows nicely. The benefit of using such as display is their brightness – they could be read in direct sunlight, as well as looking good inside. At five volts each segment draws around 30mA. For demonstration purposes I have been running them at a lower voltage (3.5~4V), as they are old and I don’t want to accidentally burn out any of the elements.
Using these with an Arduino is very easy as they segments can be driven from a 74HC595 shift register using logic from Arduino digital out pins. (If you are unfamiliar with doing so, please read chapters four and five of my tutorial series). For my first round of experimenting, a solderless breadboard was used, along with the usual Freetronics board and some shift register modules:
Although the modules are larger than a DIP 74HC595, I like to use these instead. Once you solder in the header pins they are easier to insert and remove from breadboards, have the pinouts labelled clearly, are almost impossible to physically damage, have a 100nF capacitor for smoothing and a nice blue LED indicating power is applied.
Moving forward – using four shift register modules and displays, a simple four-digit circuit can be created. Note from the datasheet that all the common pins need to be connected together to GND. Otherwise you can just connect the outputs from the shift register (Q0~Q7) directly to the display’s a~dp pins.
Some of you may be thinking “Oh at 30mA a pin, you’re exceeding the limits of the 74HC595!”… well yes, we are. However after several hours they still worked fine and without any heat build-up. However if you displayed all eight segments continuously there may be some issues. So take care. As mentioned earlier we ran the displays at a lower voltage (3.5~4V) and they still displayed nicely. Furthermore at the lower voltage the entire circuit including the Arduino-compatible board used less than 730mA with all segments on – for example:
For the non-believers, here is the circuit in action:
Here is the Arduino sketch for the demonstration above:
Now for the prototype of something more useful – another clock. Time to once again pull out my Arduino-compatible board with onboard DS1307 real-time clock. For more information on the RTC IC and getting time data with an Arduino please visit chapter twenty of my tutorials. For this example we will use the first two digits for the hours, and the last two digits for minutes. The display will then rotate to showing the numerical day and month of the year – then repeat.
Operation is simple – just get the time from the DS1307, then place the four digits in an array. The elements of the array are then sent in reverse order to the shift registers. The procedure is repeated for the date. Anyhow, here is the sketch:
and the clock in action:
So there you have it – another older style of technology dragged into the 21st century. If you enjoyed this article you may also like to read about vintage HP LED displays. Once again, I hope you found this article of interest. Thanks to the Vintage Technology Association website for background information.
Have fun and keep checking into tronixstuff.com. Why not follow things on twitter, Google+, subscribe for email updates or RSS using the links on the right-hand column, or join our Google Group – dedicated to the projects and related items on this website. Sign up – it’s free, helpful to each other – and we can all learn something.
Today we are going to examine a new kit from the people at Evil Mad Scientist Laboratories – the Diavolino. In English this means “little devil”. This little devil is a low-cost Arduino Duemilanove compatible board – with a few twists.
This is sold as a bare-bones kit, so you really need to plan ahead with regards to how you want to use it. It does not include a USB interface, nor power socket, header sockets, IC socket, nor a voltage regulator. This may sound like a bad thing – but it is not This kit is perfect for those who wish to make a permanent project using the Arduino system, without spending the extra on a whole board, and without the hassles of making your own barebones PCB version.
So let’s have a look… the kit ships in a nice reusable anti-static bag:
and upon turfing out the contents, one receives:
Which is just enough to have a basic setup. The instructions on their web site mention the inclusion of some zero-ohm resistors to be used as jumpers, but these were not included. However that is a non-issue, some resistor lead clippings will do the job. EML have gone to a lot of trouble with the printed-circuit board. It certainly is different to the normal green or blue ones out there. It is very well detailed with component position labels, and all components are through-hole. The other side of the board is also printed this way:
There is also a nice instruction laminated card included in the bag which has enough information to get your started. Furthermore, there is an excellent instruction manual available for download here (10 MB). Finally, this is an open-source hardware product, so the designers have also made available the gEDA CAD files.
Now for assembly. Normally I would photograph each step, however the instructions available for download are so good, I won’t need to Eleven out of ten for the instructions. Soldering it together is quite easy, however I did supply my own IC socket – I am just not a fan of soldering expensive parts (I get the shakes sometimes), however if you are confident, go for it.
Before deciding to permanently solder in that microcontroller, you will first need to take into account how you will be programming it. As the board does not support the usual native USB interfacing, you can’t just plug in the cable like a normal board. The Diavolino does have an interface for a TTL-level cable – so if you have (for example) a USB FTDI cable, you can program it via the USB port. But considering an FTDI cable is around $20, you might as well just buy a normal board like a TwentyTen instead.
It only took around fifteen minutes to get to this stage:
For my personal use as another bench-based board (that sounds a little odd…) I will power it from the FTDI cable, so a link is required behind the TTL input pins – as well as adding the 6-pin and 8-pin header sockets. The easiest way to solder those in is to turn the whole thing upside down and plug it on top of an existing shield, as such:
However if you don’t want to buy an FTDI cable – and you already have another Duemilanove board, the cheapest way to program the microcontroller is to just insert it into a Duemilanove-type board, upload the sketch, then drop the chip into the Diavolino.
You also need to decide on how to power the board. If you supply 4.5~5.5V, all you need is to feed in the power wires. If you are going to use more than 7V, you will need a 78L05 power regulator, 10uF electrolytic capacitor and a DC socket to use a plug-pack if necessary (see the instructions). However, a 78L05 can only supply 100 mA of current (see the data sheet.pdf), so you won’t be able to use some products like a MAX7219 LED driver and many LEDs. Unfortunately there isn’t enough space for a TO-220 sized 7805 1 amp regulator, so you will need to introduce 5V using an external supply hard-wired into the board if you need more than 100mA of current. Or you can power it from the USB FTDI cable for desktop use.
So there you have it – another successful kit build. This was an interesting alternative to the Duemilanove, and a great solution for a permanent project, or for someone who wants another board on the cheap. If you can work with the power supply current restrictions, all is well. So get one or more, have fun with it, and give one to someone else to get them cooking as well My Diavolino came from Little Bird Electronics.
If you have any questions at all please leave a comment (below). We also have a Google Group dedicated to the projects and related items on the website – please sign up, it’s free and we can all learn something. High resolution photos are available from flickr.
Otherwise, have fun, stay safe, be good to each other – and make something!
[Note - this kit was purchased by myself personally and reviewed without notifying the manufacturer or retailer]
This chapter we will examine piezo buzzers, continue with our alarm clock, and then spend more time with the wireless radio modules by creating some remote control systems and sending various data over the airwaves. So let’s go!
Sometimes you would like to make some noise. For warnings, fun, or to annoy people. A very simple and inexpensive way to do this is with a piezoelectric buzzer. In simple terms, it contains a disc of metal that can deform when a current is applied to it. If you apply an alternating current at a high enough frequency, the disc will move fast enough to create a sound wave, something we can hear.
This example was very cheap, less than $2. Here is the data sheet: PS1240.pdf. It can run from between 3 and 30 volts AC – which thankfully the output from our Arduino falls between. But how do you output AC from an Arduino? There are several ways, however the easiest is using pulse-width modulation (PWM). If you look at your Arduino’s digital output sockets, some are labelled PWM. Using the function analogWrite(); you can send a PWM signal to the buzzer. For example:
The sketch above will beep the piezo on and off, and be somewhat annoying. Perfect. However with the analogWrite(); function it is impossible to use the full frequency range of the piezo buzzer. With a value of 254 for the duty cycle, the frequency generated is around 1500 Hz:
Later on we will explore ways to create a better range of sounds. But now to use that buzzer in our alarm clock to help wake people up.
Continuing on from exercise 12.1, this chapter we will add some more features to the clock. First of all is the piezo buzzer. As we just discussed above, using it is quite simple. On the hardware side of things, we can replace the resistor and LED connected between digital pin 6 and ground with our piezo buzzer. On the software side of things, instead of digitalWrite(6, HIGH); we use analogWrite(6,128);. Very easy. And here is a short video – with sound!
Moving on, it’s time to clean up the alarm function in general. Most alarm clocks have a snooze function, so let’s add one as well. When the alarm sounds, the user presses button four to turn off the buzzer, and is then asked if they want to snooze. Button one is yes and four is no. If yes, add ten minutes to the alarm time and carry on as normal. When adding the ten minutes be sure to check for increasing the hour as well, and also take into account the jump from 2359h to 0000h (or 2400h). If the user presses no, the alarm is switched off and the user warned with the flashing “OFF”.
Example 13.1 – Here is a demonstration of what I came up with:
and the accompanying sketch: example13p1.pdf. The hardware is the same as exercise 12.1, except the LED and resistor from digital pin 6 to GND has been replaced by the piezo buzzer as described earlier. You will find the snooze function is controlled in the checkalarm(); function in the sketch.
In chapter eleven we started to examine the inexpensive serial data transmitter/receiver pairs. In this chapter we will continue working with them, to create the backbone of various remote control and data transmission ideas for you to use.
Example 13.2
First of all, a simple remote control with four channels. That is, it has four buttons, and the transmitter will send out the state of the four buttons, high or low. This would be useful for a remote control toy or a perhaps robot. The sketches are quite simple. The transmitter reads the buttons with digitalRead(); then transmits a single letter a~h – which is code for a button and its state. For example, a means button 1 is low, h means button 4 is high. The receiver just decodes that a~h code and sends the result to the serial monitor window. Here is the sketch for the transmitter – tx.pdf and receiver – rx.pdf.
To save time I will use the button board created in example 12.3. Here are the schematics for the transmitter and receiver sections:
And set up:
And finally a video of the serial monitor showing the button states:
Now that we have the data being sent across, let’s get some switching happening.
Example 13.3
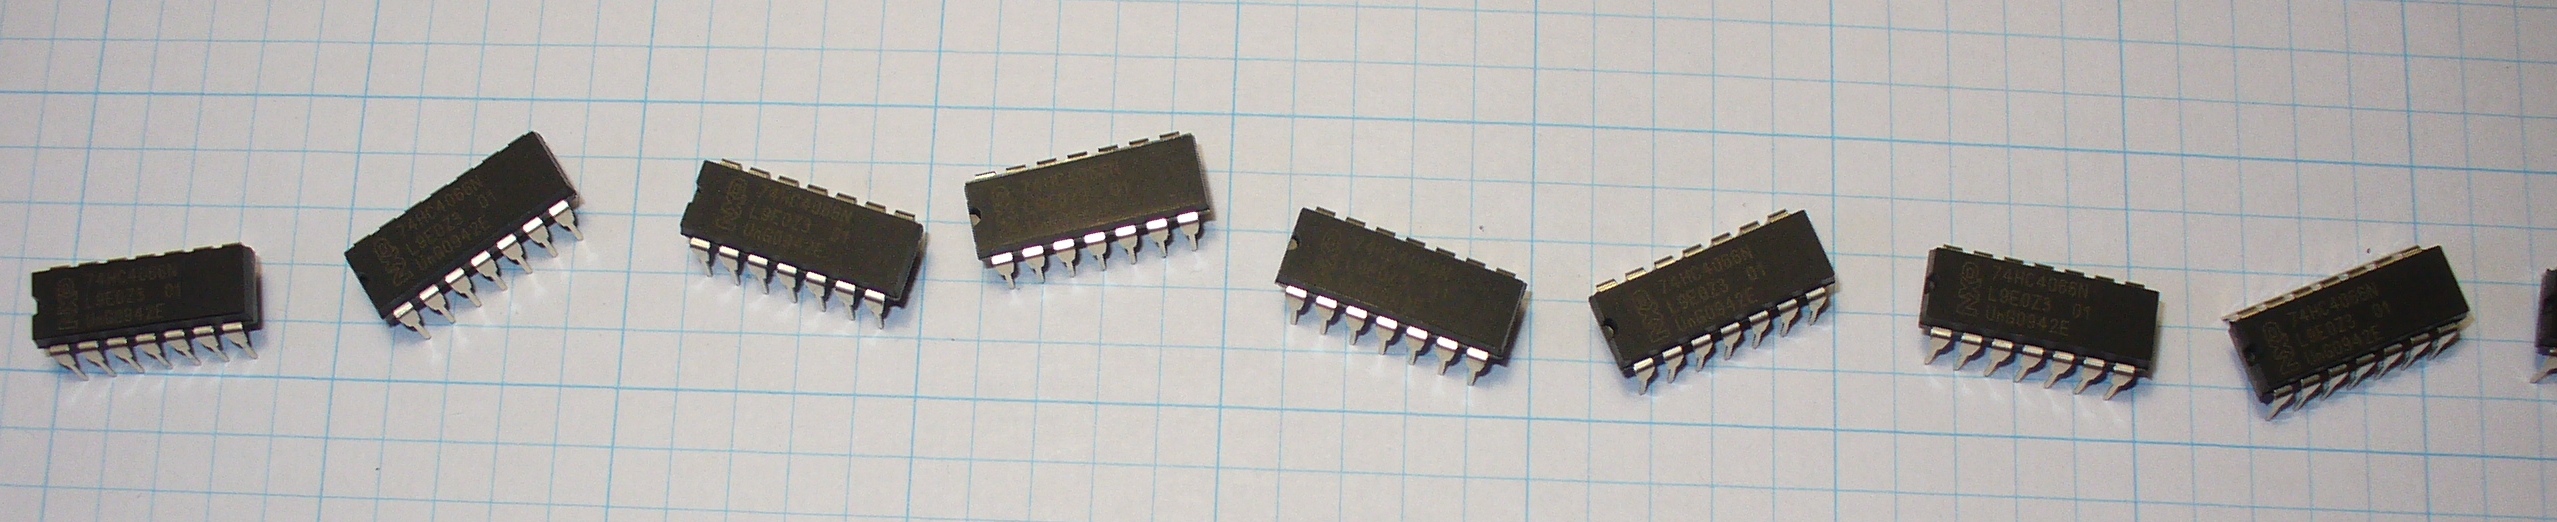
Using the same transmitter system as example 13.2, we will turn on or off four LEDs at the receiving end. Of course you could use relays, transistors, 74HC4066s, etc instead. Our sketch (ex13.3rx.pdf) decodes the transmitted data once more, but sets the digital pins high or low depending on the received code. Here is the schematic for the new receiver:
… and the board laid out:
And again a quick demonstration video:
Now that you can turn the LEDs on or off with a push of a button, there are a few other ways of controlling those digital outputs with the remote control rig without altering the hardware.
Example 13.4
This time, we will control two digital outputs with the four buttons, as each output will have an on and off button. Consider this sketch; and the following demonstration video:
So there you have various ways to control digital outputs and send basic data across a wireless radio serial data link. In the coming chapters we will examine sending more detailed data, such a numbers, and more complex variables using a faster and more reliable hardware link.
Well that is another chapter over. However, as usual I’m already excited about writing the next instalment… Congratulations to all those who took part and built something useful!
Please subscribe (see the top right of this page) to receive notifications of new articles. High resolution photos are available from flickr.
If you have any questions at all please leave a comment (below). We also have a Google Group dedicated to the projects and related items on the website – please sign up, it’s free and we can all learn something. If you would like to showcase your work from this article, email a picture or a link to john at tronixstuff dot com. You might even win a prize!
Today we are going to examine a part that makes connecting external wires to an Arduino Duemilanove or 100% compatible board easier than trying to electrocute yourself – the Wingshield Industries ScrewShield. Is is such a simple and useful thing I am almost angry at myself for not getting one earlier. Better late than never!
The ScrewShield allows you to connect wires to all of your Arduino I/O pins via PCB-mounted terminal blocks. And it is also designed as a shield, so you can stack more shields on top like any other. Now to save costs it comes unassembled, but that isn’t a problem. Here is the contents of the bag upon arrival:
The quality of the PCBs are very good:
And no instructions were necessary – so time to fire up the soldering iron and fume extractor (hi Kortuk).
The first thing to do was jig up the socket pins with the PCBs using my favourite method, a lump of blutac:
Then it was a simple matter to turn it over and solder away; then repeat the process for the other wing. Time for a quick break to see how they look:
Once the sockets have been soldered in, the next step was to connect the terminal blocks together for each appropriate line:
And then time for another soldering session:
And we’re done. Looks kind of like a Lego spaceship from my childhood:
You can never have too many Arduino shields:
Another use for the ScrewShield is to make it easy to connect multi-core wires to a breadboard. Using PCB terminal blocks is usually difficult as the pins are a fraction too large for the holes in the average breadboard. However you can only use the analogue shield to do this, as a reader has pointed out, the pin spacing for the digital side is a little off:
Nice one. It’s always great to have a product with more than one use.
So there you have it. Another inexpensive, interesting and very useful part for the Arduino fans out there. If you use an Arduino – you really should get one of these. They are available from the usual retail outlets, and I purchased mine from Little Bird Electronics here in Australia.
If you have any questions at all please leave a comment (below). We also have a Google Group dedicated to the projects and related items on the website – please sign up, it’s free and we can all learn something. High resolution photos are available from flickr.
Otherwise, have fun, stay safe, be good to each other – and make something!
[Note - these parts were purchased by myself personally and reviewed without notifying the manufacturer or retailer]
Today we are going to examine the Freetronics “2010″ (Duemiladieci in Italian). This is a 100% Arduino Duemilanove-compatible board with some very neat enhancements. It was conceived by two Arduino experts here in Australia, Jon Oxer (co-author of the fascinating book “Practical Arduino“) and Marc Alexander. These two gentleman have formed Freetronics to help people build the projects detailed in the Practical Arduino book, assist people in releasing their hardware designs and generally help accelerate the open-source hardware movement. Jon and Marc were recently interviewed about Freetronics and the 2010 by Marcus Schappi, a copy of which can be viewed here.
But for now, back to the 2010. First of all, let’s have a look:
At first glance you may think “oh, just another Arduino clone”. Not so, however it is 100% compatible with the Arduino Duemilanove, so you can use the 2010 without any modification. Nevertheless upon closer inspection there are several small and large differences. The first thing to notice is the prototyping area. By doing some clever PCB routing, the designers have made space for a small but handy area for you to add your own circuitry. Here is a close up look:
Furthermore the corners have been rounded off, a small but thoughtful modification. The designers have also made the effort to label everything clearly, including the voltage and socket polarity for DC input, very handy for the beginner. And to make life easier, those large copper pads on the rear are for the 5V power and GND, so voltage supply is taken care of for you. It is obvious that this board has been designed by people who use the Arduino system and not some knock-off manufacturer from eBay. The next visible differences are around the USB socket:
Those four holes are the X3 programming pads, much easier to use than the solder pads on the original Duemilanove. The purpose of these is to allow you to use your 2010 board as an AVR programmer, in order to program the bootloader into the microcontroller. Speaking of which, this is the ATmega328, identical to the Duemilanove’s chip. Next to the X3 pads is a mini-USB socket. In my case I love it, as when making my own shields I often need all the under-shield space I can use. For example:
And don’t worry about not having the correct USB cable, as one is supplied with the 2010. Subjectively, being one metre long, it could be longer. But you cannot please everyone!
Also note that the 2010 board has another mounting hole just behind the DC power socket, which increases stability if used in a more permanent situation. Moving around to the tail end of the 2010, the four LEDs have been placed here – allowing them to stay visible even with shields on top.
The power LED is a nice blue colour as well, TX is yellow, RX is green, and D13 is red. The circuitry for the D13 LED has been modified slightly, it will not come on when digital pin 13 is used as an input. Otherwise, everything else is in the correct, identical position to the Arduino Duemilanove. So all your shields will work, the ICSP (in circuit serial programmer) pins are in the same spot, and the pin current ratings and board input voltage range is identical. The complete specifications can be found here: 2010.pdf.
In conclusion, this is a board that is faithful to the Arduino design and improves on it. After using this board over the last ten days I can happily say it has worked flawlessly and all my sketches and shields have been compatible with the 2010. If you need another Duemilanove board, I can honestly recommend this one as a product of choice.
As always, thank you for reading and I look forward to your comments and so on. Please subscribe using one of the methods at the top-right of this web page to receive updates on new posts. Or join our new Google Group.
Planet Arduino is, or at the moment is wishing to become, an aggregation of public weblogs from around the world written by people who develop, play, think on Arduino platform and his son. The opinions expressed in those weblogs and hence this aggregation are those of the original authors. Entries on this page are owned by their authors. We do not edit, endorse or vouch for the contents of individual posts. For more information about Arduino please visit www.arduino.cc
You are currently browsing the archives for the duemilanove category.


