Darren Lewis’ parents both have a difficult time hearing the doorbell. He experimented with an off-the-shelf flashing light, but found that could only really be seen when they were in the room—an obvious problem. In response to this, Lewis decided to make his own system that flashes multiple house lights at the same time.
His device uses an Arduino Nano to detect the stock doorbell speaker voltage. When a press is sensed, it then activates a RF light switch via a modified remote, using an output pin and opto-isolator to substitute in for the normal button press.
It’s a clever hack, and certainly one that will certainly help alleviate doorbell frustration in the future!
The project itself is very simple: getting push notifications via MQTT when a wireless doorbell sounds. But as [Robin Reiter] points out, as the “Hello, world!” program is a time-honored tradition for coders new to a language, so too is his project very much the hardware embodiment of the same tradition. And the accompanying video build log below is a whirlwind tour that will get the first-timer off the ground and on the way to MQTT glory.
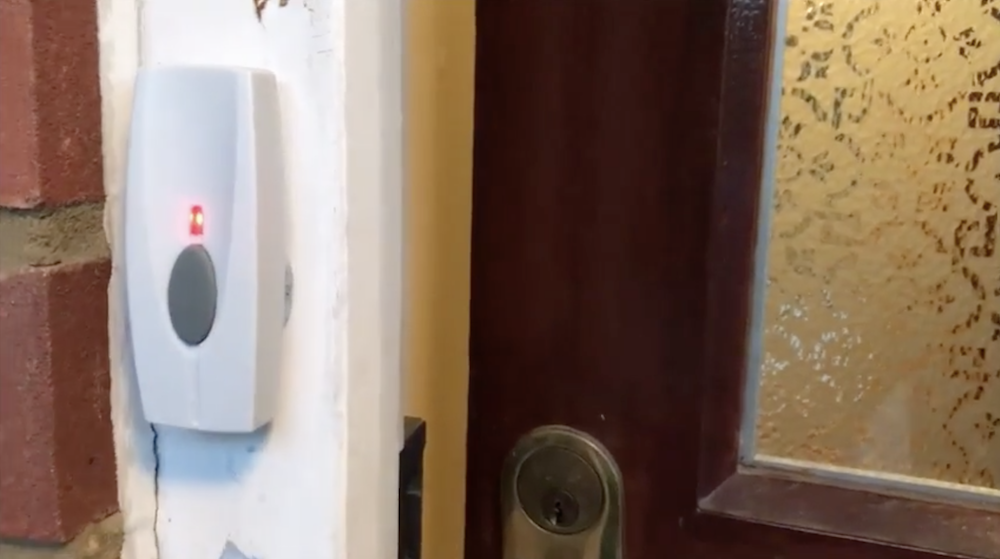
The hardware [Robin] chose for this primer is pretty basic – a wireless doorbell consisting of a battery-powered button and a plug-in receiver that tootles melodiously when you’ve got a visitor. [Robin] engages in a teardown of the receiver with attempted reverse engineering, but he wisely chose the path of least resistance and settled on monitoring the LEDs that flash when the button is pushed. An RFduino was selected from [Robin]’s ridiculously well-organized parts bin and wired up for the job. The ‘duino-fied doorbell talks Bluetooth to an MQTT broker on a Raspberry Pi, which also handles push notifications to his phone.
The meat of the build log, though, is the details of setting up MQTT. We’ve posted a lot about MQTT, including [Elliot Williams]’ great series on the subject. But this tutorial is very nuts and bolts, the kind of thing you can just follow along with, pause the video once in a while, and have a working system up and running quickly. There’s a lot here for the beginner, and even the old hands will pick up a tip or two.
Smart Doorbell is the name of the project for a new tutorial created for Intel Edison. It’s a motion detecting doorbell, that senses when someone is near the door(bell) and via a webcam sends a picture of the person approaching the door to a web address while playing a sound.
“Motion detecting video streaming doorbell“, a medium-advanced level tutorial, is intended to be a good starting point for building basic IoT devices. You’ll learn how to use a webcam to detect motion: when activated, the device will play a greeting, take a photo and email it to someone to let them know who is at the door.
Take a look at the video to see how it works and follow these steps to make yours:
One day, [Samy]’s best friend [Matt] mentioned he had a wireless doorbell. Astonishing. Even more amazing is the fact that anyone can buy a software defined radio for $20, a small radio module from eBay for $4, and a GSM breakout board for $40. Connect these pieces together, and you have a device that can ring [Matt]’s doorbell from anywhere on the planet. Yes, it’s the ultimate over-engineered ding dong ditch, and a great example of how far you can take practical jokes if you know which end of a soldering iron to pick up.
Simply knowing [Matt] has a wireless doorbell is not enough; [Samy] needed to know the frequency, the modulation scheme, and what the doorbell was sending. Some of this information can be found by looking up the FCC ID, but [Samy] found a better way. When [Matt] was out of his house, [Samy] simply rang the doorbell a bunch of times while looking at the waterfall plot with an RTL-SDR TV tuner. There are a few common frequencies tiny, cheap remote controls will commonly use – 315 MHz, 433 MHz, and 900 MHz. Eventually, [Samy] found the frequency the doorbell was transmitting at – 433.8 MHz.
After capturing the radio signal from the doorbell, [Samy] looked at the audio waveform in Audacity. It looked like this doorbell used On-Off Keying, or just turning the radio on for a binary ‘1’ and off for a binary ‘0’. In Audacity, everything the doorbell transmits becomes crystal clear, and with a $4 434 MHz transmitter from SparkFun, [Samy] can replicate the output of the doorbell.
For the rest of the build, [Samy] is using a mini GSM cellular breakout board from Adafruit. This module listens for any text message containing the word ‘doorbell’ and sends a signal to an Arduino. The Arduino then sends out the doorbell code with the transmitter. It’s evil, and extraordinarily over-engineered.
Right now, the ding dong ditch project is set up somewhere across the street from [Matt]’s house. The device reportedly works great, and hopefully hasn’t been abused too much. Video below.
Planet Arduino is, or at the moment is wishing to become, an aggregation of public weblogs from around the world written by people who develop, play, think on Arduino platform and his son. The opinions expressed in those weblogs and hence this aggregation are those of the original authors. Entries on this page are owned by their authors. We do not edit, endorse or vouch for the contents of individual posts. For more information about Arduino please visit www.arduino.cc
You are currently browsing the archives for the doorbell category.