Posts | Comments

Planet Arduino

Archive for the ‘Rain sensor’ Category

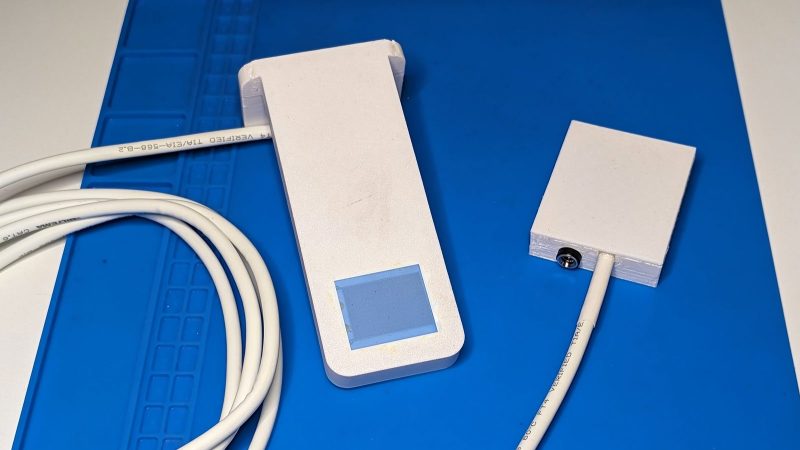
If you’ve got a smart home, or you just want to know how soaked your garden is getting in the winter, you might want to measure rainfall. There are a bunch of ways to go about it, and this capacitive rainmeter solution from [Magnus Thome] might just be the perfect solution you’re looking for.

Like many who came before, [Magnus] had experimented with traditional resistive-based sensors using copper traces to measure water levels. As the soil moisture measuring set learned as well, corrosion tends to promise a pretty short life for these designs. Capacitive sensors, on the other hand, can be isolated from the water itself, and thus sense the levels without being subject to such degradation.

[Magnus] pairs the off-the-shelf capacitive sensor with an ESP32 charged with reading it and reporting back to Home Assistant. It’s also outfitted with a heater to keep it at a constant temperature to avoid it freezing over during those cold and snowy Swedish winters.

It’s a tidy way to integrate a quality commercial sensor with a DIY smart home setup. If you’ve been whipping up your own neat sensor networks for your smart home, don’t hesitate to let us know. Video after the break.

There are many different ways to keep your plants watered on a schedule. [Luca Dentella] just created a new one by building the irrighino watering system. He used standard off the shelf, hardware to keep it simple. Irrighino is a complete watering system based on the Arduino Yun, featuring a user friendly AJAX interface. This allows scheduling in a manner similar to creating appointments in Outlook. It’s also possible to manually control the various water solenoids. The code is fully customizable and open source, with code available from [Luca’s] github repository. The web interface is divided in to three tabs – “runtime” for manual control, “setup” to configure the scheduling, and “events” to view system logs.

The Arduino Yun activates solenoid valves via a relay shield. A switch panel has indicator Status LED’s and three position switches. These allow the outputs to be switched off or on manually, or controlled via the Yun when in auto mode. [Luca] describes how to read three states of the switch (On-Off-On) when connected to a single analog input of the Arduino. He’s also got another tutorial describing how to connect a USB WiFi adapter to the Yun. This is handy since the Yun is mounted inside an enclosure where the signal strength is very weak. While the Yun has on-board WiFi, there is no possibility to attach an external antenna directly to the test SMA socket.

One interesting part is the commercial rain sensor. It’s a switch surrounded by a spongy material. When this material absorbs rain water, it begins to expand and triggers the switch. The Arduino sees the sensor as a simple digital input.

Check a short demo of his system in the video after the break.


Filed under: Arduino Hacks, green hacks


  • Newsletter

    Sign up for the PlanetArduino Newsletter, which delivers the most popular articles via e-mail to your inbox every week. Just fill in the information below and submit.

  • Like Us on Facebook