05
Racing is certainly exciting for the person rocketing around the track fast enough to get the speedometer into the triple digits, and tends to be a decent thrill for the spectators if they’ve got good seats. But if you’re just watching raw race videos on YouTube from the comfort of your office chair it can be a bit difficult to appreciate. There’s a lack of context for the viewer, and it can be hard to get the same sense of speed and position that you’d have if you saw the event first hand.
 In an effort to give his father’s racing videos a bit more punch, [DusteD] came up with a clever way of adding video game style overlays to the recordings. The system provides real-time speed, lap times, and even a miniature representation of the track complete with a marker to show where the action is taking place. The end result is that recordings of Dad’s exploits on the track could pass as gameplay footage from Gran Turismo (we know GT doesn’t have motorcycles, but you get the idea).
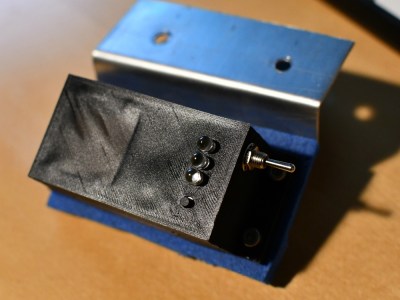
The first part of the system is the tracker itself, which consists of a GPS receiver, an Arduino Pro Micro, and an SD card module. [DusteD] powers the device with two 18650 cells in parallel, and a DC-DC boost converter to step it up to 5V. Everything is contained in a 3D printed enclosure that he designed in OpenSCAD, with the only external elements being a toggle switch, a momentary switch, and most critically, a set of LEDs.
These LEDs play into the second part of the system, the software. The blinking LEDs are positioned so they’ll get picked up by the camera, which is then used to help synchronize the data stored on the SD card with the video. [DusteD] came up with some software that will take the speed and position information from the card, and turn it into PNG files with transparent backgrounds. These are then placed on top of the video with the help of FFmpeg. It takes a little adjustment to get everything lined up properly, but as the video after the break shows the end result is very impressive.
This build reminds us of the Raspberry Pi powered GPS helmet camera we featured a few years back, and it’s interesting to see how the two projects achieved what’s essentially the same goal in different ways.


