Posts | Comments

Planet Arduino

Archive for the ‘Quadruped’ Category

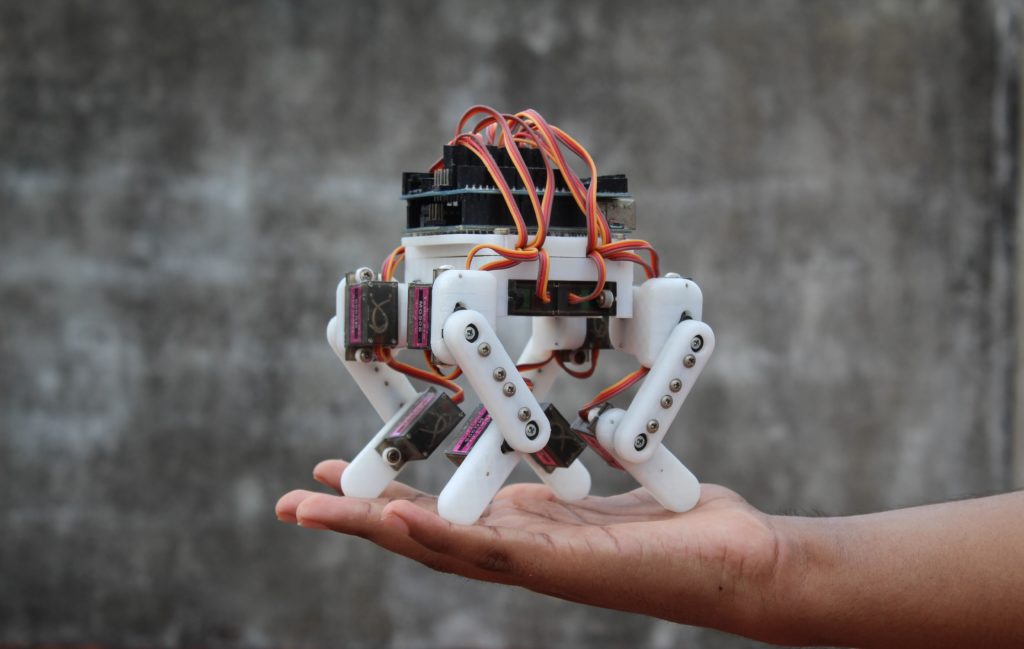
Arduino-powered quadruped robots are quite common projects for hobbyists to build once they are a bit more comfortable with embedded systems. One problem with many of the pre-designed quadruped platforms is that they require a lot of time to assemble owing to their large size. This is what inspired Technovation to come up their own micro quadruped robot, which requires only a fraction of the normal amount of material and hours to construct.

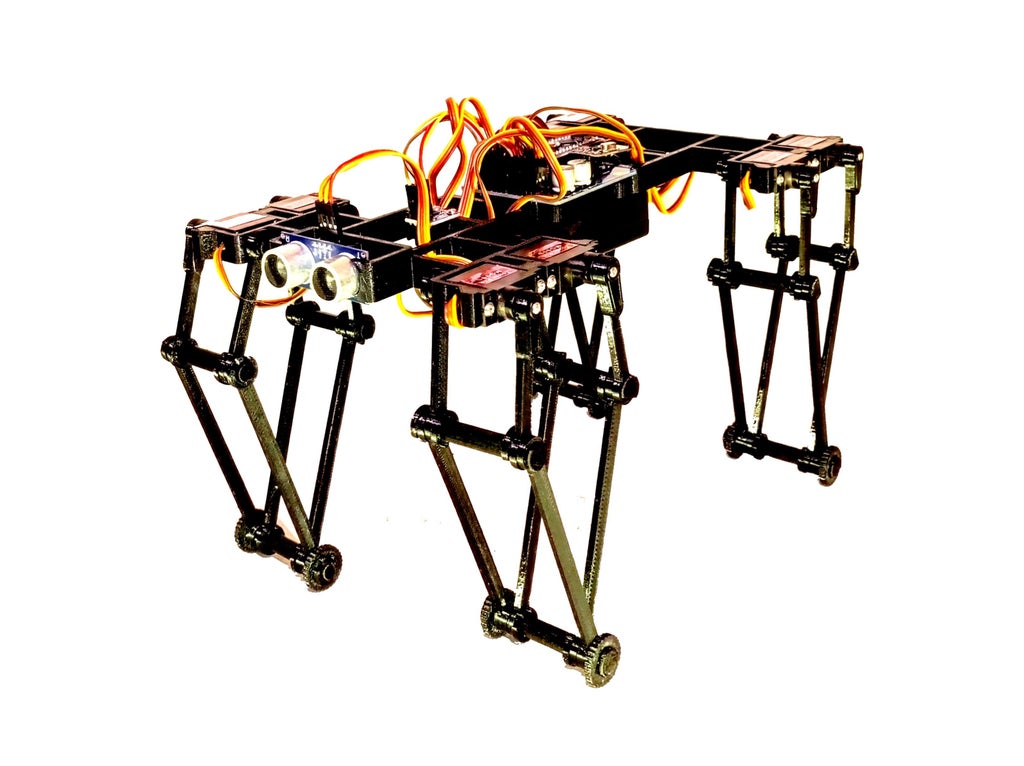
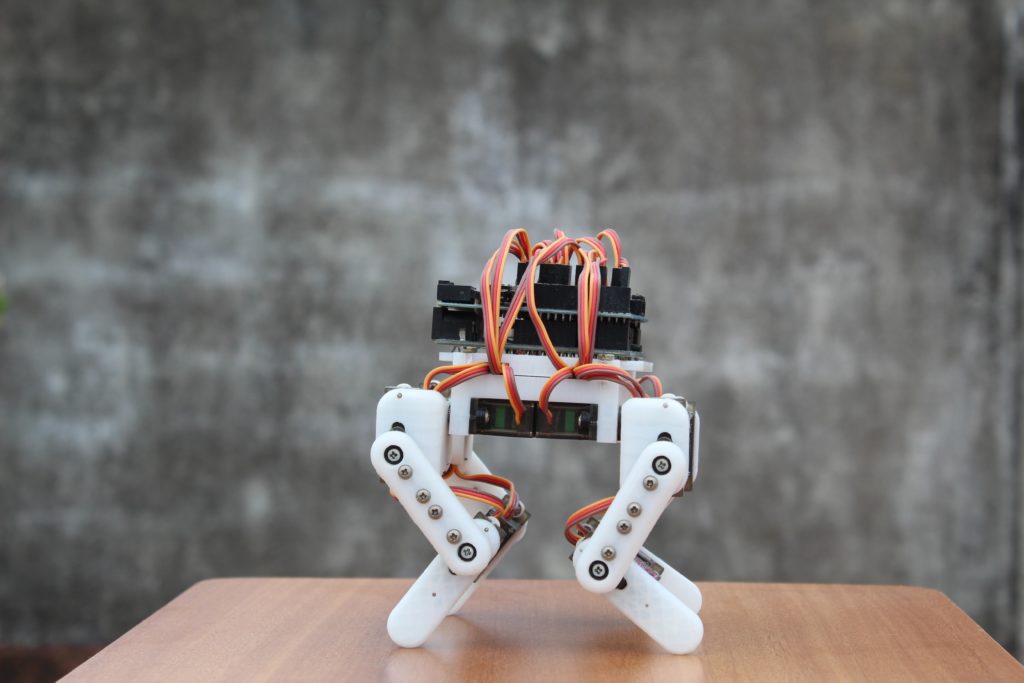
The robot is based around a central chassis that houses the Arduino Uno and sensor shield components, which provide power and signaling to the motors. Underneath this hardware stack are four servos that can rotate to the side and act as hip joints. Lastly, each leg is comprised of two servos to allow for forward motion. 

In order for the Arduino to translate a desired direction into discrete positions for the servo motors, Technovation had to implement a few kinematic equations within the robot’s firmware. These consist of movement functions, which create gaits by specifying where and when each leg should move. Several parameters, including speed, leg length, and even the motion paths themselves, have the ability to be fine-tuned or expanded to add more capabilities.

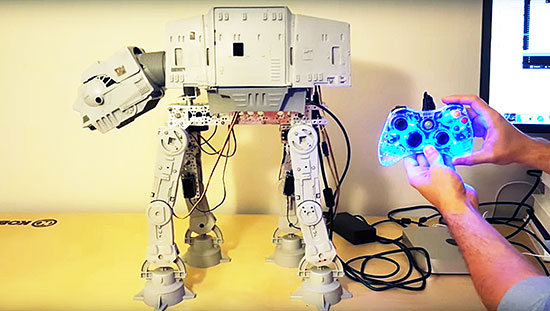
You can see how this micro quadruped works in its demonstration video here or you can read more about the project in Technovation’s Instructables write-up.

The post An Arduino-powered micro quadruped that fits in the palm of your hand appeared first on Arduino Blog.

La Toulouse Robot Race is an annual racing event held in Toulouse, France, which includes a 10-meter autonomous sprint for multi-legged robots. The current record for quadrupeds is 42 seconds, so Sebastian Coddington decided to construct a robot in hopes of taking the category at the next race in January 2021.

His “GorillaBot” quadruped features limbs made from two-servo five-bar linkage systems, controlled using an Arduino Nano. In autonomous mode, the robot stays on course thanks to a magnetometer; however, if it does lose its way, an on-board ultrasonic sensor helps to keep it from crashing.

Apart from electronics and fasteners, the inexpensive build is completely 3D-printable, and assembly directions with some videos are available in the project write-up. From the demo clip below, the GorillaBot looks like it will be quite a competitor, and perhaps Coddington will even be able to enhance the design before the event!

at-at

Dave Stein is a software engineer during the day and a tinkerer on Arduino projects in his free time after work. He submitted on the blog his first Arduino project with the goal of powering his old AT-AT Walker toy (mid 1980s) with Arduino Uno and make it walk and perform some of the functions we see in the Star Wars movies.

AT-AT (All Terrain Armored Transport) are four-legged combat walkers 22.5mt (73.8ft) tall of the Galactic Empire, one of its most famous military symbols introduced  in “Star Wars V: The Empire strikes back”, and we may see them again in the next weeks on “Star Wars: The Force Awakens” the upcoming episode of the saga opening December 18th.

The AT-AT walker toy updated by Dave is controlled by a wired Xbox 360 controller that interfaces with a computer and transports a signal to the Arduino Uno for walker movement:

The left and right triggers move the walker forward and backward while the right stick moves the head horizontally. If you have ever played with this toy you may remember it was clumsy and difficult to move. In my project I wanted to learn about and conquer the difficulties of quadrupedal movement. The realization process for my project involved a massive amount of trial and error, research, and failures. I have to say that I failed many more times than I succeeded with configuring the servos with the Arduino. I went down many long roads to learn about prototyping with the breadboard, soldering, and redesigns of the final product. The most difficult part of the project aside from adjusting the gait of the walker for balance and movement was providing enough power to the servos without frying the microcontroller or any of the components. I was finally able to overcome these difficulties by implementing the Adafruit servo shield.

Check AtAt Project website for all info, parts list and upcoming tutorial!


  • Newsletter

    Sign up for the PlanetArduino Newsletter, which delivers the most popular articles via e-mail to your inbox every week. Just fill in the information below and submit.

  • Like Us on Facebook