Posts | Comments

Planet Arduino

Archive for the ‘keyboard’ Category

The lovely thing about a hobby like keyboard building is that the melting pot of designs manages to never turn into a nasty porridge. Rather, it remains a tasty chili that keeps getting more flavorful with time. It’s a simple recipe, really; someone becomes dissatisfied enough with their peripherals to do something about it, often trying various designs until they either settle on one, or come up with yet another awesome variant that suits their needs — and possibly someone else’s down the line.

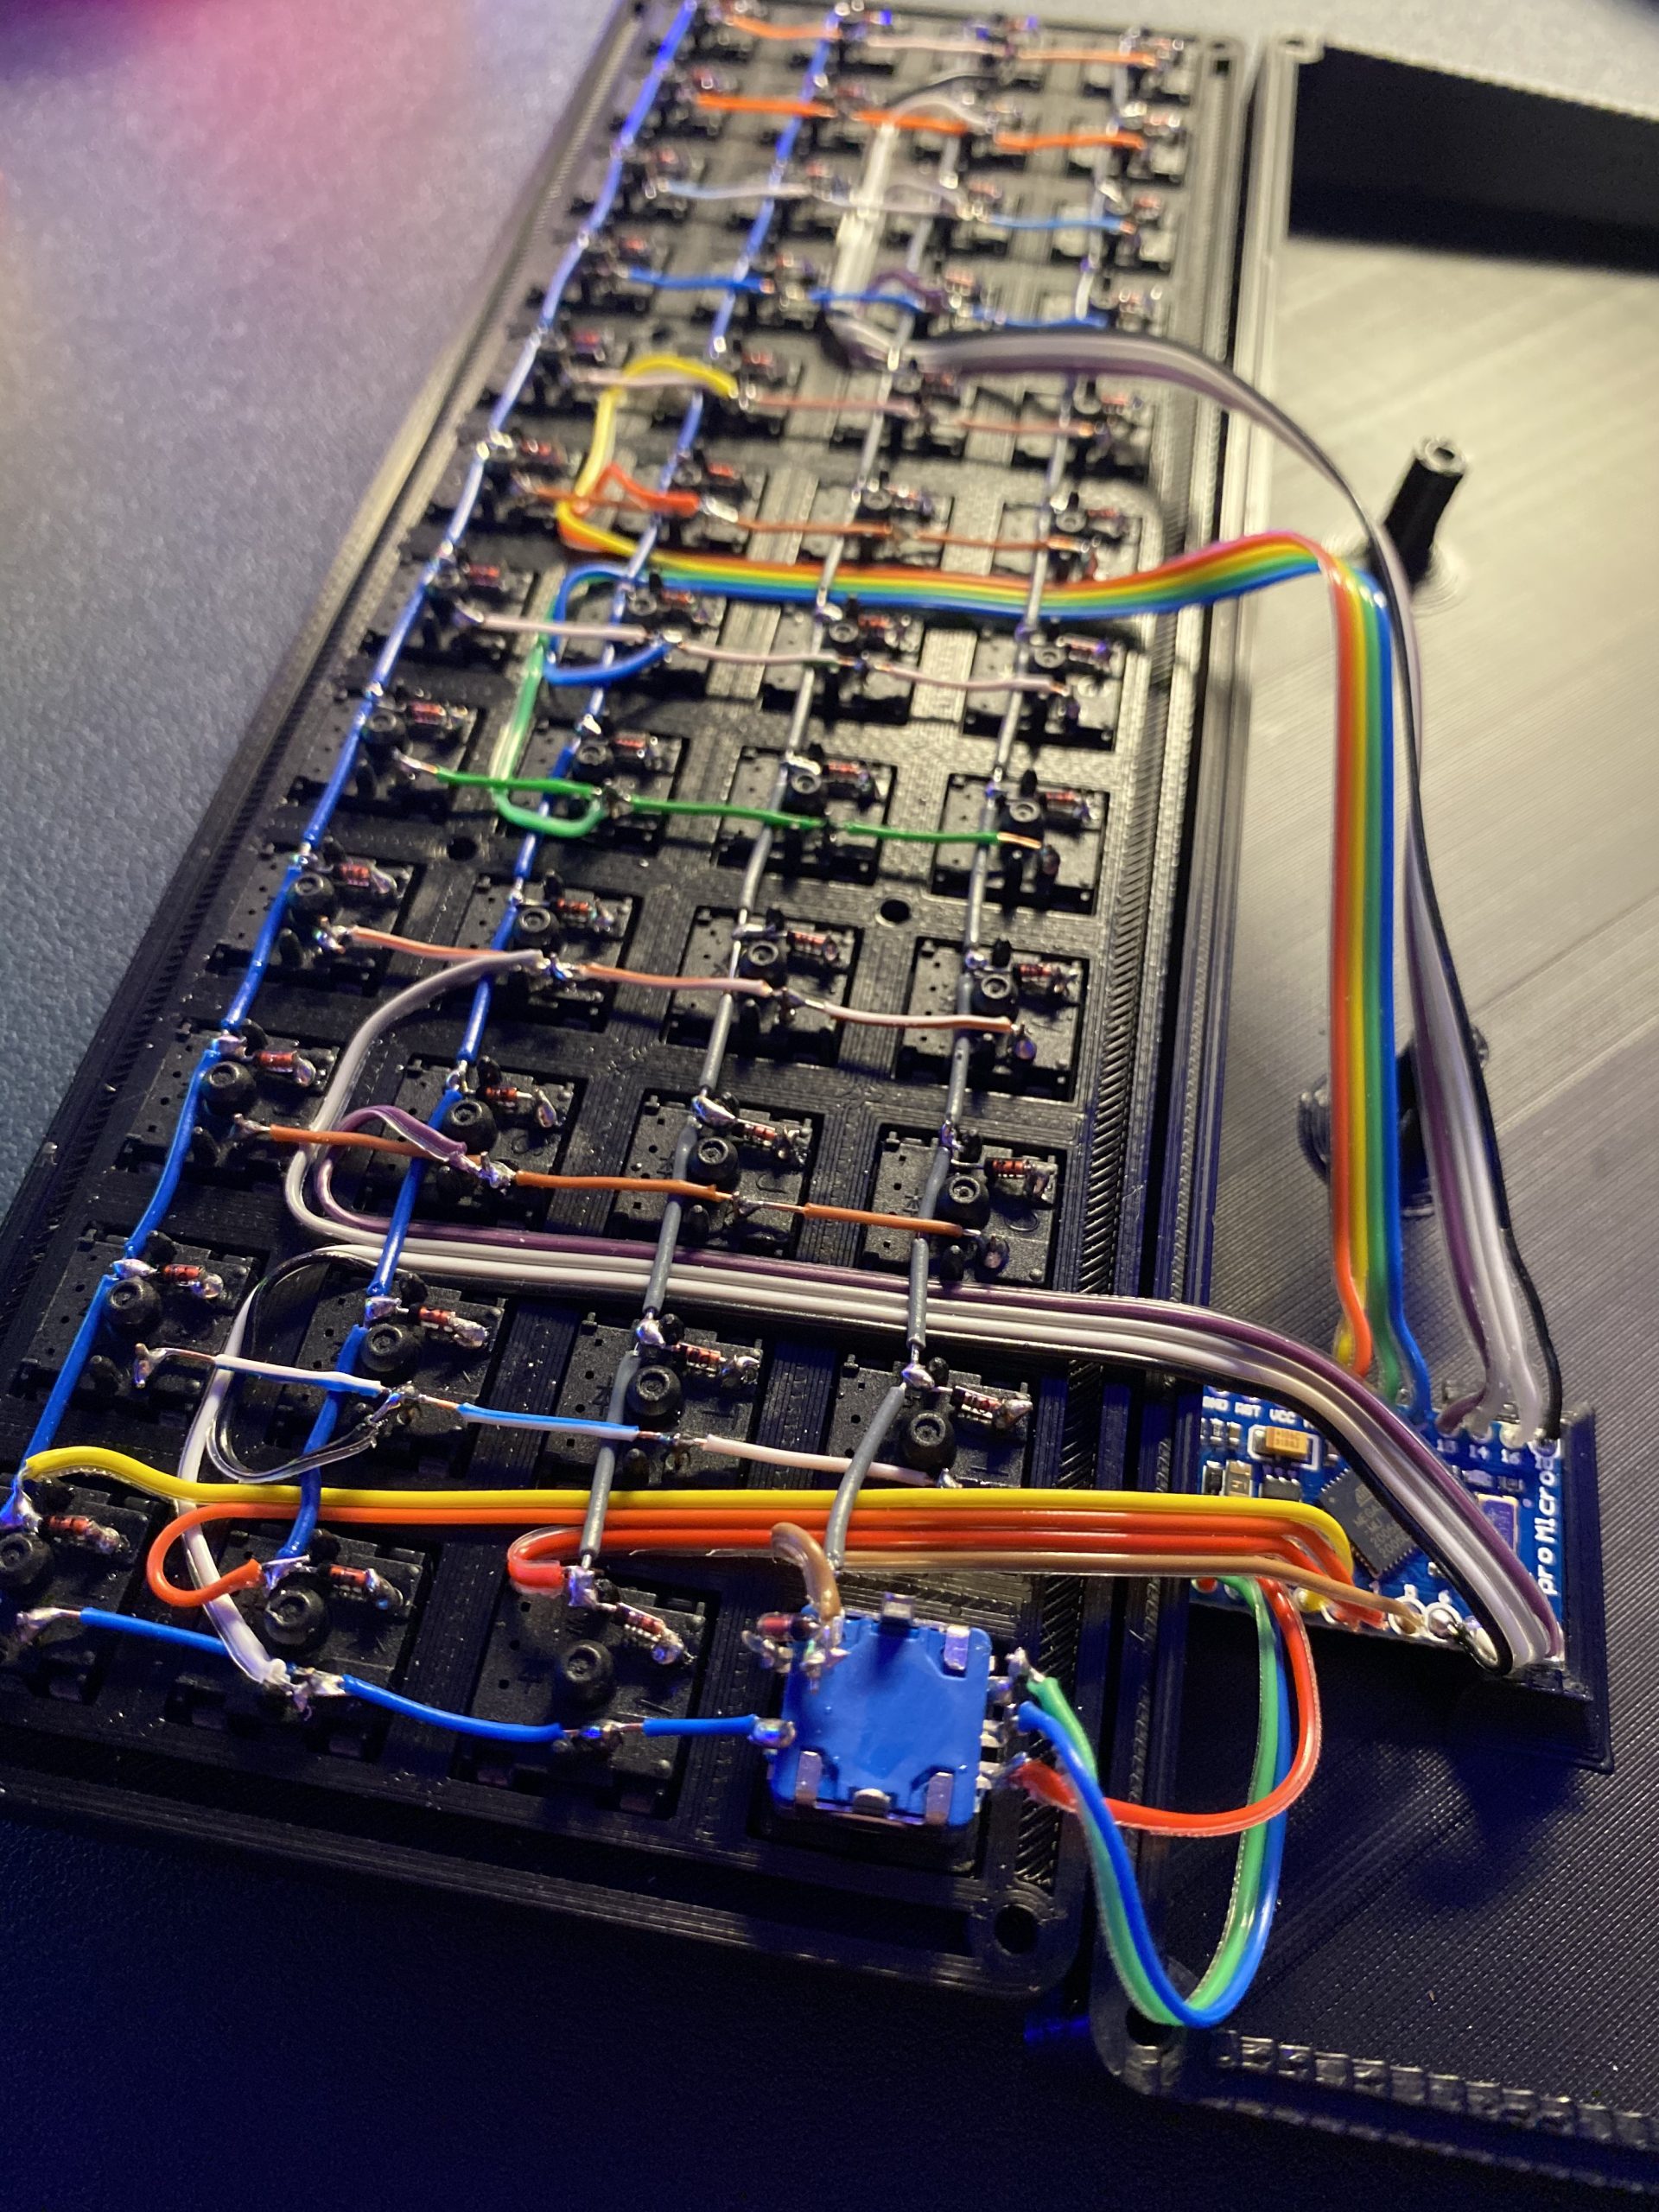
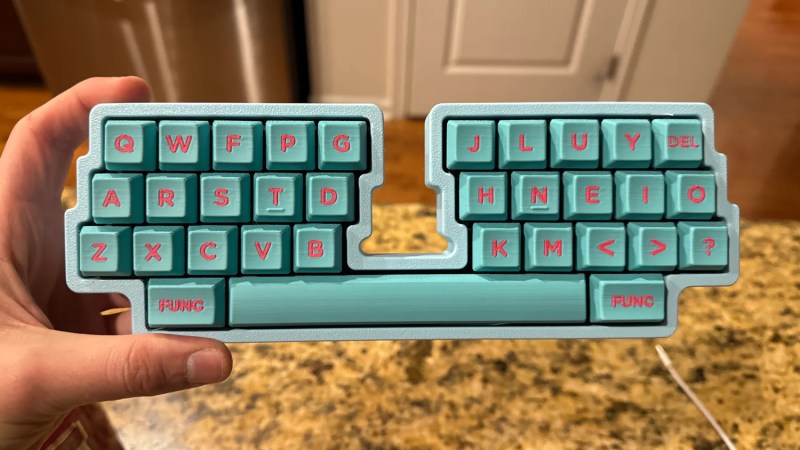
The inimitable [Joe Scotto] has happened upon the katana layout, which has an inverse left-hand row stagger that lends symmetry to the design, and Scotto-ized it into a 33-key build that he says is the best-sounding one yet with lubed Gateron Milky Yellows.

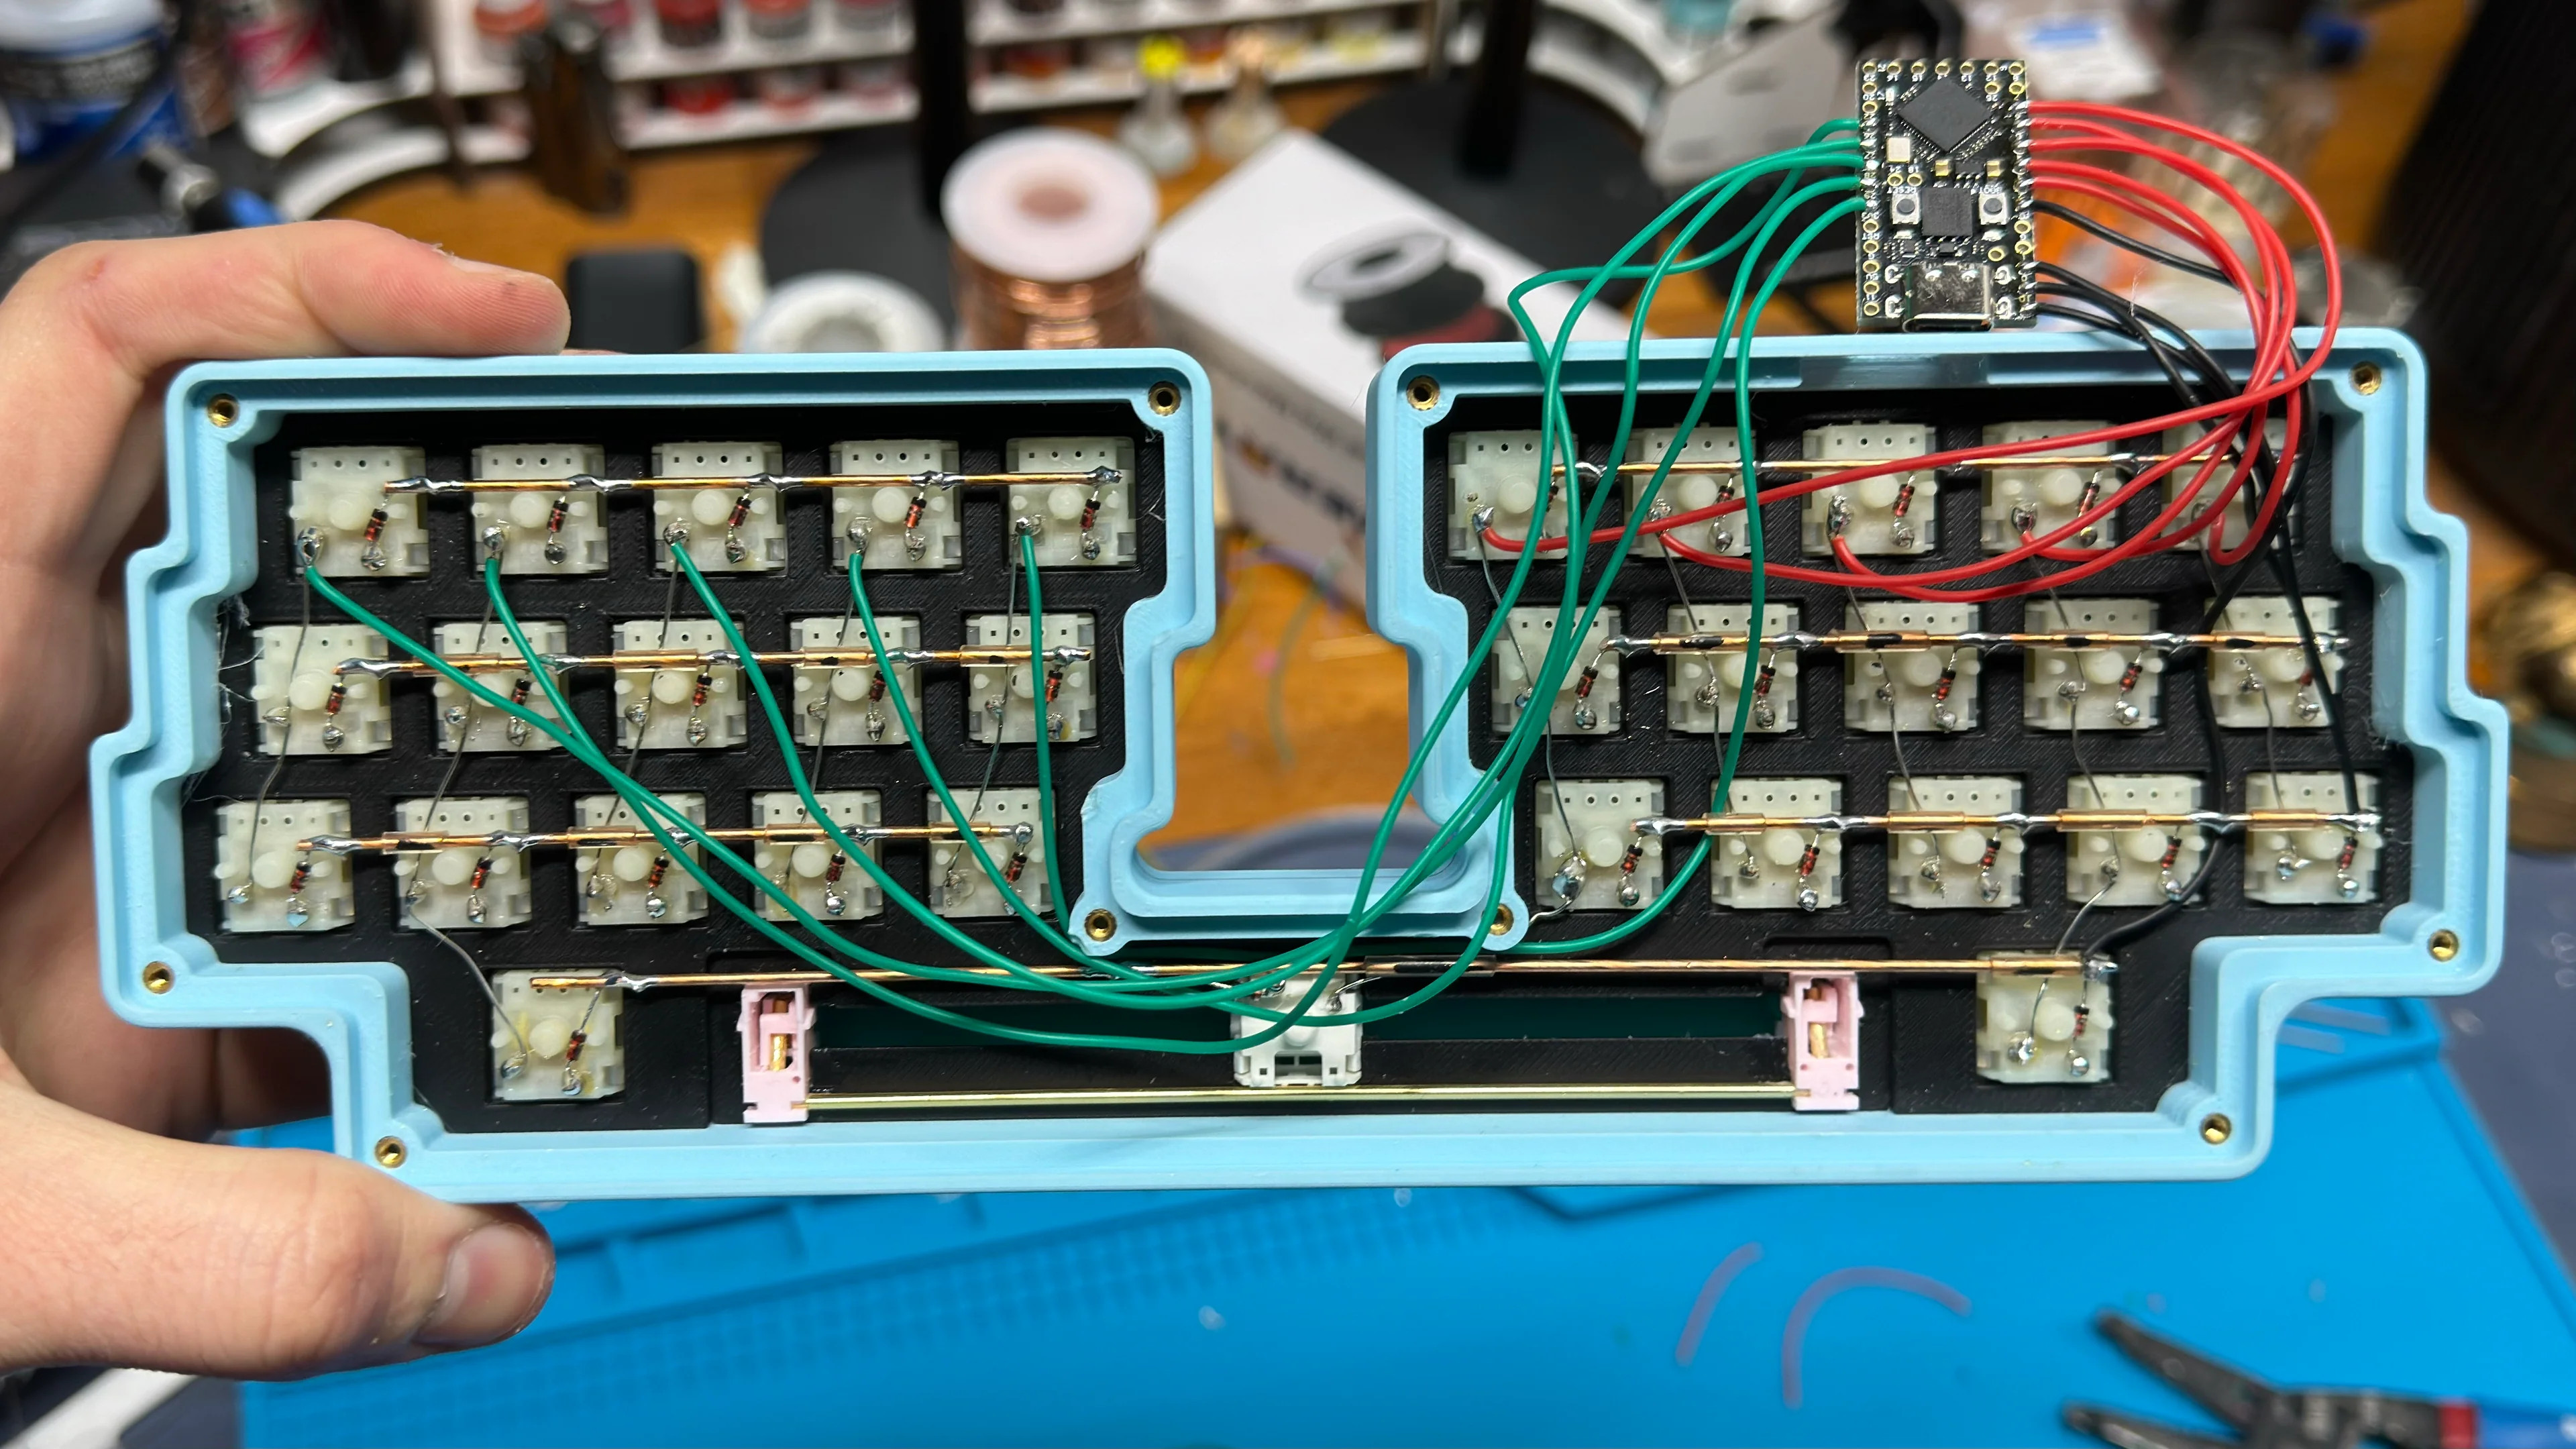
The case and the keycaps are both 3D-printed, and as with all Scotto builds, it is beautifully hand-wired. This one uses an RP2040 Pro Micro, but an ATMega Pro Micro will work, too.

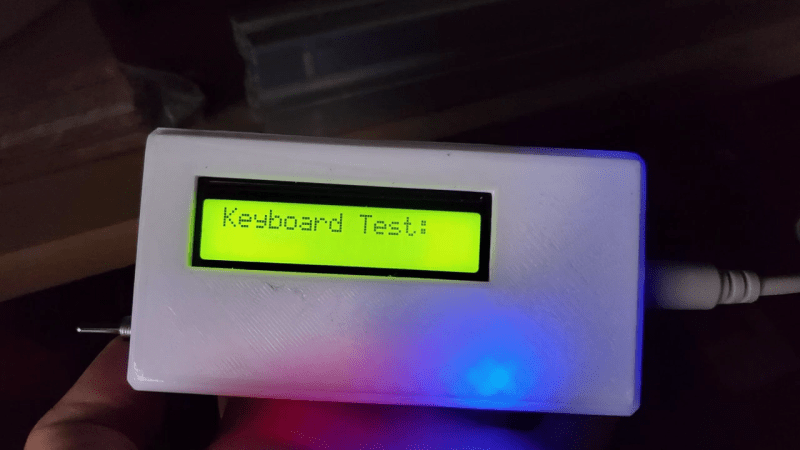
Everything is available on GitHub, and [Joe] promises a typing test soon, as well as a gasket version that foregoes the integrated plate.

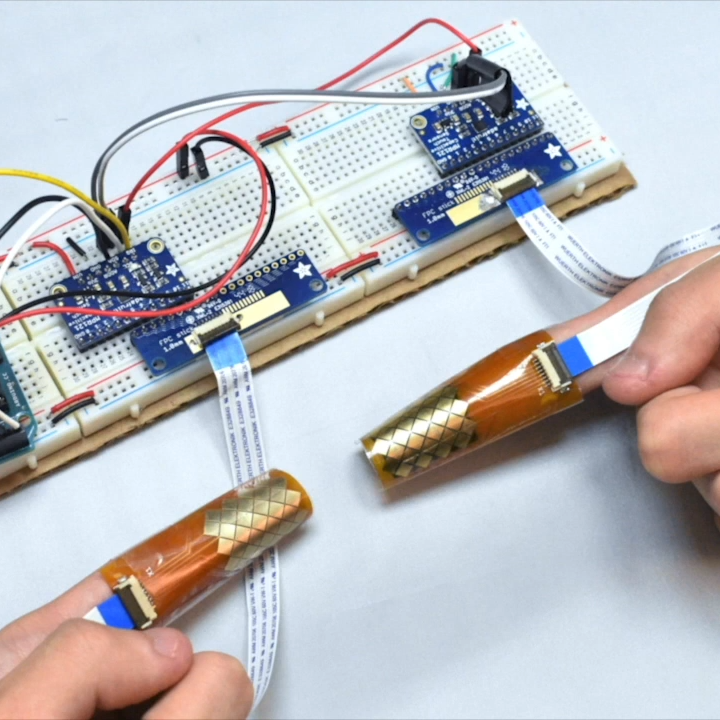
Do you need a fast keyboard? Like, ridiculously fast? Then you should use an FPGA.

Via KBD and Make:

The hacking life is not without its challenges, and chief among these is the tendency to always be in acquisition mode. When we come across a great deal on bulk equipment, or see a chance to rescue some obscure gear from the e-waste stream, we generally pounce on it, regardless of the advisability.

We imagine this is why [Nathan] ended up with a hoard of PS/2 keyboards. Seriously, there are like thousands of the things. And rather than lug a computer to them for testing, [Nathan] put together this handy Arduino-based portable tester to see which keyboards still have some life left in them. The video below goes into detail on the build, but the basics are pretty simple — an Arduino, a 16×2 LCD display, and a few bits and bobs to run it off a LiPo pack and charge it up. Plus, of course, a PS/2 jack to plug in a keyboard and power it up. Interestingly, the 16×2 display is an old Parallax unit, from the days when RadioShack still existed and sold their stuff. That required a little effort to get it working with the Arduino, but in the end it works like a charm — plug in a keyboard and whatever you type shows up on the screen.

Of course, it’s hard to look at something like this, and that mountain of keyboards in the background, and not scheme up ways to really automate the whole test process. Perhaps an old 3D printer with a stylus mounted where the hot end would go could press each key in turn while the tester output is recorded — something like this Wordle-bot, but on a keyboard scale. That kind of goes against [Nathan]’s portability goal, but it’s still fun to think about.

Peter Turczak’s toddler son loves “technical stuff,” especially things like keyboards and computers that adults use. After discussing this with other likeminded technical parents, the idea of giving new life to an old (PS/2 or AT) keyboard as a teaching tool was hatched. 

The hacker thus added an Arduino Nano, a speaker, and an SD card reader for WAV files, allowing the device to say letters in various voices based on the keys pressed. It is also capable of playing tunes, and presumably other sounds, that one could imagine to facilitate retro learning and fun.

All the electronics fit within the keyboard’s shell, which has ample space inside, and even features a built-in speaker grill for audio output. More details on the project can be found in Turczak’s blog post.

It happens to pretty much everyone who gets into keyboards. No commercial keyboard can meet all your needs, so you start building them. Use them a while, find problems, build a new keyboard to address them. Pretty soon you think you have enough user experience to design the perfect keeb — the be-all, end-all magnum opus clacker you can take to the grave. This time, it happened to [aydenvis]. We must say, the result is quite nice. But will it still be perfect in six months?

As you might expect, this board uses an Arduino Pro Micro. We can’t say for sure, but it looks like [aydenvis] created a socket with a second Pro Micro board populated only with female header. That’s definitely a cool idea in case the board fails. It also has two rotary encoders and a pair of toggle switches to switch controller and secondary designations between the PCBs.

We like the philosophy at play in this 36-key ‘board that states that prime ergonomics come when each finger must only travel one key distance from the home row. This of course requires programming layers of functionality into the firmware, which is easy enough to set up, but can be tricky to memorize. One thing that will help is the color-coded RGB underglow, which we’re going to call sandwich glow because it is emanating from the middle of a stacked pair of PCBs floating on 7 mm standoffs. We only wish we could hear how loudly those jade Kailh choc switches can clack. The board files are up on GitHub, so we may just have to make our own.

Indeed, many keebs we see use a Pro Micro or two, but here’s a tasty split that runs on a Raspberry Pi Zero W.

Via reddit

[Blake]’s interest in building keyboards happened naturally enough — he was looking for a new project to work on and fell into the treasure chest that is the mechanical keyboard community. It sounds like he hasn’t built anything but keyboards since then, and we can absolutely relate.

This tidy 40% ortholinear is [Blake]’s third build, not including macro keebs. It’s based on an open source case and plate from Thingiverse, and uses an Arduino Pro Micro running the popular QMK firmware to read input from 47 Gateron blues and a rotary encoder.

We particularly like the double rainbow ribbon cable wiring method [Blake] used to connect each row and column to the controller. It looks beautiful, yes, but it’s also a great way to maintain sanity while programming and troubleshooting.

Keyboard builds can look daunting, even at 40% of standard size. But as [Blake] discovered, there are some really good guides out there with fantastic tips for hand-wiring in small spaces. And now there is another well-written guide with clear pictures to point to.

Looking to split from the standard rectangle form factor but don’t know what to go with? Divine your next clacker with this split keyboard finder.

Thanks for the tip, [jrdsgl]!

The fingertips are covered in touch sensors, each intended to be tapped by the thumbtip of the same hand.

Touch-typing with thumbs on a mobile phone keyboard is a pretty familiar way to input text, and that is part of what led to BiTipText, a method of allowing bimanual text input using fingertips. The idea is to treat the first segments of the index fingers as halves of a tiny keyboard, whose small imaginary keys are tapped with the thumbs. The prototype shown here was created to see how well the concept could work.

The prototype hardware uses touch sensors that can detect tap position with a high degree of accuracy, but the software side is where the real magic happens. Instead of hardcoding a QWERTY layout and training people to use it, the team instead ran tests to understand users’ natural expectations of which keys should be on which finger, and how exactly they should be laid out. This data led to an optimized layout, and when combined with predictive features, test participants could achieve an average text entry speed of 23.4 words per minute.

Judging by the prototype hardware, it’s understandable if one thinks the idea of fingertip keyboards may be a bit ahead of its time. But considering the increasingly “always on, always with you” nature of personal technology, the goal of the project was more about investigating ways for users to provide input in fast and subtle ways. It seems that the idea has some merit in principle. The project’s paper can be viewed online, and the video demonstration is embedded below.

One interesting thing is this: the inertia of users being familiar with a QWERTY layout is apparent even in a forward-thinking project like this one. We covered how Dvorak himself struggled with people’s unwillingness to change, even when there were clear benefits to doing so.

[via Arduino Blog]

The Arduino platform is one of the most versatile microcontroller boards available, coming in a wide variety of shapes and sizes perfect for everything from blinking a few LEDs to robotics to entire home automation systems. One of its more subtle features is the ability to use its serial libraries to handle keyboard and mouse duties. While this can be used for basic HID implementations, [Nathalis] takes it a step further by using a series of Arduinos as a KVM switch; although admittedly without the video and mouse functionality yet.

To start, an Arduino Uno accepts inputs from a keyboard which handles the incoming serial signals from the keyboard. From there, two Arduino Pro Micros are attached in parallel and receive signals from the Uno to send to their respective computers. The scroll lock key, which doesn’t do much of anything in modern times except upset Excel spreadsheeting, is the toggle switch between the two outputs. Everything is standard USB HID, so it should be compatible with pretty much everything out there. All of the source code and schematics are available in the project’s repository for anyone who wants to play along at home.

Using an Arduino to emulate a USB input device doesn’t have to be all work and no play, the same basic concept can also be used to build custom gaming controllers.

Just when we think we’ve peeped all the cool baby keebs out there, another think comes along. This bad boy built by [andyclymer] can be configured three different ways, depending on what kind of control you’re after.

As designed, the PCB can be used as a six-switch macro keyboard, or a rotary encoder with two switches, or a pair of rotary encoders. It’s meant to be controlled with Trinket M0, which means it can be programmed with Arduino or CircuitPython.

This could really only be cooler if the key switch PCB holes had sockets for hot-swapping the switches, because then you could use this thing as a functional switch tester. But hey, you can always add those yourself.

If you’re in the market for purpose-built add-on input device, but either don’t have the purpose nailed down just yet, or aren’t sure you want to design the thing yourself, this board would be a great place to start. Usually, all it takes is using someone else’s design to get used to using such a thing, at which point it’s natural to start thinking of ways to customize it. [andyclymer] is selling these boards over on Tindie, or you can roll your own from the repo.

Need just a few more inputs? We’ve got you covered.

Sometimes you might want to browse your favorite social media site while eating a sandwitch, or throwing darts, or fending off an attacker with a sword. You know, normal things that might occupy only one of your hands. If you’ve ever found yourself in such a situation, then this custom Reddit keyboard could be for you.

Built by [jangxx], this little board is about as simple as it gets. Even if you aren’t looking for a way to browse /r/cooking while practicing your single-handed egg cracking technique, the same principles could be used to quickly throw together a macro keyboard for whatever your particular needs might be.

Inside the 3D printed enclosure is nothing more exotic than an Arduino Pro Micro and five Cherry MX Red switches. The switches have been wired directly to the GPIO pins on the Arduino, and a simple Sketch takes care of the rest. [jangxx] has written the code in such a way that you can easily define the mapping of USB HID keys to physical switches right at the top of the file, making it easy to reuse for your own purposes.

As simple as this project is, we really like the trouble that [jangxx] went through on the 3D printed key caps. The white up and down arrows allow you to navigate through the posts, and the center key selects the one you want to view. Since it’s for Reddit, naturally the red and blue buttons for rapid voting. When you want to go back to the list of posts, just hit the center button again.

Back in 2011 we saw a dedicated Reddit voting peripheral, but we think the addition of simple navigation keys makes this project a bit more compelling. Incidentally, if you can think of any other reason you might want a one-handed keyboard for browsing Reddit…we definitely don’t want to hear about it.

When [easyjo] picked up this late ’80s Marconi mil-spec keyboard for cheap, he knew it wouldn’t be easy to convert it to USB — just that it would be worth it. Spoiler alert: those LEDs aren’t a mod, they’re native. They get their interesting shape from the key traces, which are in the four corners.

Despite having way-cool buttons such as WPNS HOLD, and the fact that Control is on the home row where it belongs, this keyboard does not look fun to type on at all for any length of time. Of course, the point of this keyboard is not comfort, but a reliable input device that keeps out dust, sweat, liquids, and the enemy.

This is probably why the controller is embedded into the underside of the key switch PCB instead of living on its own board.  [easyjo] tried to analyze the signals from the existing 26-pin connector, but it didn’t work out.

So once he was able to decode the matrix, he removed the controller chip and wired the rows and columns directly to an Arduino Leonardo. Fortunately, the LEDs were just a matter of powering their columns from the front side of the board.

The availability of certain kinds of military surplus can make for really interesting modernization projects, like adding POTS to a field telephone.

Via r/duino


  • Newsletter

    Sign up for the PlanetArduino Newsletter, which delivers the most popular articles via e-mail to your inbox every week. Just fill in the information below and submit.

  • Like Us on Facebook