Posts | Comments

Planet Arduino

Archive for the ‘DUE’ Category

Stream Decks have gained a great deal of popularity within recent years. However, increased demand and a limited supply of them has caused their prices to skyrocket and availability to dwindle, leading many to seek alternatives. The streamer known as CoCoaCoCi has created a DIY Stream Deck before, but this first iteration only had a 3.5” touchscreen that wouldn’t always pick up inputs. So, for his next project, CoCoaCoCi wanted to have some physical buttons along with a display that would only be used to navigate menus and actions.

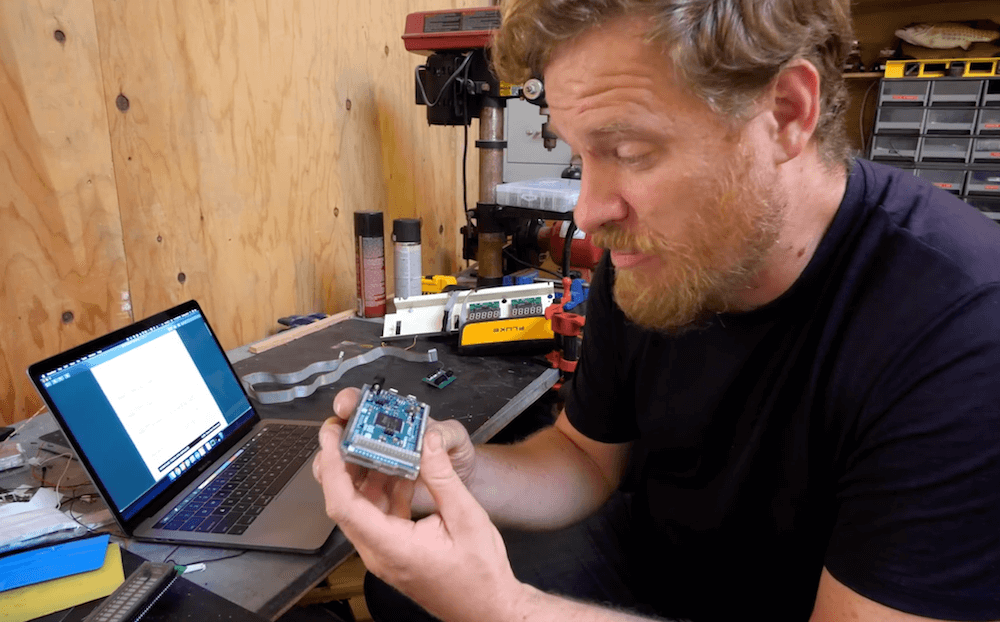
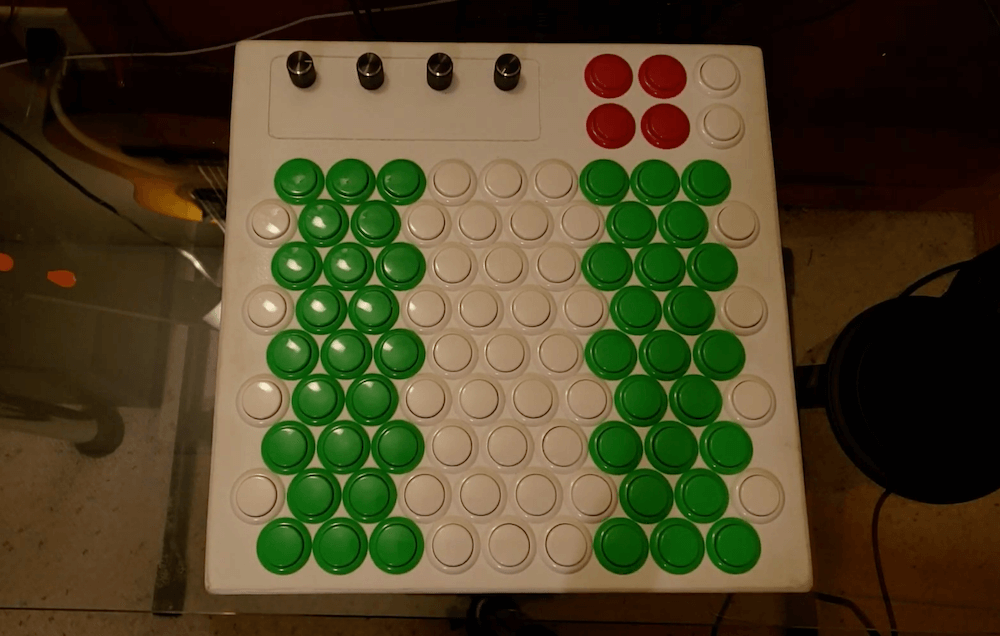
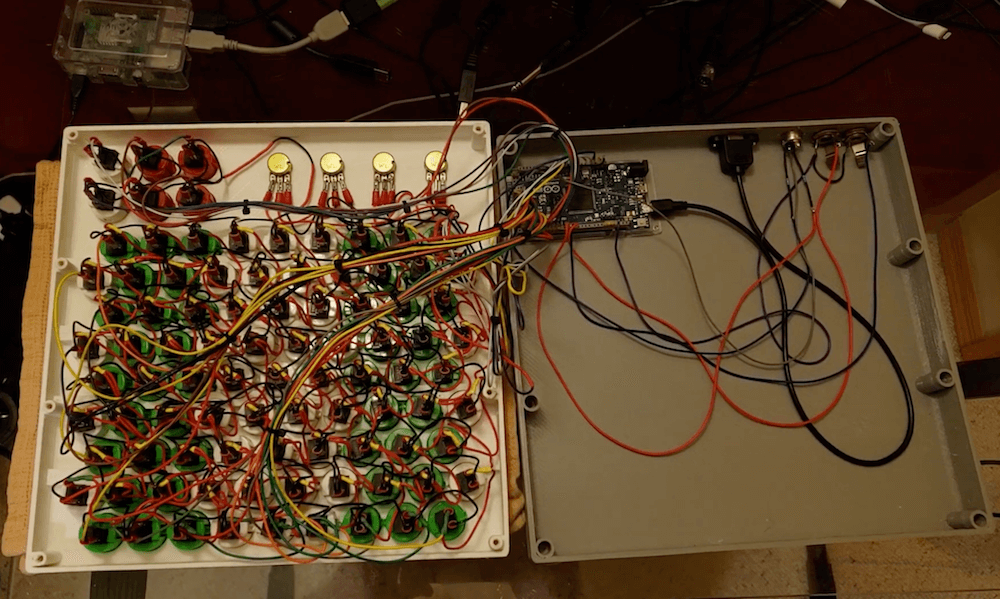
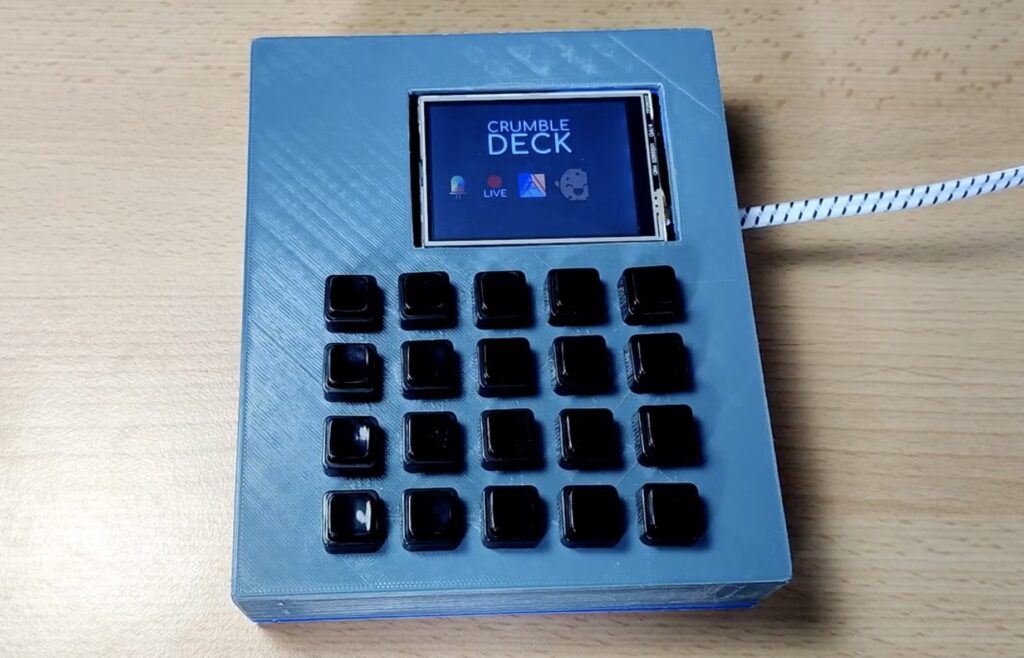
He started by quickly designing and 3D printing a case to house the Crumble Deck’s electronics, including an Arduino Due as the main processor, a 3.5” TFT LCD screen, and 20 buttons. All the buttons were wired together in a matrix that reduces the number of GPIO pins required to detect them. His code then polls each column and row to check which button is currently being pressed. 

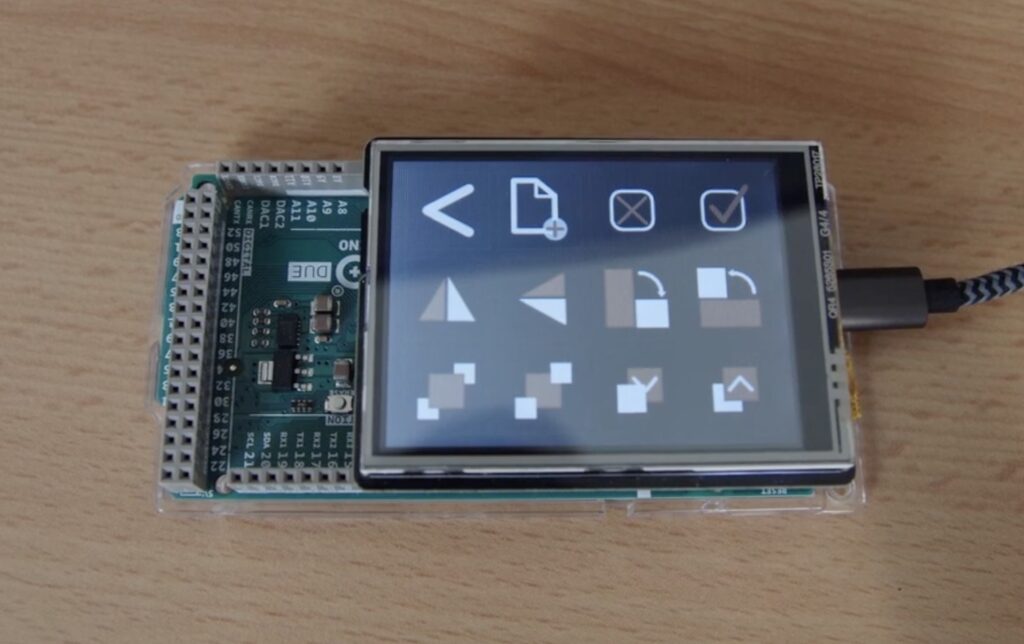
As with the previous model of the Crumble Deck, this version also contains some very handy macros that can be used when streaming. Many of the buttons are dedicated to switching certain audio and video inputs on or off, while others can change which scene is selected. Some buttons can also automatically write and send small messages with the stream’s chat for quick interactions with viewers.

The Crumble Deck is a great and cheap alternative to more expensive off-the-shelf solutions, and you can see more about how it was created below.

The post The Crumble Deck is a Stream Deck alternative based on an Arduino Due appeared first on Arduino Blog.

Many modern automobile manufacturers have switched from traditional analog gauges to digital LCD screens. These let the driver configure their dashboard to suit their needs. When driving on the highway, they might want to see a map and a speedometer. When on the track, they can switch that to a tachometer, g-force meter, and shift light. To modernize his NA Miata, Jroobi used two Arduino Due boards to create an LCD dashboard.

The first Mazda MX-5 (the Miata for Americans), referred to as the “NA” by enthusiasts, went into production way back in 1989, which was decades before LCD gauge clusters became common. Jroobi has spent years modifying his NA Miata and one of those modifications was a Raspberry Pi in place of the stereo that lets him control and monitor the car. His newest modification is even more impressive, because it gives him a customizable touchscreen LCD right behind the steering wheel.

Jroobi has been working on this dashboard upgrade for years, but it was on the backburner for 18 months due to problems caused by a bad power supply. But he has now reached the point where it seems to be working very well. A pair of Arduino Dues control the touchscreen, which fills the two large gauges. The two smaller gauges, for fuel level and oil temperature, remain analog. The LCD gauges can display all kinds of information and are customizable. Jroobi can, for example, adjust the soft redline shown on the tachometer. There are far too many features for us to cover here, so check out Jroobi’s video to get all the details.

The post Mazda Miata gets Arduino dashboard upgrade appeared first on Arduino Blog.

Electric trimmers allow you to shed unwanted hair, with the side effect of a constant buzzing sound. This noise is related to the motor’s speed, which as shown in Device Orchestra’s video below, doesn’t necessarily have to be continuous. It could instead be tuned to play music.

After removing the stock circuit board on a trimmer and attaching new leads, the concept was first proved out on a benchtop power supply, varying the motor speed and notes via the voltage level. This behavior was then duplicated by an Arduino Due and motor driver module, using PWM output to produce a rousing rendition of “When the Saints Go Marching In.”

Slide whistles and recorders can be great for learning music, and perhaps a bit of fun, but what about teaching a robot to play such a wind instrument? The Mixed Signal’s MIDI-controlled system could used for just that.

The project is comprised of a 3D-printed fipple and piston that go into a PVC tube, while air input is via a centrifugal blower fan. A plunger with a rack-and-pinion gear are used to move the piston back and forth, changing the note being played.

A keyboard provides the user interface here, though any number of digital audio workstation devices should be able to duplicate this human task if needed. It’s hooked up to an Arduino Due with a CNC shield, which controls the single stepper motor.

You can find more details on the fipple flute on Hackster and Hackaday, and see a demo of it in action below.

Hand movements have long been used as a computer interface method, but as reported here, the MemGlove from a team of MIT CSAIL researchers takes things several steps further. This augmented glove can sense hand poses and how it’s applying pressure to an object.

The wearable uses a novel arrangement of 16 electrodes to detect hand position based on resistance, and six fluid filled tubes that transmit pressure depending on how an item is gripped.

An Arduino Due is used to sense these interactions, which pass information on to a computer for processing. Pose verification is accomplished with a Leap Motion sensor. By training neural networks with TensorFlow, the glove is able to identify various hand poses, as well as distinguish between 30 different household things that are grasped.

More details on the MemGlove can be found in the researchers’ paper here.

Researchers from the University of Auckland in New Zealand’s are exploring a new way to construct interactive touch surfaces using finger-mounted audio transducers. 

VersaTouch — which works on everyday surfaces — uses one or more receivers to measure sound waves emanating from the wearer’s “augmented” fingers, allowing it to calculate their positions and/or movements. The plug-and-play system can also sense force based on a changing audio signature and track individual digits by alternating each one’s sonic outputs. 

Importantly, VersaTouch can be configured without permanent modification to the newly interactive surface. The setup includes an Arduino Due to receive signals, a Teensy 3.6 to control the transducers, and a MacBook to process the data and calculate the touch positions with a Java program.

More information on the project can be found in the team’s research paper, and you can see it demonstrated in the video below. 

VersaTouch is a portable, plug-and-play system that uses active acoustic sensing to track fine-grained touch locations as well as touch force of multiple fingers on everyday surfaces without having to permanently instrument them or do an extensive calibration. Our system is versatile in multiple aspects. First, with simple calibration, VersaTouch can be arranged in arbitrary layouts in order to fit into crowded surfaces while retaining its accuracy. Second, various modalities of touch input, such as distance and position, can be supported depending on the number of sensors used to suit the interaction scenario. Third, VersaTouch can sense multi-finger touch, touch force, as well as identify the touch source. Last, VersaTouch is capable of providing vibrotactile feedback to fingertips through the same actuators used for touch sensing.

Vacuum fluorescent displays (VFDs) have a distinct cool blue-greenish glow, and were once used in a wide range of devices, from VCRs to microwave ovens and even car dashboards. Although extremely popular way back when, they can be more difficult to source today. In the video below, Scotty Allen of the Strange Parts YouTube channel takes on the challenge of getting a $600 ISE (now Noritake) display up and running with an Arduino Due.

The process starts with examining the datasheet to find that the Due’s 3.3V logic can indeed drive the 20×2 character display, then he constructs a custom adapter board to do just that. After more datasheet lurking, head scratching and hacking, he finally got it to show “Hello world!” toward the end of the clip, along with some simple animations. 

The VFD control is part of a larger build that will be revealed in the future, and a good reminder of just how much trial and error is needed to succeed in making something awesome.

Sure, we’ve seen low-cost DIY 3D printers with wooden frames before, but not a 3D printer that actually ‘prints’ wood. That’s exactly what Shane Wighton and his Formlabs hackathon team have done. (Although probably more along the lines of a hybrid additive/subtractive CNC machine that makes parts out of 3/4″ plywood.)

The device first cuts each layer out with a router, applies glue automatically, and then feeds subsequent layers onto a stack to be cut in the same manner. The result of these combined layers is a block of wood with a very large “benchy” inside, revealed with a bit of manual cutting.

Motion control is handled by an Arduino Due, which interfaces with a number of stepper drivers to move the router, while an off-the-shelf relay board triggers the pneumatics, lights, and even a horn to indicate when a job is complete.

More details on the build are available in Wighton’s write-up here and you can see it in action below!

Michael Koopman wanted to learn piano. However, after finding this pursuit frustrating, he instead decided to assemble his own 3D-printed MIDI jammer keyboard, inspired by the AXiS-49 interface pad. 

His instrument is controlled via an Arduino Due, with 85 buttons arranged in a diagonal pattern. This allows for whole steps on the horizontal axis, fourths on one diagonal, fifths on the other diagonal, and octaves on the vertical axis. 

This configuration enables the device to be used in a variety of ways, and features an additional six buttons and four potentiometers to vary playing style, along with ¼ inch jacks for auxiliary inputs. 

As seen in the video below, while Koopman had a hard time with the piano, apparently that wasn’t case with his MIDI keyboard, as he’s able to play it beautifully—even using two at a time around 8:15!

Ultrasound images are an important tool for medical diagnosis, and while units used by doctors can be very expensive, getting a basic image doesn’t have to be. Inspired by this attempt at a $500 ultrasound machine seen here, maker “stoppi71” decided to create his own using a 5 MHz ultrasound transducer via a paint-thickness gauge.

An Arduino Due provides computing power to turn sound pulses into images, while a 3.5-inch TFT display shows what it’s examining. Short pulses in the 100-200 nanosecond range are generated with the help of a monoflop and MOSFET, returning an echo corresponding to what it’s “looking” at. 

Although the results are not nearly what you’d expect at the doctor’s office, rudimentary readings of skin and bone are definitely visible. 

I’ve examined different objects from aluminum-cylinders over water-filled balloons to my body. To see body-echos the amplification of the signals must be very high. For the aluminum-cylinders a lower amplification is needed. When you look at the pictures you can clearly see the echoes from the skin and my bone.

So what can I say about the success or failure of this project. It is possible to look inside the body with such simple methods and using parts, which aren’t commonly intended for that purpose. But these factors are limiting the results too. You don’t get such clear and well structured pictures compared with commercial solutions.


  • Newsletter

    Sign up for the PlanetArduino Newsletter, which delivers the most popular articles via e-mail to your inbox every week. Just fill in the information below and submit.

  • Like Us on Facebook