Posts | Comments

Planet Arduino

Archive for the ‘gsm’ Category

Arduino SIM: 10MB Free Data for Up to 90 Days!

The new Arduino SIM offers the simplest path to cellular IoT device development in an environment familiar to millions. The cellular service, provided by Arm Pelion Connectivity Management, has a global roaming profile; meaning a single Arduino SIM can be used in over 100 countries worldwide with one simple data plan.

The Plan

  • Arduino SIM comes with 10 MB of data free for the first days 90 days,
  • One simple subscription at 5 MB for $1.50 USD per month*.
  • Global roaming profile – enjoy the same amount of data traffic for the same price wherever you are operating the device around the world.
  • Cellular connectivity to the Arduino IoT Cloud – monitor and control your devices anytime, anywhere.
  • Ideal for connected devices on the go or in areas without reliable WiFi.

*The monthly Arduino SIM plan is currently only available to U.S. residents

By partnering with Arm Pelion Connectivity Management, the cellular service has a solid foundation for users needing to scale form a single to large numbers of devices in the future.

At launch, the Arduino SIM will allow users to send data into the Arduino IoT Cloud, while later in the year they will also be able to use the Arduino SIM to connect to the Internet via a combination of webhooks and APIs.

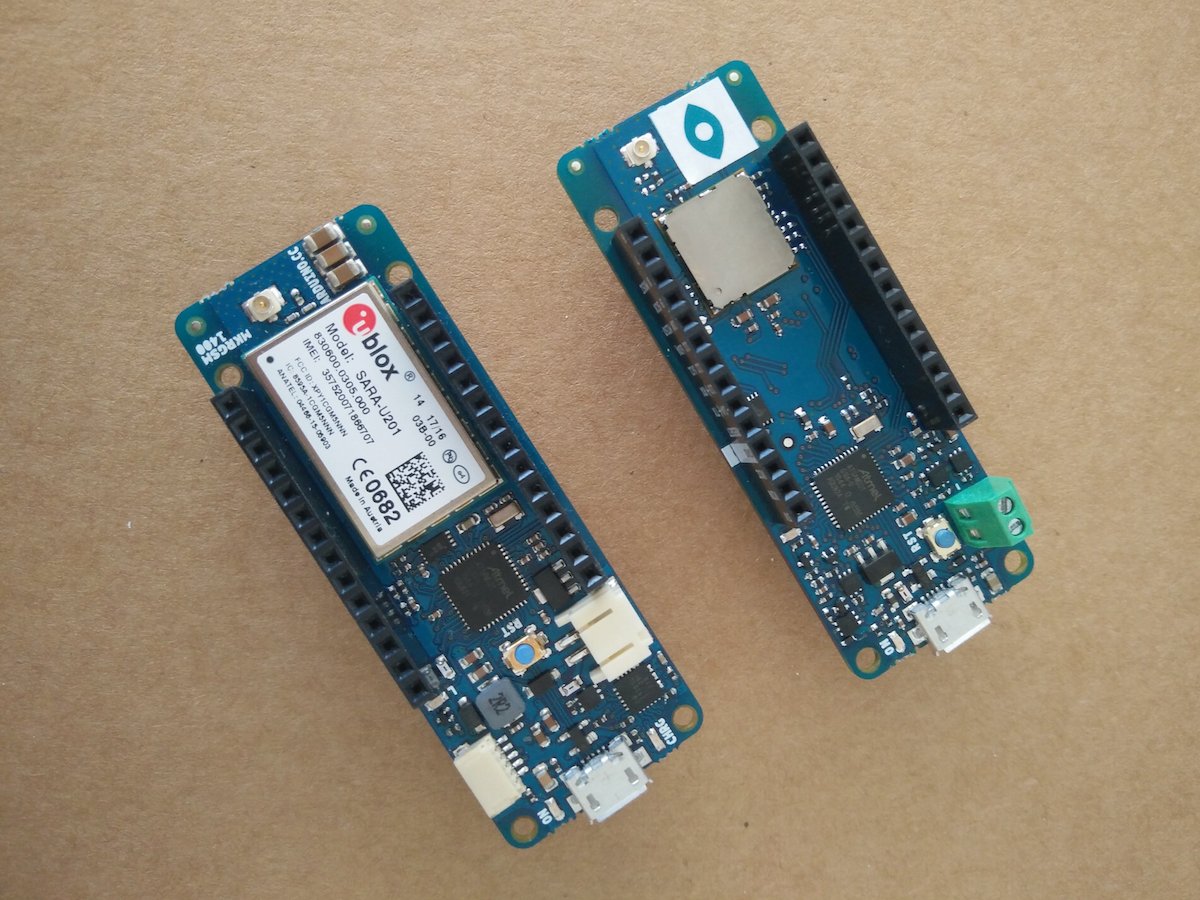
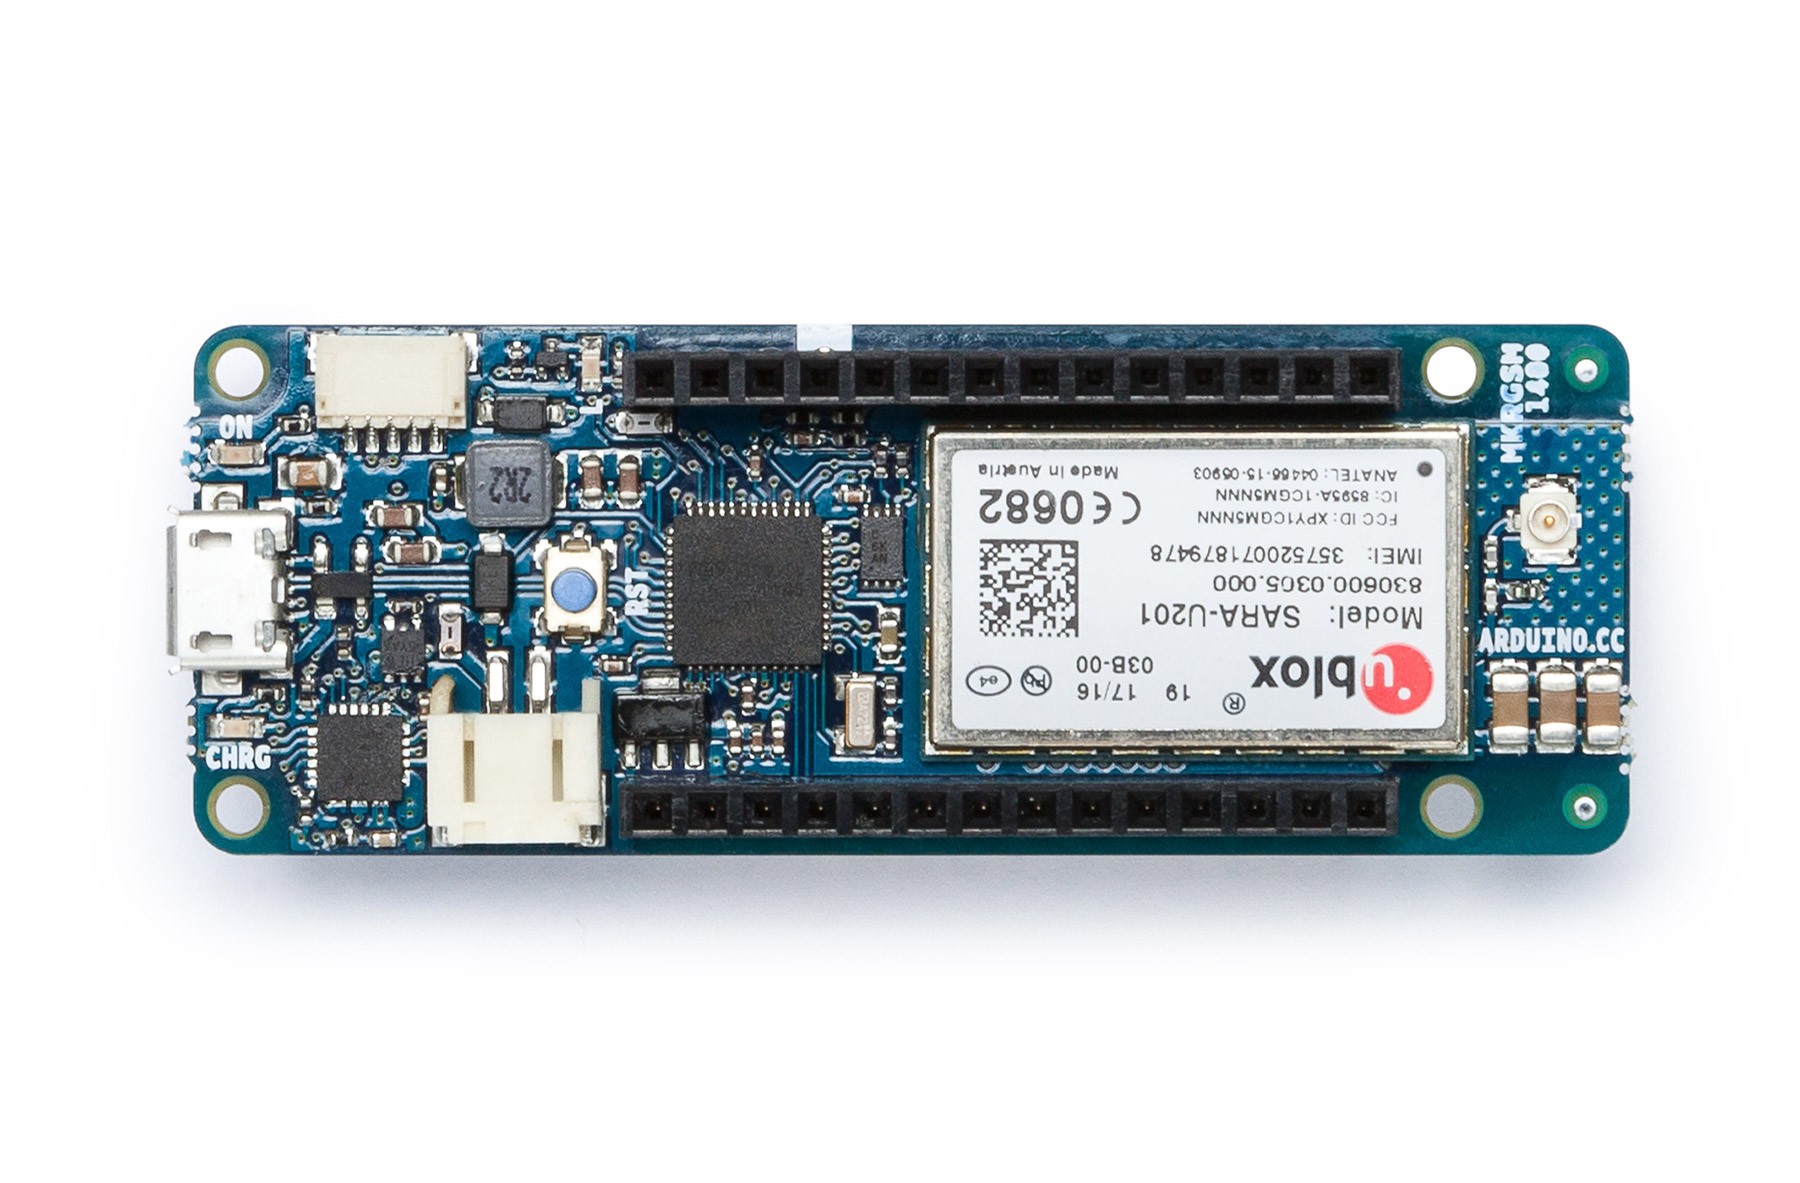
Arduino SIM is initially rolling out with support for the Arduino MKR GSM 1400 (3G with 2G fallback) – a 32-bit Arduino board supporting TLS and X.509 certificate-based authentication through an on-board secure element and crypto-accelerator. Arduino IoT Cloud makes it possible for anyone to connect to these boards securely without any coding required, but they are still programmable using open-source libraries and the traditional Arduino IDE.  

Now available to pre-order from the Arduino U.S. Store!

First unveiled over the weekend at World Maker Faire New York, Arduino has introduced a pair of new IoT boards with embedded LoRa and GSM capabilities.

The Arduino MKR WAN 1300 and MKR GSM 1400 are designed to offer a practical and cost-effective solution for developers, makers and enterprises, enabling them to quickly add connectivity to their projects and ease the development of battery-powered IoT edge applications.

Both of the highly compact boards measure just 67.64 x 25mm, together with low power consumption, making them an ideal choice for emerging battery-powered IoT edge devices in the MKR form factor for applications such as environmental monitoring, tracking, agriculture, energy monitoring and home automation.

Offering 32-bit computational power similar to the Arduino MKR ZERO board, the MKR WAN 1300 is based around the Murata LoRa low-power connectivity module and the Microchip SAM D21 microcontroller, which integrates an ARM Cortex-M0+ processor, 256KB Flash memory and 32KB SRAM. The board’s design includes the ability to be powered by either two 1.5V AA or AAA batteries or an external 5V input via the USB interface – with automatic switching between the two power sources.

In addition, the MKR WAN 1300 offers the usual rich set of I/O interfaces expected with an Arduino board, and ease of use via the Arduino IDE software environment for code development and programming. Other features  include an operating voltage of 3.3V; eight digital I/Os; 12 PWM outputs; and UART, SPI and I2C interfaces.

Like the MKR WAN 1300, the Arduino MKR GSM 1400 is based on the SAM D21, but integrates a u-blox module for global 3G communications. The board features automatic power switching, however, it uses either a 3.7V LiPo battery or an external Vin power source delivering 5V to 12V. While the USB port can also be used to supply 5V to the board, the MKR GSM 1400 is able to run with or without the battery connected.

The MKR GSM 1400 provides a rich set of I/O interfaces including: eight digital I/Os; 12 PWM outputs; UART, SPI and I2C interfaces; analog I/O including seven inputs and one output; and eight external interrupt pins.

Both boards are now available for pre-order on the Arduino Store.

The 1970s called and they want their rotary dial cell phone back.

Looking for all the world like something assembled from the Radio Shack parts department – remember when Radio Shack sold parts? – [Mr_Volt]’s build is a celebration of the look and feel of a hobbyist build from way back when. Looking a little like a homebrew DynaTAC 8000X, the brushed aluminum and 3D-printed ABS case sports an unusual front panel feature – a working rotary dial. Smaller than even the Trimline phone’s rotating finger stop dial and best operated with a stylus, the dial translates rotary action to DTMF tones for the Feather FONA board inside. Far from a one-trick pony, the phone sports memory dialing, SMS messaging, and even an FM receiver. But most impressive and mysterious is the dial mechanism, visible through a window in the wood-grain back. Did [Mr_Volt] fabricate those gears and the governor? We’d love to hear the backstory on that.

This isn’t the first rotary cell phone hybrid we’ve featured, of course. There was this GSM addition to an old rotary phone and this cell phone that lets you slam the receiver down. But for our money a rotary dial cell phone built from the ground up wins the retro cool prize of the bunch.

[via r/Arduino]


Filed under: Arduino Hacks, classic hacks

While cleaning out his closet, Instructables user “Acmecorporation” discovered an old rotary telephone. Instead of tossing it away, the Maker decided to give the old-school device some modern-day technology using an Arduino Pro Mini and a SIM900 GSM shield.

Acmecorporation is able to use the aptly named TOWA Phone (There Once Was A Telephone) to make and receive calls, send single DMTF tones, and even program numbers on speed dial. Aside from its classic bell ringer, there’s an RGB LED that indicates GSM status: red for offline, green for online, and blue for an incoming call.

The Maker briefly explains how it works:

To make a phone call you have to pick up the handset and dial the number, that’s all. Terminate call hanging up the handset.

When phone is ringing, pick up the handset to answer. Terminate it hanging up.

If you call to a support center or an office, usually you have to dial numbers to connect a specific department. You can do this because TOWA sends single DMTF tones.

Inside the Arduino script, you can add your favorite telephone numbers and combine it with a specific integer number. For example, I’ve stored my favorites combined with numbers from 1 to 8. So when I pick up the handset and dial 1, it starts a call to my wife. When I dial 2 or 3, it calls one of my sons, and so on.

Although Acmecorporation didn’t design TOWA for everyday use, it has become a permanent fixture on his desk. Do you have a rotary phone lying around? Time to brush off the dust and rig your own!

May
21

Nokia phone Arduino shield

arduino, gsm, LCD, nokia, shield Comments Off on Nokia phone Arduino shield 

IMG_20150519_105948

Anyone awake in the early 2000’s knows the familiar shape of those candy bar style mobile phones. In the Shenzhen phone markets we see tons of them. Literally, there are tons of these phone passing through the markets every day. Some are resold while others are disassembled for parts and recycled. This is where all those cheap Nokia 3310/5110 LCD shields come from. It’s great to see so much reuse and recycling.

Having all these cheap LCDs is nice, but most of the interesting and useful parts are wasted. We saw a fantastic opportunity to save a heap of phones from the recycling bin and save people a pocket full of money. We can make a positive impact on the environment if we reuse some of these phones that we are literally tripping over in the streets. Let’s make an Arduino to GSM network bridge for just a few dollars.

Nokia phone Arduino shield – [Link]

Apr
09

GSM based SMS Alert Fire Alarm System using Arduino

alarm, arduino, fire, gsm, sms Comments Off on GSM based SMS Alert Fire Alarm System using Arduino 

2

by jojo @ circuitstoday.com

Recently we have learned how to interface GSM Module with Arduino and send/receive SMS using GSM module. Interfacing any device with a micro controller is the first step to building a useful system or project with that particular device. In this tutorial, we are going to build a very interesting project – a Fire Alarm System which will send SMS to a set of Mobile Numbers when fire occurs in a particular location. We have seen many typical Fire Alarm projects which will alert with a siren or an automatic shutdown mechanism. This fire alarm project make use of modern communication technologies to deal with emergencies.

GSM based SMS Alert Fire Alarm System using Arduino - [Link]

Mar
18

How to Interface GSM Module and Arduino-Send and Receive SMS

arduino, gsm, sim900, sms Comments Off on How to Interface GSM Module and Arduino-Send and Receive SMS 

Interfacing-GSM-Module-and-Arduino

by jojo @ circuitstoday.com:

In this article, we are going to see how to interface GSM Module to Arduino. There are different kinds of GSM modules available in market. We are using the most popular module SIM900 and Arduino Uno for this tutorial. Interfacing a GSM module to Arduino is pretty simple. You only need to make 3 connections between the module and arduino. So lets get to business!

How to Interface GSM Module and Arduino-Send and Receive SMS - [Link]

Mar
09

Every word is like an unnecessary stain on silence

arduino, arduino mega, Art, gsm, installation, Madrid, mega, shield Comments Off on Every word is like an unnecessary stain on silence 

silence

« Every word is like an unnecessary stain on silence and nothingness » is a sentence from Samuel Beckett but also the title of Eugenio Ampudia’s last artwork created and installed with the support of Ultra-lab  and running on Arduino Mega and GSM Shield:

The exhibition room has in its center a rectangular mirror made of water that reflects the room and the visitors. The perfect still water, metaphor of silence, is broken by the irruption of sporadic waves. These movements, the stain on silence, are provoked by the visitors’ interactions. In the heart of the water tank, a dispositive is able to receive calls and to open a valve. To each visitor’s call, so a series of movements is generated and break the calm.

Ultra-lab realized the technical part of the artwork thanks to an Arduino Mega, the Arduino GSM shield and various valves open and close by the Arduino Mega when a call is received by the shield. The dispositive is particularly interesting for its adaptation in a water context and for connecting valves.

Thanks to it, the artwork succeed to express beautifully the paradox between a destructive attraction for words and communication to which it’s hard to resist in order to prefer a finally inaccessible contemplation.

The work can be visited in the exhibition room Abierto X Obras in in the Spanish art center Matadero Madrid until the 17th of May 2015 and below you can watch a video interview with the artist:

Jan
29

How to send and receive SMS messages with Arduino

arduino, GPRS, gsm, sim900 Comments Off on How to send and receive SMS messages with Arduino 

Arduino Tutorial: GSM/GPRS SHIELD (SIM900) SMS Send and Receive Tutorial on Arduino Uno

In this video we are going to see, how easy it is to send and receive SMS messages using the Arduino GSM/GPRS shield (with SIM900 chip) from Tinysine. The shield is capable of sending and receiving SMS messages as well as making and receiving phone calls. It can also connect to the Internet using the GPRS network. But we will take a look at this later on in another video.

In this video, we connect to the GSM network of COSMOTE in Greece and we send an SMS message to a cell phone. Then we reply to Arduino and read the message in the Serial Monitor in the computer.

How to send and receive SMS messages with Arduino - [Link]

Dec
19

GSM Controlled Star Light: A xmas tutorial for Intel Galileo

christmas, Featured, Galileo, gms, gsm, shield, wifi shield Comments Off on GSM Controlled Star Light: A xmas tutorial for Intel Galileo 

star-galileo

We recently posted on Intel Makers Community the first of a series of educational tutorial focused on Intel Galileo Gen 2. Our team worked on  a smart Christmas star able to receive sms and change pattern according to it. The bill of materials contains also an Arduino GSM Shield, a Proto Shield and some flexible  LED  strips:

To kick off a festive mood, we decided to adapt a typical Scandinavian tradition. In December, many people will decorate their homes by hanging large paper stars inside their windows. The stars usually have a single bulb inside that casts a warm, welcoming glow.

We thought we’d try to make this tradition a bit more merry by making it interactive. By sending text messages, we will change the blink pattern and color of the star.

This project is a fun and easy introduction on how to use the Intel Galileo Gen 2 board and the Arduino GSM shield. After making this tutorial, try modifying the code to change the patterns or taking the functions to insert GSM connectivity into your own projects.

Happy Holidays!

Follow the link and make it as well!


  • Newsletter

    Sign up for the PlanetArduino Newsletter, which delivers the most popular articles via e-mail to your inbox every week. Just fill in the information below and submit.

  • Like Us on Facebook