Posts | Comments

Planet Arduino

Archive for the ‘attiny’ Category

[Trent M. Wyatt]’s CPUVolt library provides a fast way to measure voltage using no external components, and no I/O pin. It only applies to certain microcontrollers, but he provides example Arduino code showing how handy this can be for battery-powered projects.

The usual way to measure VCC is simple, but has shortcomings.

The classical way to measure a system’s voltage is to connect one of your MCU’s ADC pins to a voltage divider made from a couple resistors. A simple calculation yields a reading of the system’s voltage, but this approach has two disadvantages: one is that it constantly consumes power, and the other is that it ties up a pin that you might want to use for something else.

There are ways to mitigate these issues, but it would be best to avoid them entirely. Microchip application note 2447 describes a method of doing exactly that, and that’s precisely what [Trent]’s Arduino library implements.

What happens in this method is one selects Vbg (a fixed internal voltage reference that is temperature-independent) as Vin, and selects Vcc as the ADC’s voltage reference. This is essentially backwards from how the ADC is normally used, but it requires no external hookup and is only a bit of calculation away from determining Vcc in millivolts. There is some non-linearity in the results, but for the purposes of measuring battery power in a system or deciding when to send a “low battery” signal, it’s an attractive solution.

Being an Arduino library, CPUVolt makes this idea very easy to use, but the concept and method is actually something we have seen before. If you’re interested in the low-level details, then check out our earlier coverage which goes into some detail on exactly what is going on, using an ATtiny84.

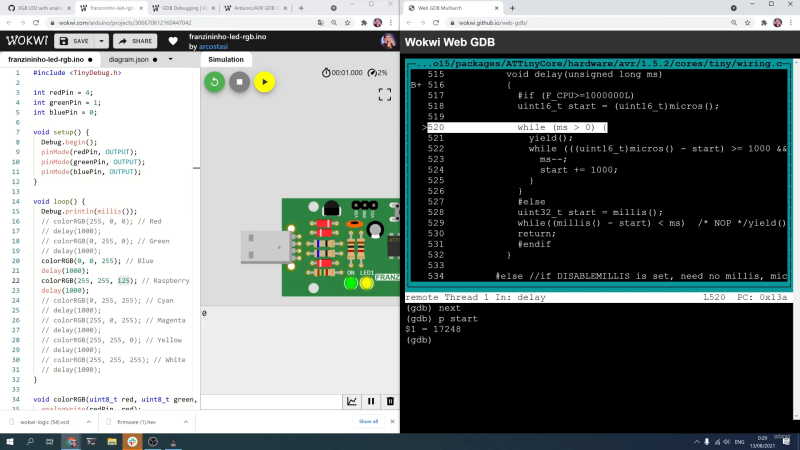
Screenshot of debugging the Wokwi Arduino simulator

Being able to track down a bug in a mountain of source code is a skill in its own right, and it’s a hard skill to learn from a book or online tutorial. Besides the trial-by-fire of learning while debugging your own project, the next best thing is to observe someone else’s process. [Uri Shaked] has given us a great opportunity to brush up on our debugging skills, as he demonstrates how to track down and squish a bug in the Wokwi Arduino simulator.

A user was kind enough to report the bug and include the offending Arduino sketch. [Uri]’s first step was to reduce the sketch to the smallest possible program that would still produce the bug.

Once a minimal program had been produced, it was time to check whether the problem was in one of the Arduino libraries or in the Wokwi simulator. [Uri] compiled the sketch, loaded it onto a ATtiny85, and compared the behavior of the simulator and the real thing. It turns out the code ran just fine on a physical ATtiny, so the problem must have been in the Arduino simulator itself.

To track down the bug in the simulator, [Uri] decided to break out the big gun—GDB. What follows is an excellent demonstration of how to use GDB to isolate a problem by examining the source code and using breakpoints and print statements. In the end, [Uri] managed to isolate the problem to a mis-placed bit in the simulation of the timer/counter interrupt flag register.

If you’d like to see more of [Uri]’s debugging prowess, check out his dive into an ATtiny’s write protection and configuration fuses. If you’ve been wowed by the power of GDB and want to learn more, check out this quick tutorial!

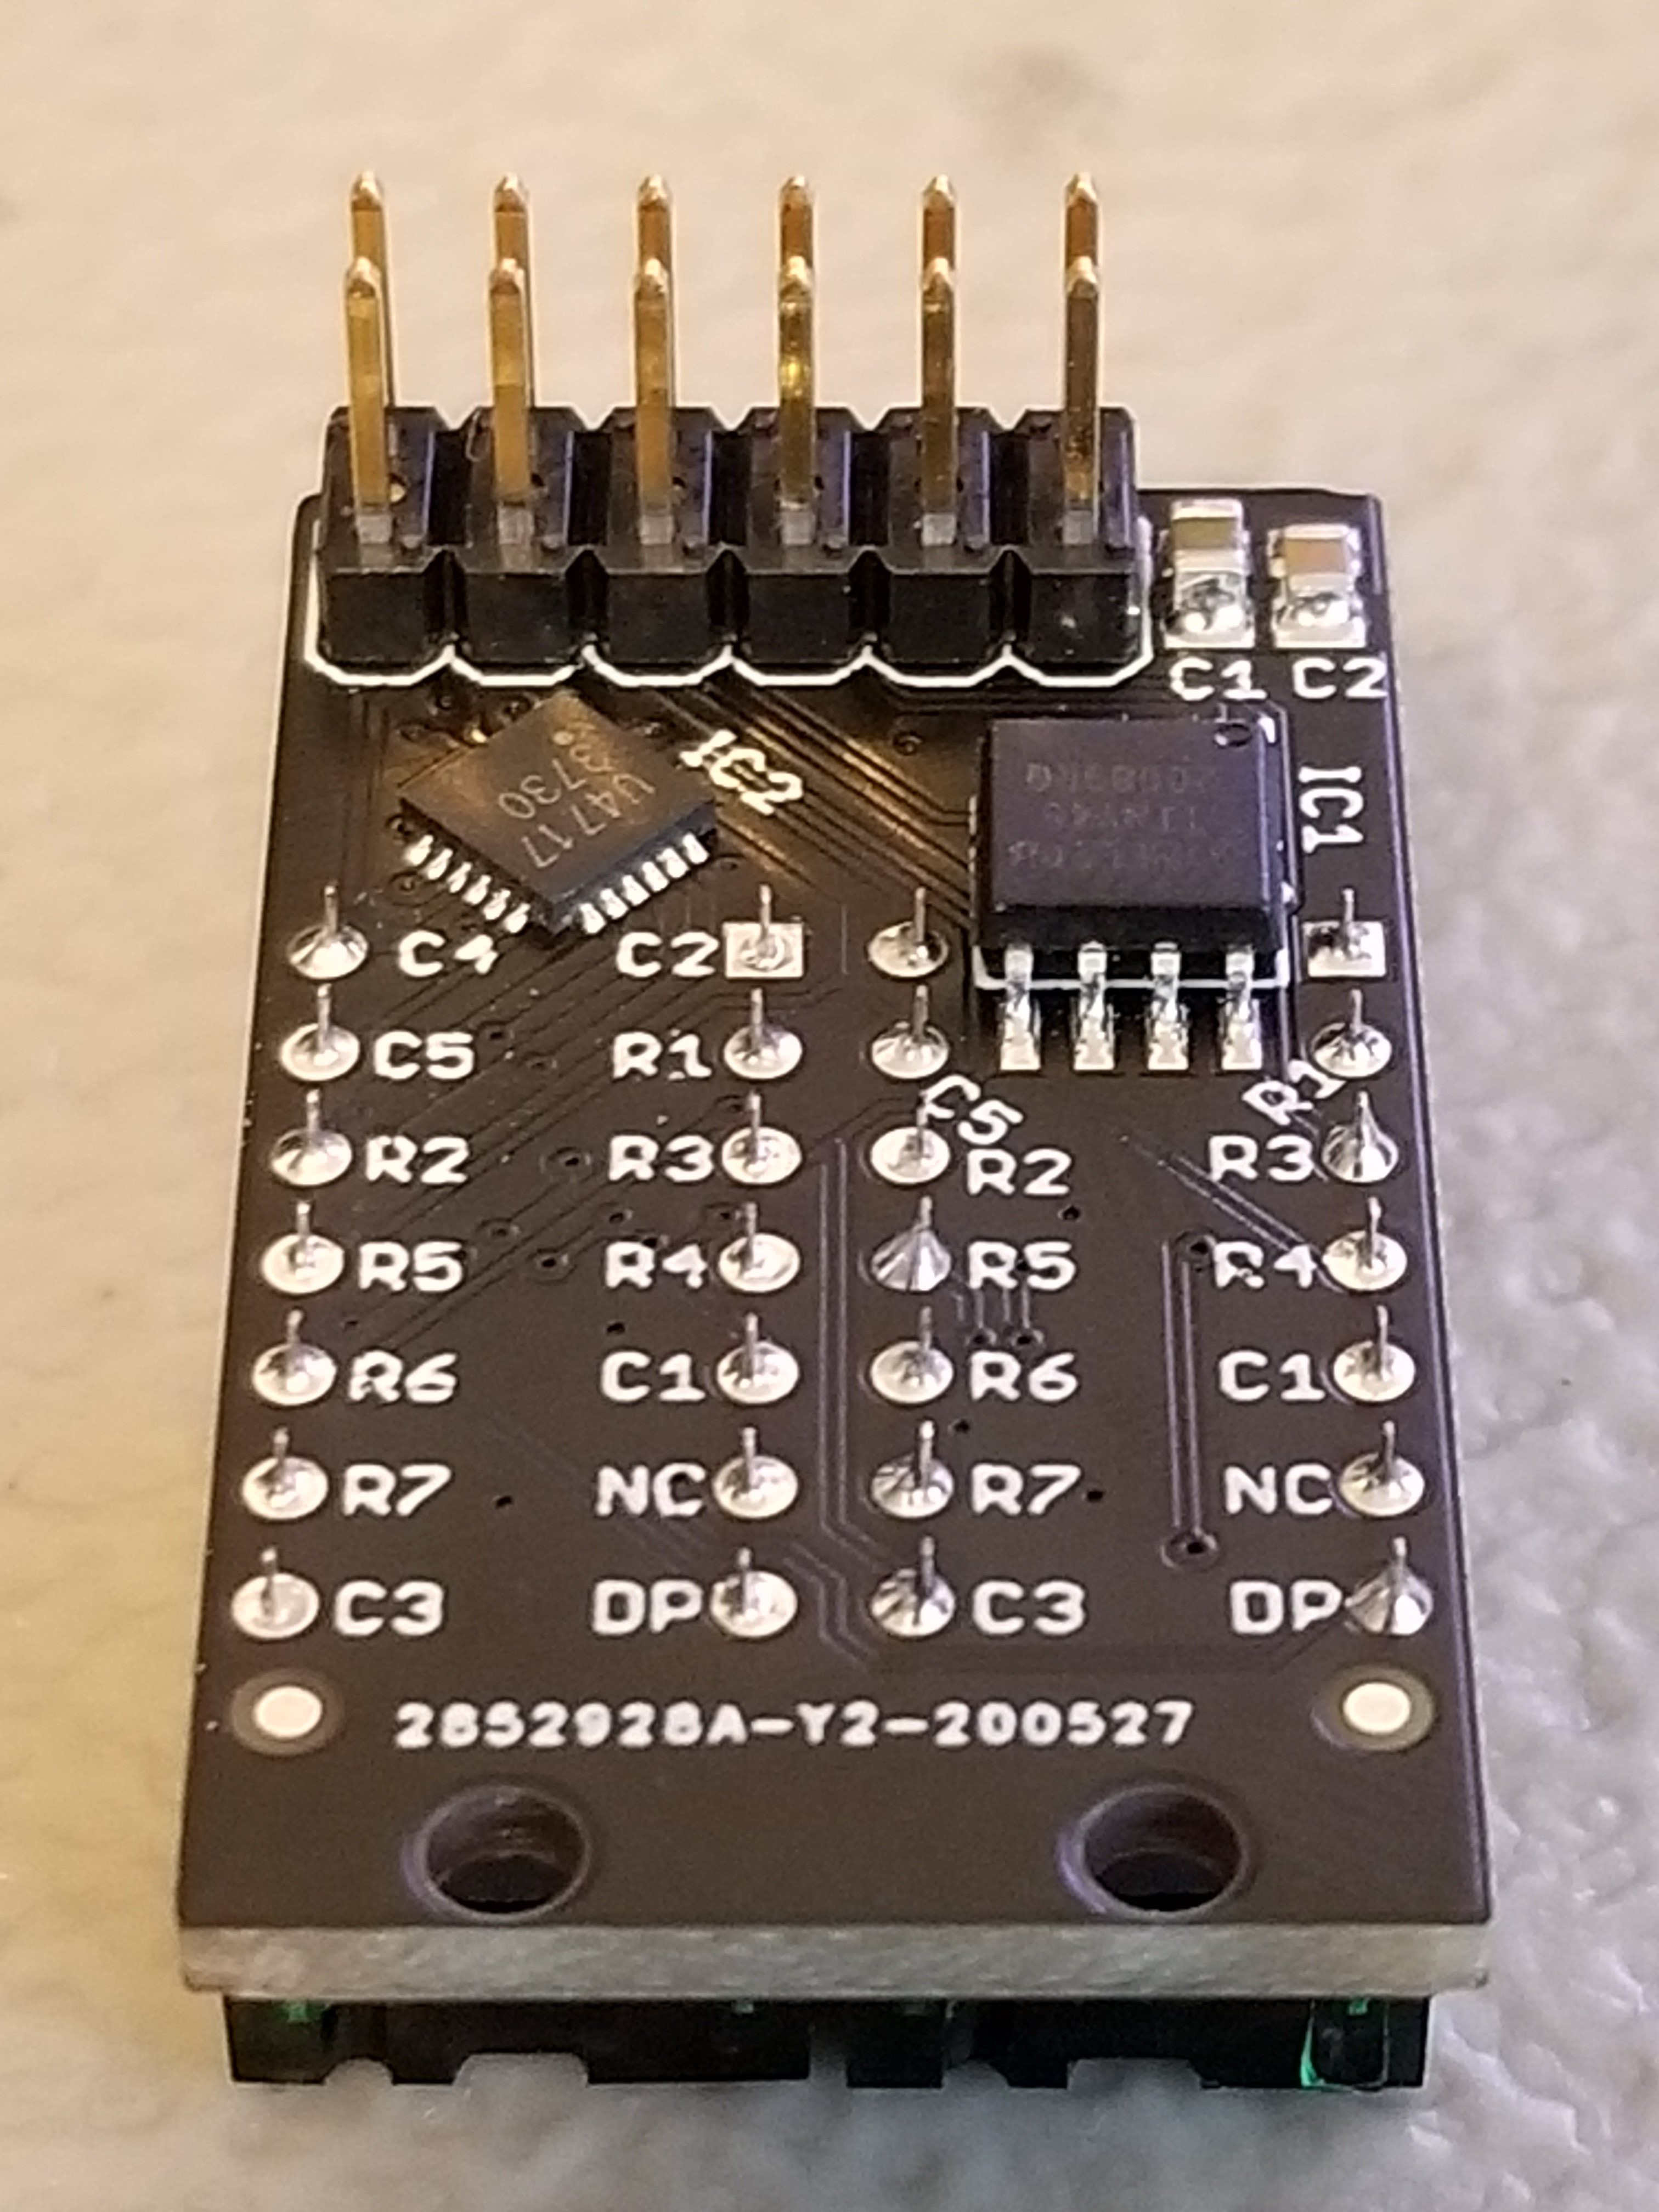
When we last heard from [lixielabs] he was building Nixie tube replacements out of etched acrylic and LEDs. Well he’s moved forward a few decades to bring us the Pixie, a chainable, addressable backpack for tiny LED matrix displays.

Each Pixie module is designed to host two gorgeous little Lite-On LTP-305G/HR 5×7 LED dot matrix displays, which we suspect have been impulse purchases in many a shopping cart. Along with the displays there is a small matrix controller and an ATTINY45 to expose a friendly electrical interface. Each module is designed to be mounted edge to edge and daisy chained out to 12 or more (with two displays each) for a flexible display any size you need. But to address the entire array only two control pins are required (data and clock).

[lixielabs] has done the legwork to make using those pins as easy as possible. He is careful to point out the importance of a good SDK and provides handy Arduino libraries for common microcontrollers and a reference implementation for the Raspberry Pi that should be easy to crib from to support new platforms. To go with that library support is superb documentation in the form of a datasheet (complete with dimensions and schematic!) and well stocked GitHub repo with examples and more.

To get a sense of their graphical capabilities, check out a video of 6 Pixie’s acting as a VU meter after the break. The Pixie looks like what you get when a hacker gets frustrated at reinventing LED dot matrix control for every project and decided to solve it once and for all. The design is clean, well documented, and extremely functional. We’re excited to see what comes next!

Kickstarter and its ilk seem like the Wild West when it comes to claims of being “The world’s most (Insert feature here) device!” It does add something special when you can truly say you have the world record for a device though, and [MellBell Electronics] are currently running a Kickstarter claiming the worlds smallest Arduino compatible board called Pico.

We don’t want to knock them too much, they seem like a legit Kickstarter campaign who have at time of writing doubled their goal, but after watching their promo video, checking out their Kickstarter, and around a couple of minutes research, their claim of being the world’s smallest Arduino-compatible board seems to have been debunked. The Pico measures in at an impressive 0.6 in. x 0.6 in. with a total area of 0.36 sq.in. which is nothing to be sniffed at, but the Nanite 85 which we wrote up back in 2014 measures up at around 0.4 in. x  0.7in. with a total area of around 0.28 sq.in.. In this post-fact, fake news world we live in, does it really matter? Are we splitting hairs? Or are the Pico team a little fast and loose with facts and the truth?

There may be smaller Arduino compatible boards out there, and this is just a case study between these two. We think when it comes to making bold claims like “worlds smallest” or something similar perhaps performing a simple Google search just to be sure may be an idea.


Filed under: Arduino Hacks, Crowd Funding
Jul
10

Self-Driving R/C Car Parks Itself Just Like a Lexus

Android, arduino, attiny, autonomous, bluetooth, car, Electronics, motor control IC, RC, Robotics Comments Off on Self-Driving R/C Car Parks Itself Just Like a Lexus 

carSelf-driving cars are in the news almost daily, but they are not exactly in my automotive budget for this decade. Today, that has changed. While this car might be smaller and not capable of giving me a ride, it’s still autonomous and, best of all, it is a project that I […]

Read more on MAKE

The post Self-Driving R/C Car Parks Itself Just Like a Lexus appeared first on Make: DIY Projects, How-Tos, Electronics, Crafts and Ideas for Makers.

Oct
23

Now Let’s See The World’s Largest Arduino

arduino, arduino hacks, attiny, ATtiny Hacks, ATTINY85, smallest arduino Comments Off on Now Let’s See The World’s Largest Arduino 

atomsoft

A few days ago we saw what would have been a killer Kickstarter a few years ago. It was the smallest conceivable ATtiny85 microcontroller board, with resistors, diodes, a USB connector, and eight pins for plugging into a breadboard. It’s a shame this design wasn’t around for the great Arduino Minification of Kickstarter in late 2011; it would have easily netted a few hundred thousand dollars, a TED talk, and a TechCrunch biopic.

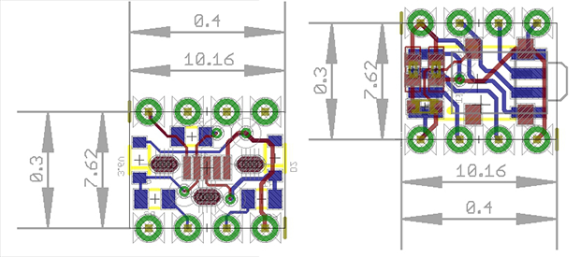
[AtomSoftTech] has thrown his gauntlet down and created an even smaller ‘tiny85 board. it measures 0.4in by 0.3in, including the passives, reset switch, and USB connector. To put that in perspective, the PDIP package of the ‘tiny85 measures 0.4 x 0.4. How is [Atom] getting away with this? Cheating, splitting the circuit onto two stacked boards, or knowing the right components, depending on how you look at it.

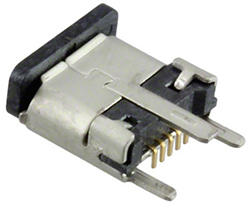
USB [Atom] is using a few interesting components in this build. The USB connector is a surface mount vertical part, making the USB cord stick out the top of this uC board. The reset button is extremely small as well, sticking out of the interior layer of the PCB sandwich.

[AtomSoft] has the project up on OSH Park ($1.55 for three. How cool is that?), and we assume he’ll be selling the official World’s Smallest Arduino-compatible board at Tindie in time.


Filed under: Arduino Hacks, ATtiny Hacks
Jun
08

PWM-Servo-Tester

Having the right tool for the job makes all the difference, especially for the types of projects we feature here at Hackaday. [Jan_Henrik's] must agree with this sentiment, one of his latest projects involves building a tool to generate a PWM signal and test servos using an Attiny25/45/85.

Tools come in all kinds of different shapes and sizes. Even if it might not be as widely used as [Jan_Henrik's] earlier work that combines an oscilloscope and signal generator, having a tool that you can rely upon to test servos and generate a PWM can be very useful. This well written Instructable provides all the details you need to build your own, including the schematic and the necessary code (available on GitHub). The final PWM generator looks great. For simple projects, sometimes a protoboard is all you need. It would be very cool to see a custom PCB made for this project in the future.

What tools have you build recently? Indeed, there is a tool for every problem. Think outside the (tool) box and let us know what you have made!


Filed under: Arduino Hacks, tool hacks
May
31

Developing the Grillino in 24 Hours

arduino hacks, attiny, ATTINY85, microcontrollers, Piezo, shenzhen Comments Off on Developing the Grillino in 24 Hours 

grillino

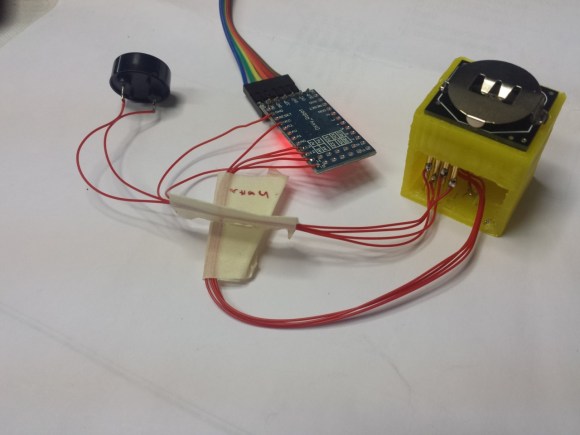
[Mastro Gippo] hit Shenzhen back in April and organized a challenge for himself: could he develop an electronic device from idea to product in only 24 hours? The result is the Grillino, a simple clone of the Annoy-a-Tron: a small, concealable device that makes chirping sounds at random intervals. It’s name was derived from a mix of the Italian word for a cricket—”grillo”—and, of course, “Arduino.”

Shenzhen was the perfect setting for his experiment, especially because [Mastro Gippo] was in town for the Hacker Camp we mentioned a few months ago. The build is pretty simple, requiring only a microcontroller, a battery, and a piezo speaker. What follows is a detailed journey of dizzying speed through the production process, from bags stuffed full of components, to 3D-printing a test jig, to searching for a PCB manufacturer that could fulfill his order overnight. Video and more below.

In his haste to arrive at a finished product, [Mastro Gippo] chose a faint-sounding buzzer, which turned out not to be piezo buzzers at all, but small speakers. Though this and other problems prevented him from completing the final version in under 24 hours, we’re impressed with [Mastro Gippo's] enthusiastic sprint through this build and with his stories of the Shenzhen environment. Check out his blog for the rest of the project details and some fond memories of his trip abroad.


Filed under: Arduino Hacks, Microcontrollers
Apr
04

Building an Arduino out of Paper

arduino, attiny, ATTINY85, Paperduino Comments Off on Building an Arduino out of Paper 

The Paperduino TinyFollowing in the footsteps of the original Paperduino—and the Paperduino Leonardo—comes the Paperduino Tiny.

Read more on MAKE

Feb
22

How-To: Shrinkify Your Arduino Projects

arduino, attiny, chip Comments Off on How-To: Shrinkify Your Arduino Projects 

If you have a simple Arduino project that uses only a few pins, you might be able to shrink it down to a single 8-pin ATtiny chip. In this video, Matt Richardson shows you how, based on a tutorial from MIT Media Lab’s High-Low Tech Group. The best part is you can use the same Arduino code and development environment that you’re already used to.

How-To: Shrinkify Your Arduino Projects - [Link]


  • Newsletter

    Sign up for the PlanetArduino Newsletter, which delivers the most popular articles via e-mail to your inbox every week. Just fill in the information below and submit.

  • Like Us on Facebook