Posts | Comments

Planet Arduino

Archive for the ‘light’ Category

Have you ever exited a dark movie theater in the middle of the afternoon and found yourself blinded by the sudden transition to bright sunlight? Etienne Leroy faces the same problem after watching a movie on his home projector and turning on the lights. Because those lights are intense and instantly come on at full brightness, the transition can be very harsh. To increase comfort, he designed a ring-shaped lamp that lightens progressively.

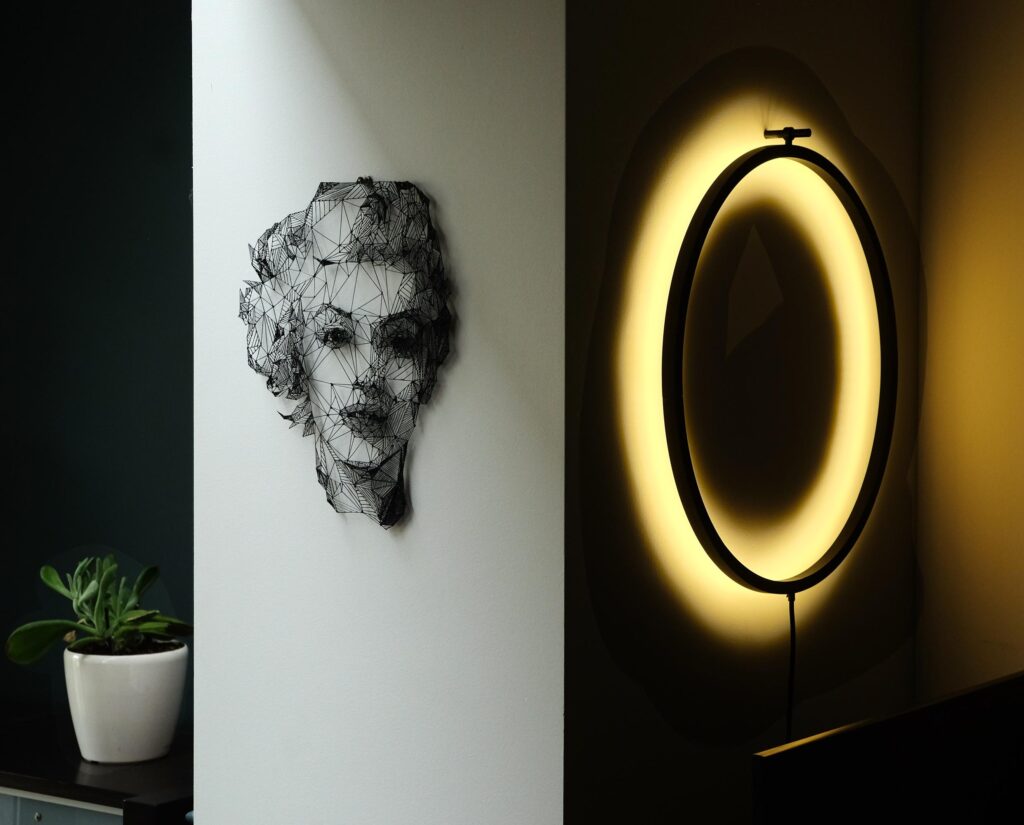
ECLIPSE is a ring-shaped lamp that shines its light upon the wall onto which it is mounted. When activated, it gradually increased the brightness of the light in order to avoid a jarring transition after movie time. There are no longer any worries about hurt eyes and the lamp looks gorgeous, so it adds to the home’s decor instead of detracting from it. Best of all, ECLIPSE is easy and affordable to build if you want your own.

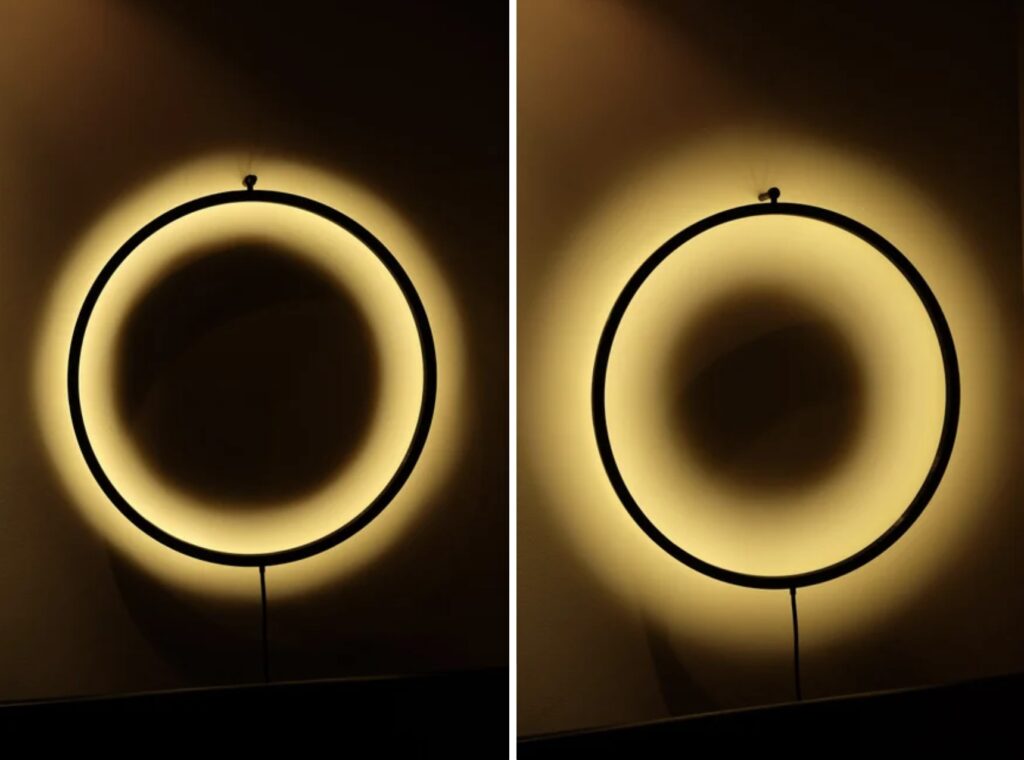
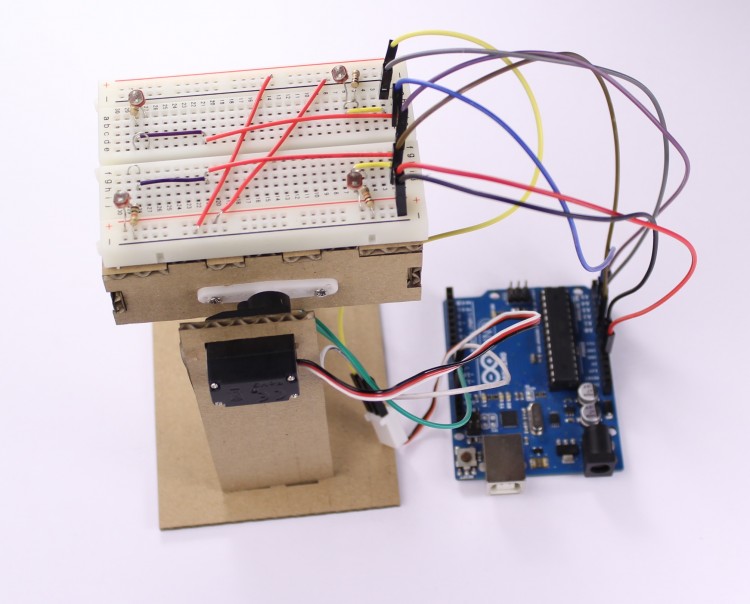
The lamp’s frame is printable in small sections that should fit on most consumer 3D printers. Illumination comes from a strip of “warm white” LEDs, though it would be easy to substitute another color or even RGB LEDs. An Arduino Nano controls those LEDs, increasing brightness slowly over a set period of time. It uses an infrared receiver module, so users can take advantage of the remotes they already own and have handy to turn the ECLIPSE lamp on. It will work with any infrared remote and the user only needs to decode the specific code sent by their remote when they press the desired button.

The post ECLIPSE is a beautiful ring lamp that lightens progressively appeared first on Arduino Blog.

Gardening is a rewarding endeavour, and easily automated for the maker with a green thumb. With simplicity at its focus,  Hackaday.io user [MEGA DAS] has whipped up a automated planter to provide the things plants crave: water, air, and light.

[MEGA DAS] is using a TE215 moisture sensor to keep an eye on how thirsty the plant may be, a DHT11 temperature and humidity sensor to check the airflow around the plant, and a BH1750FVI light sensor for its obvious purpose. To deliver on these needs, a 12V DC water pump and a small reservoir will keep things right as rain, a pair of 12V DC fans mimic a gentle breeze, and a row of white LEDs supplement natural light when required.

The custom board is an Arduino Nano platform, with an ESP01 to enable WiFi capacity and a Bluetooth module to monitor the plant’s status while at home or away. Voltage regulators, MOSFETs, resistors, capacitors, fuses — can’t be too careful — screw header connectors, and a few other assorted parts round out the circuit. The planter is made of laser cut pieces with plenty of space to mount the various components and hide away the rest. You can check out [MEGA DAS]’ tutorial video after the break!

[MEGA DAS] has made his Arduino code and phone app available to download for anyone else wanting to build their own. Once assembled, he can ensure his plant is well taken care of wherever he is with a few taps on his phone. Not too shabby for a seven day build.

For those preferring gardening outdoors, here’s a hack to jump-start the germinating process of your seeds. Even if you call the concrete jungle your home, that doesn’t mean you can’t have your own robot farm and automated compost bin on hand too!

We didn’t include a “Most Ornate” category in this year’s Coin Cell Challenge, but if we had, the environmentally reactive jewelry created by [Maxim Krentovskiy] would certainly be the one to beat. Combining traditional jewelry materials with an Arduino-compatible microcontroller, RGB LEDs, and environmental sensors; the pieces are able to glow and change color based on environmental factors. Sort of like a “mood ring” for the microcontroller generation.

[Maxim] originally looked for a turn-key solution for his reactive jewelry project, but found that everything out there wasn’t quite what he was looking for. It was all either too big or too complicated. His list of requirements was relatively short and existing MCU boards were simply designed for more than what he needed.

On his 30 x 30 mm PCB [Maxim] has included the bare essentials to get an environmentally aware wearable up and running. Alongside the ATtiny85 MCU is a handful of RGB LEDs (with expansion capability to add more), as well as analog light and temperature sensors. With data from the sensors, the ATtiny85 can come up with different colors and blink frequencies for the LEDs, ranging from a randomized light show to a useful interpretation of the local environment.

It’s not much of a stretch to imagine practical applications for this technology. Consider a bracelet that starts flashing red when the wearer’s body temperature gets too high. Making assistive technology visually appealing is always a challenge, and there’s undoubtedly a market for pieces of jewelry that can communicate a person’s physical condition even when they themselves may be unable to.

Form or function, life saving or complete novelty, there’s still time to enter your own project in the 2017 Coin Cell Challenge.


Filed under: Arduino Hacks, ATtiny Hacks, contests, Wearable Hacks

With All Hallow’s Eve looming close, makers have the potential to create some amazing costumes we’ll remember for the rest of the year. If you’re a fan of the hugely addict-*cough* popular game Minecraft, perhaps you’ve considered cosplaying as your favorite character skin, but lacked the appropriate props. [Graham Kitteridge] and his friends have decided to pay homage to the game by making their own light-up Minecraft swords.

These swords use 3D-printed and laser-cut parts, designed so as to hide the electronics for the lights and range finder in the hilt. Range finder? Oh, yes, the sword uses an Arduino Uno-based board to support NewPixels LEDs and a 433Mhz radio transmitter and receiver for ranged detection of other nearby swords that — when they are detected — will trigger the sword to glow. Kind of like the sword Sting, but for friendlies.

Fellowship of Minecraft Sword

All of the files for the parts are available on the project’s Thingverse page and the board setup can be purchased here. If you want to have some fun controlling the real world from inside Minecraft, check out how this fan uses it to turn on lamps in their home.


Filed under: 3d Printer hacks, Arduino Hacks, weapons hacks

Wafer level chips are cheap and very tiny, but as [Kevin Darrah] shows, vulnerable to bright light without the protective plastic casings standard on other chip packages.

We covered a similar phenomenon when the Raspberry Pi 2 came out. A user was taking photos of his Pi to document a project. Whenever his camera flash went off, it would reset the board.

[Kevin] got a new Arduino 101 board into his lab. The board has a processor from Intel, an accelerometer, and Bluetooth Low Energy out of the box while staying within the same relative price bracket as the Atmel versions. He was admiring the board, when he noticed that one of the components glittered under the light. Curious, he pulled open the schematic for the board, and found that it was the chip that switched power between the barrel jack and the USB. Not only that, it was a wafer level package.

So, he got out his camera and a laser. Sure enough, both would cause the power to drop off for as long as the package was exposed to the strong light. The Raspberry Pi foundation later wrote about this phenomenon in more detail. They say it won’t affect normal use, but if you’re going to expose your device to high energy light, simply put it inside a case or cover the chip with tape, Sugru, or a non-conductive paint to shield it.


Filed under: Arduino Hacks

[Connor] was working on a project for his college manufacturing class when he came up with the idea for this sleek desk lamp. As a college student, he’s not fond of having his papers glowing brightly in front of him at night. This lamp takes care of the problem by adjusting the color temperature based on the position of the sun. It also contains a capacities touch sensor to adjust the brightness without the need for buttons with moving parts.

The base is made from two sheets of aluminum and a bar of aluminum. These were cut and milled to the final shape. [Connor] found a nice DC barrel jack from Jameco that fits nicely with this design. The head of the lamp was made from another piece of aluminum bar stock. All of the aluminum pieces are held together with brass screws.

A slot was milled out of the bottom of the head-piece to make room for an LED strip and a piece of 1/8″ acrylic. This piece of acrylic acts as a light diffuser.  Another piece of acrylic was cut and added to the bottom of the base of the lamp. This makes for a nice glowing outline around the bottom that gives it an almost futuristic look.

The capacitive touch sensor is a pretty simple circuit. [Connor] used the Arduino capacitive touch sensor library to make his life a bit easier. The electronic circuit really only requires a single resistor between two Arduino pins. One of the pins is also attached to the aluminum body of the lamp. Now simply touching the lamp body allows [Connor] to adjust the brightness of the lamp.

[Connor] ended up using an Electric Imp to track the sun. The Imp uses the wunderground API to connect to the weather site and track the sun’s location. In the earlier parts of the day, the LED colors are cooler and have more blues. In the evening when the sun is setting or has already set, the lights turn more red and warm. This is easier on the eyes when you are hunched over your desk studying for your next exam. The end result is not only functional, but also looks like something you might find at that fancy gadget store in your local shopping mall.


Filed under: Arduino Hacks
Dec
08

Using an Arduino to Light a Grounded F-16

arduino, F-16, light Comments Off on Using an Arduino to Light a Grounded F-16 

tacosArduino boards and military hardware don’t generally go together. For a piece of hardware that is no longer in use and will be on display, however, it makes a great method for lighting control. In this case, the lights go to an F-16, beautifully restored for the National Museum of […]

Read more on MAKE

Nov
24

Cheap Arduino Controlled Light Sockets

arduino, LED, light, Lightbulb Comments Off on Cheap Arduino Controlled Light Sockets 

FZLXPGWI2Q1H6GS.MEDIUM

by FabricateIO @ instructables.com:

Smart lightbulbs cost your firstborn child. Which is a shame, because smart lights unlock tremendous potential for home automation, energy savings, and all sorts of cool projects.

If only there was a way to control your lights without breaking the bank…

And now there is! For $19 on Amazon, you can get a 4-lightbulb kit from China that ordinarily is limited to 4 channels from a single remote…but with some creative hacking, can be used to control an unlimited number of channels using an arduino and a very simple RF module!

Cheap Arduino Controlled Light Sockets - [Link]

Nov
21

Global emotional light with Arduino

arduino, arduino uno, Featured, Lamp(s), light Comments Off on Global emotional light with Arduino 

luz

Based on open source technology and programming, LUZ is a lighting project that product designer Marina Mellado designed and targeted to those people who are physically and psychologically affected by the lack of sun or daylight.

Luz is a one meter diameter ring of light. It connects two LED stripes RGB SMD5050 to an Adafruit TCS34725 sensor ( which I use to get the temperature of colour (K) and the light intensity (Lux) Values ) and an Arduino Uno.

The electronic system is programmed to modify gradually the light-color sensibility of the lamp depending on the weather conditions when the sensor is positioned by the window.

Check the video below to see the lamp in action:

Nov
10

A simple light follower with Analog 180° Micro Servo

arduino, arduino uno, Featured, light, servo, tutorial Comments Off on A simple light follower with Analog 180° Micro Servo 

750x750_520a90cb0165c2.15959628

Servos are composed of an electric motor mechanically linked to a potentiometer and they are able to translate the width of the pulse into a position. When you command the servo  to rotate, the motor is powered until the potentiometer reaches the value corresponding to the commanded position.

Today we’d like to share with you a tutorial with the aim of showing how to make a simple light follower made of cardboard using Arduino Uno and a microservo, in this case the Analog 180° Micro Servo.

Follow the step by step lesson to build one yourself.


  • Newsletter

    Sign up for the PlanetArduino Newsletter, which delivers the most popular articles via e-mail to your inbox every week. Just fill in the information below and submit.

  • Like Us on Facebook