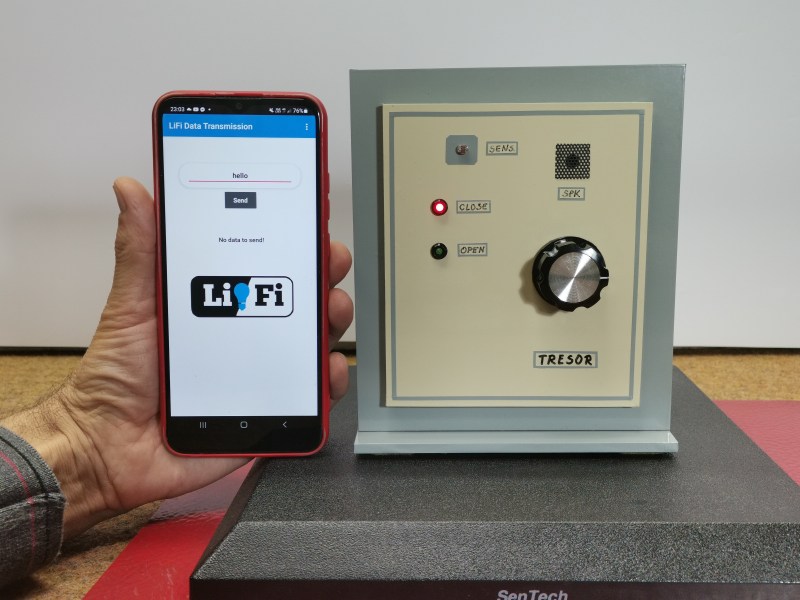
At first blush, this seems horribly insecure. Use a plain old flashlight to open a door? Come on. But the key is in the software. In fact, between the typed-in pass code and the flash of light it generates, this lock kind of has two layers of security.
Here’s what’s going on: inside the accompanying smart phone application, there’s a list of passwords. Each of these passwords corresponds to a flash of light in milliseconds. Enter the correct password to satisfy the Arduino, and the phone’s flashlight is activated for the appropriate number of milliseconds to unlock the door.
As you’ll see in the video below, simply flashing the light manually doesn’t unlock the door, and neither does entering one of the other, bogus passwords. Although it does activate the flashlight each time, they don’t have the appropriate light-time length defined.
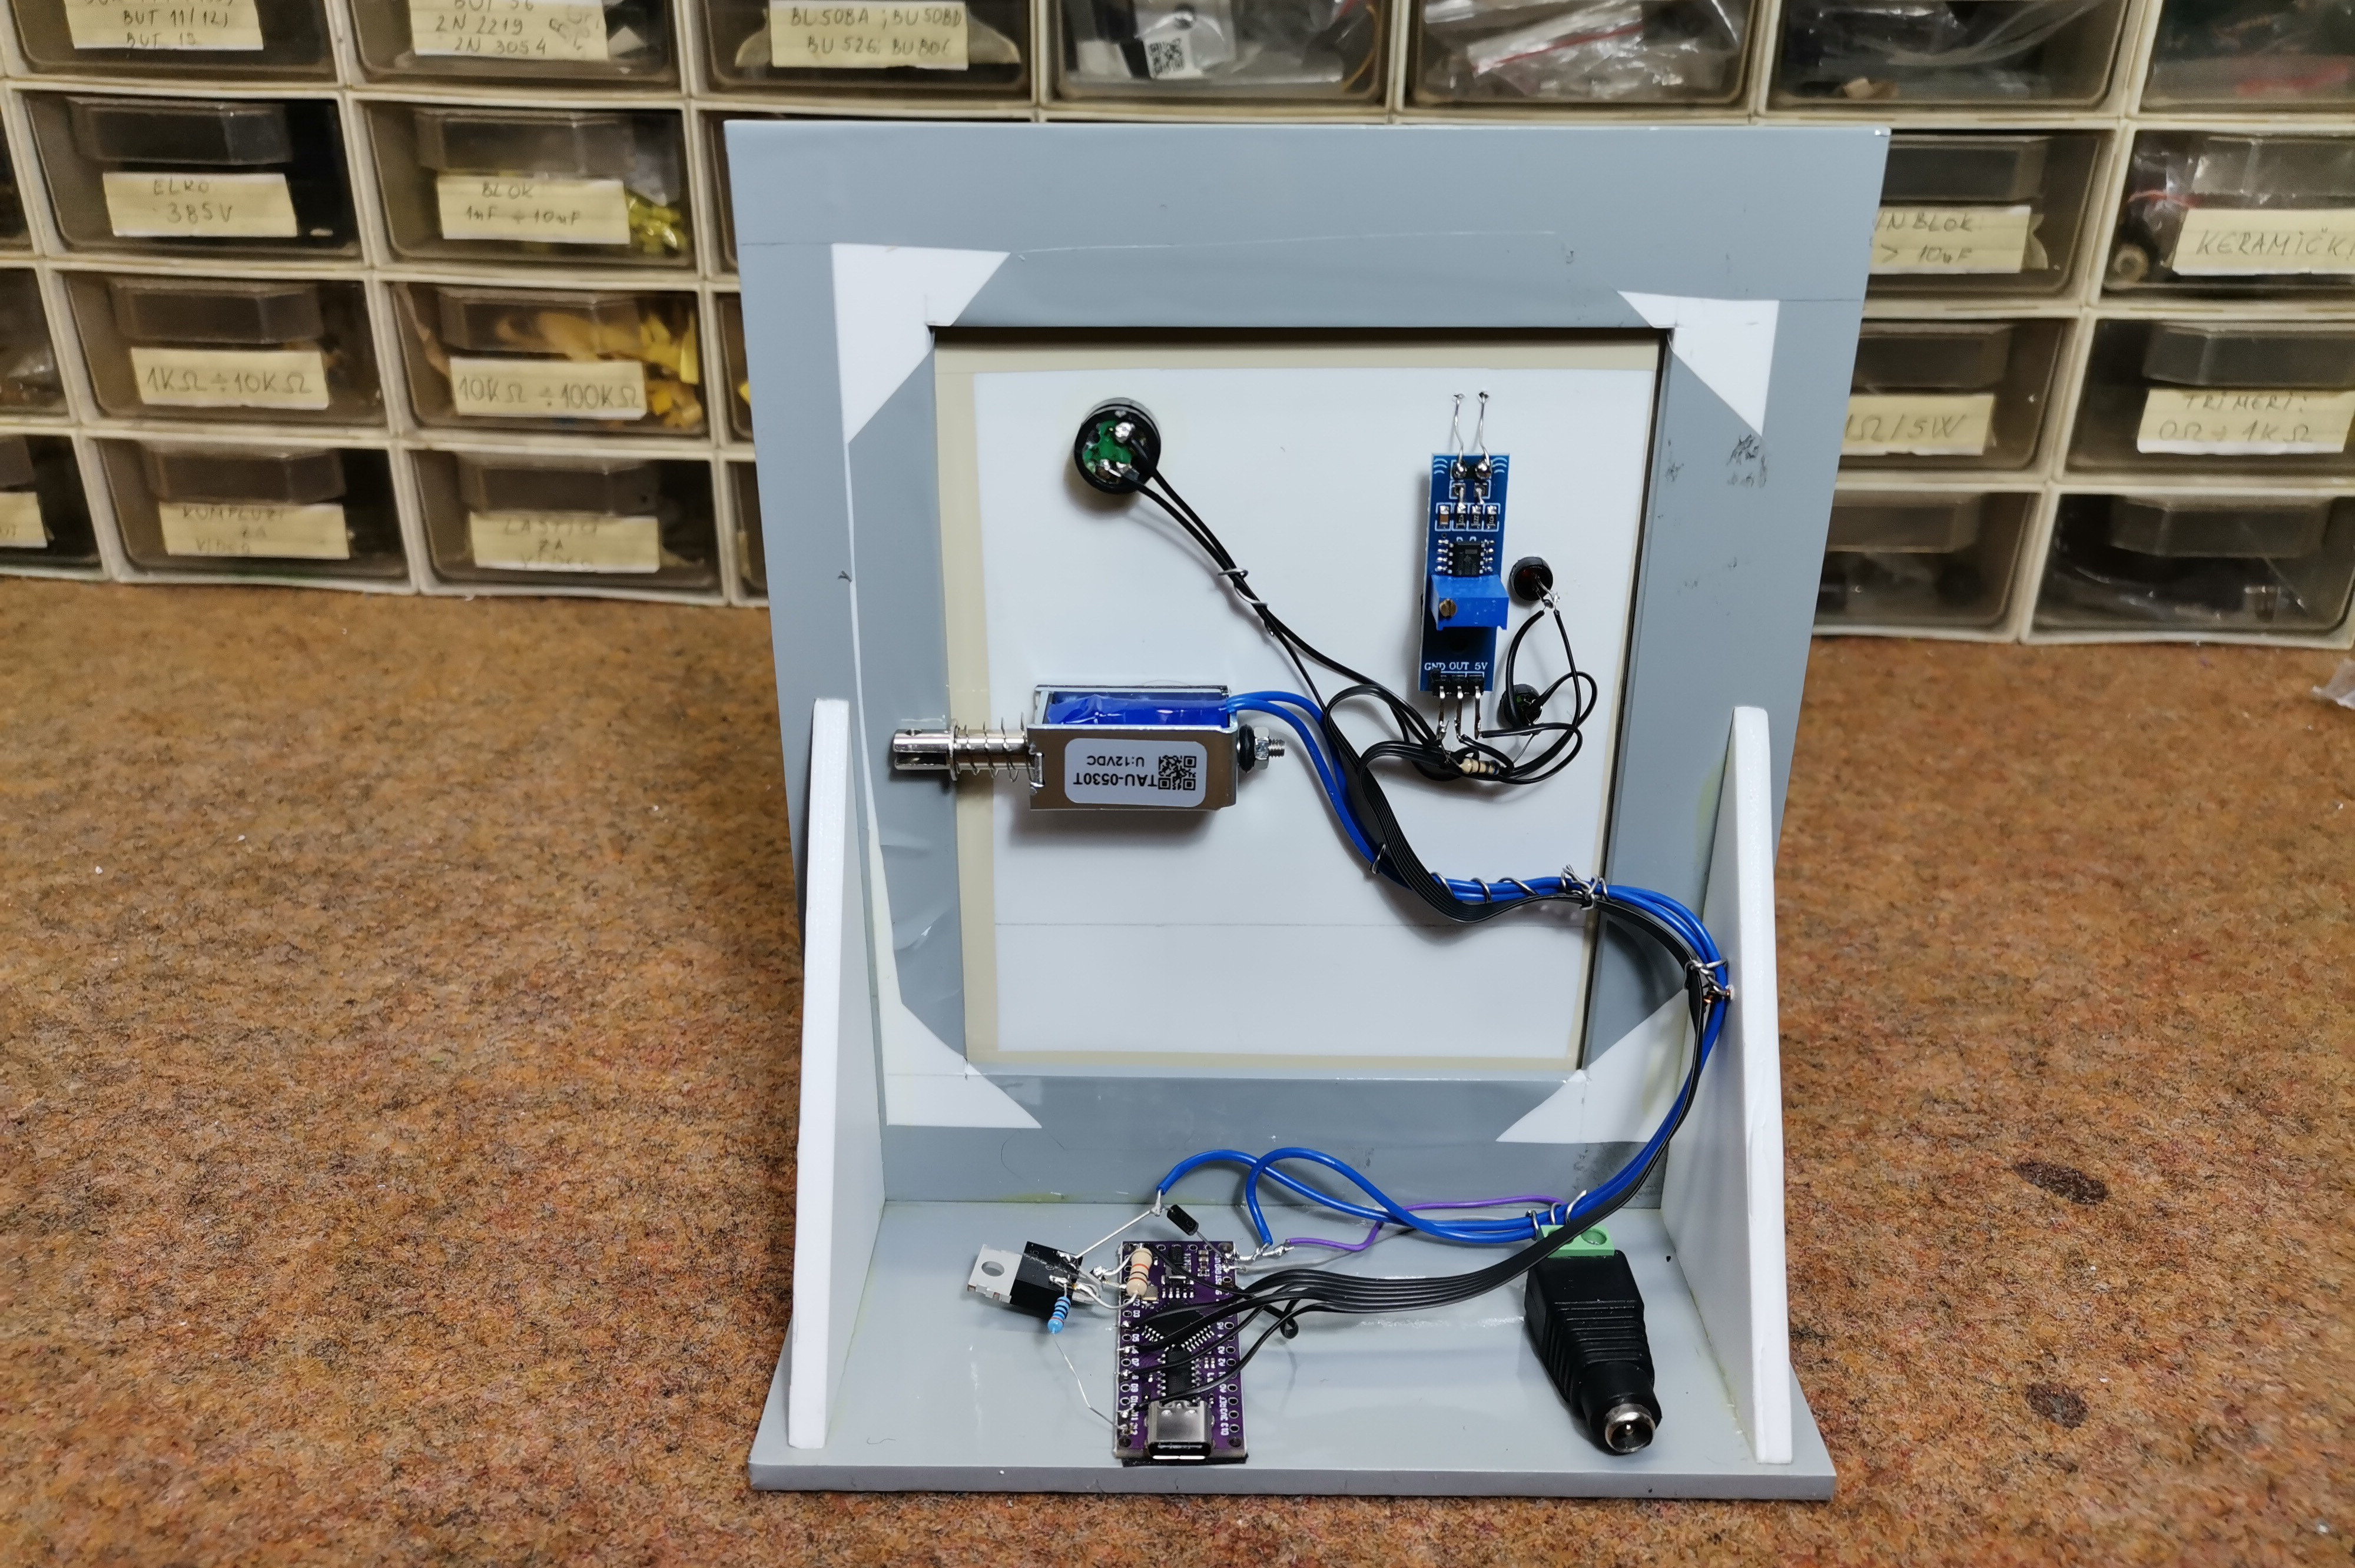
Hardware-wise, there is an Arduino Nano Every in charge of the LDR module that reads the flashlight input and the 12 V relay that unlocks the door. Be sure to check it out it the video after the break.
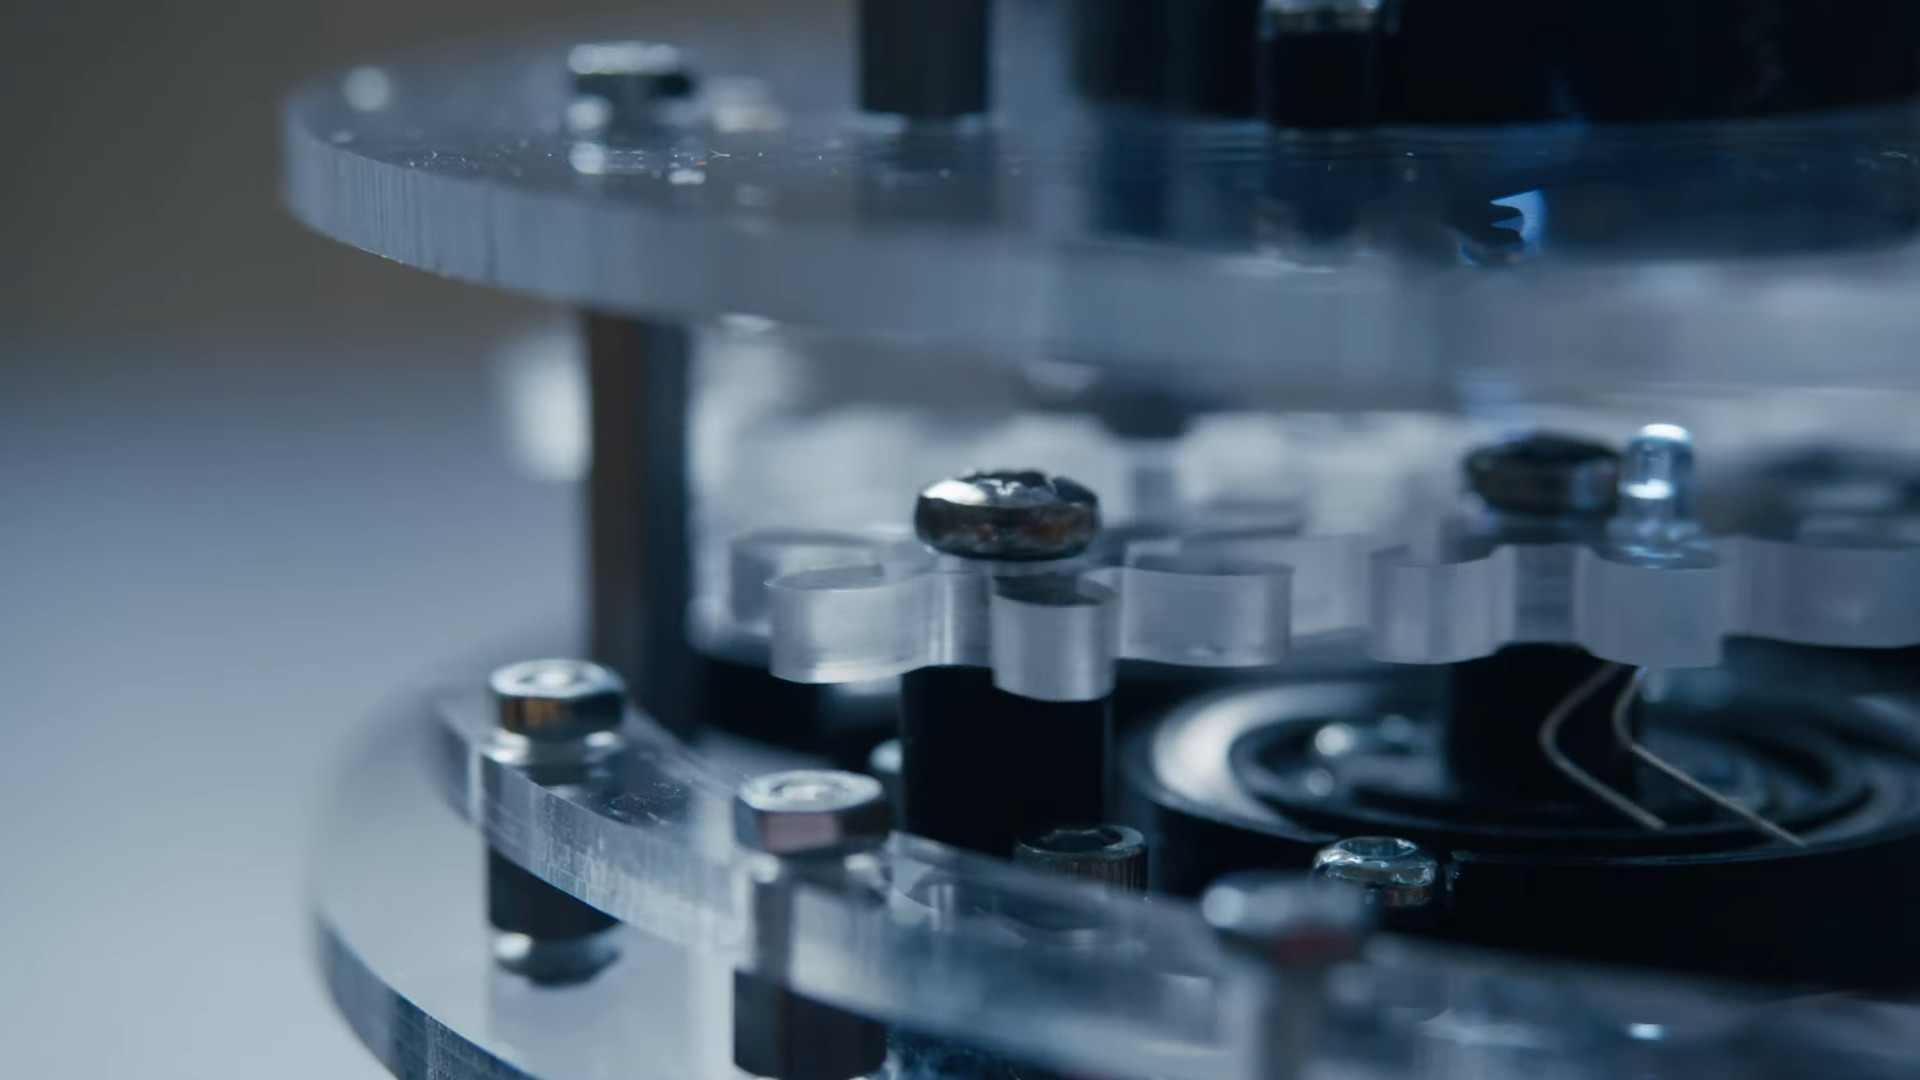
We absolutely love the impetus of this project, as it definitely sounds like something a Hackaday reader would go through. After finally deciding between a CNC router and a laser cutter, [Eirik Brandal] was planning to “Hello, World” the CNC with something quick and simple, like maybe a few acrylic plates with curves and some electronics. Instead, feature creep took over, “things escalated out of control”, and [Eirik] came up with this intriguing and complicated kinetic sculpture.
As you’ll see in the demo video below, this is a motor-driven sculpture with sound and intermittent light. It has an Arduino Nano Every, two motors, and eight gears with various cog counts to accommodate the project. The light comes from LEDs that are attached to the DIY gears with their legs bent and their little feet sliding around homemade slip rings in order to alight.
But what about the sound? There’s an affixed piezo disk that picks up the gears’ vibrations and chafing, and this gets amplified to augment the acoustic sounds of the sculpture. Be sure to check out the quite satisfying demo video after the break, and stick around for the build video.
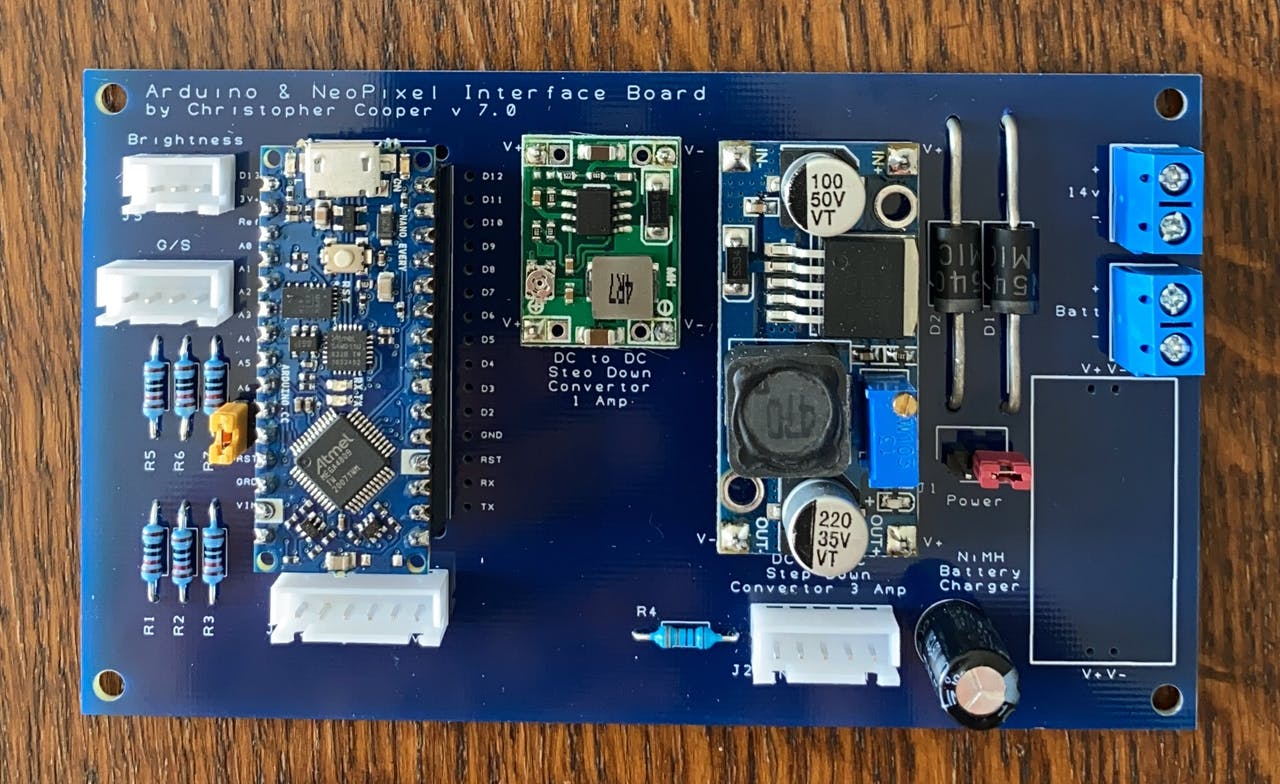
When [ccooper] told his parents he was gonna start up his electronics habit again, the last thing he expected was to save his parents’ marriage in the process. But as soon as he dropped this news, they made a special request: build us something to replace the multi-purpose manual cribbage board. It’s too ambiguous and starts too many arguments.
These four matrices are run by an Arduino Nano Every and will display one of three scoring schemes that the parents usually play. A set of eight AA batteries ensures that Mum and Dad can play out in bright daylight and still see the LEDs. You can see how the brightness rivals the sun in the demo after the break. The code and Gerber files for the custom board are there if you want to make one for yourself, or know of another marriage that needs saving.
Sunrises and sunsets hardly ever disappoint. Still, it’s difficult to justify waking up early enough to catch one, or to stop what you’re doing in the evening just to watch the dying light. If there’s one good thing about CCTV cameras, it’s that some of them are positioned to catch a lovely view of one of the two, and a great many of them aren’t locked down at all.
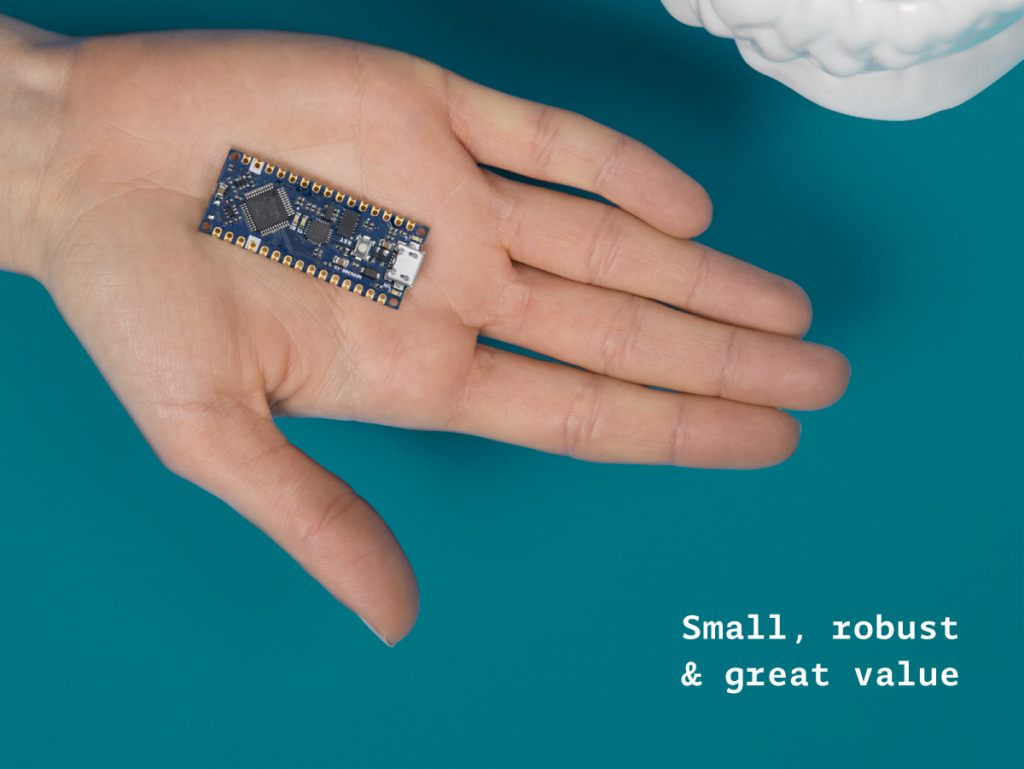
The original Arduino Nano occupies a special place in many makers’ hearts. The tiny footprint (48*18 mm), reliability and tons of examples makes the Nano perfect for wearables, drones — in fact any project made to last.
The Nano is back! The new entry-level Arduino Nano Every manages to pack in even more features at an even lower price – just $9.90 / €8.00 without headers — and is backwards compatible with the original. Dario Pennisi led the development of the board, so we sat down with him to learn more.
Why did you decide to create the Arduino Nano Every?
Searching for “Arduino Nano project” yields millions of results. But you also find people complaining about boards not working. Of course these boards are usually clones (not genuine Arduino boards)! Clones can be cheaper but reliability issues can mean you need to pay for more, or are frustrated trying to get them to work.
This is why we made the Arduino Nano Every. It’s reliable, affordable and more powerful. We’ve used a quality USB chip so people won’t have connection or driver issues. The newer ATmega4809 microcontroller fixes limitations of older ATmega328p based boards – you can add a second hardware serial port! As well as more peripherals and memory, the Configurable Custom Logic (CCL) is a great way to get beginners more interested in hardware. Finally, the separate processor handling the USB interface makes it possible to implement USB classes such as Human Interface Device (HID) instead of just the classic CDC/UART.
We see the Arduino Nano Every at the heart of wearable projects; in experiments, in prototypes or in a full cosplay setup! Sensors and motors can be connected without too much fuss which means it’s great for robotics, drones and 3D printing too. Not only is it a great choice for makers – in buying a genuine Arduino they will be supporting us in continuing to contribute to open source for the whole community to benefit from.
Can you tell us the three key features of Nano Every?
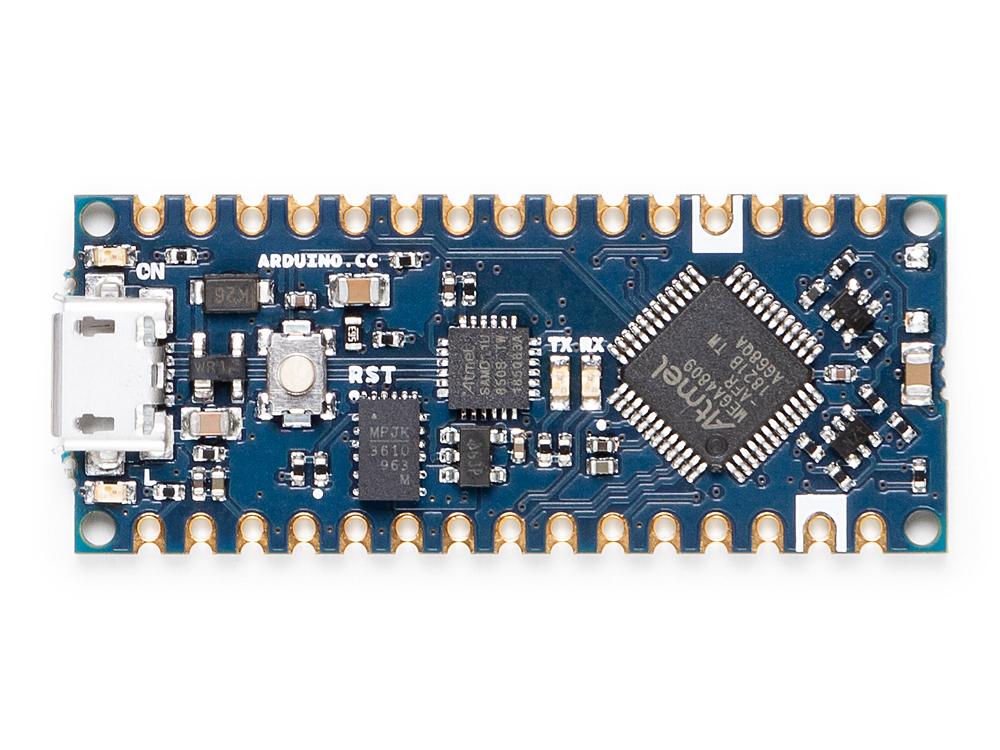
New processor with more memory and new peripherals, still 5V capable. The added memory will unleash creativity and open to more complex applications and the new peripheral set, which includes a second serial port, will finally allow communicating at the same time with a PC and with peripherals such as a wireless interface or a GPS.
The new power supply architecture based on a high efficiency DC-DC converter allows powering the board at up to 21V and to drive output peripherals with up to 950mA without overheating
Castellated contacts and flush bottom side allow soldering the Nano Every directly on a board as a traditional SMT component, opening the possibility to reduce final product size and helping the use in volume applications
So the processor is the same as the Uno WiFi R2 and it has more Flash and more RAM. The sketches made for the Nano are going to run on the Every as they are? Is it truly a replacement with zero modification in any Nano based project? Please elaborate.
Actually the ATmega4809 we use on Uno WiFi R2 and Nano Every is not directly compatible with ATmega328p, however we’ve implemented a compatibility layer which translates low level register writes without any overhead so the result is that most libraries and sketches, even those accessing directly GPIO registers, will work out of the box
Why you decided to offer the board with no headers supplied or soldered in the basic package?
Not only are new Nano boards are offered without headers, they all are totally flat on the bottom side and offer castellated pads on the sides, so you can actually solder them on your PCB as a standard SMT component using a normal pick & place machine.
The price is really aggressive, did you compromise on Arduino quality standards to achieve this?
We’ll never give up on Arduino quality standards and we’re still manufacturing in Italy making sure that our ethical values are strictly followed. The lower price point on these products has been achieved thanks to a careful optimization on purchasing prices and by trimming our margins as we believe that it’s important to give makers the quality they deserve at competitive prices.
The Arduino Nano Every is now available for pre-order on the Arduino online store with headers or without headers mounted (estimated shipping date: mid-June 2019).
About
Planet Arduino is, or at the moment is wishing to become, an aggregation of public weblogs from around the world written by people who develop, play, think on Arduino platform and his son. The opinions expressed in those weblogs and hence this aggregation are those of the original authors. Entries on this page are owned by their authors. We do not edit, endorse or vouch for the contents of individual posts. For more information about Arduino please visit www.arduino.cc
You are currently browsing the archives for the Arduino Nano Every category.

 At first blush, this seems horribly insecure. Use a plain old flashlight to open a door? Come on. But the key is in the software. In fact, between the typed-in pass code and the flash of light it generates, this lock kind of has two layers of security.