
04
Not satisfied with any of the DIY retro computer kits on the market, [Leonardo Leoni] decided to make his own. Built using only the finest through-hole technology and powered by the ATmega328 microcontroller, his diminutive 8-bit computer is easy to build and even easier to develop for. Whether you’re looking to hone your BASIC skills or play some Zork on the bus, this little computer looks like a great project for anyone who has a soft spot for computing’s simpler days.
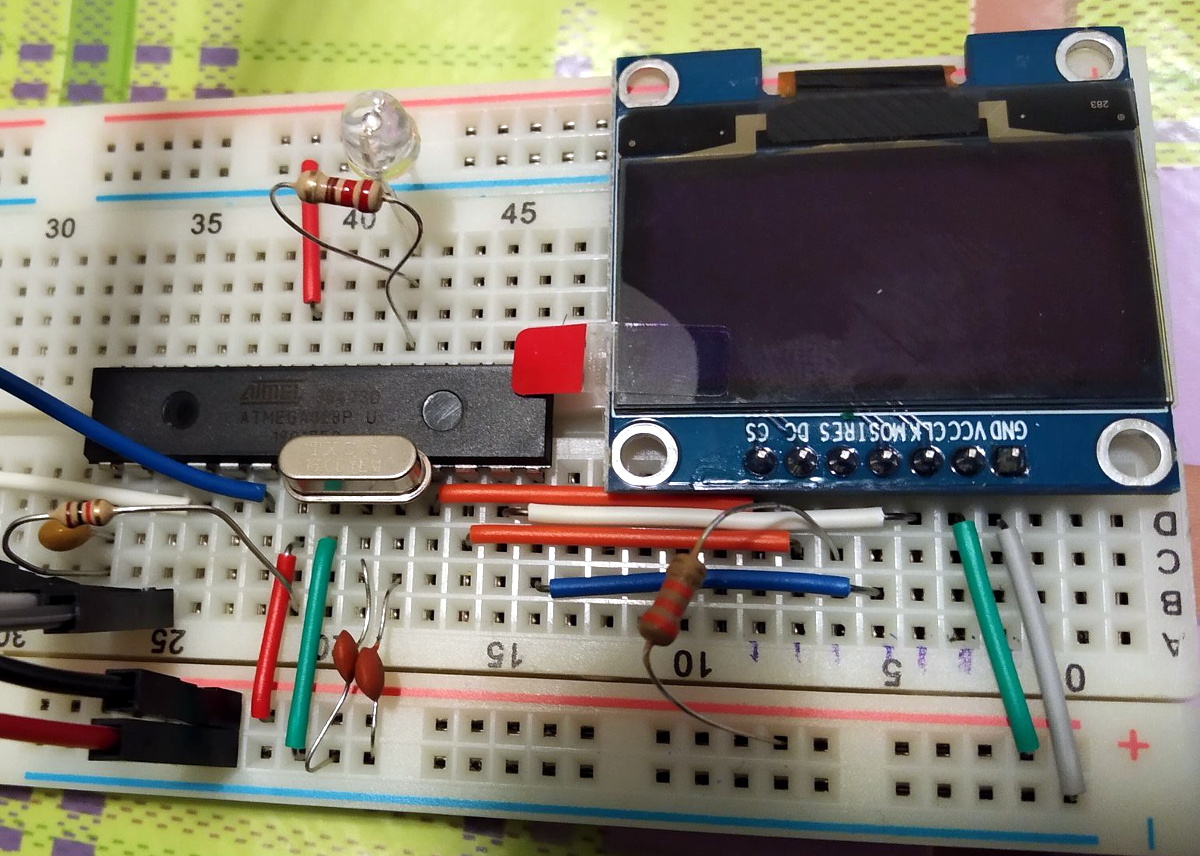 All things considered, using this diminutive machine looks like it would be relatively pleasant. [Leonardo] is using a common SH1106 OLED display, and there’s a full QWERTY keyboard (with number row) done up with tactile momentary buttons. There’s very few passive components involved in the build, which is sure to be appealing to new players; especially after they’ve finished soldering all those switches to the board.
On the software side, [Leonardo] says he leaned heavily on open source projects to get his machine up and running. Beyond the hardware drivers for things like the display, he specifically calls out the Tiny Basic and Tiny Lisp Computer projects for their code. If small-scale programming isn’t your style, the machine is compatible with the Arduino IDE so you can easily throw something else on it. If you’ve ever dreamed of a QWERTY Arduboy, this might be your chance.
From the way [Leonardo] describes the computer, which he calls the Cobalt 3, we get the impression a commercial kit might be in the cards. We hope the community shows enough interest to make it happen. After all, not everyone was able to make it to Hackaday Belgrade 2018 to get their own pocket retro computer.

